- English
- Deutsch
- Polski
- Français
- Home
- Informazioni sulla tua stampante
- Funzioni stampante
- Accelerometer (MK4/S, MK3.9/S)
Accelerometer (MK4/S, MK3.9/S)
- Descrizione stampante
- Funzioni stampante
- Accelerometer (MK4/S, MK3.9/S)
- X-axis
- Y-axis
- Results
- Regolazione della luminosità (SL1)
- Comandi G-code specifici del firmware Buddy
- Cancella oggetto (MK4, MK3.9, XL, MINI/+)
- Rilevamento scontri
- Crash dump
- Creazione di un oggetto di calibrazione della resina (SL1/SL1S)
- Dump della memoria (MK3/S/+ e MK2.5/S)
- Menù sperimentale (MK3/S/+)
- Impostazioni sperimentali (MK4/S, MK3.9/S, MK3.5/S, XL, MINI/+)
- Sensore filamento (MK4, MK3.9, XL)
- Sensore filamento MK3 (non S)
- Piastre di acciaio flessibile (guida)
- Modulo GPIO
- Testina di stampa ad alto flusso (HT90)
- Testina di stampa ad alta temperatura (HT90)
- Impostazione HW (MINI/MINI+)
- Impostazione HW (MK2.5/S & MK3/S/+)
- Connessione ad internet (SL1/SL1S)
- Sensore di filamento IR (MK2.5S, MK3S/+, MK3.5/S)
- Rilevamento sensore IR di filamento (MK3S)
- Regolazione della luminosità dell'LCD (MK3S)
- Regolazione del contrasto dello schermo LCD (i3)
- Cella di carico (MK4/S, MK3.9, XL)
- Struttura del menu (SL1/SL1S)
- Anteprima modello
- Network Connection (MK4S, MK3.9S)
- Calzino in silicone Nextruder (XL, MK4, MK3.9)
- NFC antenna
- Sensore filamento rumoroso (MINI)
- Stampa con un click
- Versare la resina ed avviare una stampa
- Power Panic (Protezione black-out)
- Modalità di alimentazione
- Profilo di stampa (SL1/SL1S)
- Statistiche di stampa
- Statistiche della stampante e informazioni di sistema (SL1/SL1S)
- Pronterface e cavo USB
- Comandi G-code specifici per Firmware Prusa
- Prusa Pro Filament Drybox
- Calibrazione Resina (SL1/SL1S)
- Pulizia del serbatoio della resina (SL1/SL1S)
- Piastra in acciaio Satinata
- Ordinamento scheda SD
- Piastra d'acciaio liscia
- Modo suono (MINI/MINI+)
- Piastra d'acciaio speciale PA Nylon
- SpoolJoin (MMU2S)
- Profili piastre d'acciaio
- Rilevamento del filamento bloccato #26101 (MK4S) #13101 (MK4) #21101 (MK3.9) #17108 (XL)
- Menù supporto (MK3/S/+)
- Impostazioni di supporto per l'XL
- Piastra in acciaio Testurizzata
- Calibrazione modello termico
- Tools Mapping (XL)
- Tools Mapping e Mappatura Filamento (XL, MMU3)
- Notifiche barra superiore (SL1/SL1S)
- Touchscreen (MK4, MK3.9, MK3.5, XL)
- Menù Regola
- Materiali idrosolubili (PVA/BVOH)
- Informazioni generali
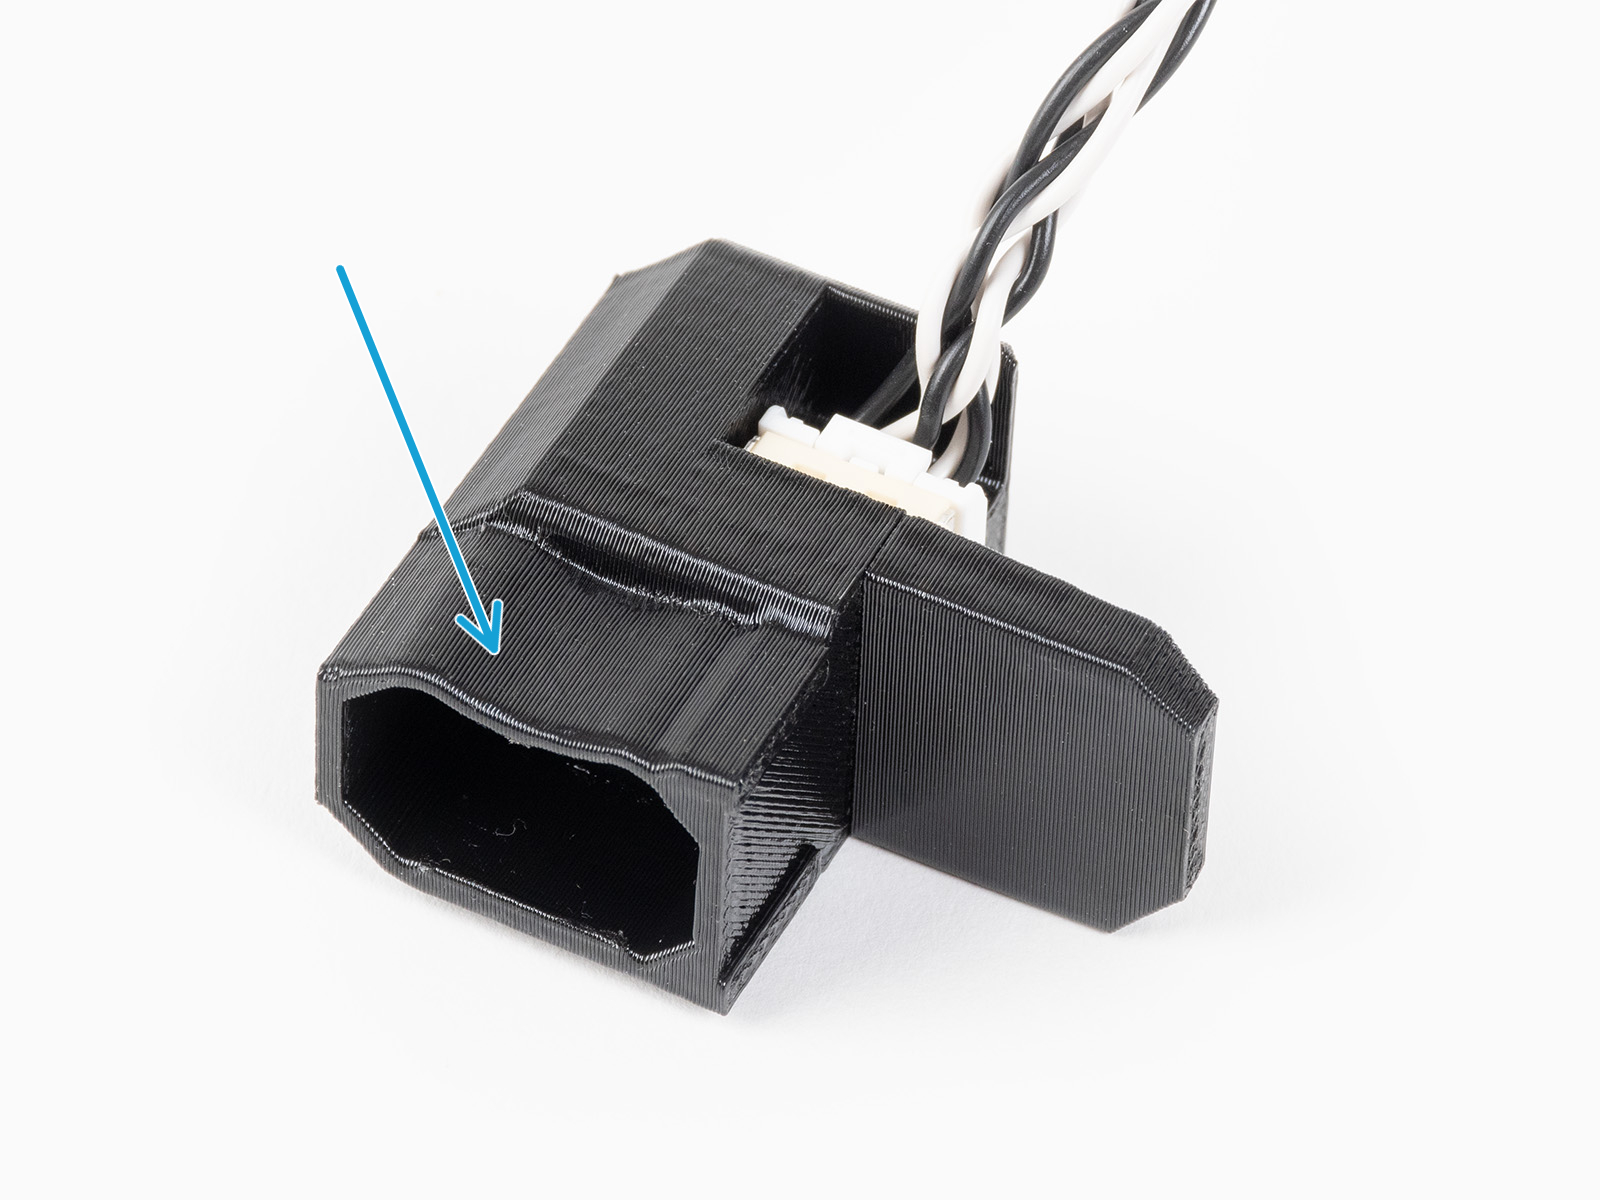
The Input Shaper functionality on your Original Prusa MK4/S, MK3.9/S or MK3.5/S can be calibrated using an optional accelerometer. The accelerometer assembly consists of a small PCB enclosed in a printed cover, which connects to the printer. Please note that using the accelerometer requires partial disassembly of the printer.
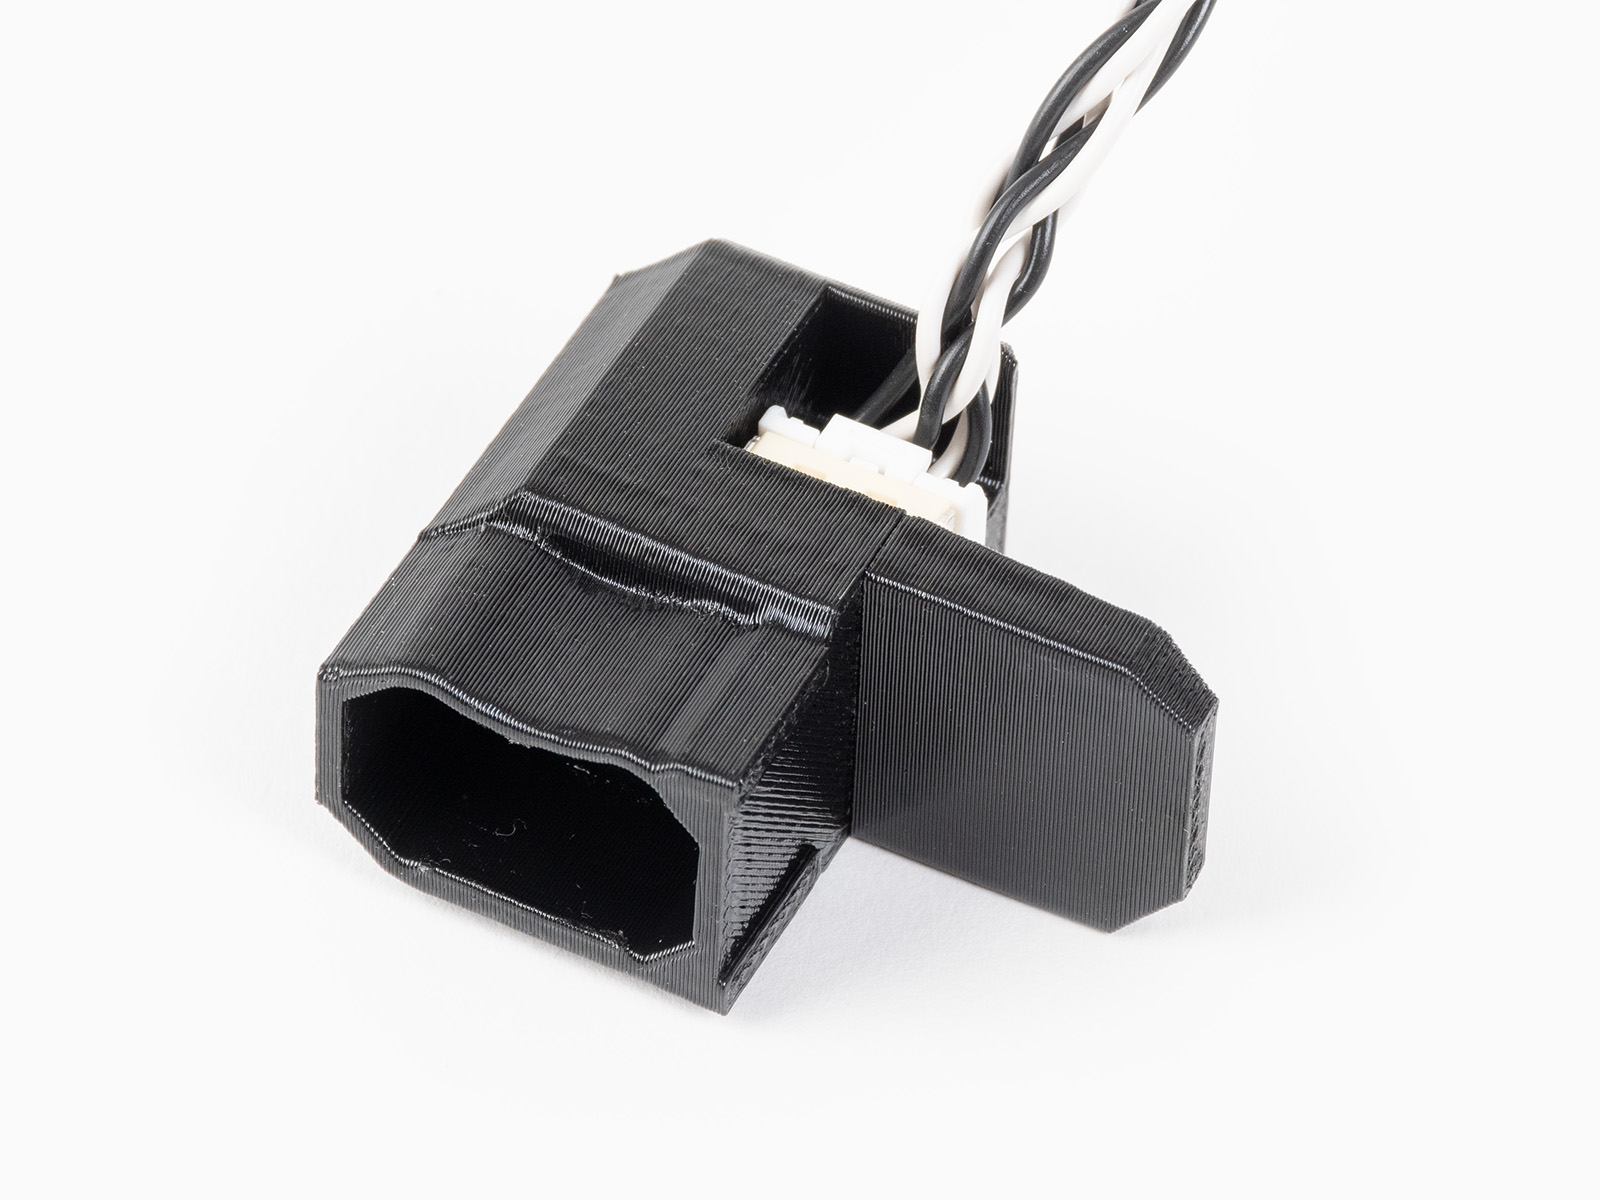
On MK4 and MK3.9, the accelerometer is connected directly to the dedicated port on the xBuddy board. (orange arrow in the picture below)
On MK4S and MK3.9S, you can install a short jumper cable into the xBuddy and then use the connector on the rear of the printer, as seen in the pictures below.
For MK3.5 or MK3.5S, please visit the dedicated guide.
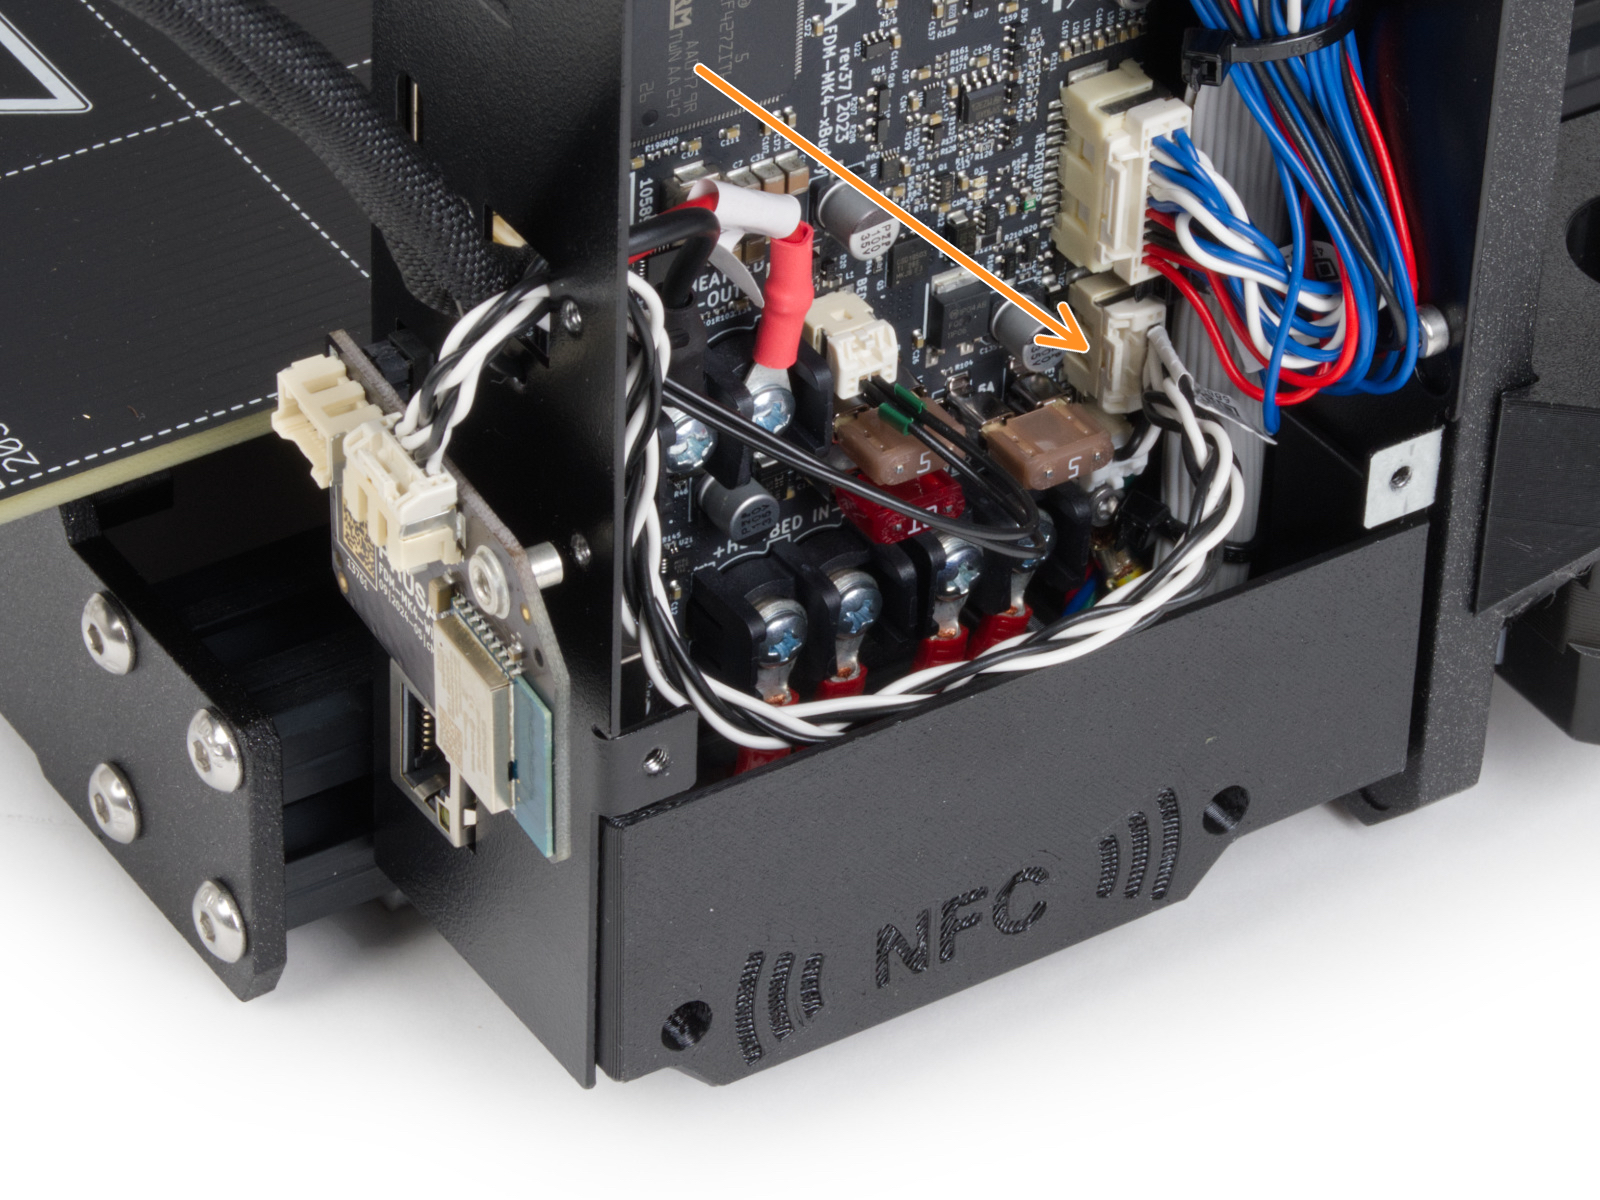 | 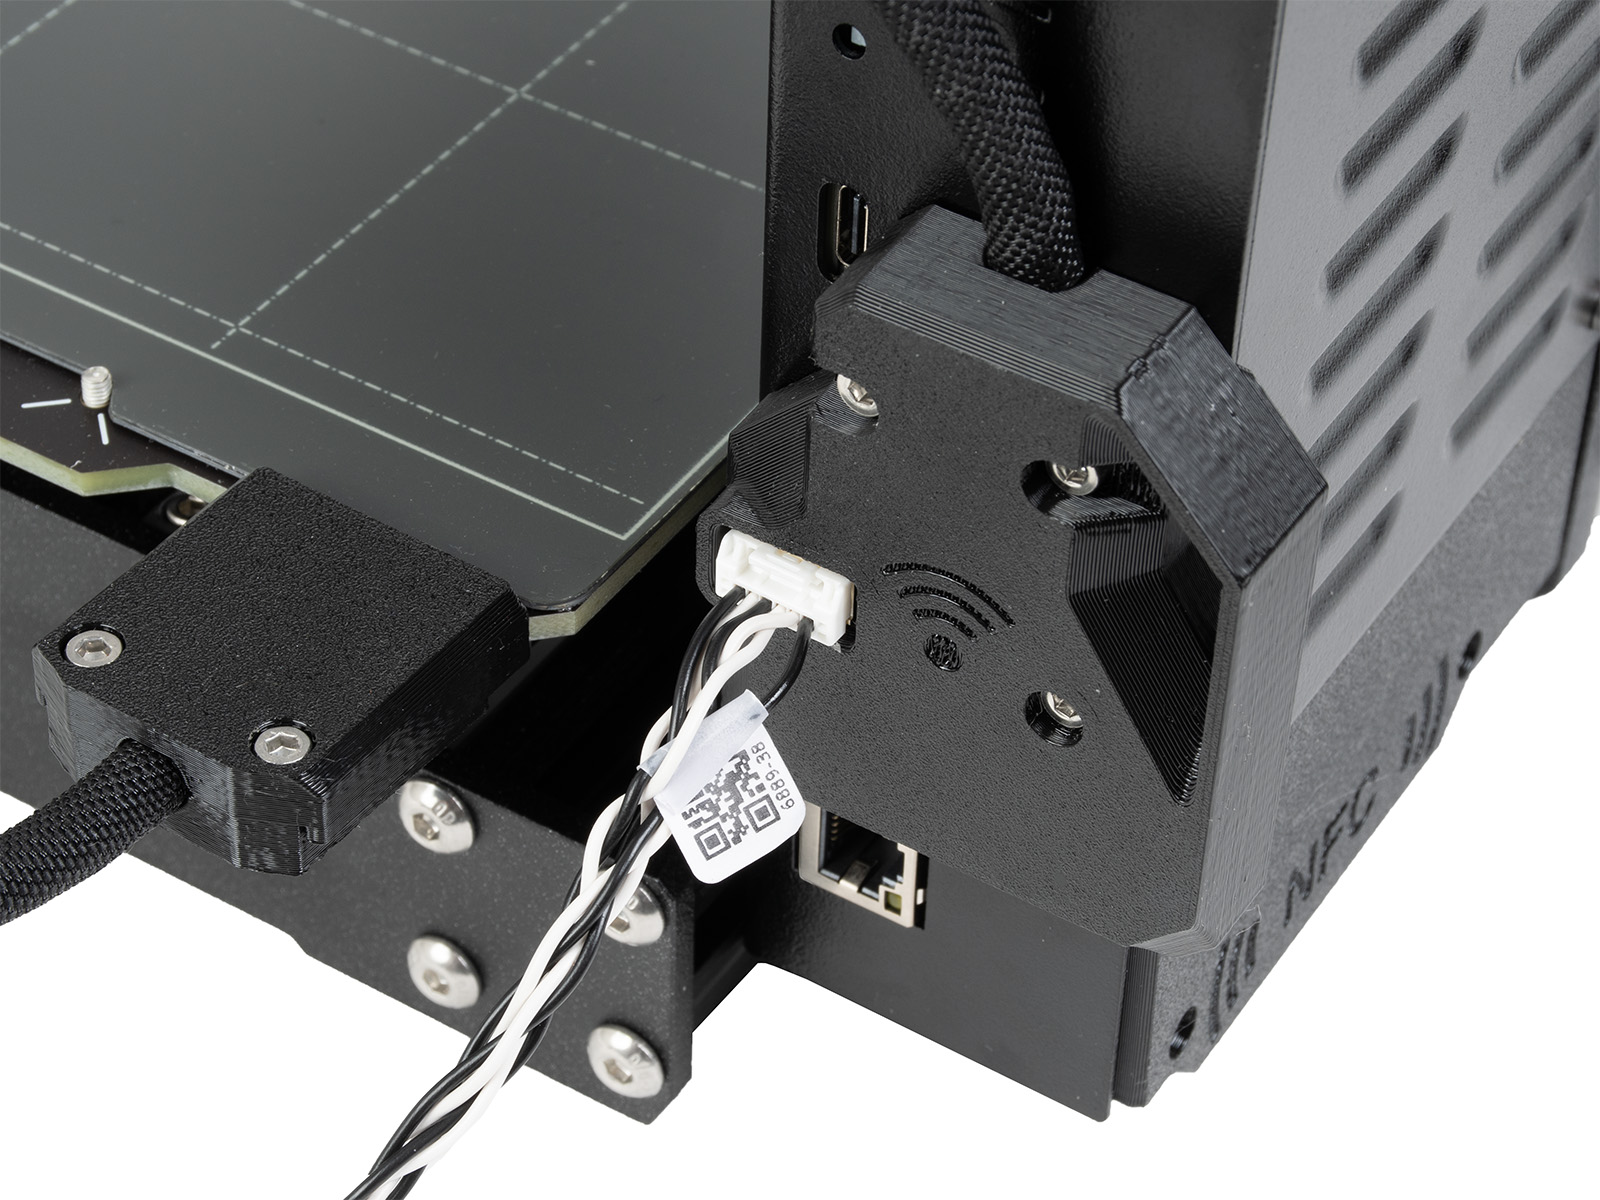 |
Accelerometer connection on MK4S and MK3.9S
The accelerometer is used to calibrate the input shaper parameters. You can launch the calibration from the LCD Menu -> Settings -> Input Shaper -> Calibration.
X-axis
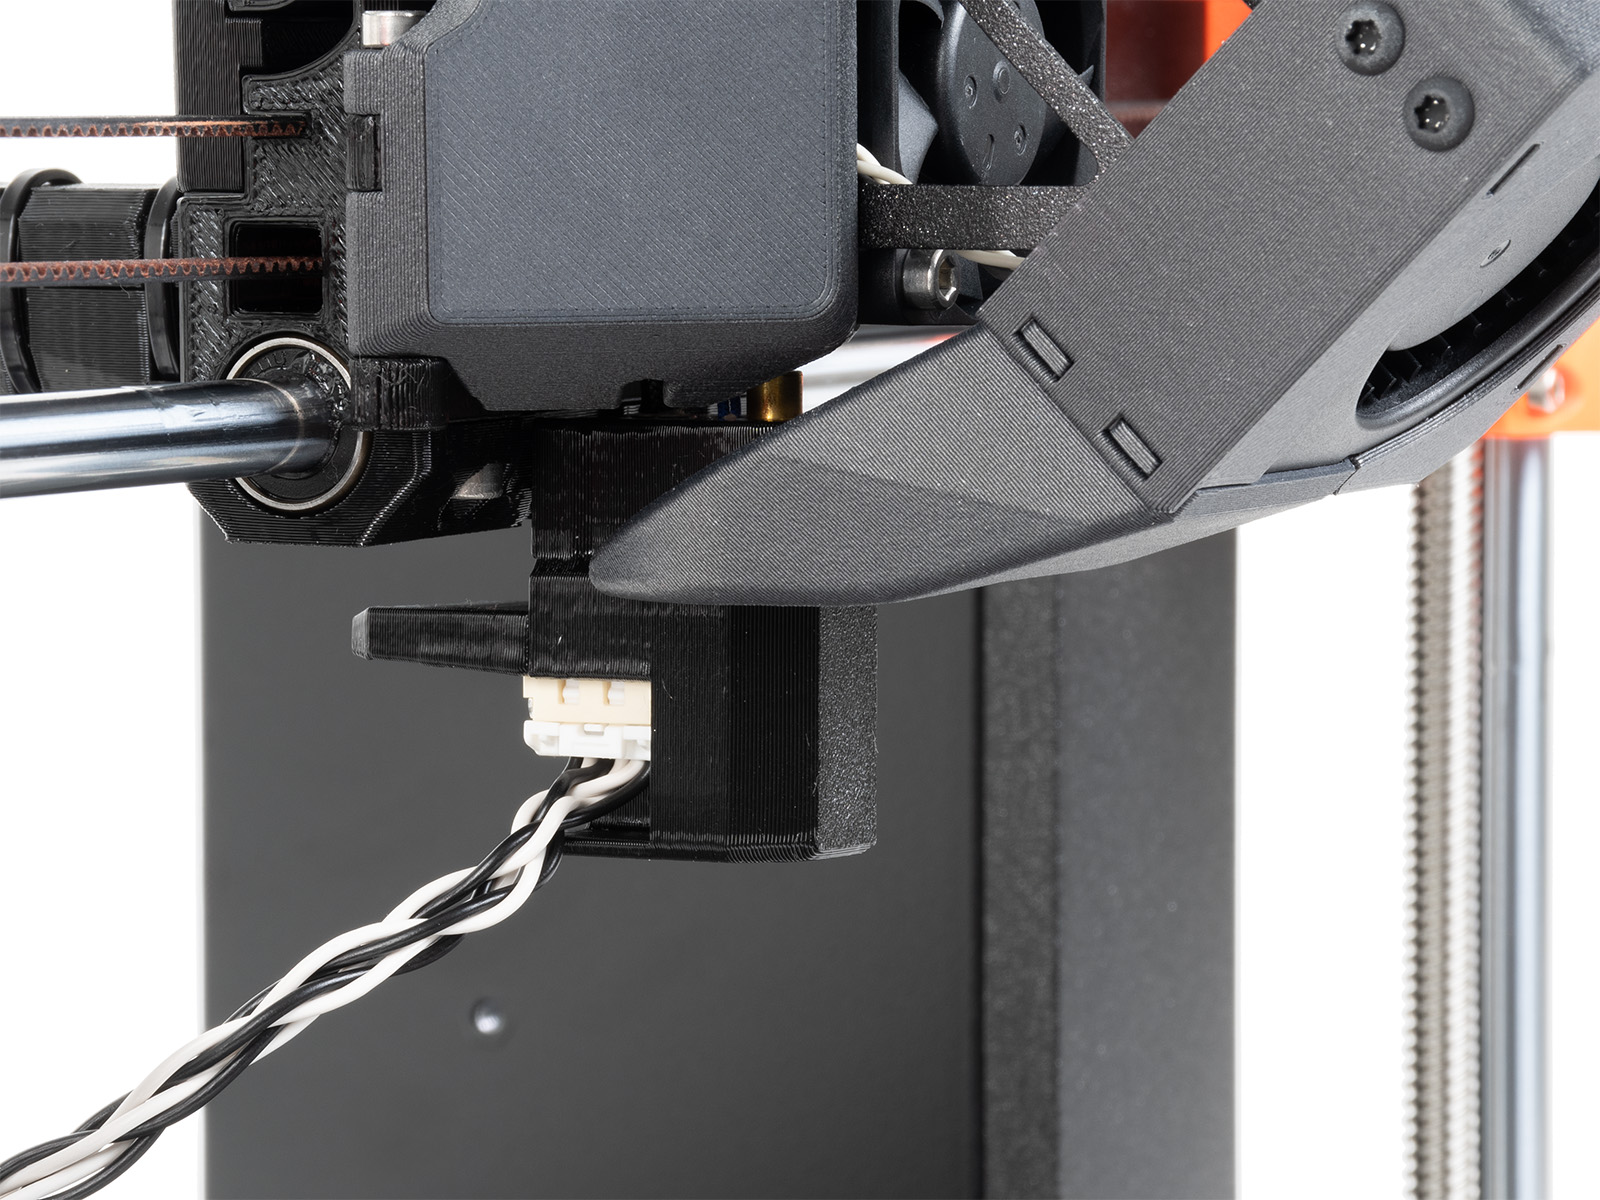
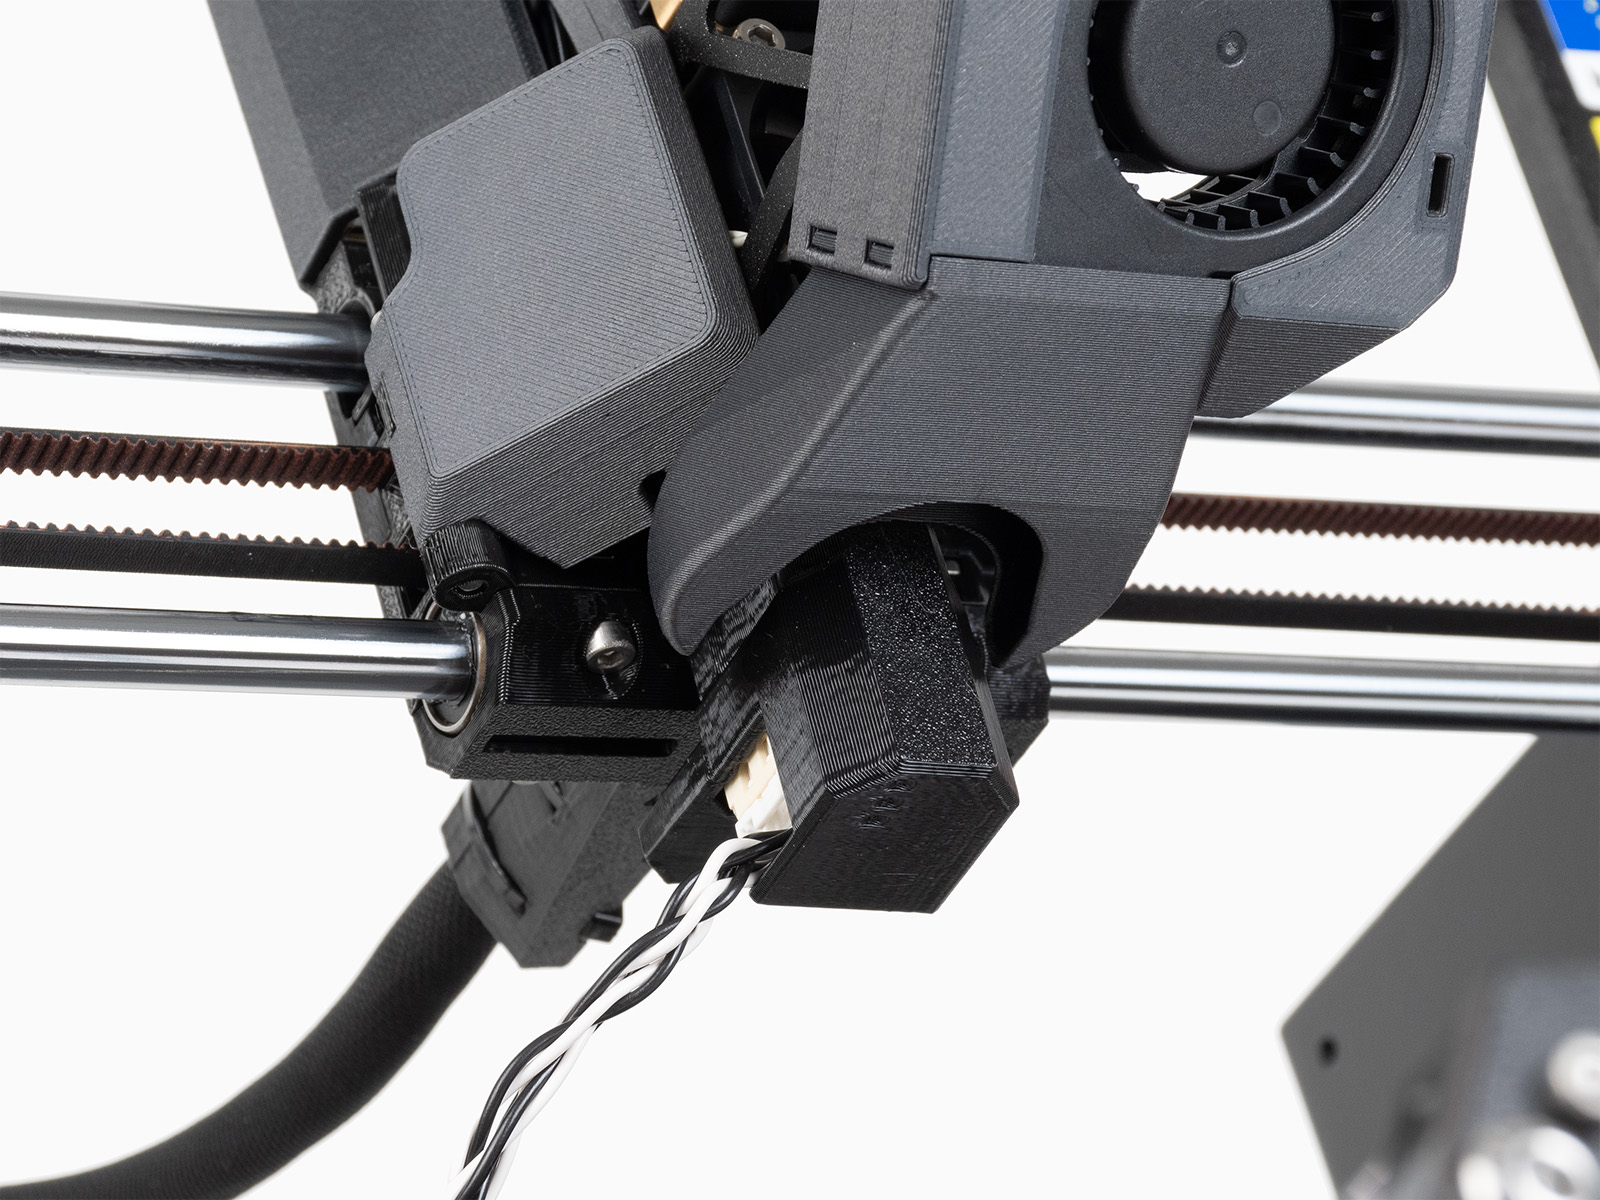
On MK3.9 or MK4, open the fan-door completely before the procedure. Remove the silicone sock, if installed. Identify the part of the accelerometer that is in the shape of the heater block.
 |  |
Fit the accelerometer to the heater block, by pushing it from the bottom of the hotend. If there is any resistance, do not attempt to push the accelerometer harder, as excessive force might bend the heatbreak.
 |  |
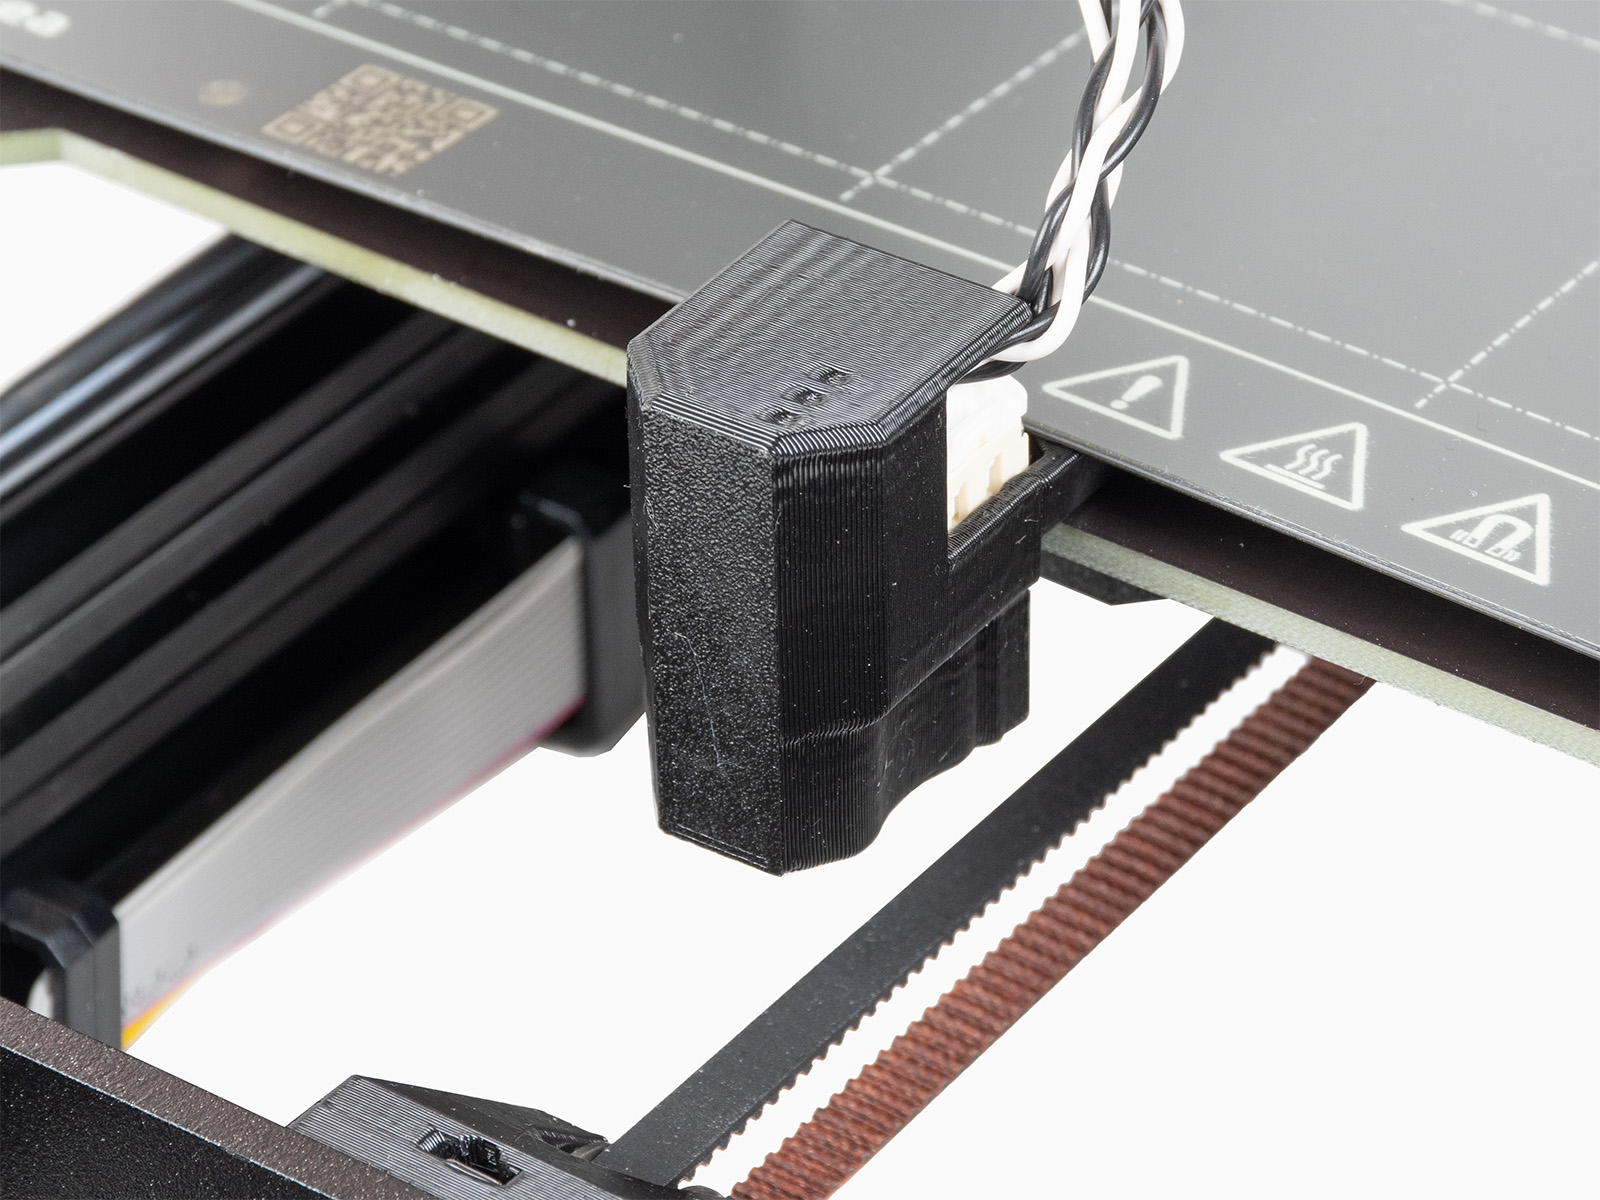
Y-axis
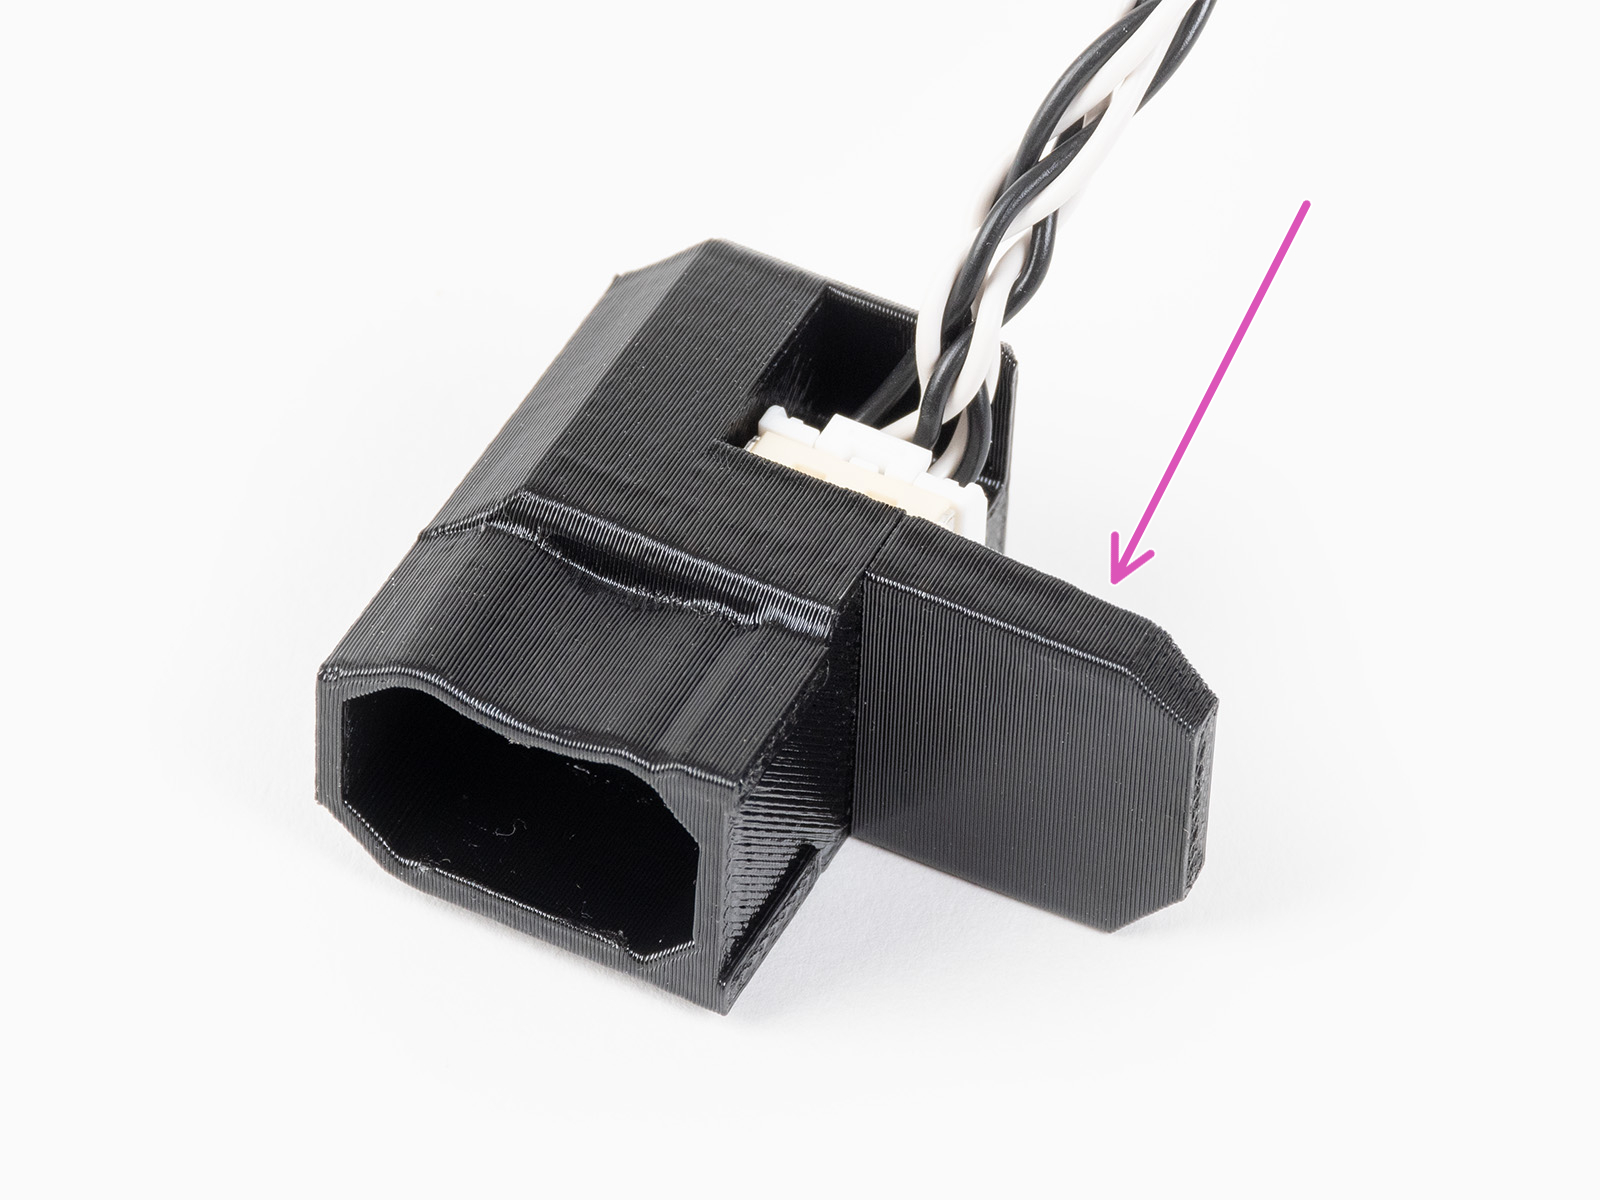
Identify the part of the accelerometer that protrudes from the rest. On the front side of the Y-axis, place the protrusion between the steel sheet and the heatbed.
 |  |
Results
The results shown on the printer's display at the end of the calibration indicate the optimal input shaping type and frequency found with the calibration.
Commenti


Hai ancora delle domande?
Se hai una domanda su qualcosa che non è trattato qui, dai un'occhiata alle nostre risorse aggiuntive.
E se questo non dovesse funzionare, è possibile inviare una richiesta a [email protected] o tramite il pulsante qui sotto.