The Prusa CORE One, and the Original Prusa MK4S/MK3.9S are equipped with a Near Field Communication antenna, abbreviated NFC. This allows you to quickly write data into the NFC chip present on the xBuddy board, and the data can be used by the printer.
Our application for this is writing Wi-Fi credentials, using a mobile device that supports NFC.
The chip in the NFC antenna is passive. It cannot trigger communication with another device. However, the printer can store and read data that is passed from the NFC antenna.
Assembly (MK4S, MK3.9S)
The pre-assembled version of the MK4S comes with the NFC antenna already assembled. On the MK4S kit, it is assembled with the following steps.
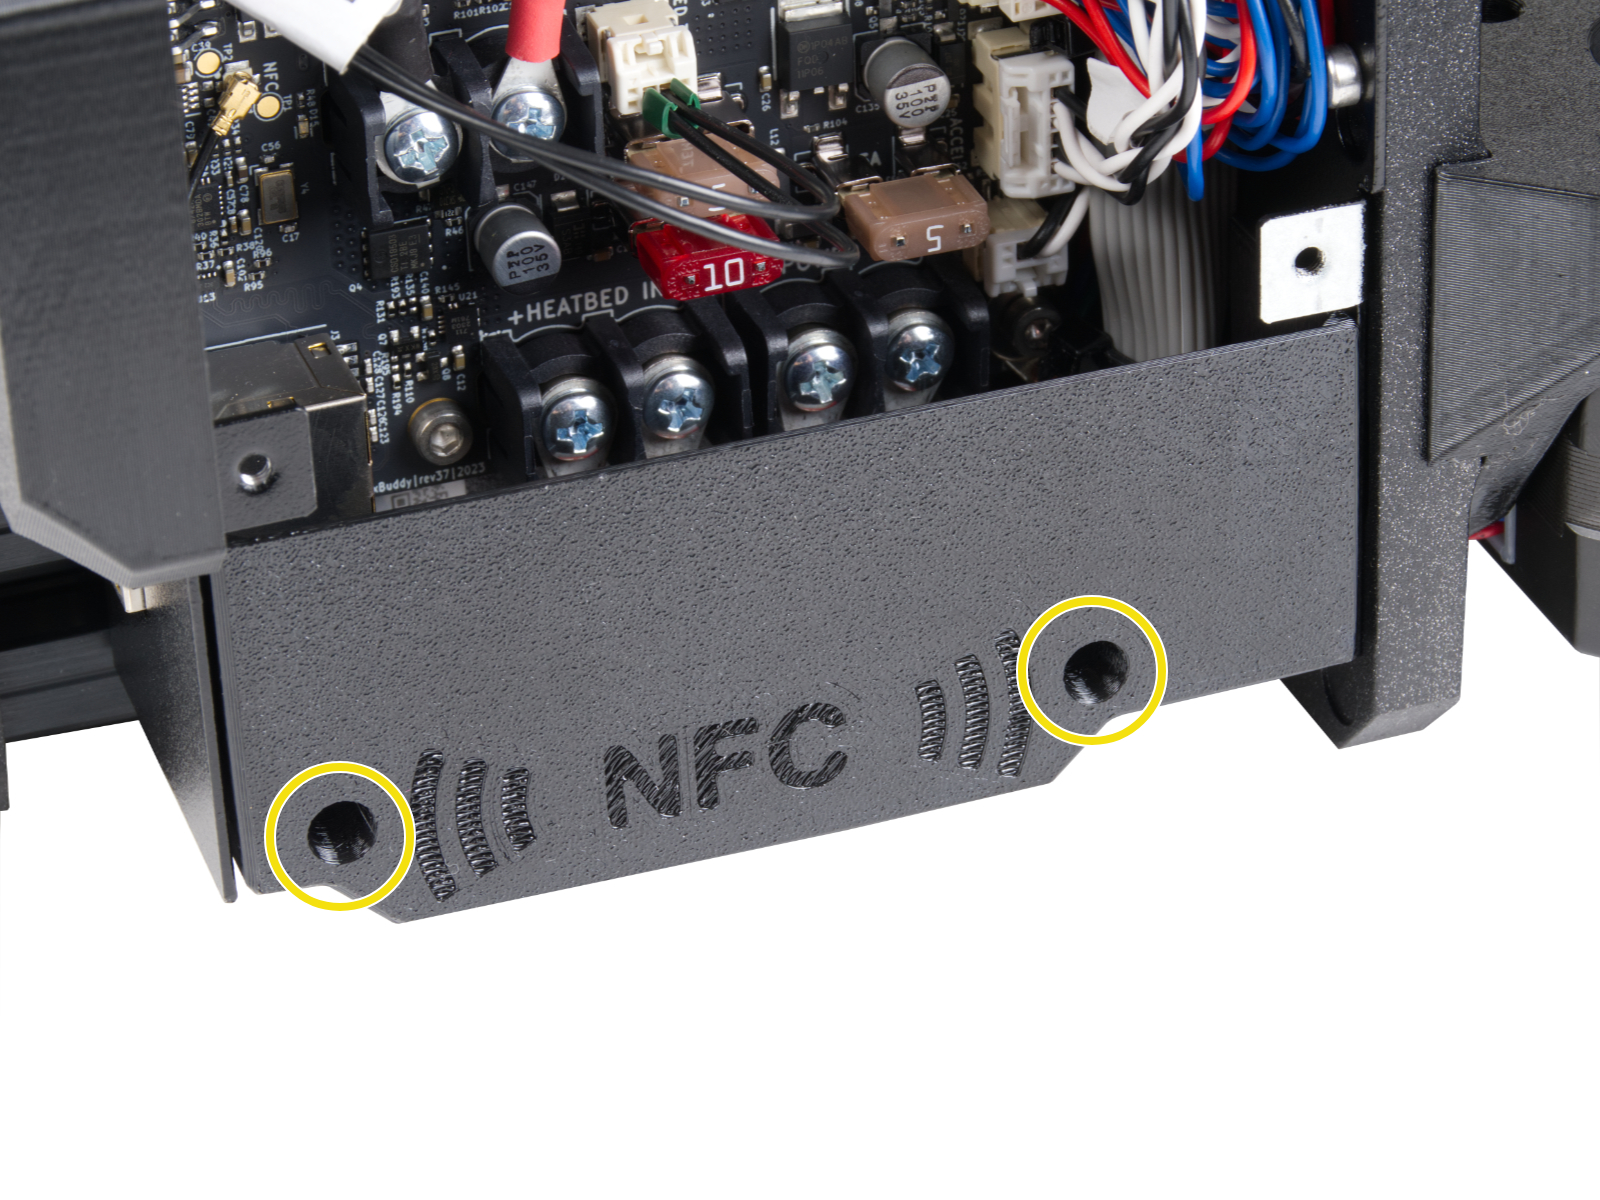
- Access the bottom cover of the xBuddy board. If the part is assembled, loosen two M3x10 bolts to access the bottom cover.
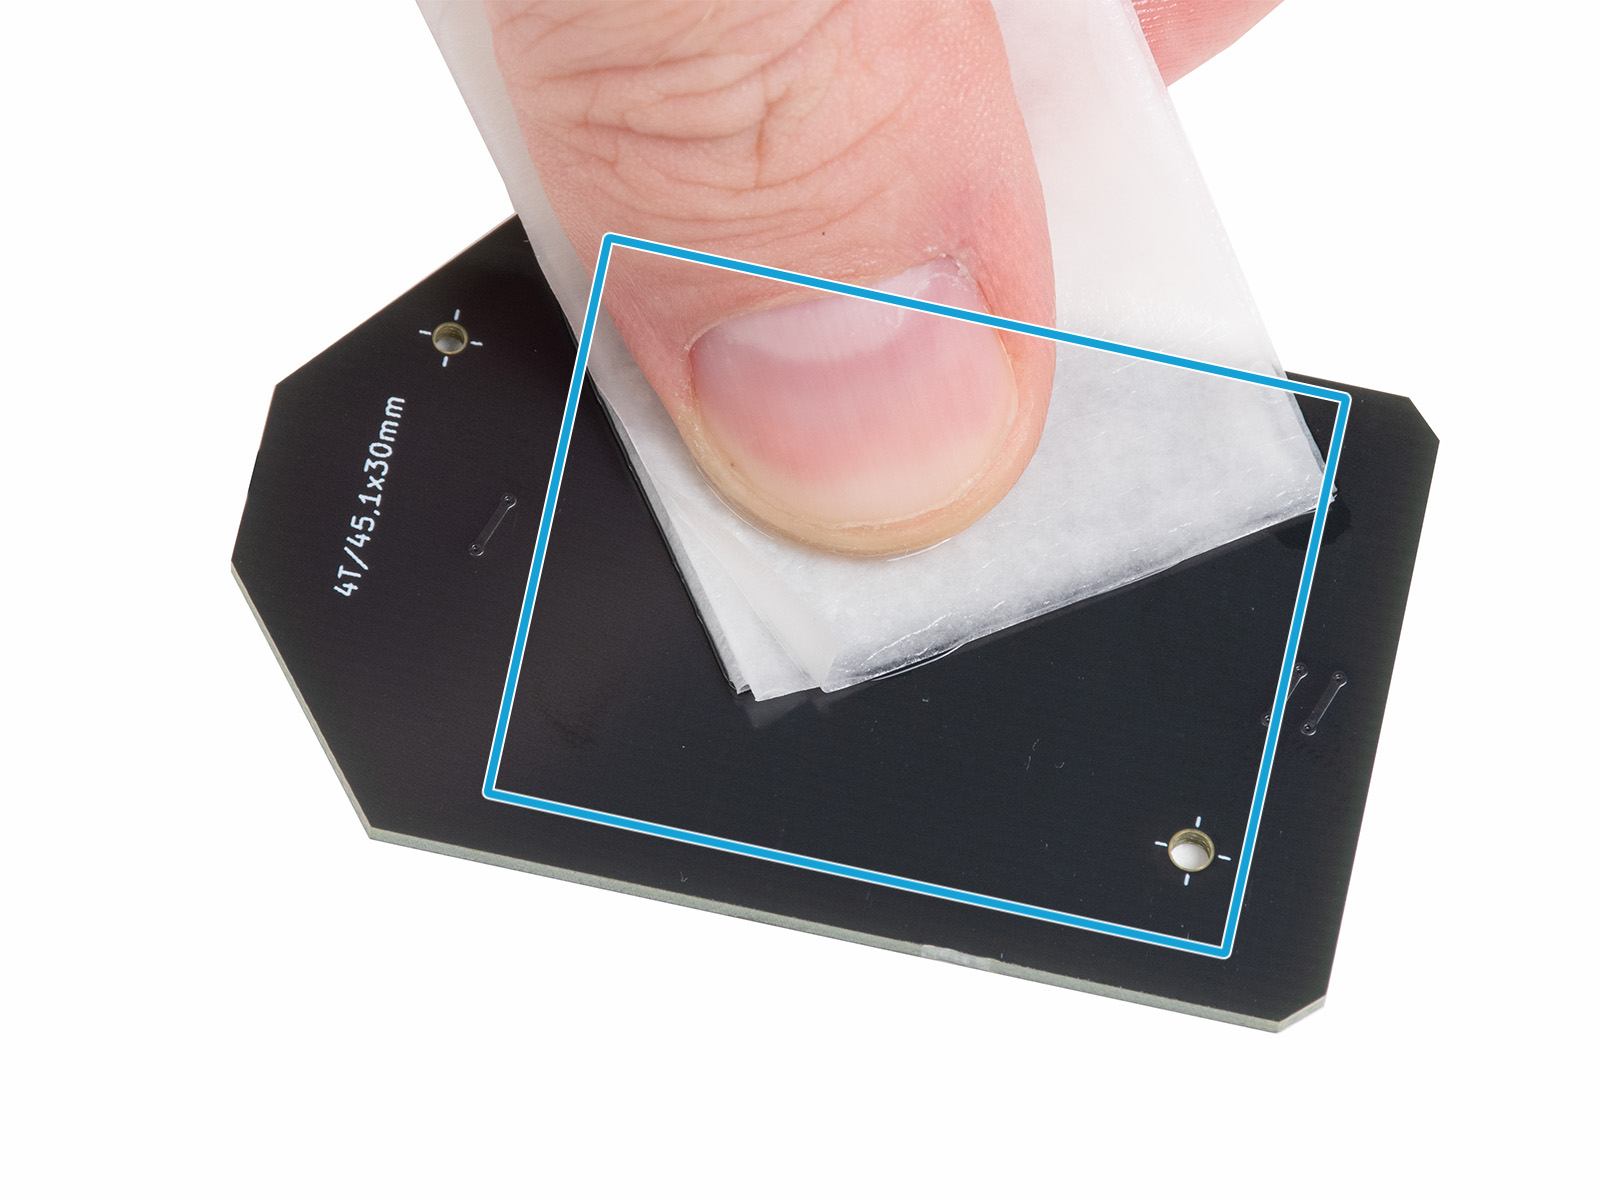
- On a new kit, clean the NFC board with isopropyl alcohol, and stick it with the provided adhesive film, as shown in the pictures.
Attention: there is a self-adhesive layer on the antenna. Do not place the adhesive tape over any holes in the board!
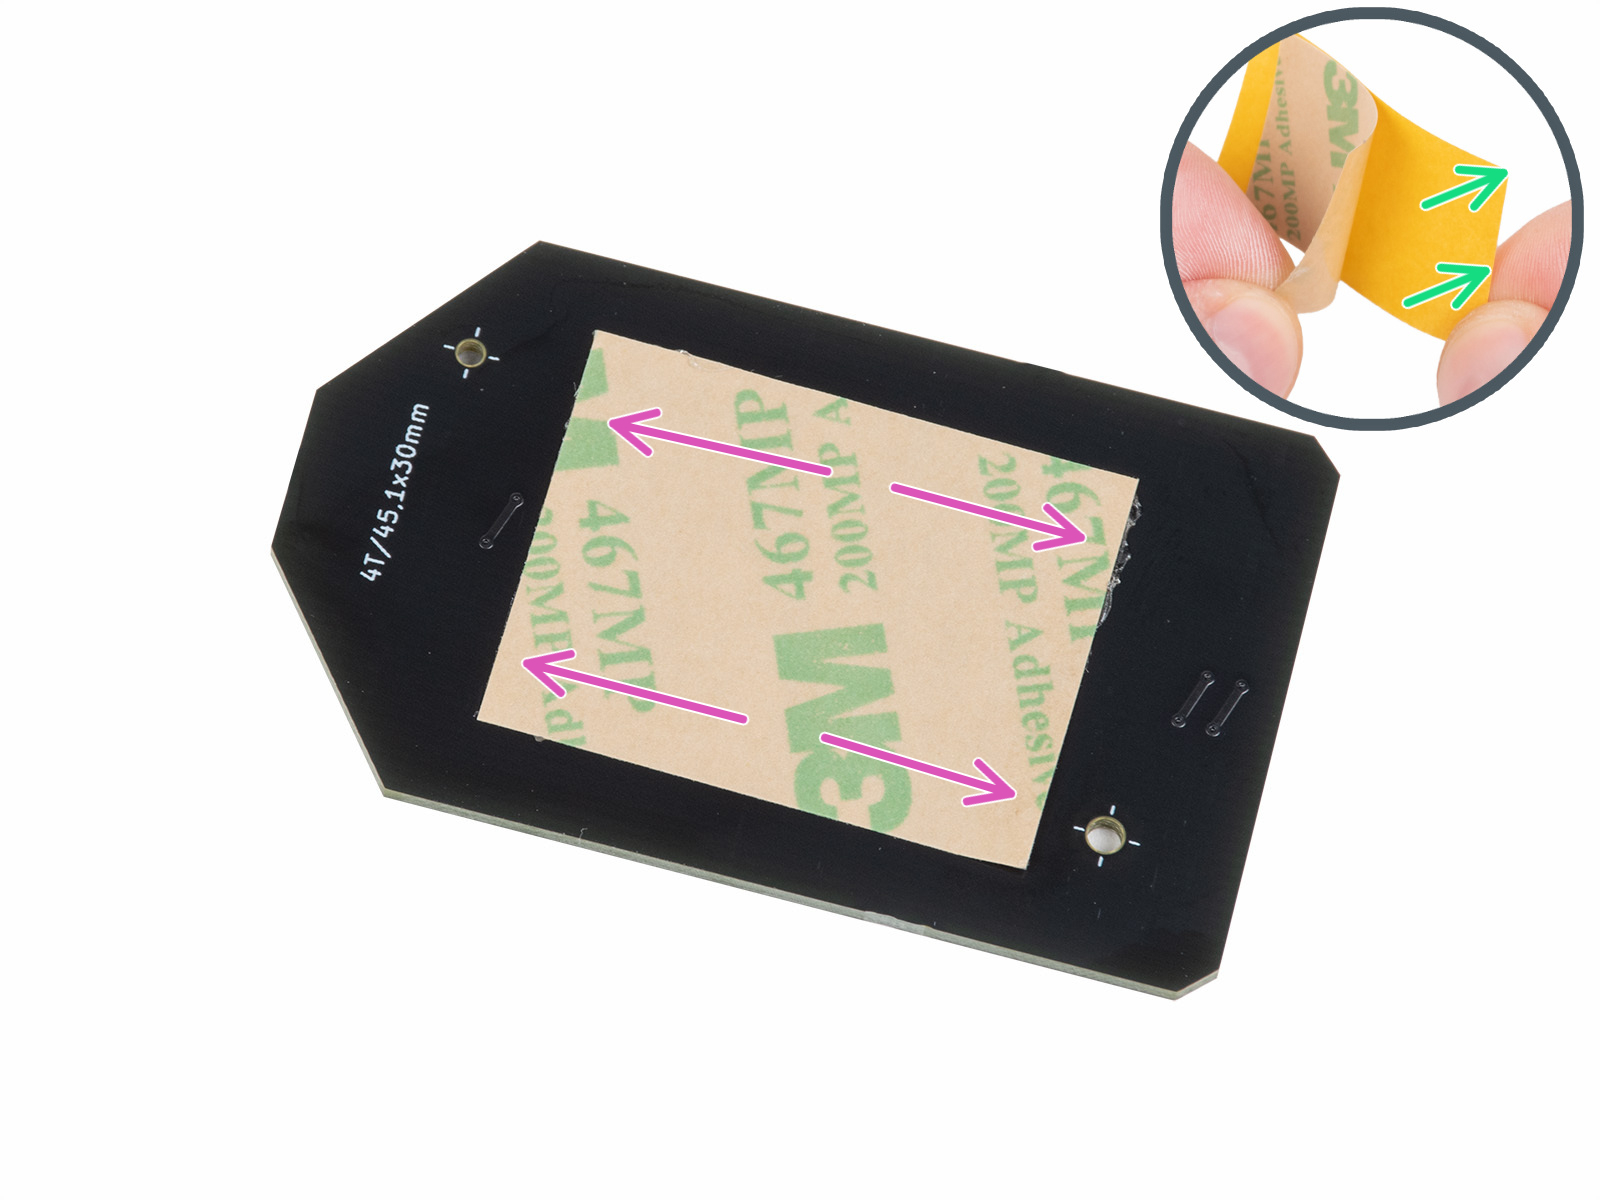
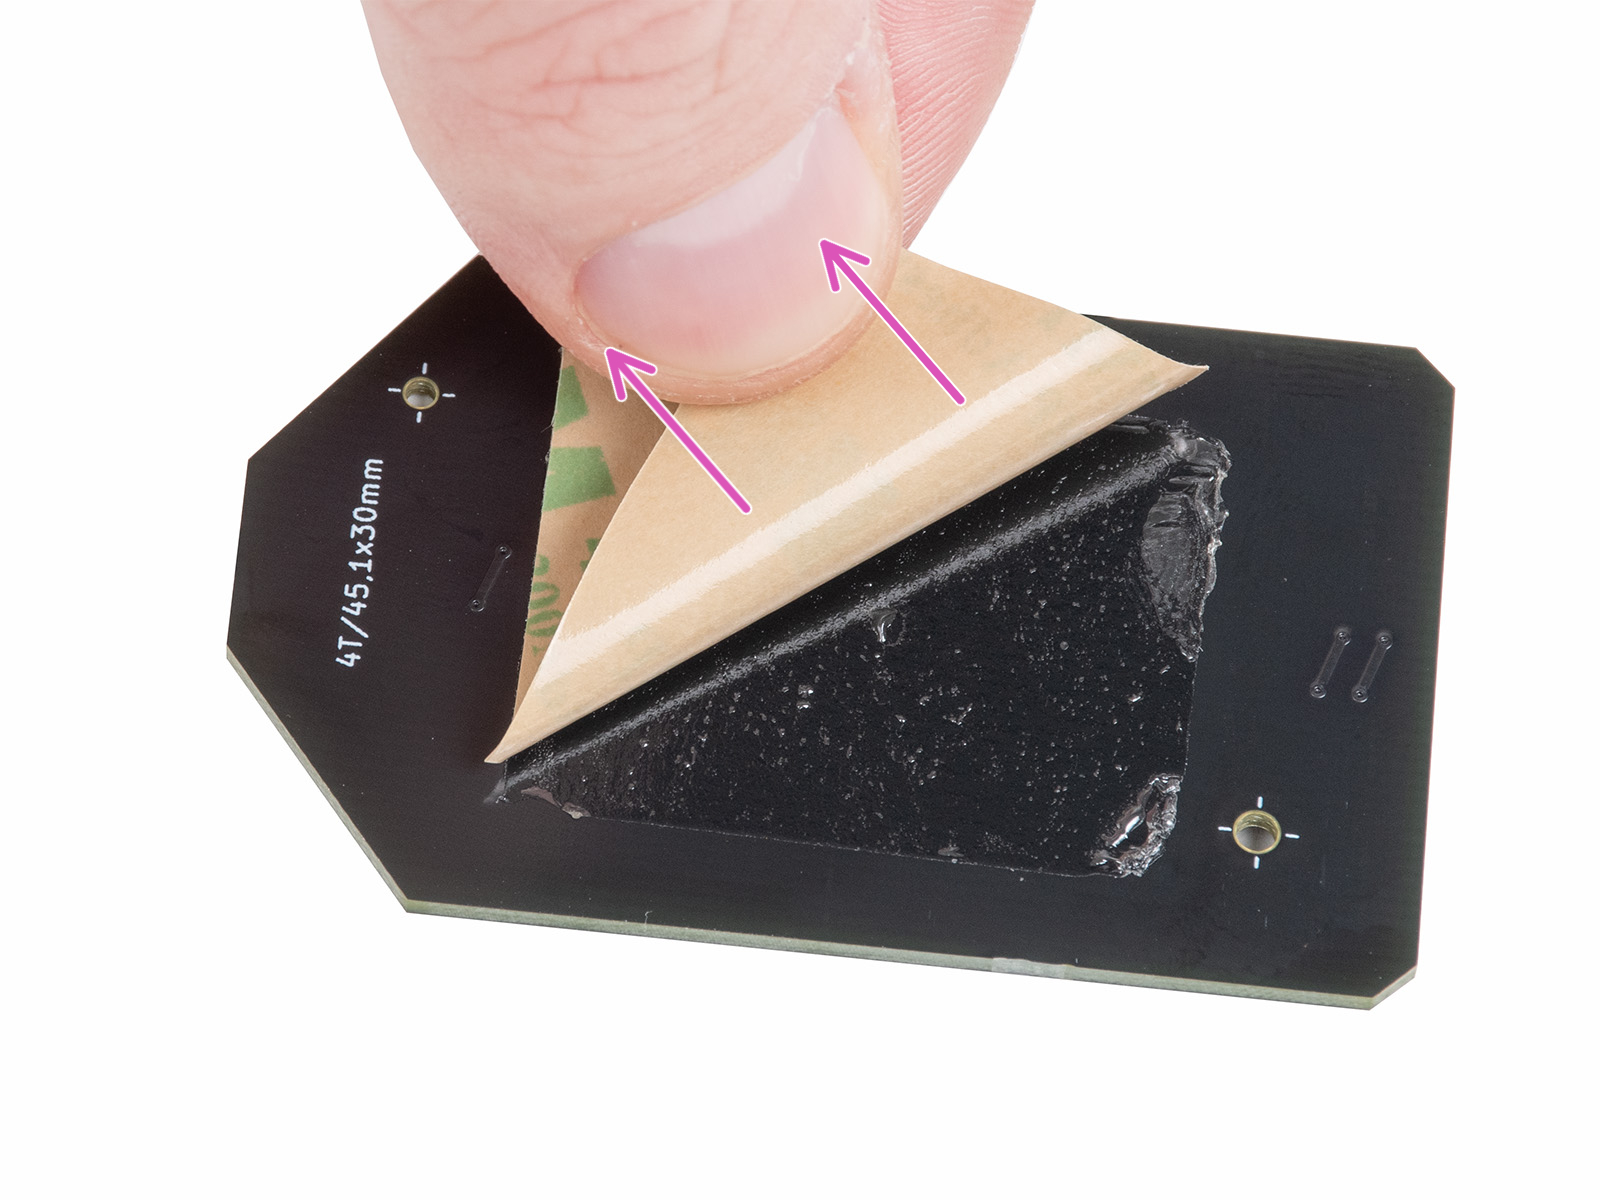
- Peel the adhesive tape paper layer from the NFC antenna. Stick the NFC antenna on the inner side of the bottom electronics cover, approximately like in the picture. Leave at least 2mm space between the NFC antenna and the edge of the cover.
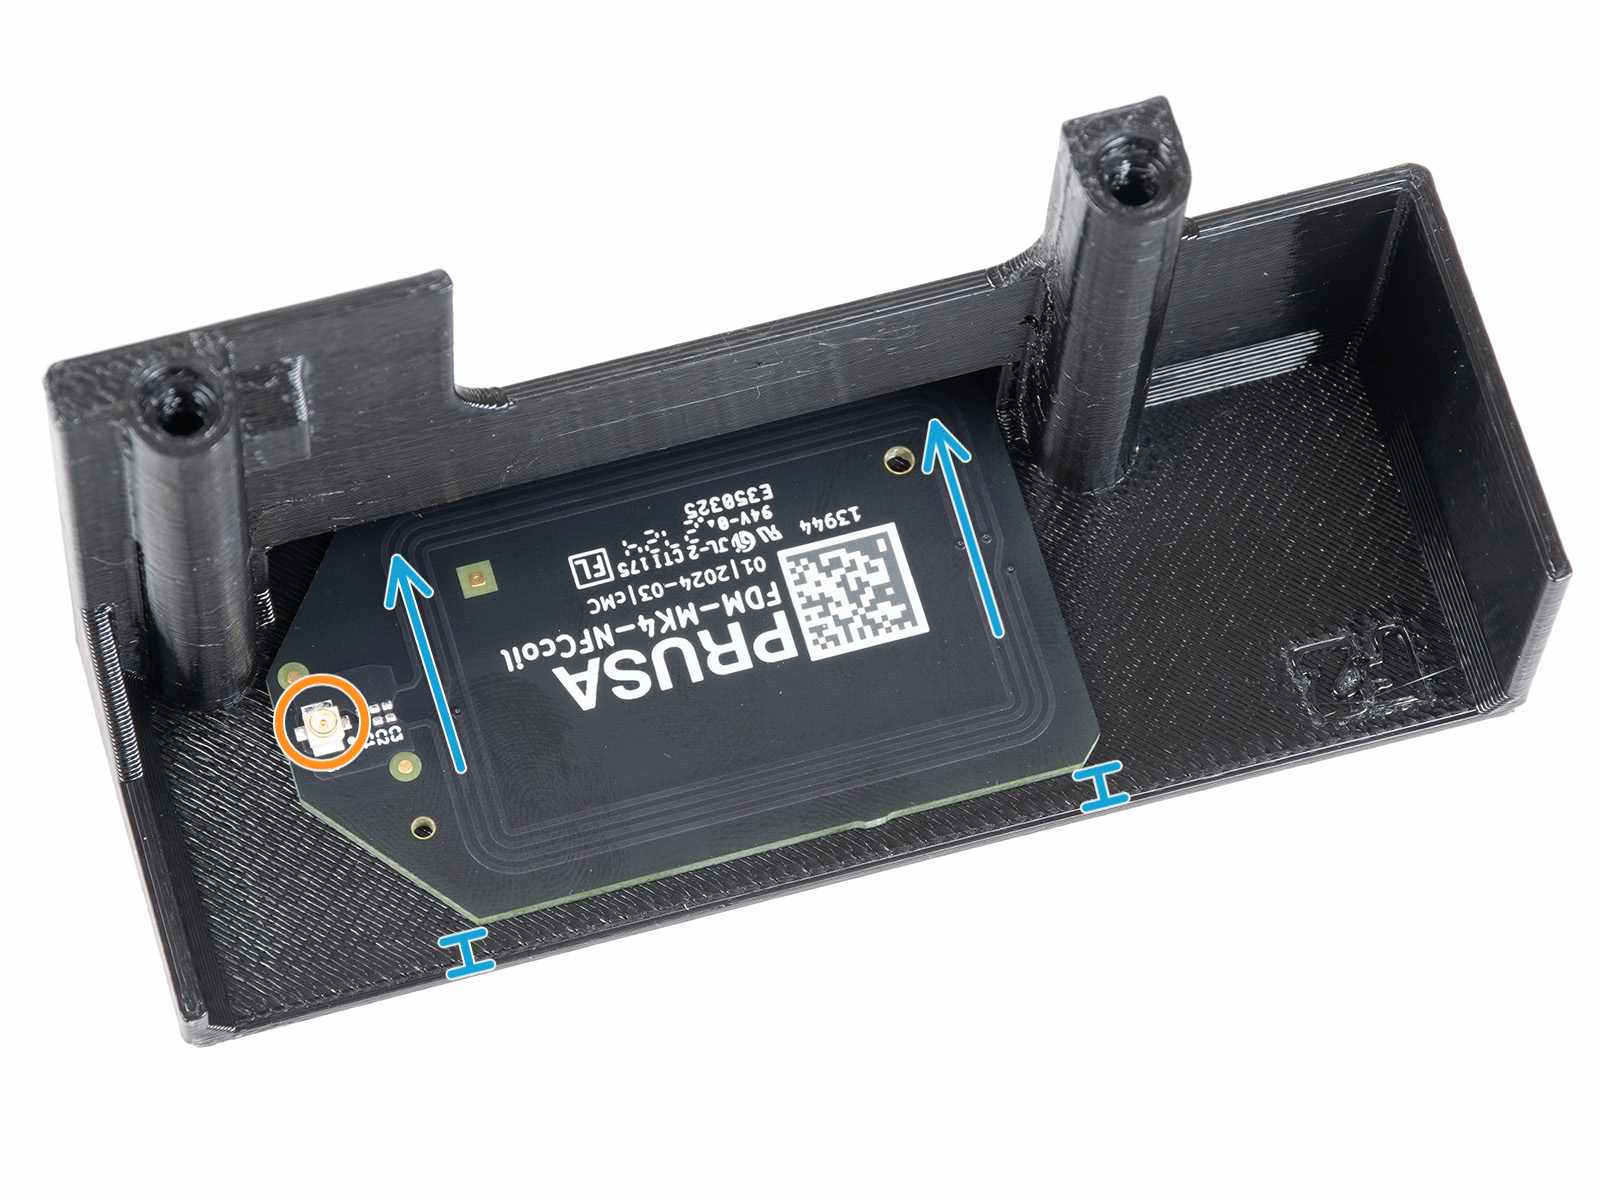
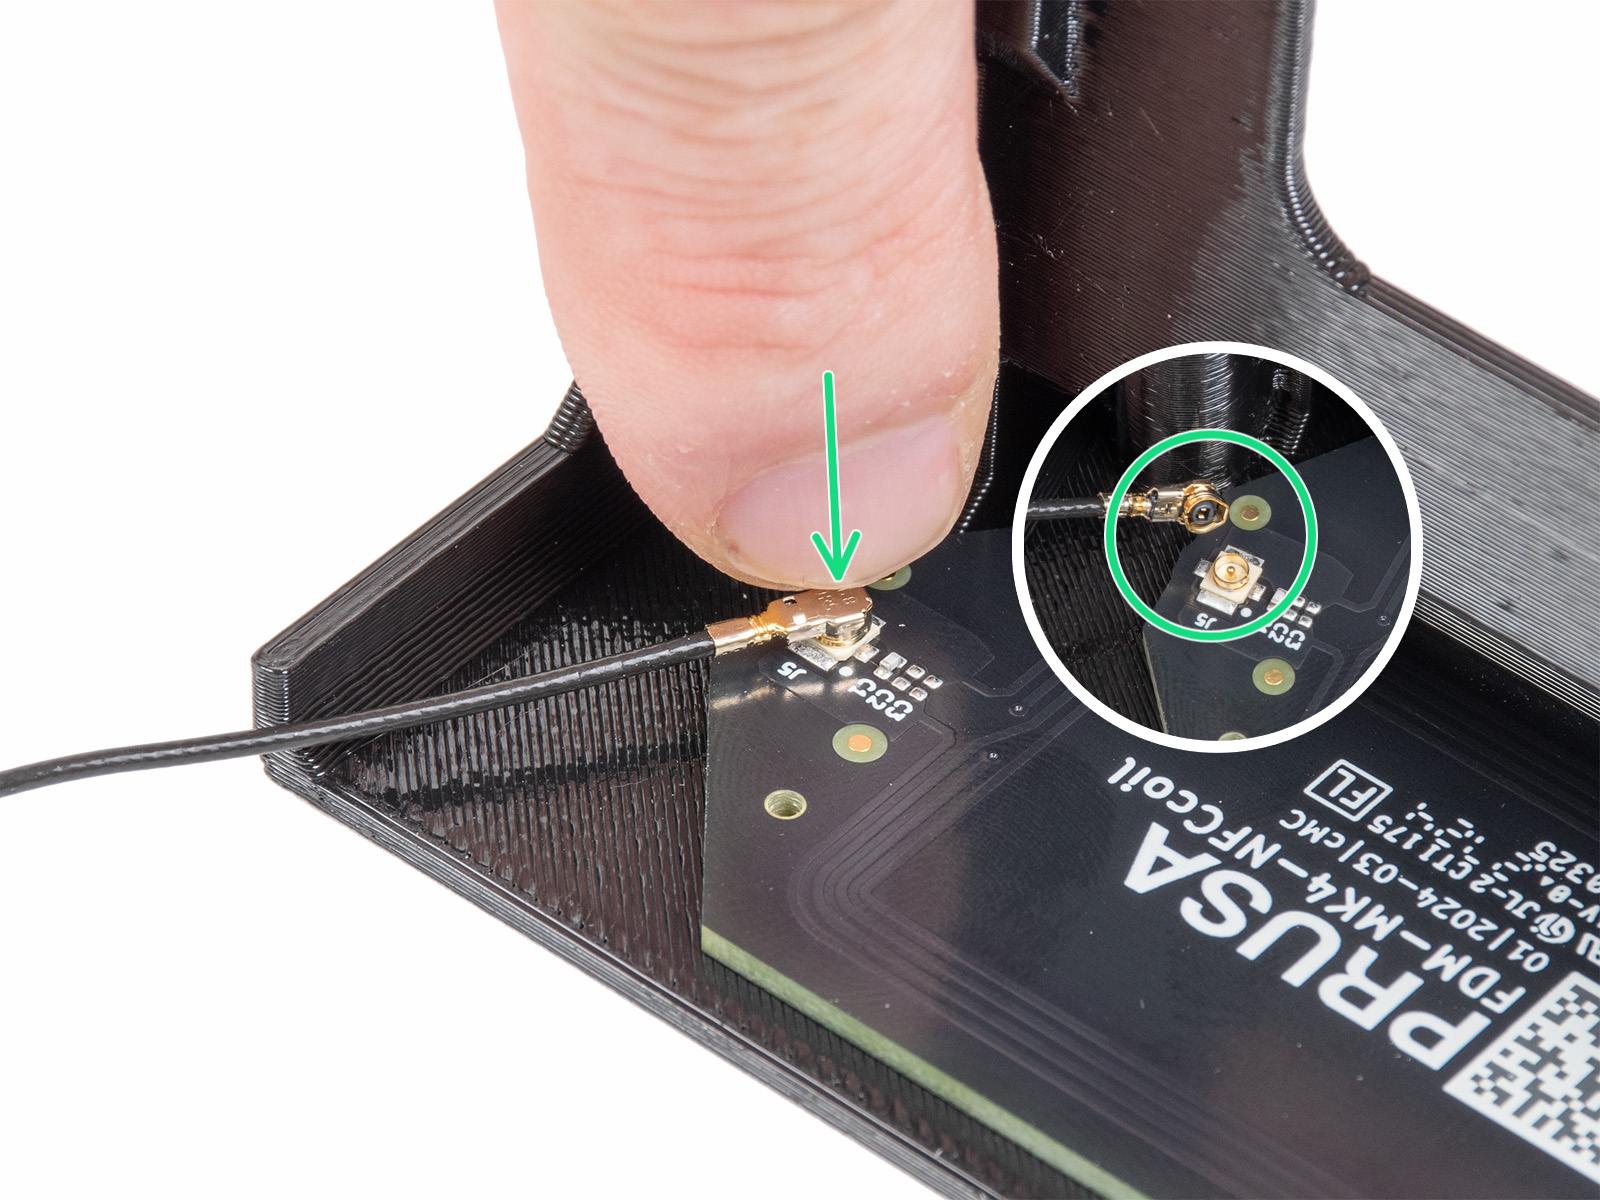
- Connect the cable on the NFC antenna side. Fit the connectors together and press lightly, until you feel a click.
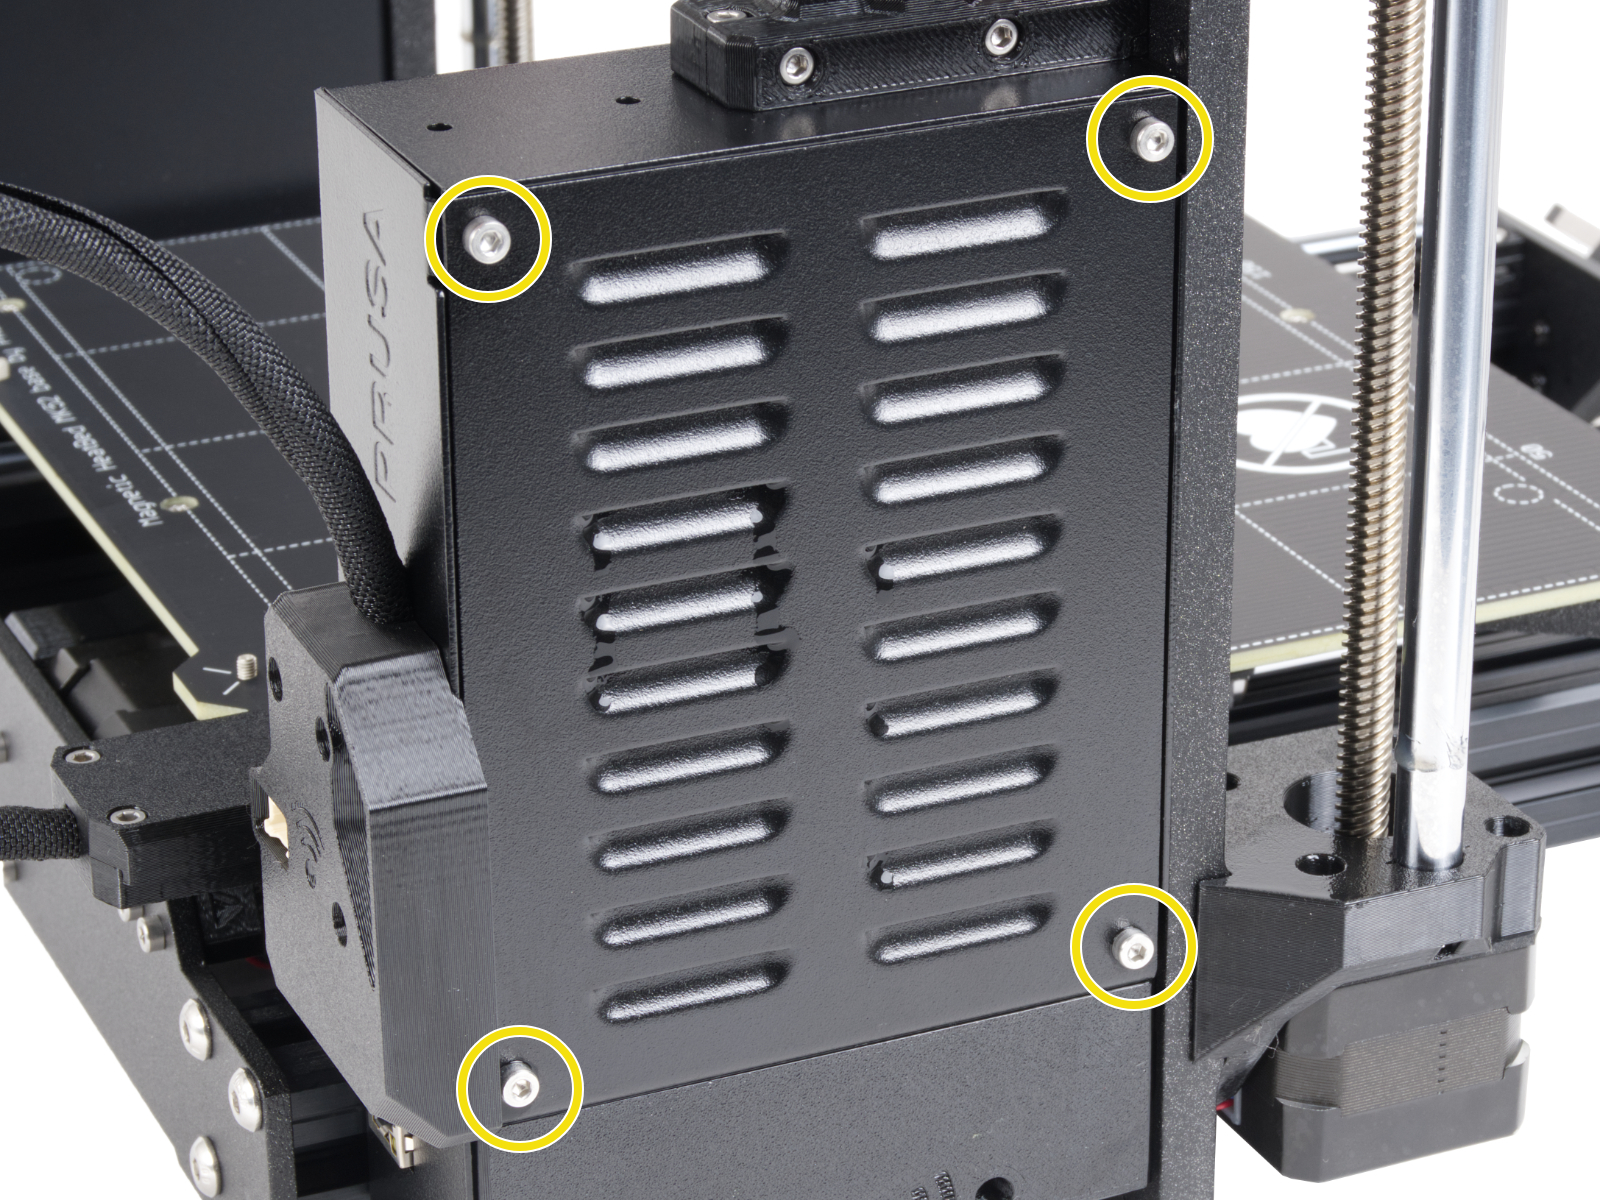
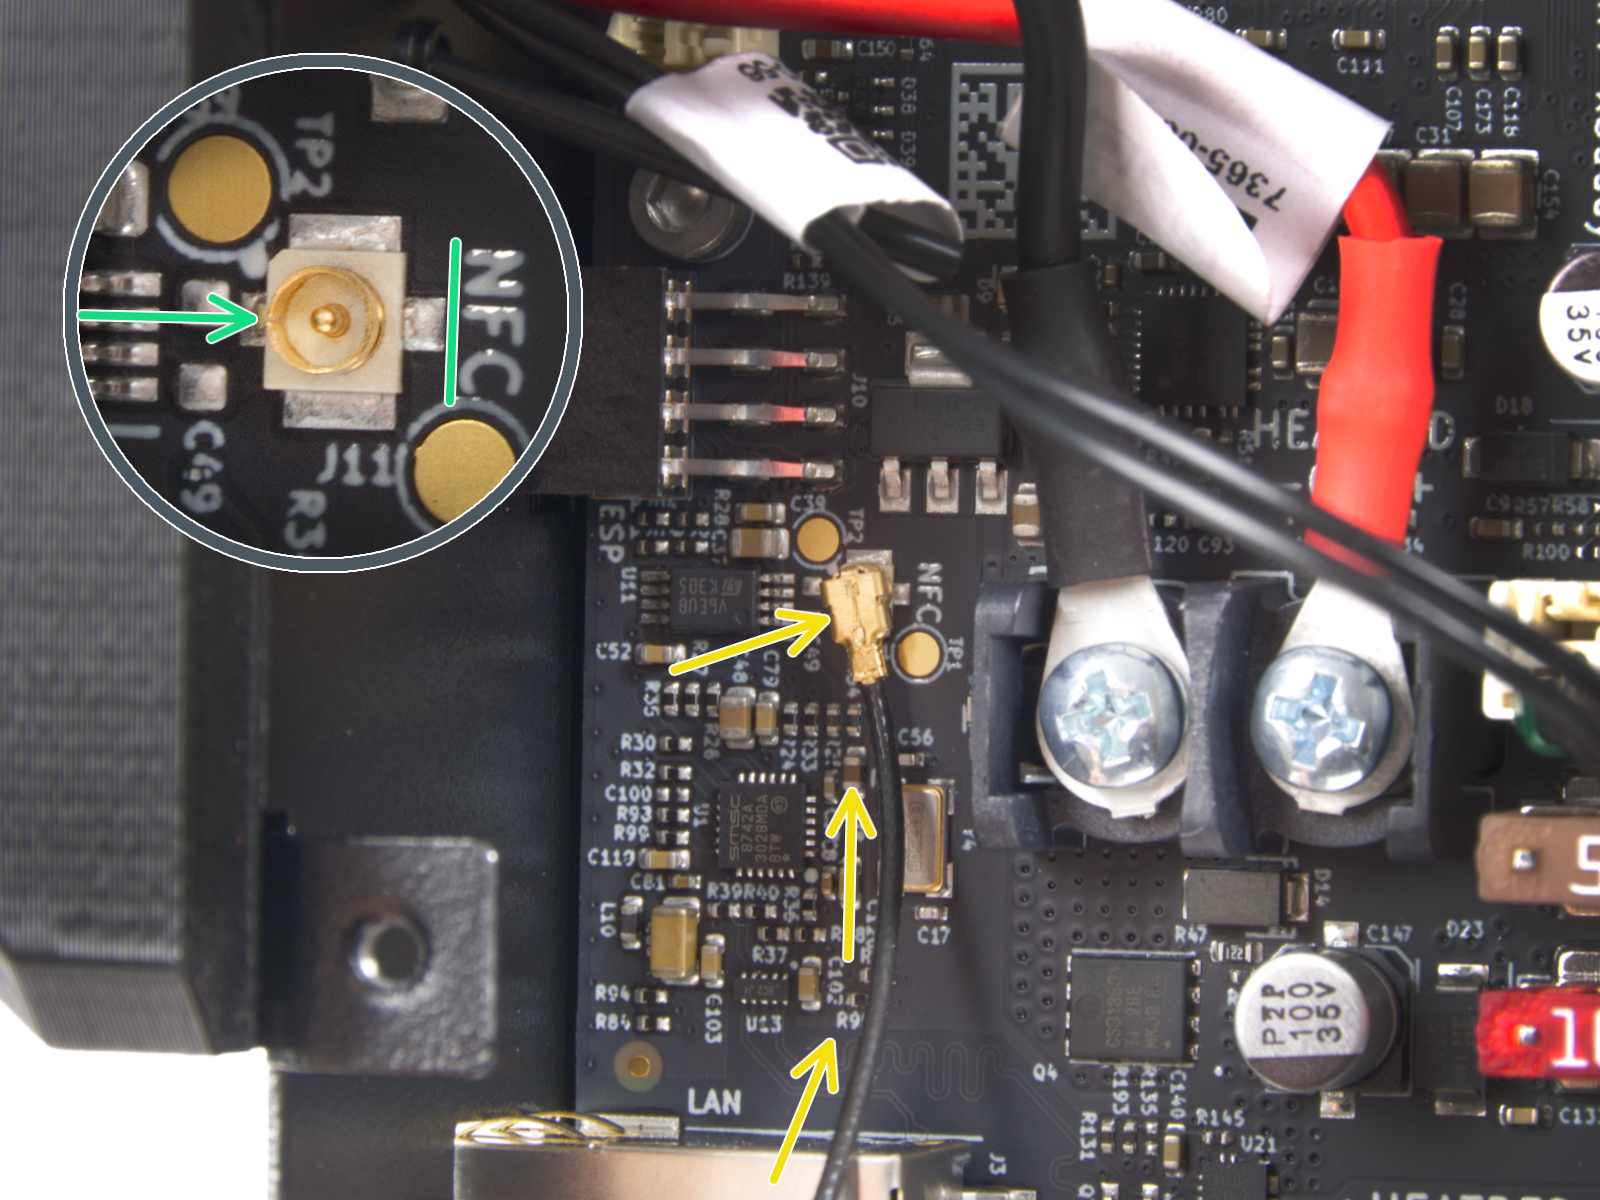
- If needed, loosen four M3x6 bolts to access the xBuddy board. The right-side picture shows the cable connection to the antenna connector on the xBuddy board.
Connect to Wi-Fi using NFC
Download our Prusa app on your mobile device. In the app, navigate to Menu -> Set up Printer Wi-Fi.
The app guides you through the steps, including inserting the Wi-Fi credentials. After inserting the credentials, the app shows that is sending the info to the printer. In that phase, move the device close to the bottom side of the electronics box, at a maximum of 2-3 cm away.
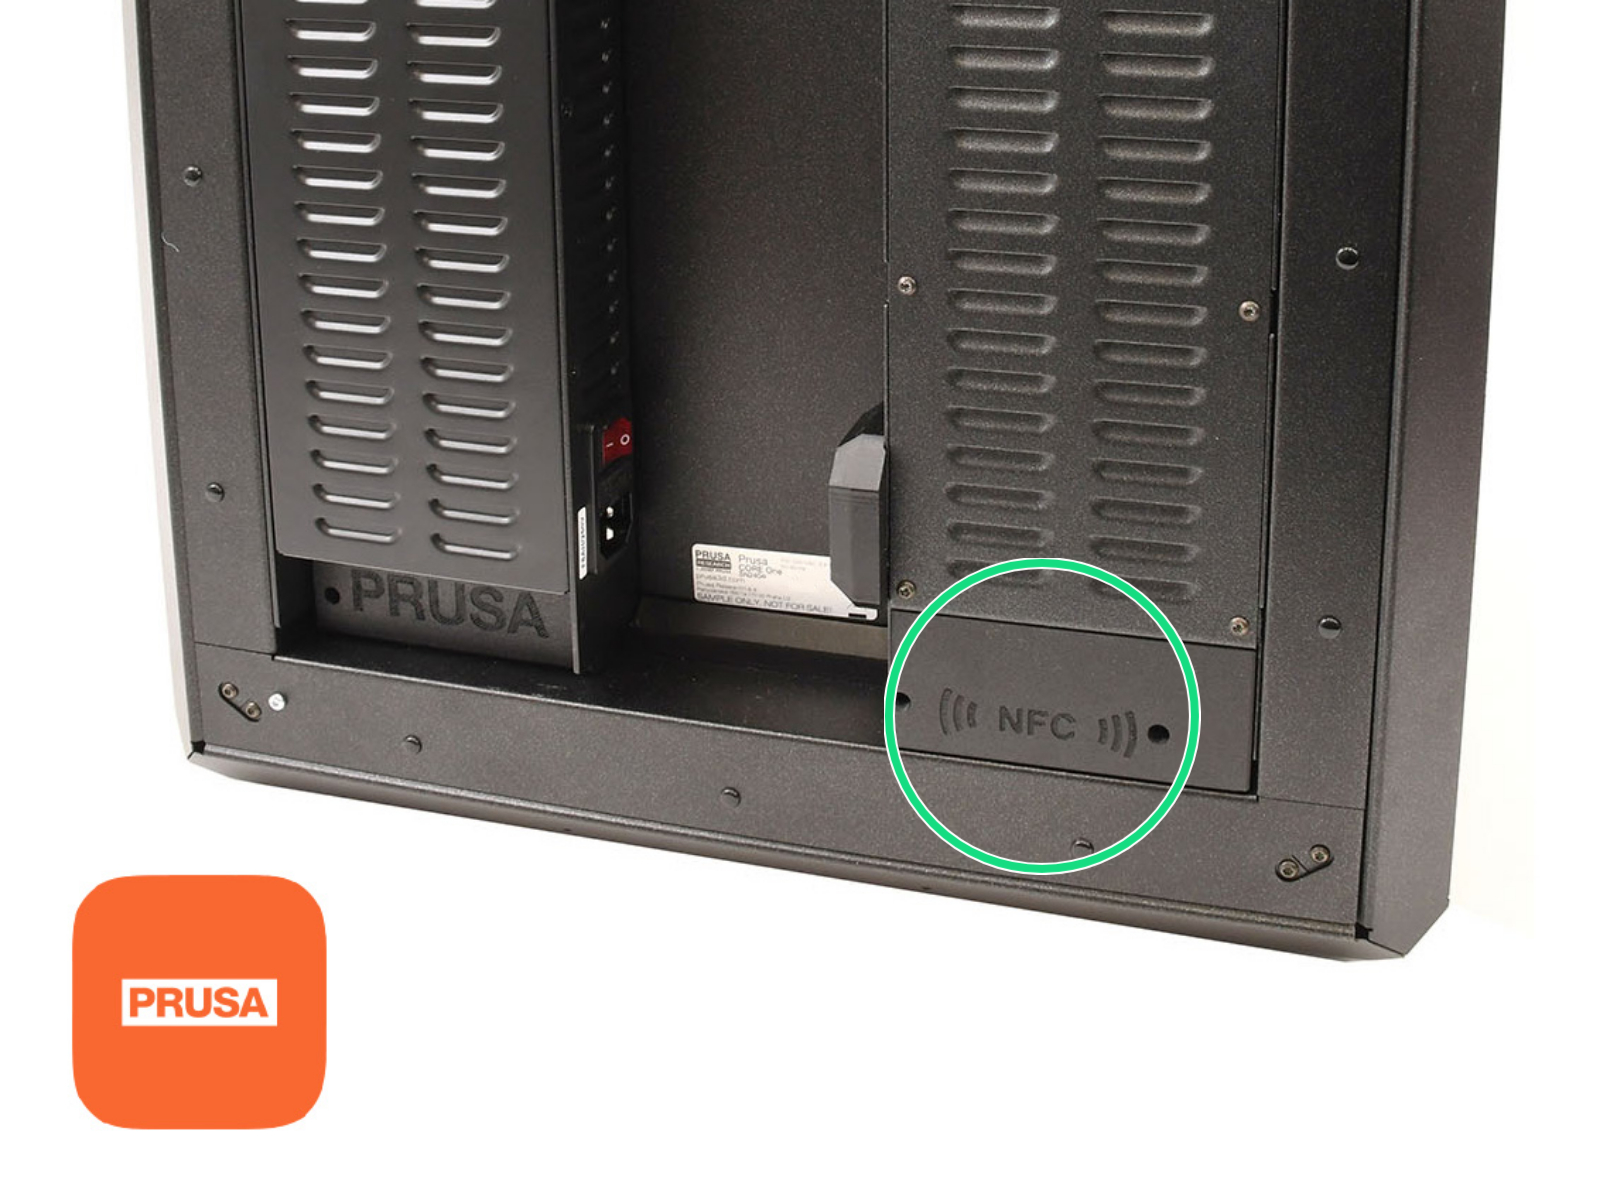 | 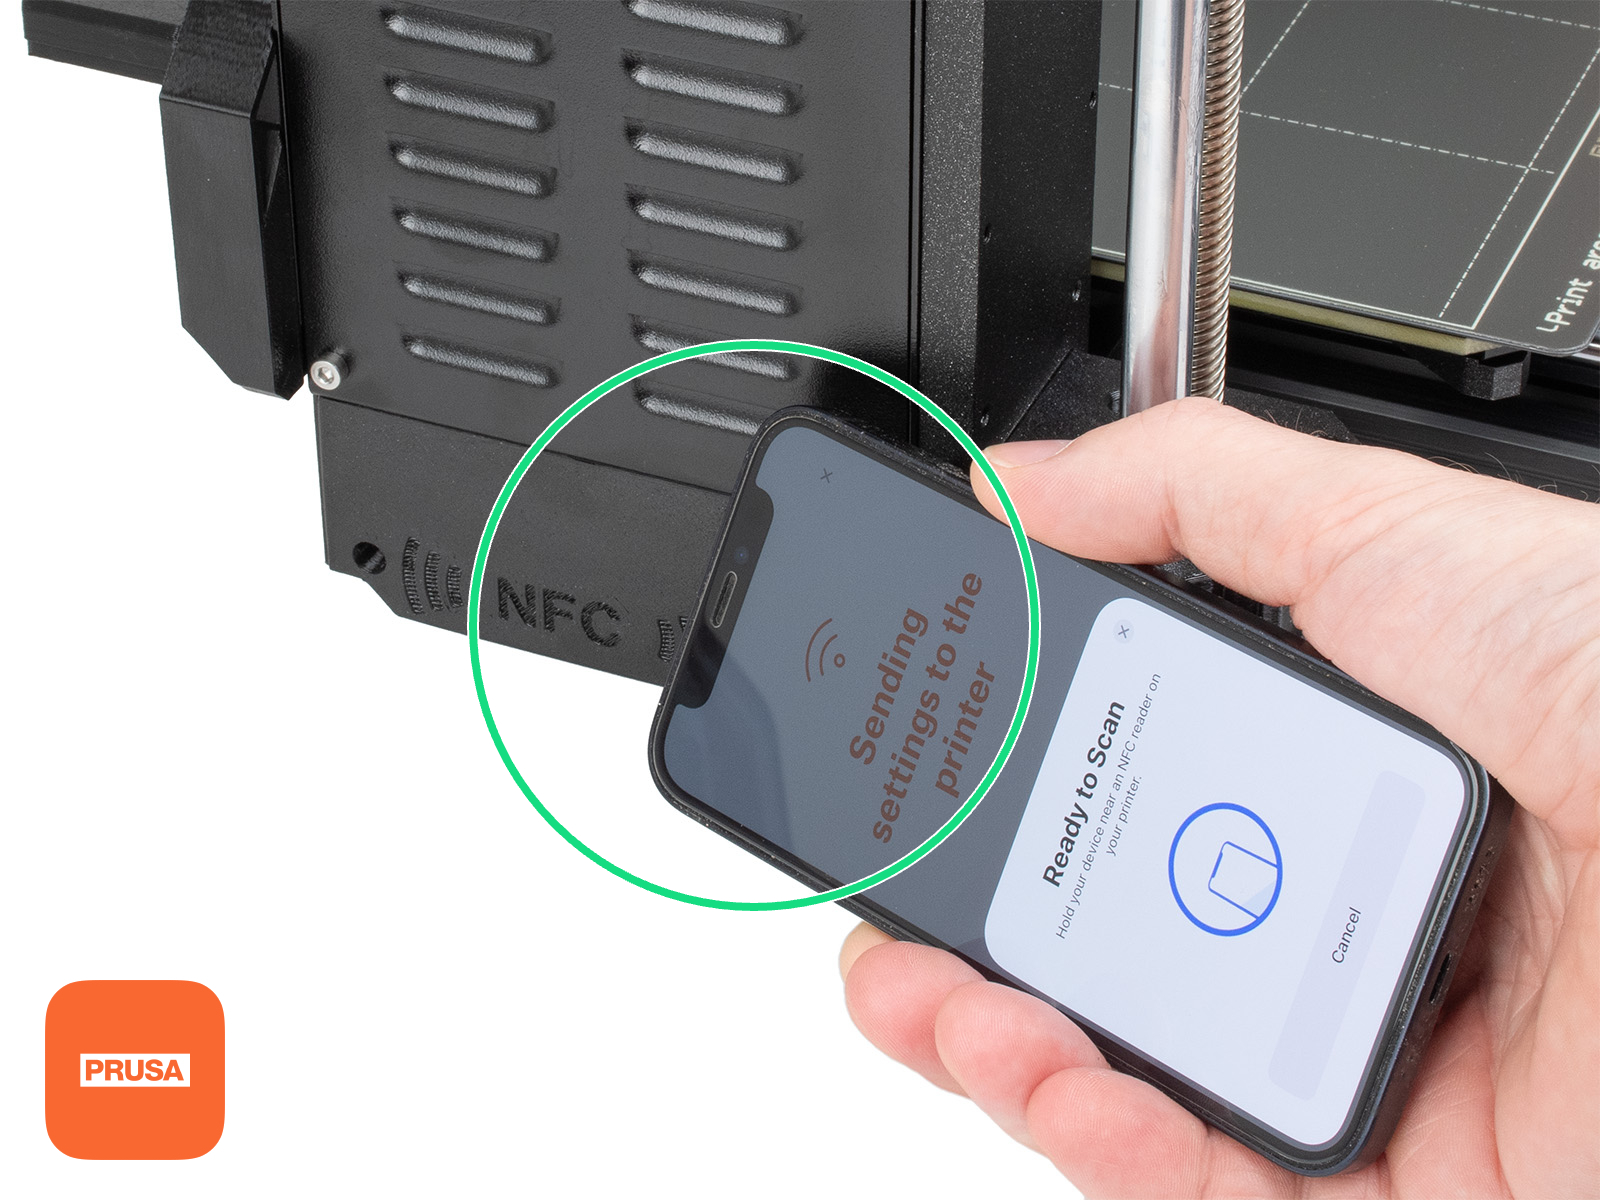 |
The printer screen prompts for confirmation. Once confirmed, the Wi-Fi credentials are read by the printer, and the printer is able to connect to the specified Wi-Fi network.
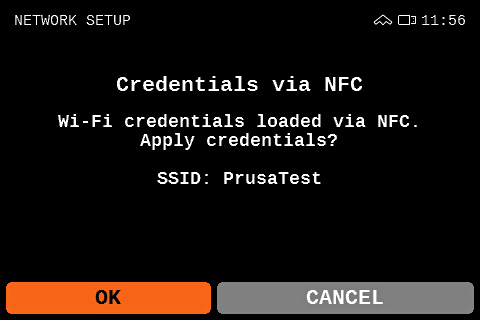 | 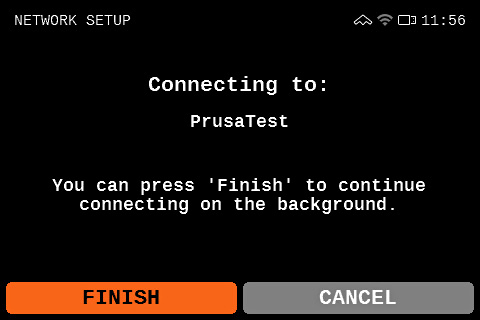 |