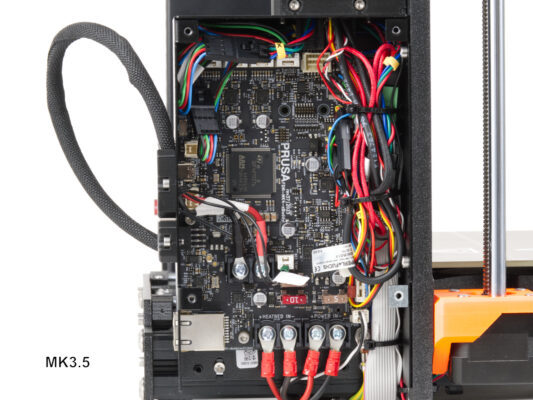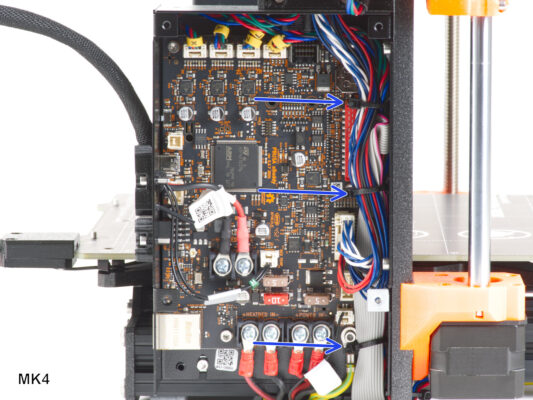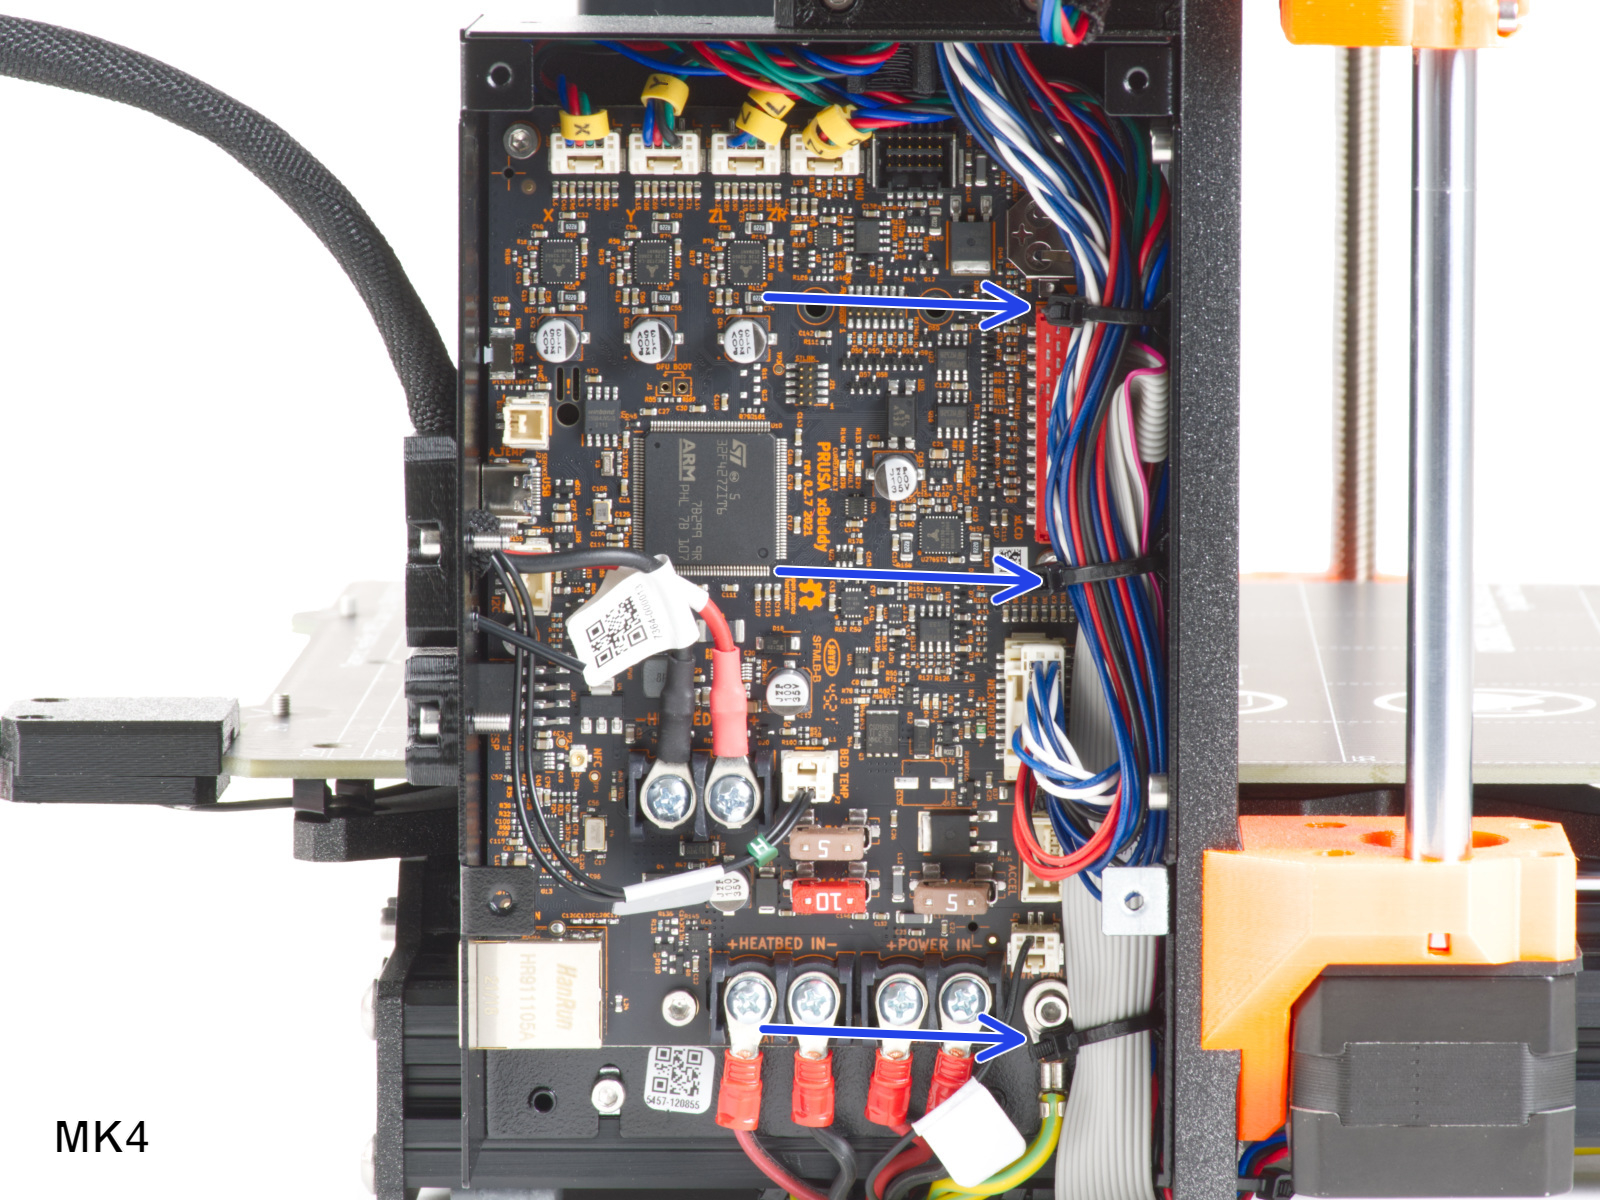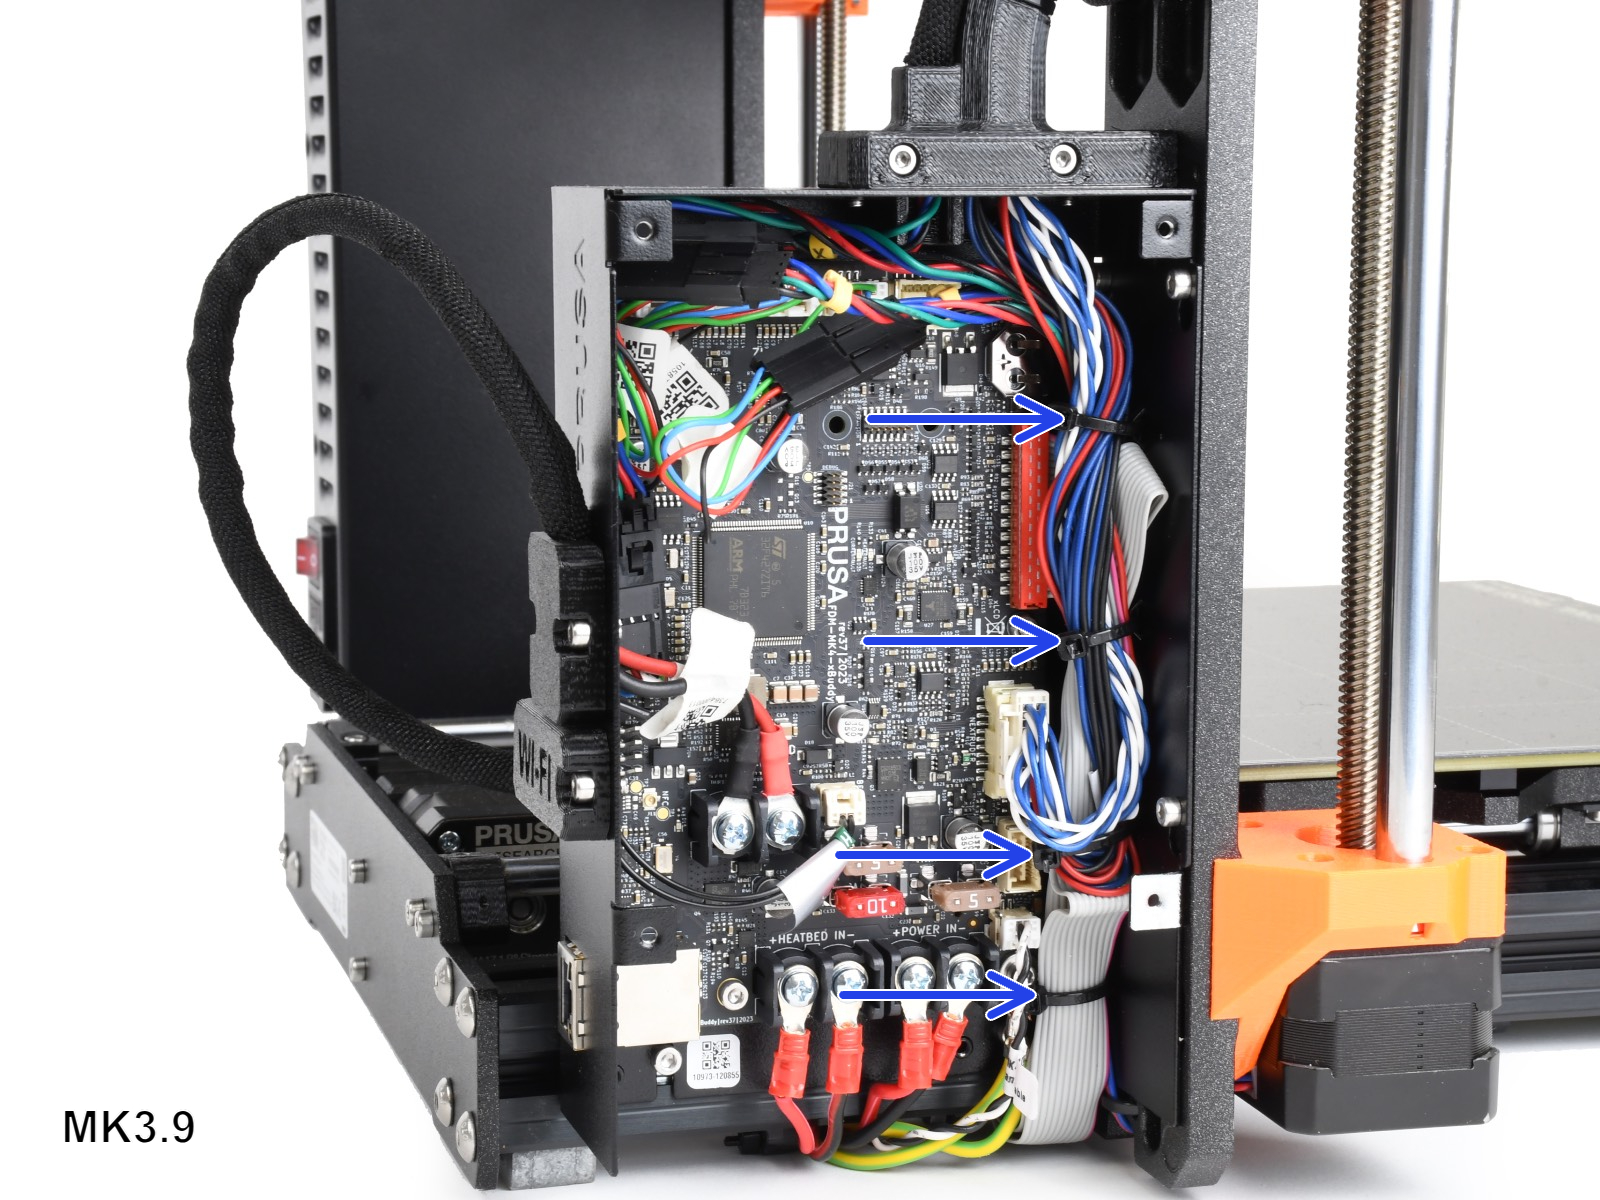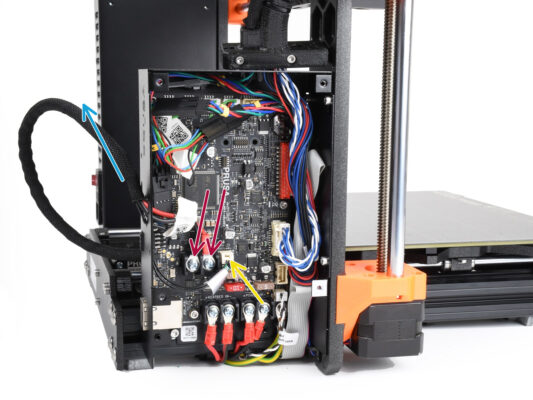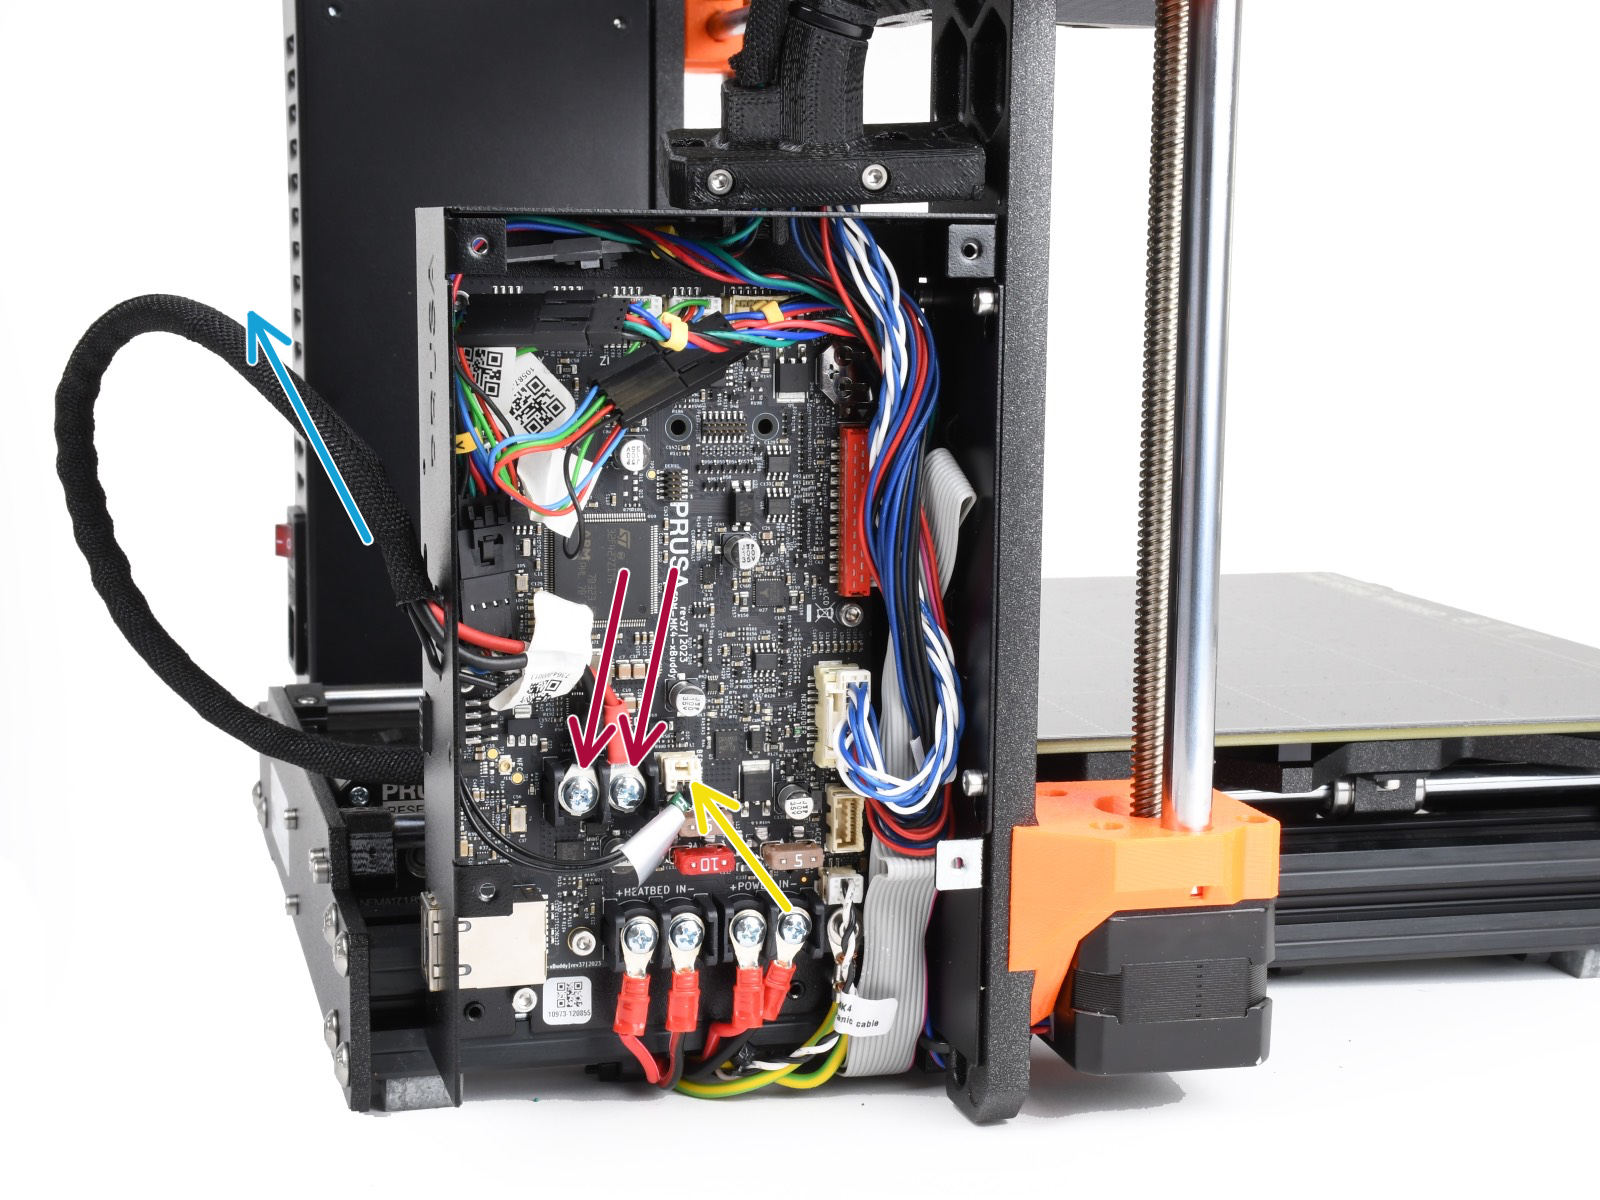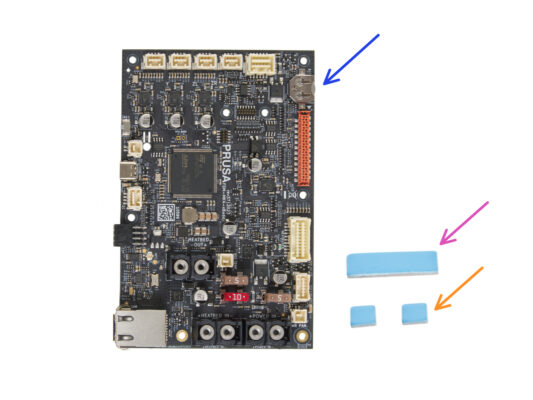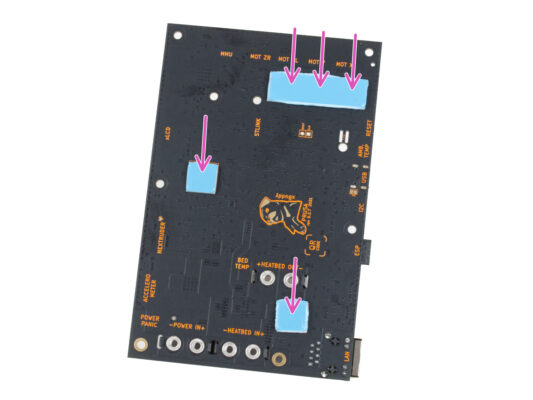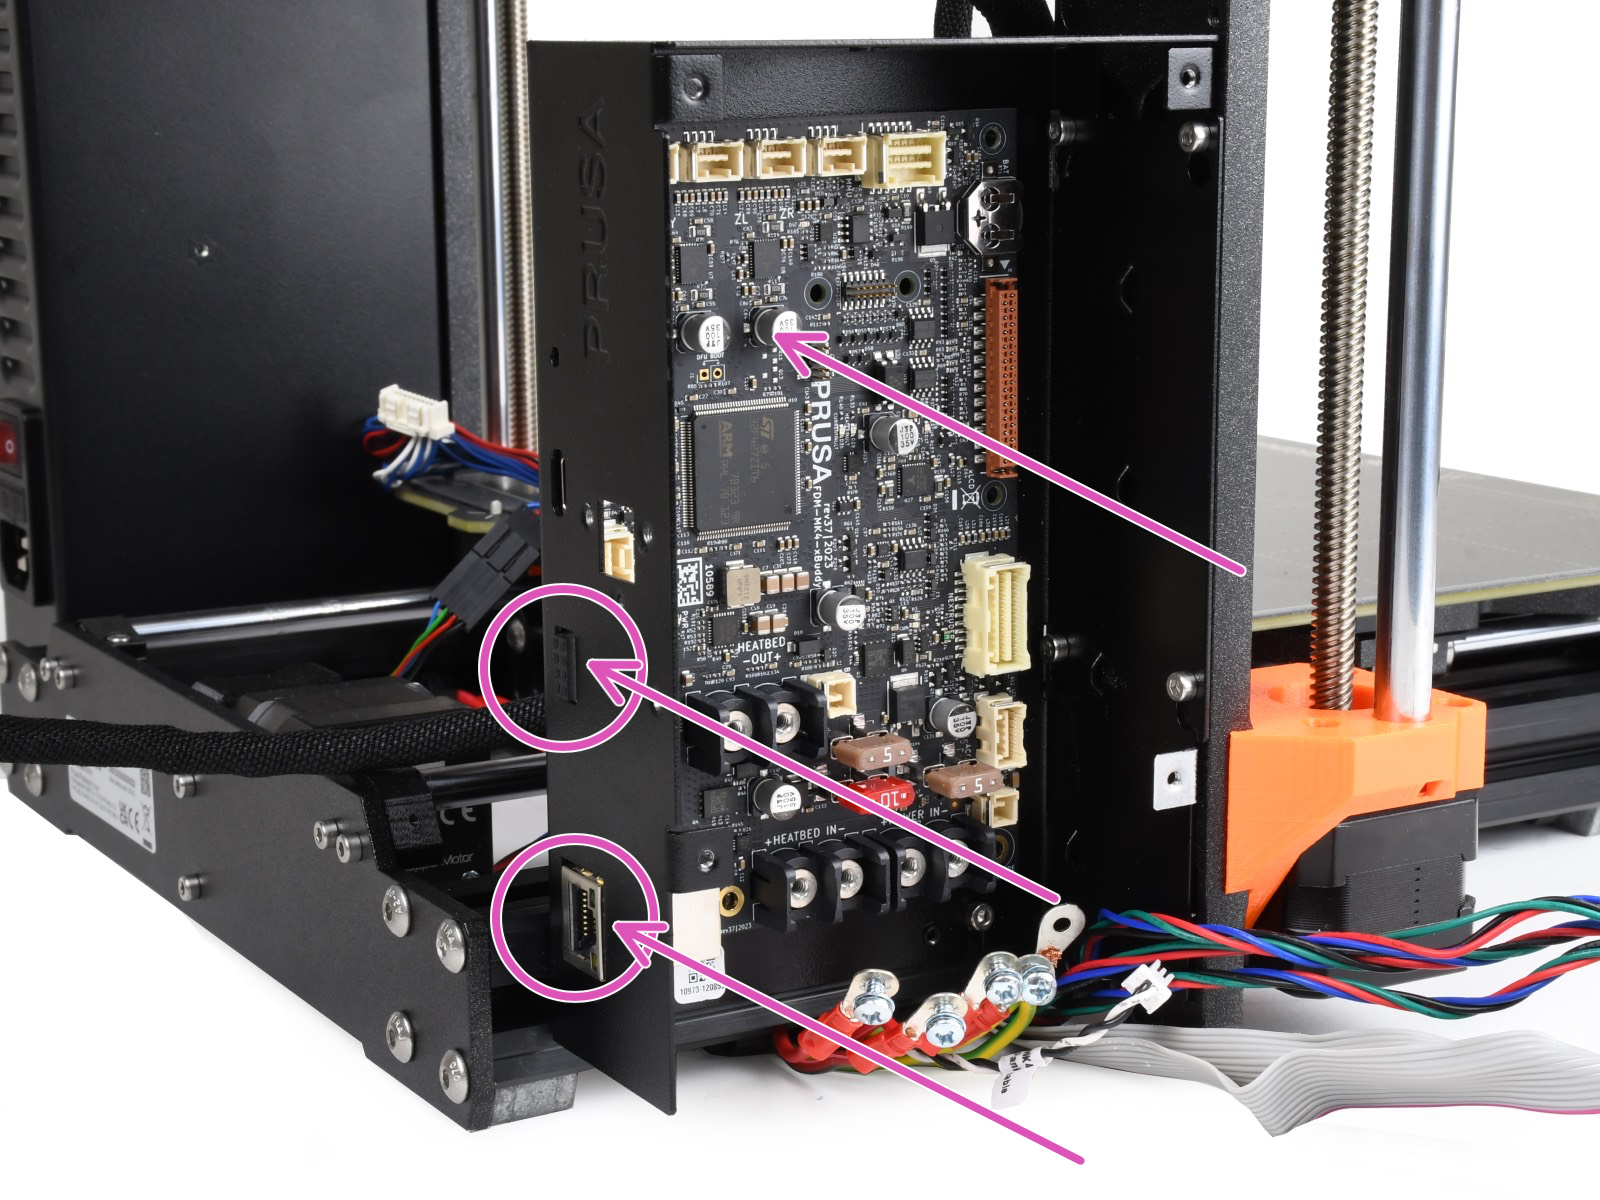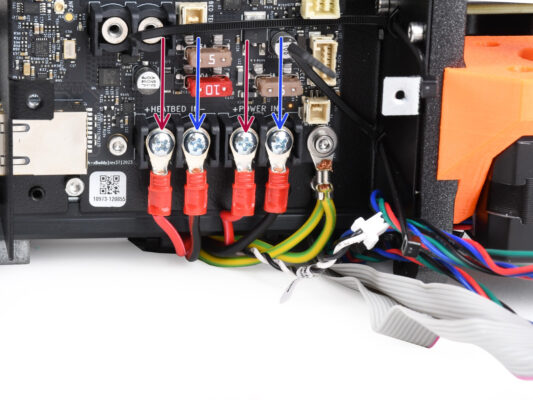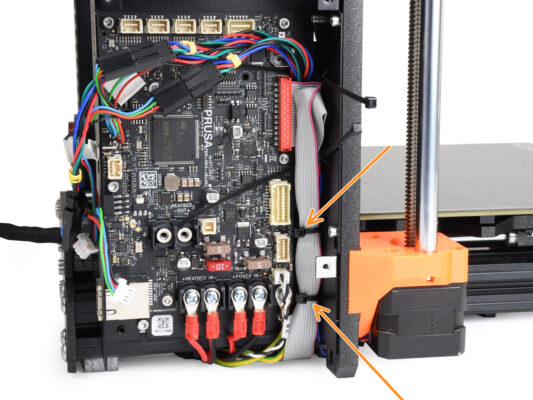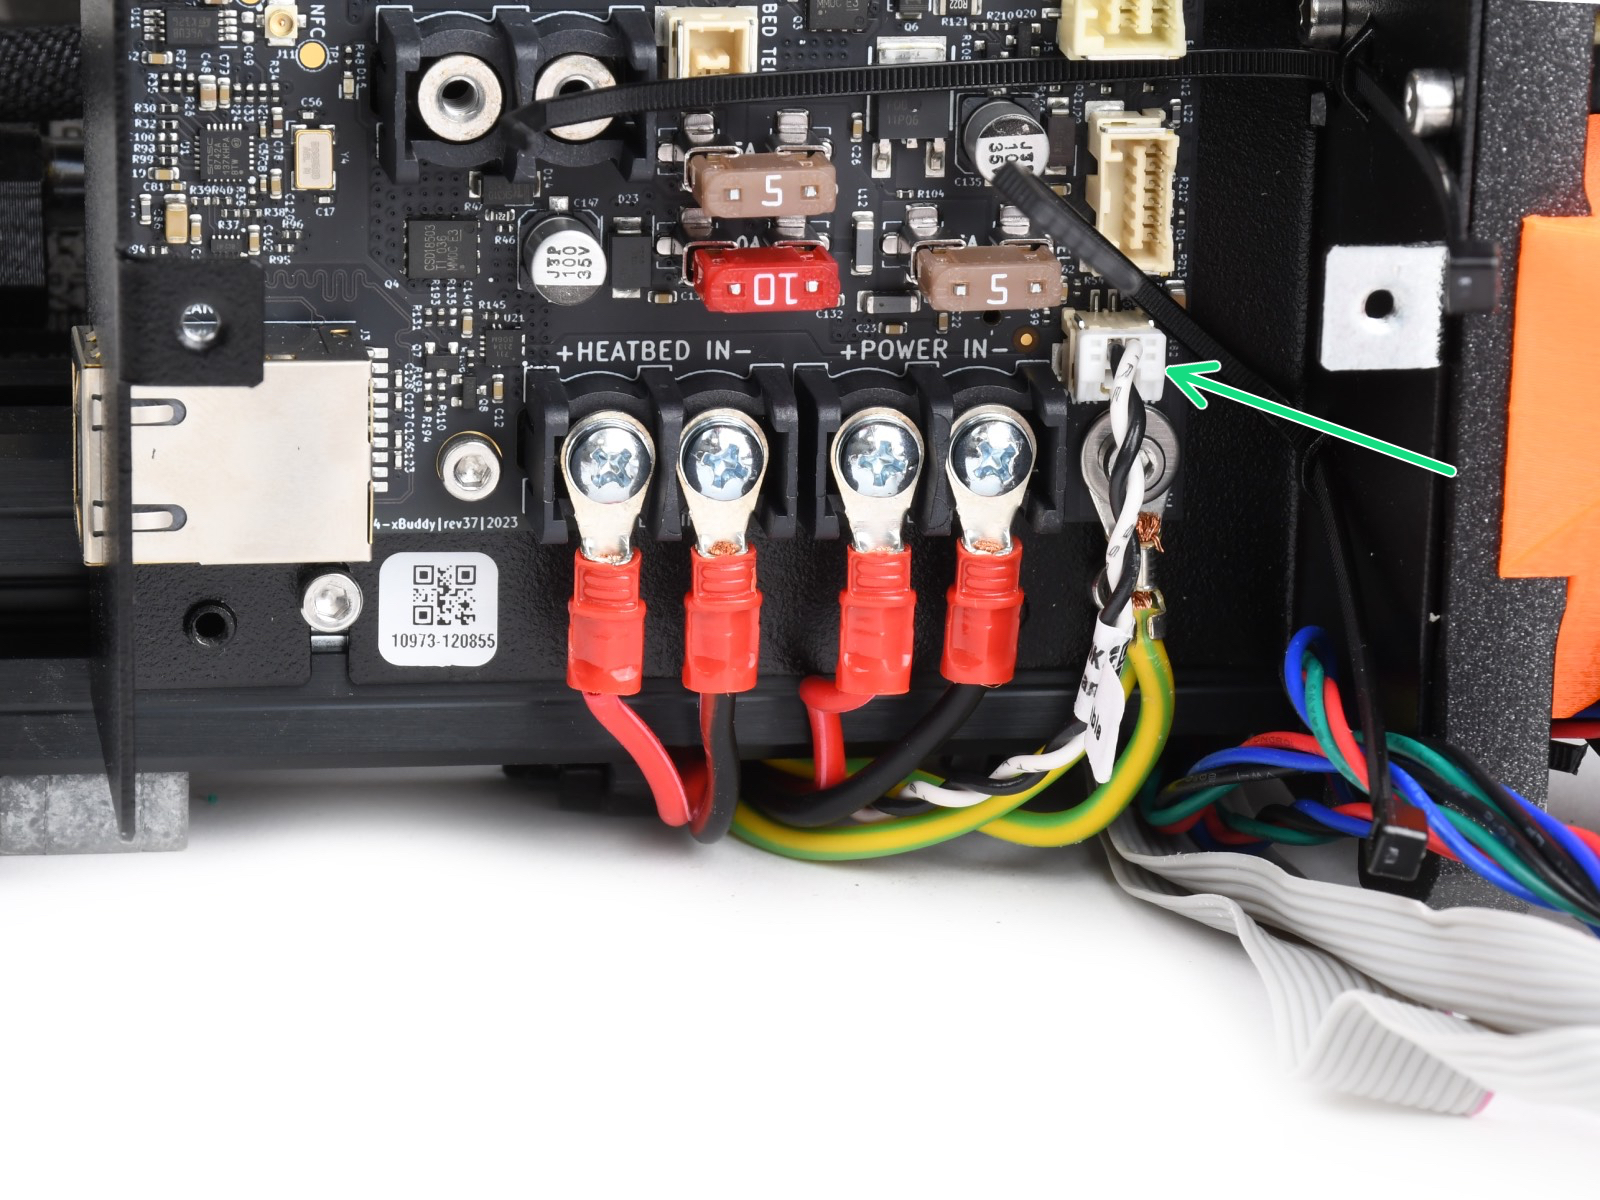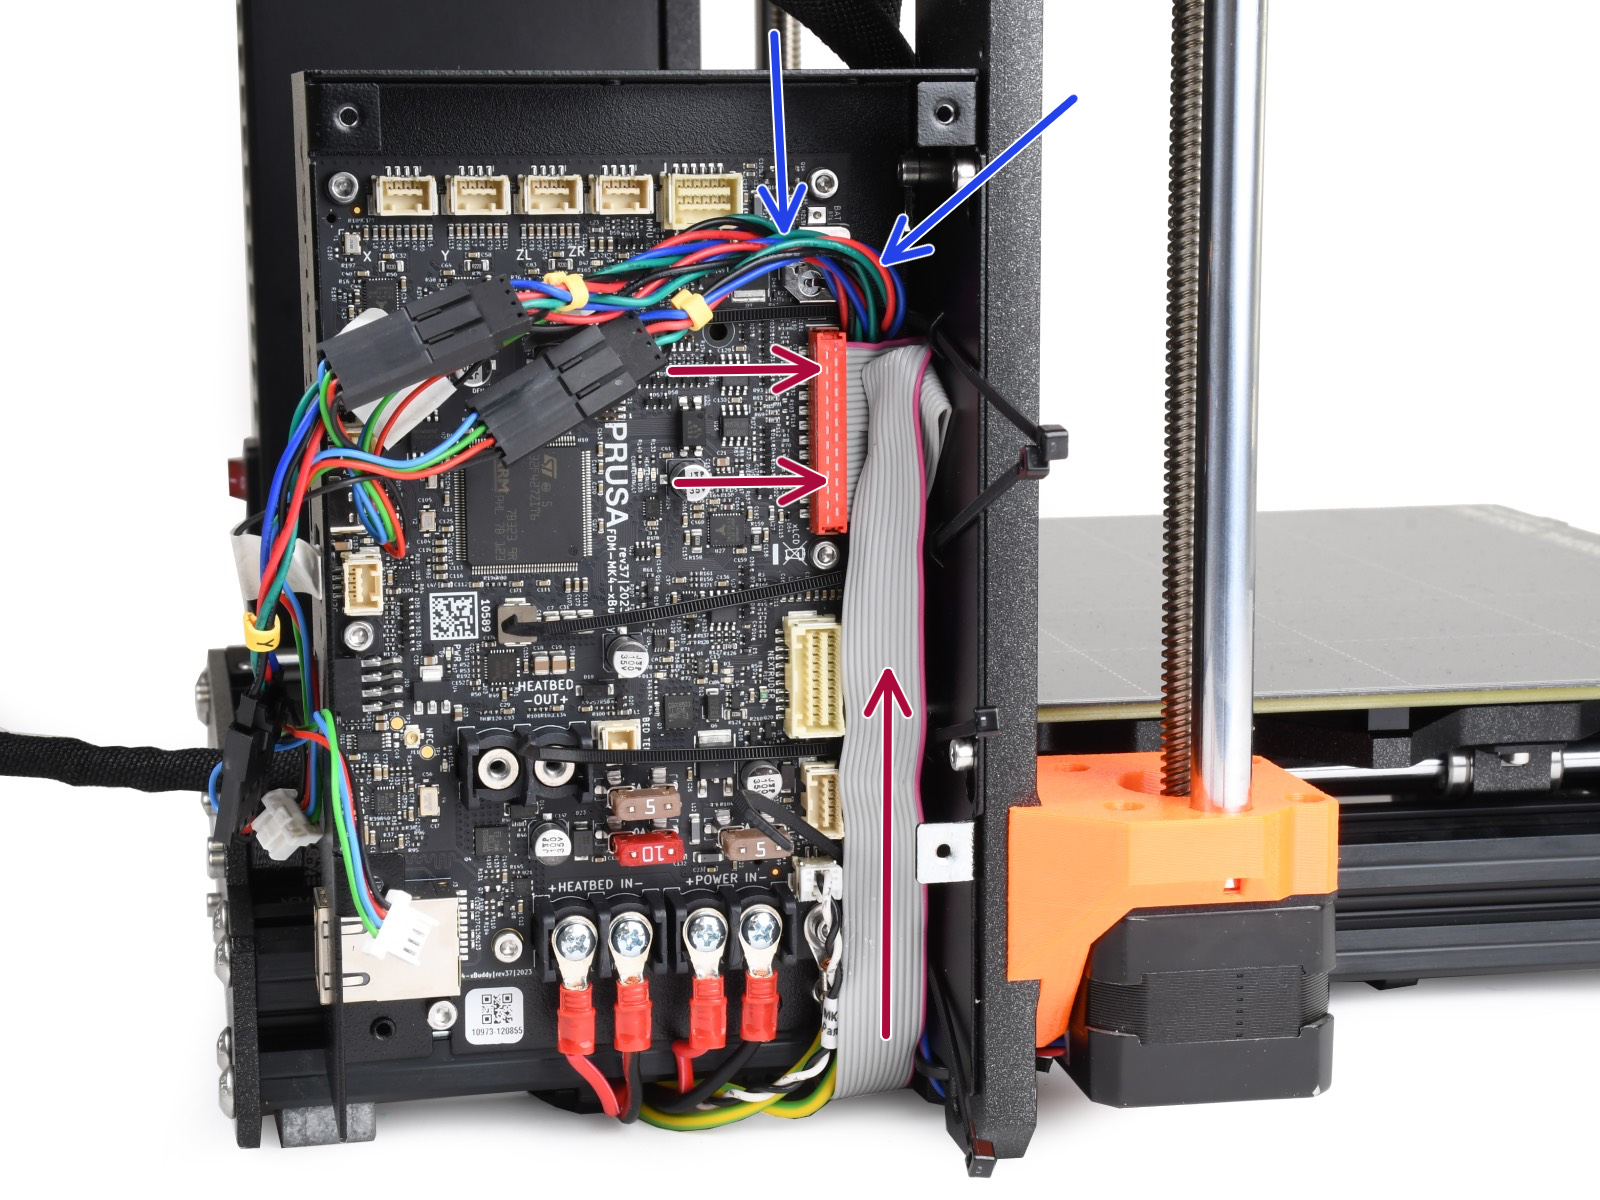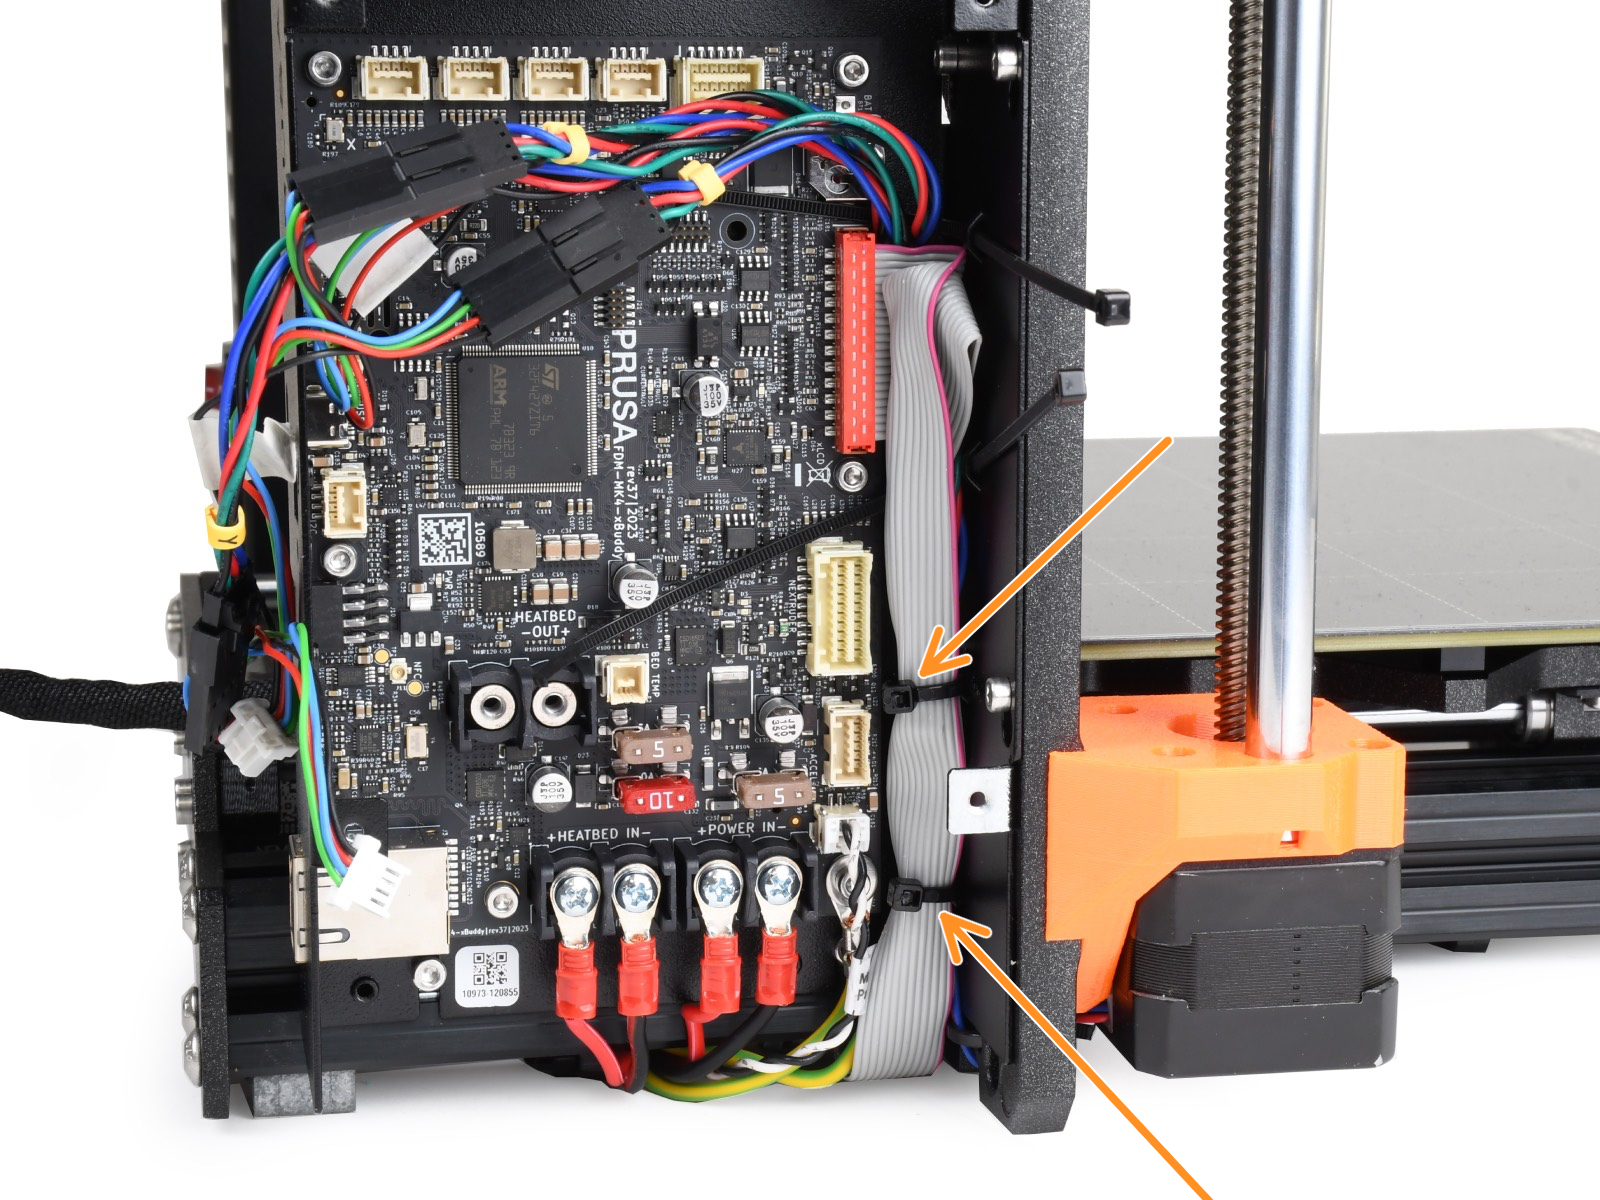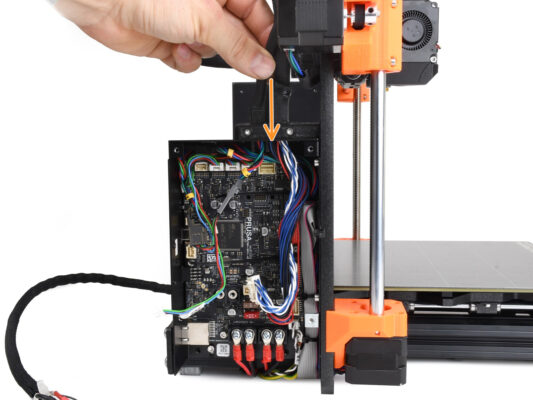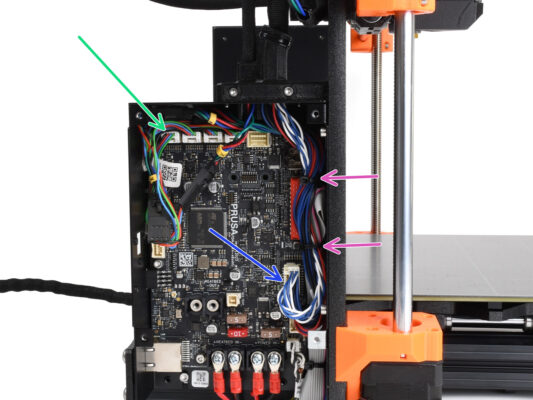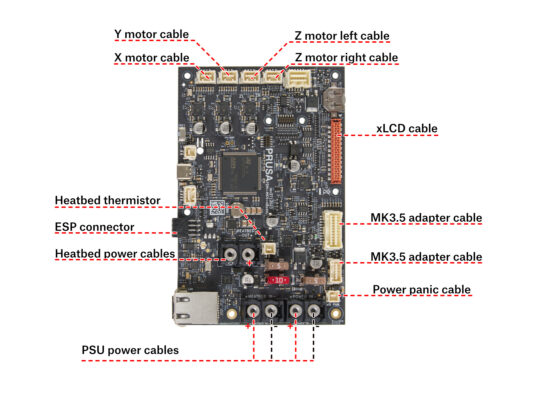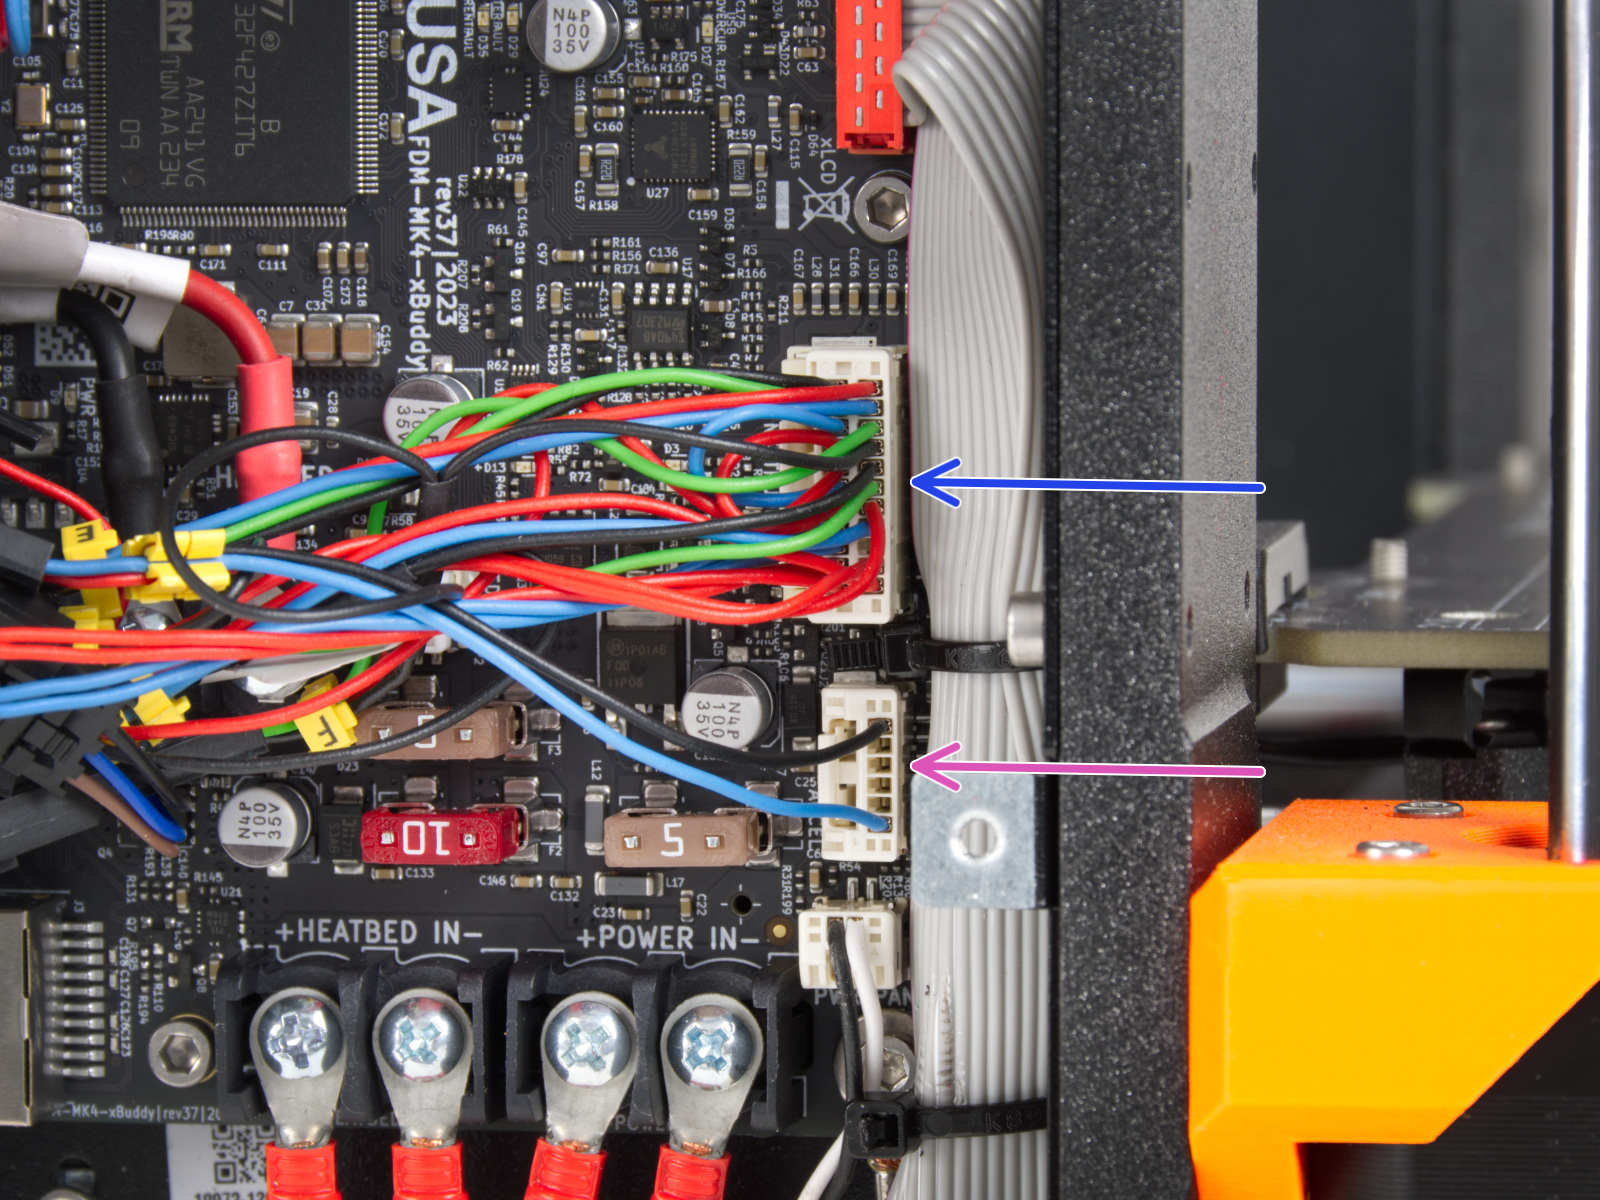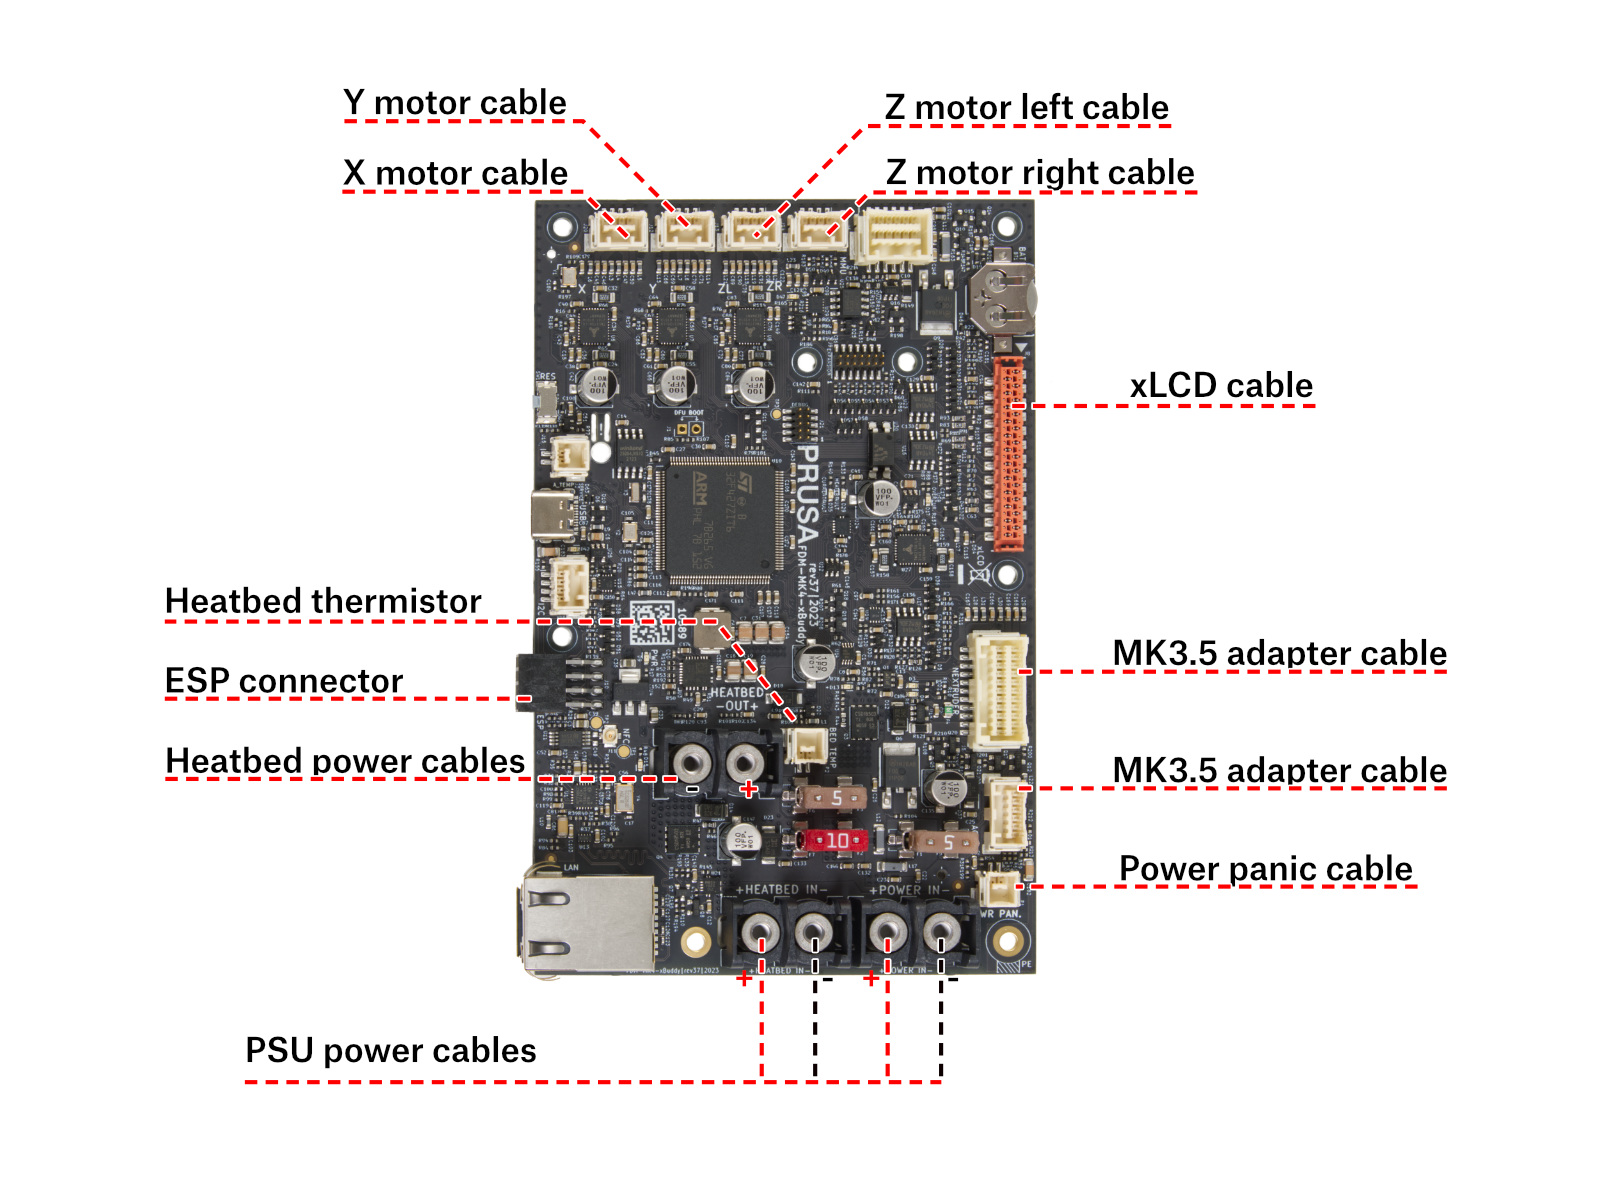


⬢このガイドでは、Original Prusa MK4およびMK3.9のxBuddyボードの交換について説明します。
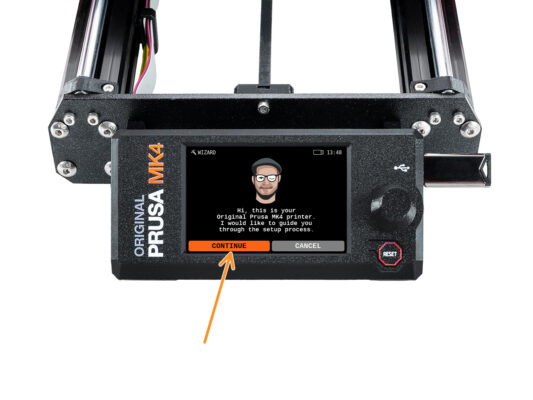
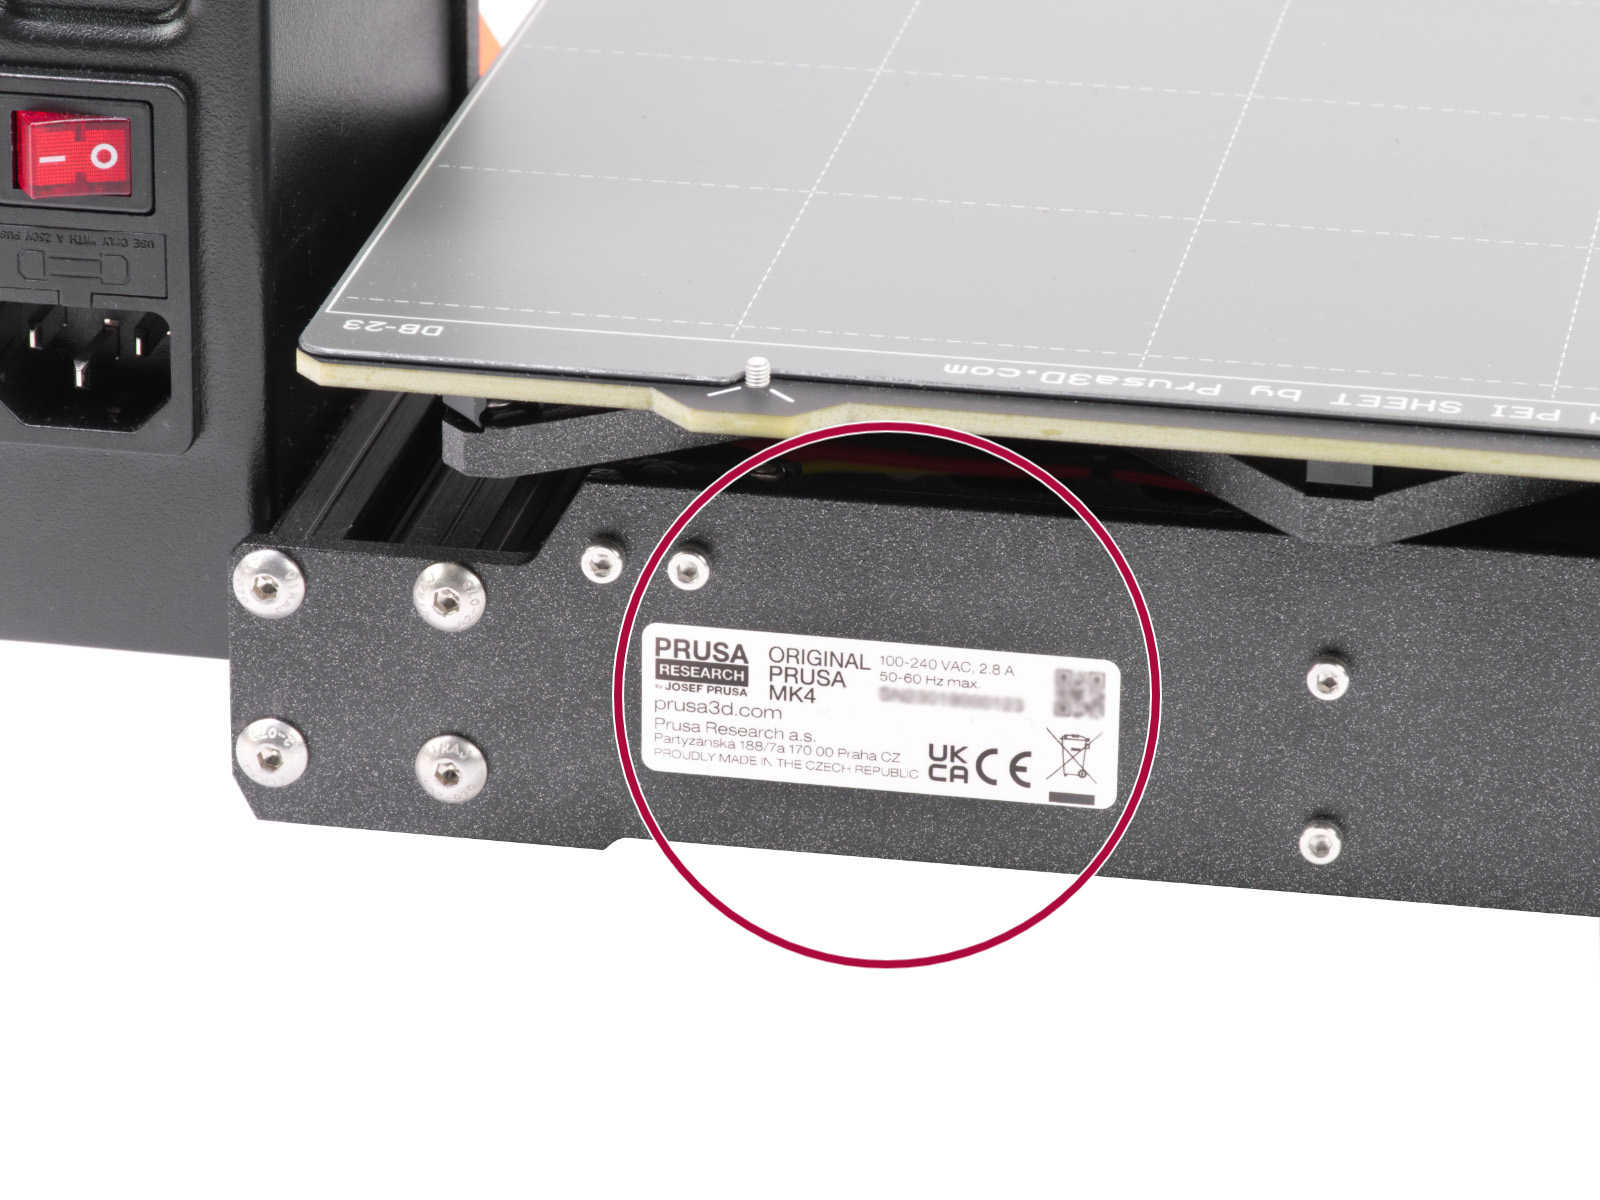
⬢手順はほぼ同じですが、MK4とMK3.9では若干異なる手順があります。プリンタモデルを判別する簡単な方法は、プリンタ背面のシリアルラベルを確認することです。
⬢必要なパーツは全て弊社eshopで販売しています。shop.prusa3d.com
なお、スペア部品のセクションにアクセスするには、ログインする必要があります。
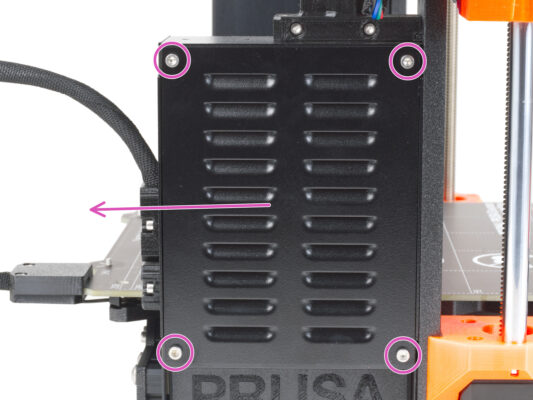
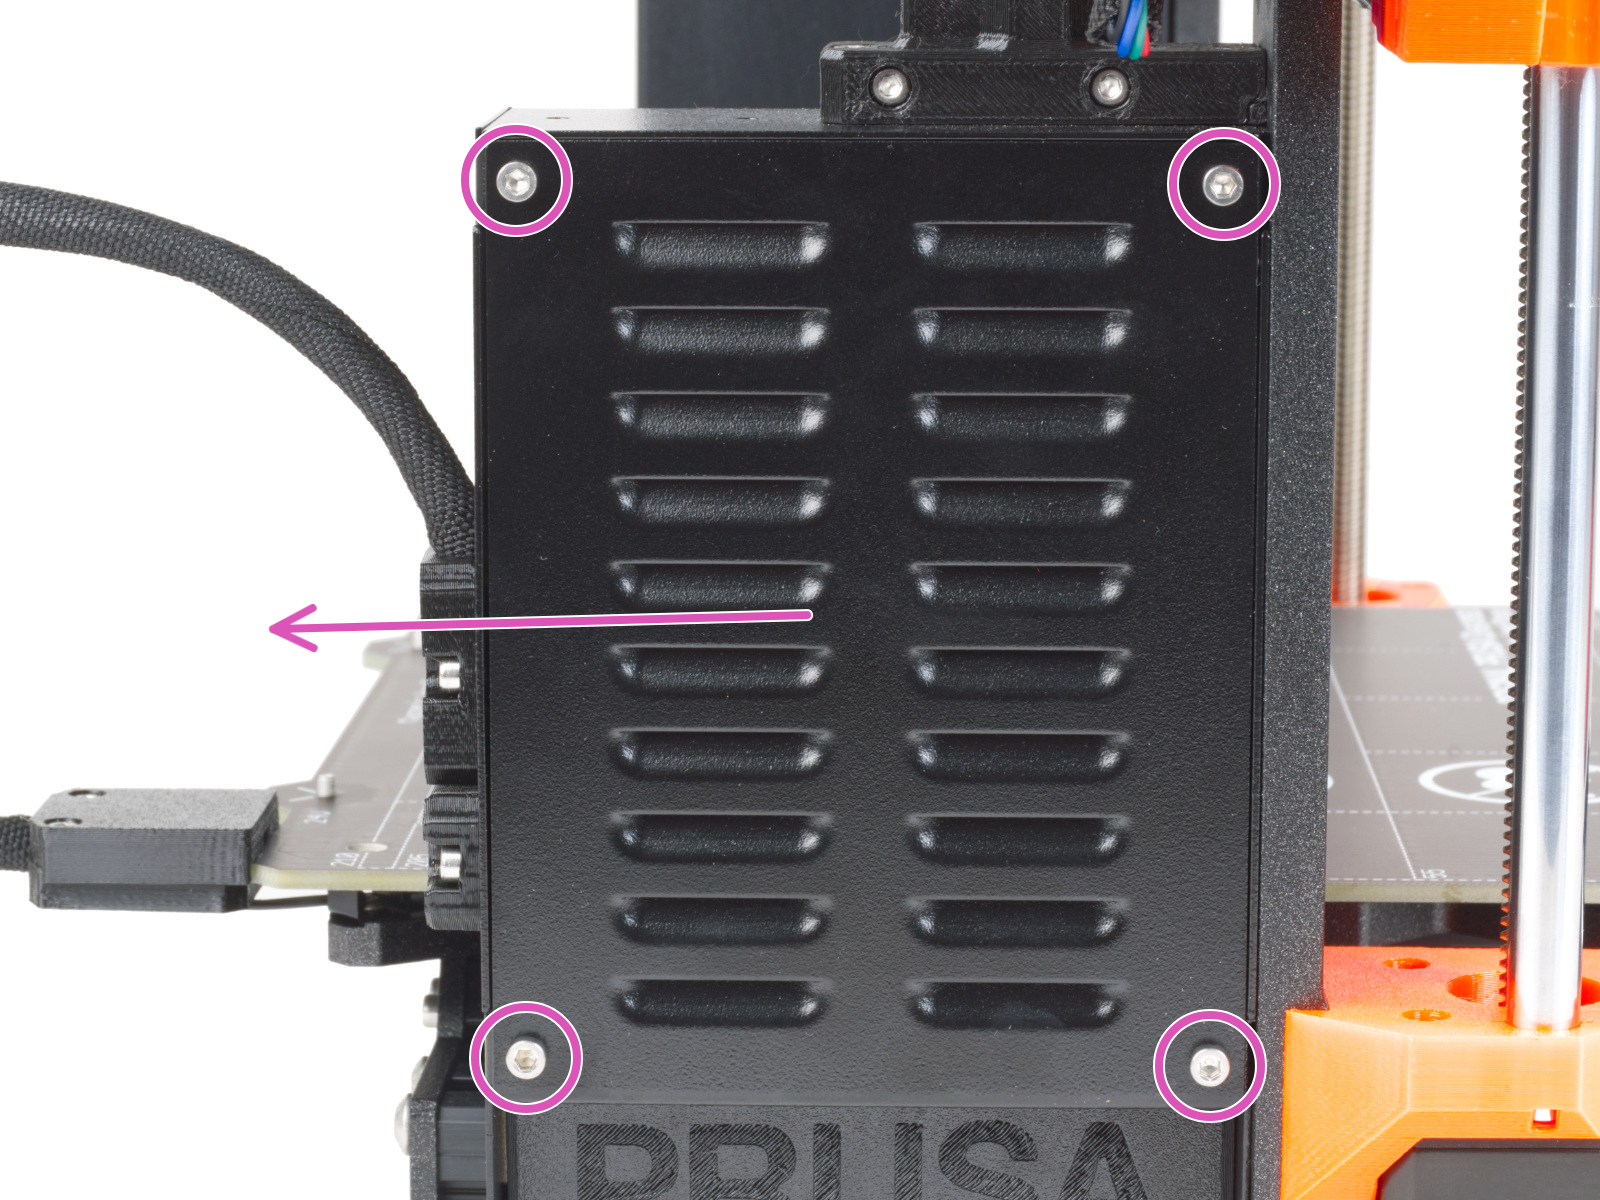
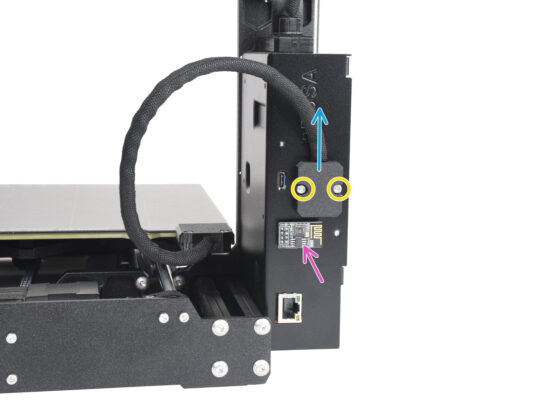
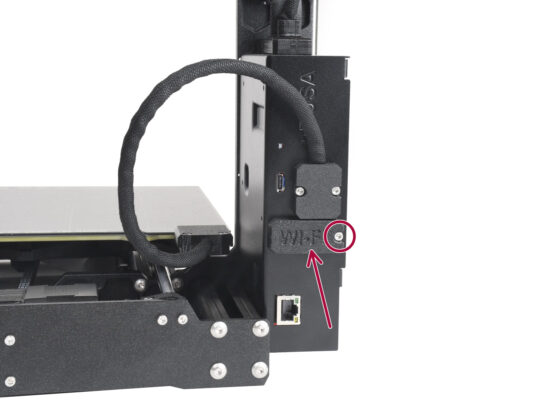
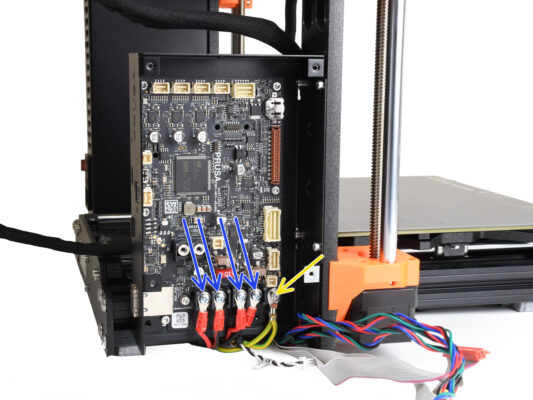
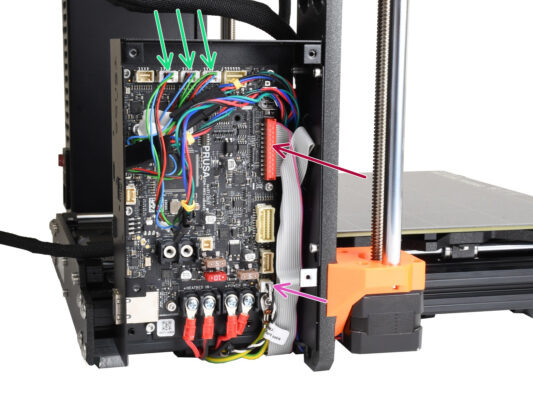
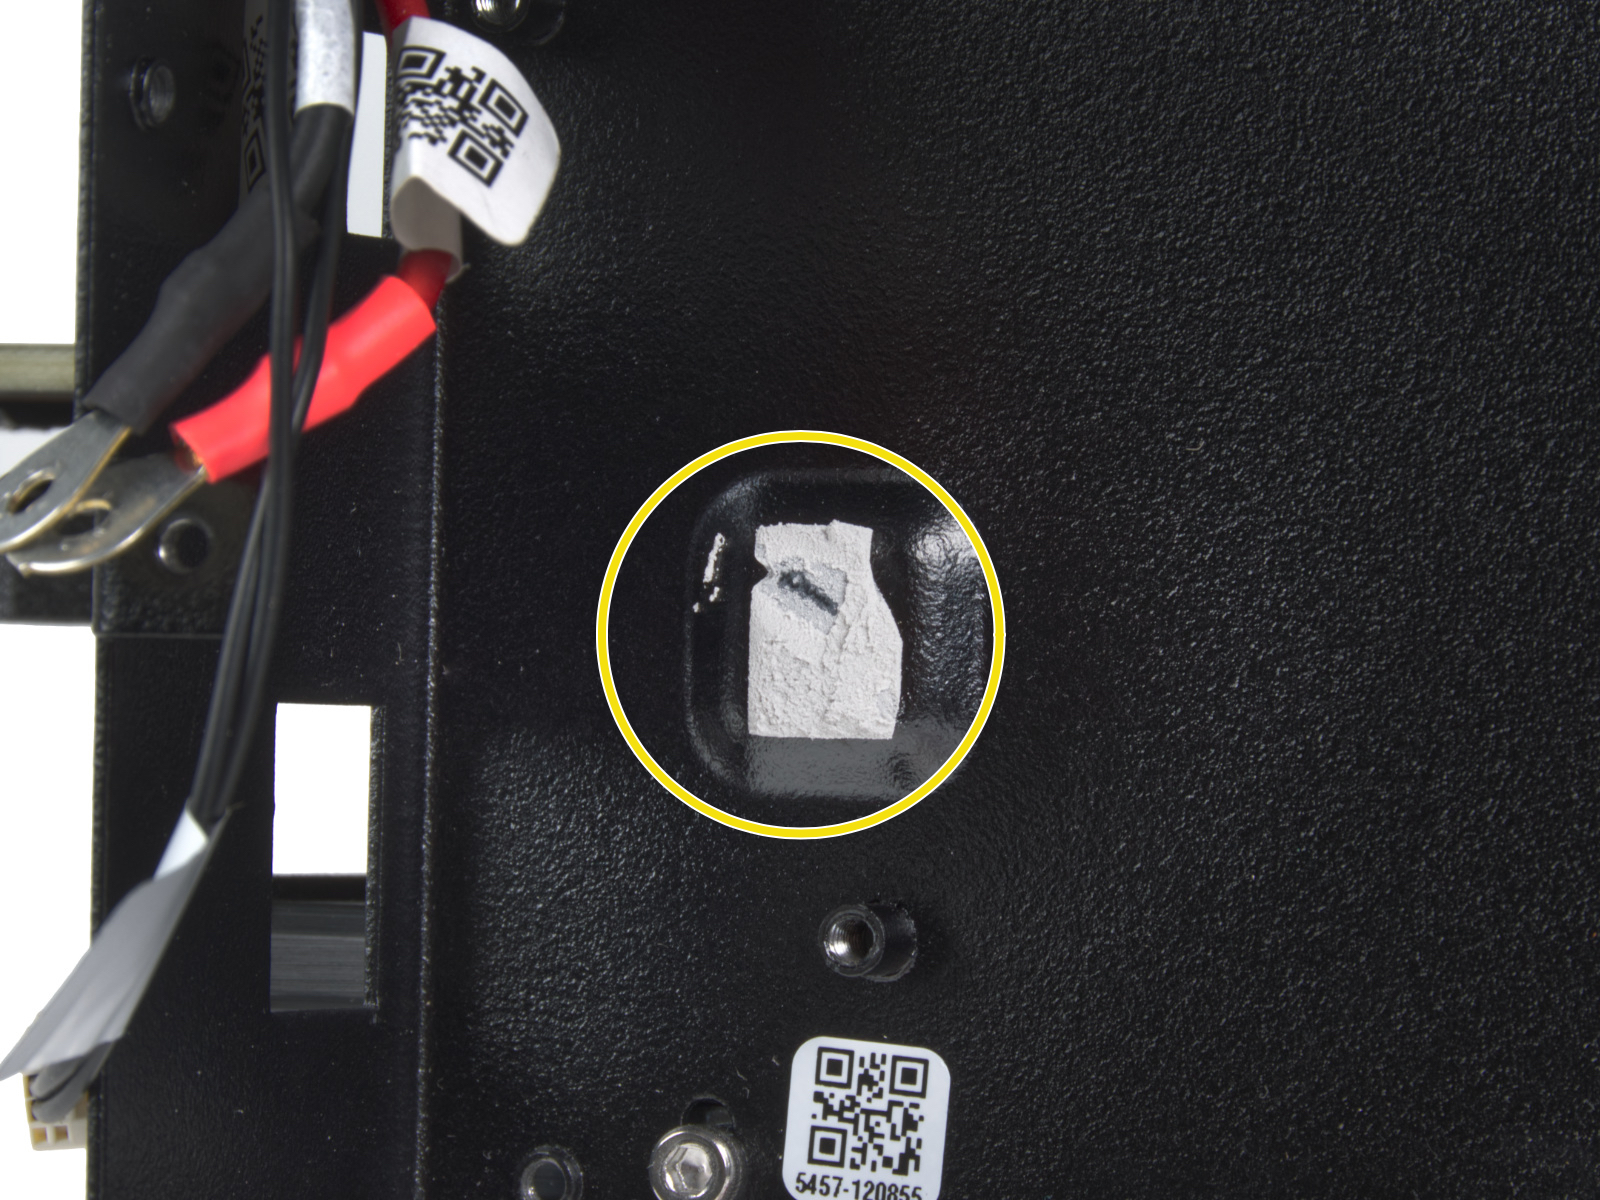
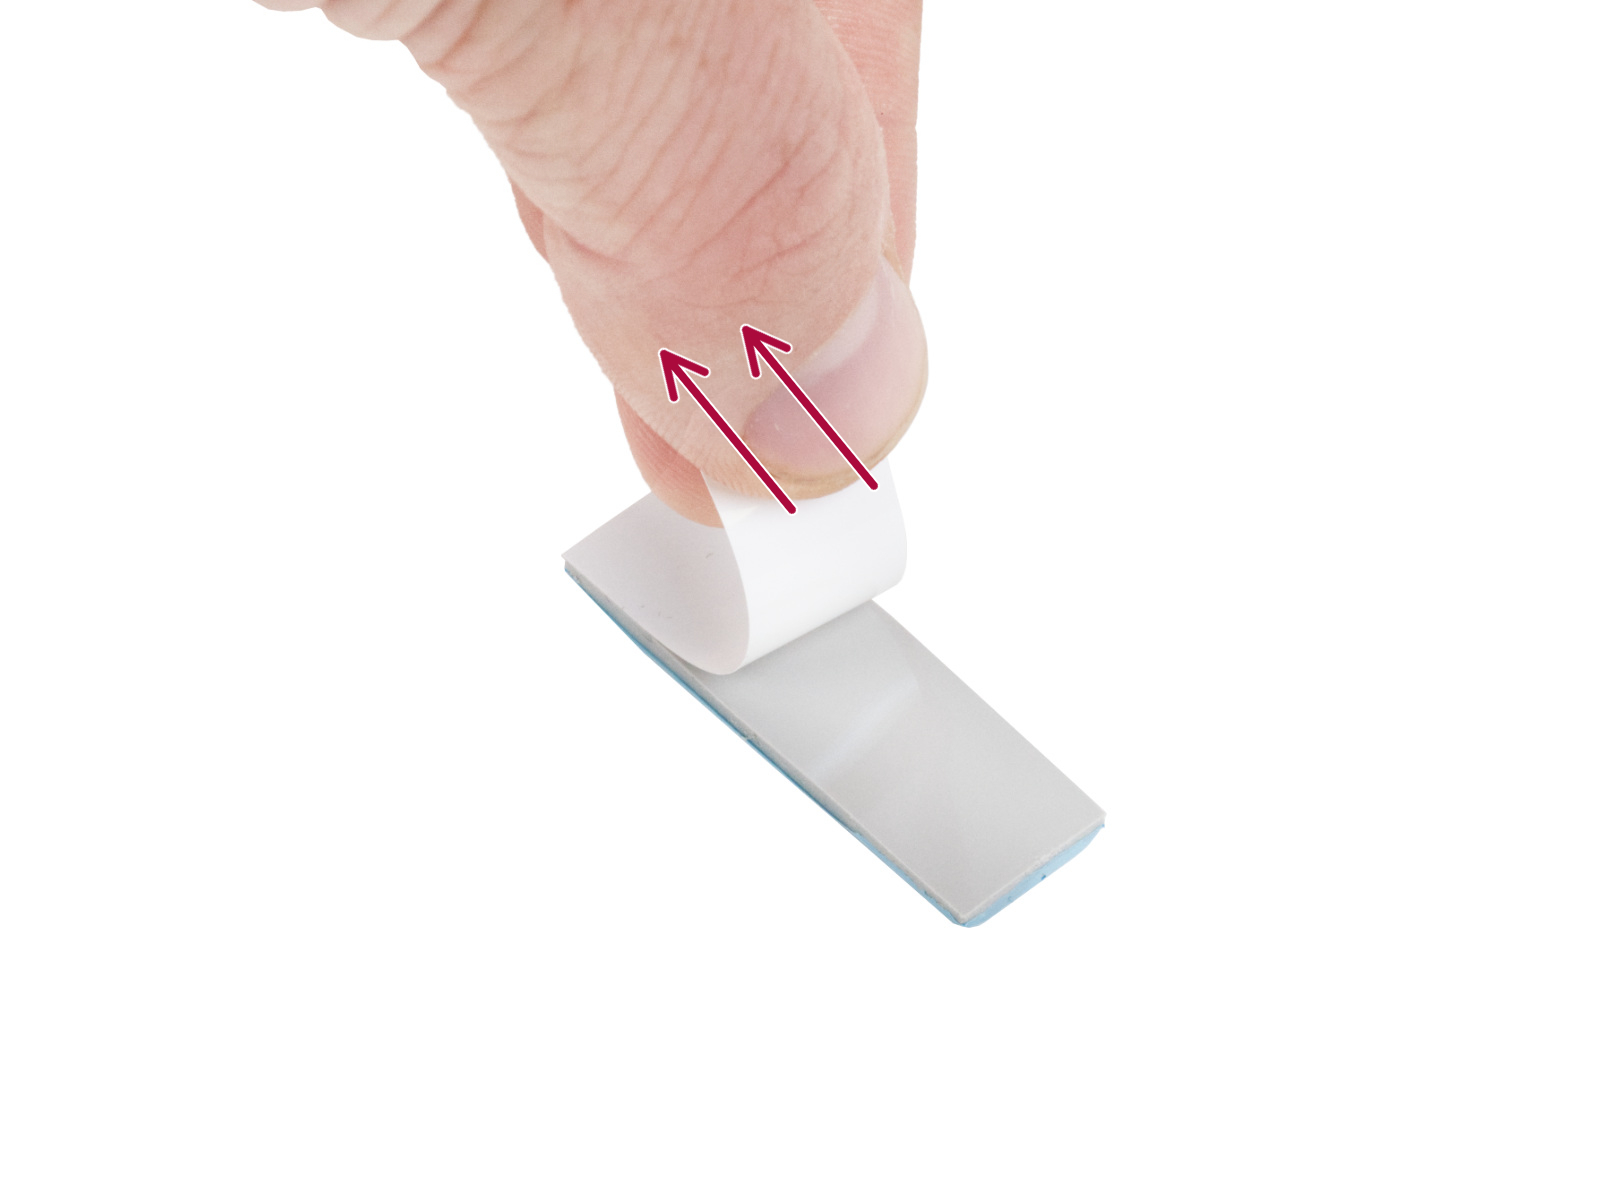
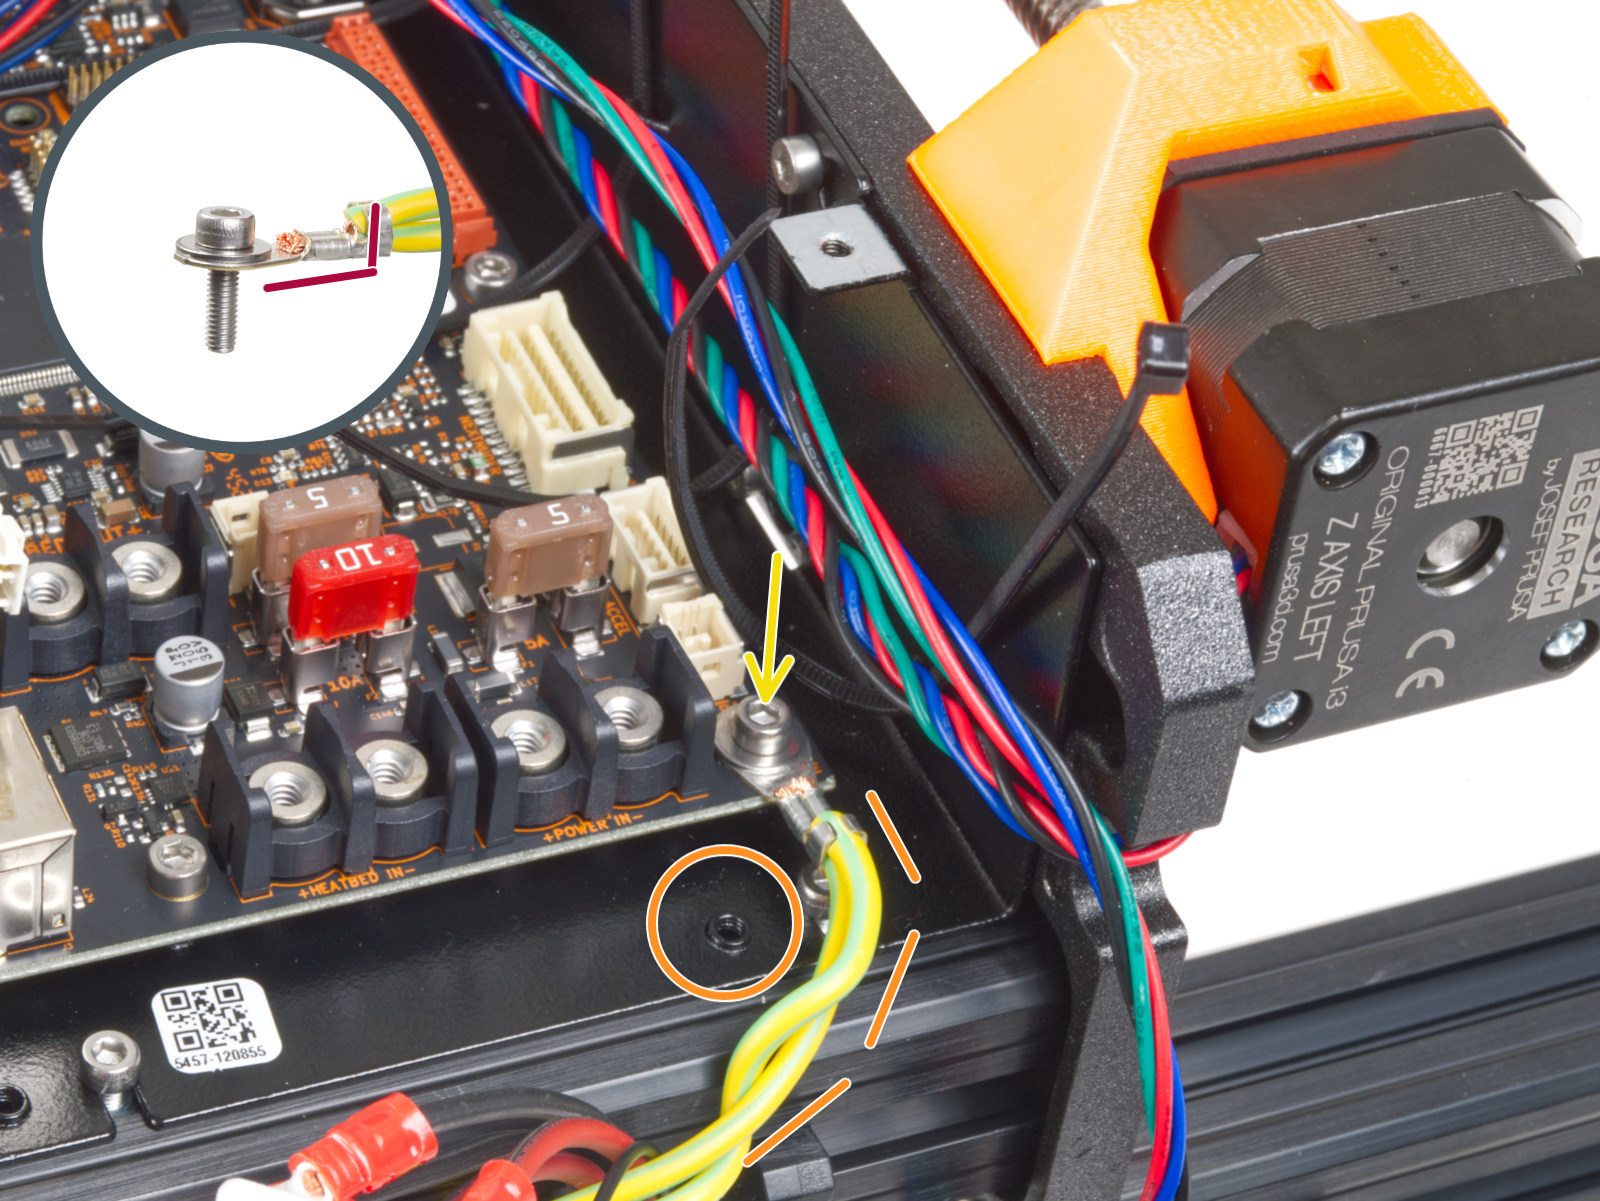
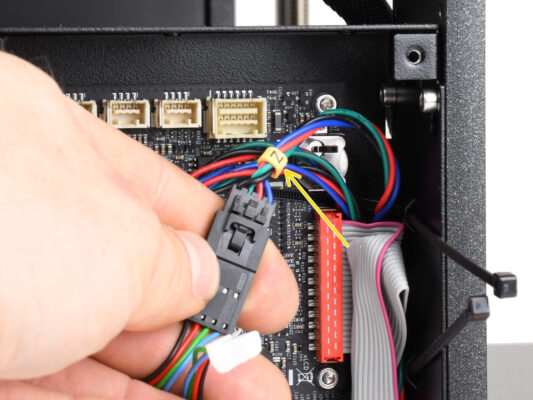
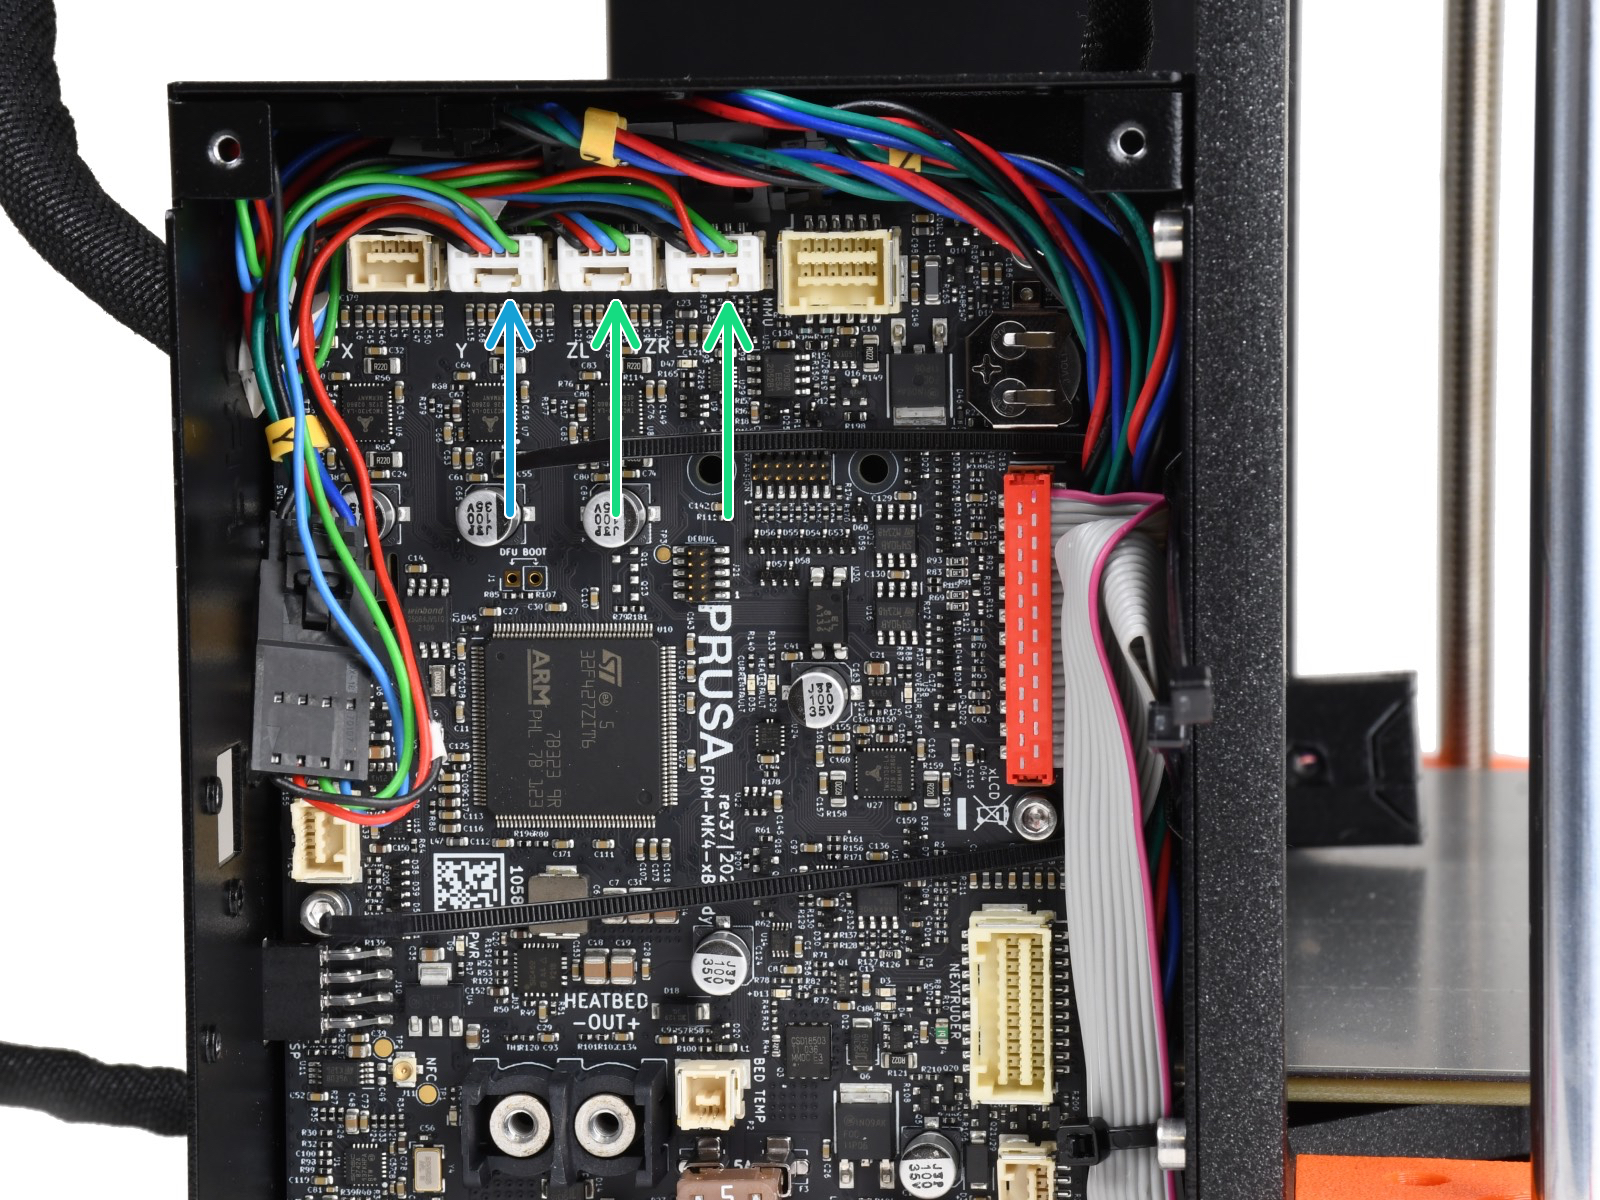
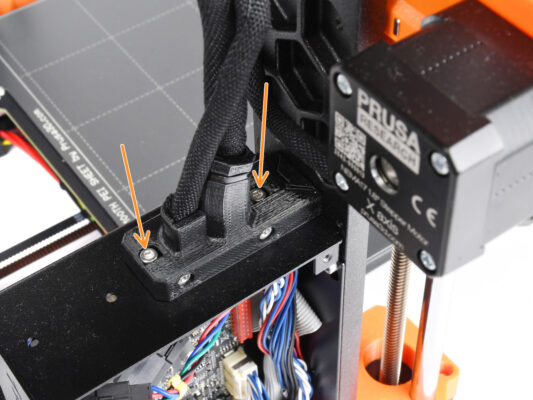
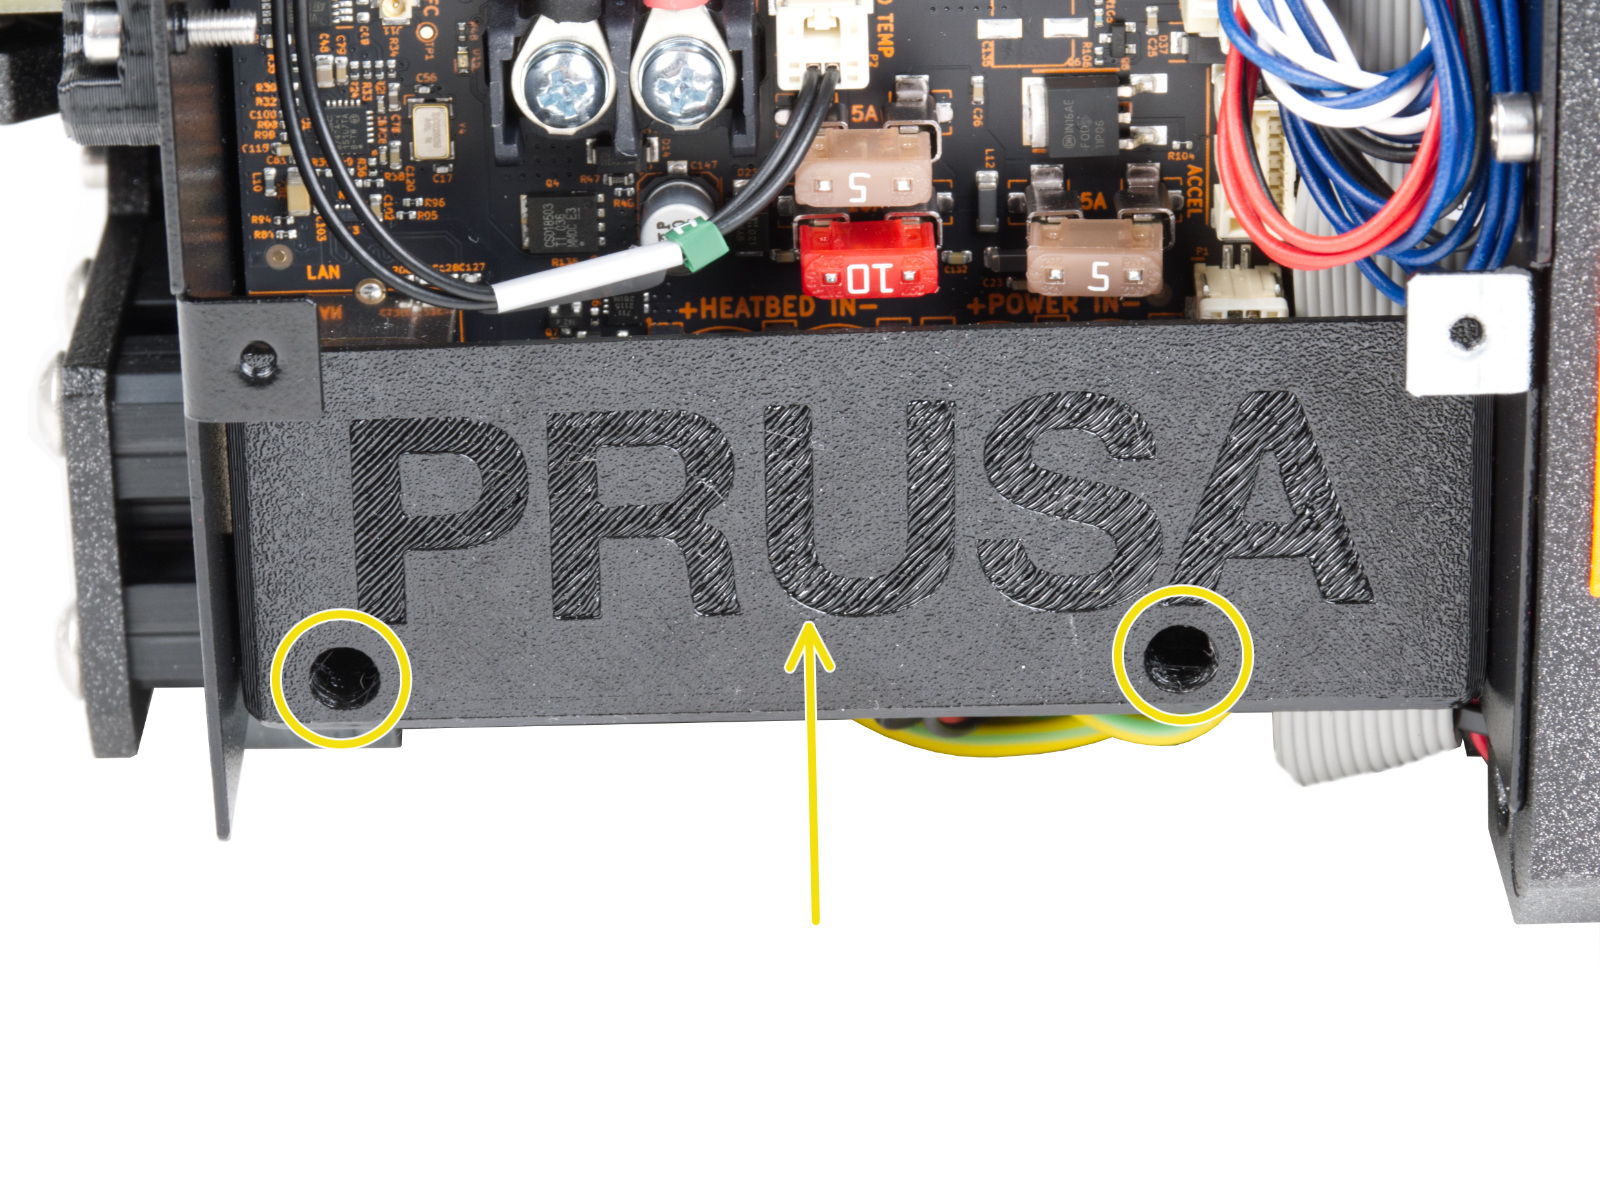
指示がない限り、締結部品類や重要な部品を取り外さないでください。