- English
- Čeština
- Español
- Italiano
- Deutsch
- Polski
- Français
- Home
- キャリブレーション
- 基本的なキャリブレーション
- Selftest (SL1)
Selftest (SL1)
- 基本的なキャリブレーション
- Zキャリブレーションの失敗 (MK3S/MK2.5S)
- 1層目のキャリブレーション (i3)
- 1層目のキャリブレーション(MINI/MINI+)
- Original Prusa i3のすべてのシステムのリフレッシュ
- ギアボックスの位置合わせ (MK4/S, MK3.9/S)
- アイドラーネジ張力の調整
- Live adjust Z (Z微調整)
- メッシュベッドレベリング
- MMU2S Setup and Inspection
- MMU3のセットアップとチェック
- マルチツールのマニュアルキャリブレーション (XL)
- Selftest (SL1)
- Selftest procedure checks
- Tank home check
- Tower home check
- UV LED check
- Fans check
- Display test
- Tower axis check
- Resin sensor check
- Set timezone
- Sound test
- セルフテストの失敗 (MINI/MINI+)
- Selftest failed (MK2/S, MK2.5, MK2.5S)
- セルフテストの失敗 (MK3.5/S)
- セルフテストの失敗 (MK3/MK3S/MK3S+)
- セルフテストの失敗 (MK4/S, MK3.9)
- Temperature Calibration
- XYZ Calibration (MK2.5/MK2.5S)
- XYZ Calibration (MK2/S)
- XYZ キャリブレーション(MK3/MK3S/MK3S+)
- XYZキャリブレーションの詳細
- 高度なキャリブレーション
- キャリブレーションエラーメッセージ
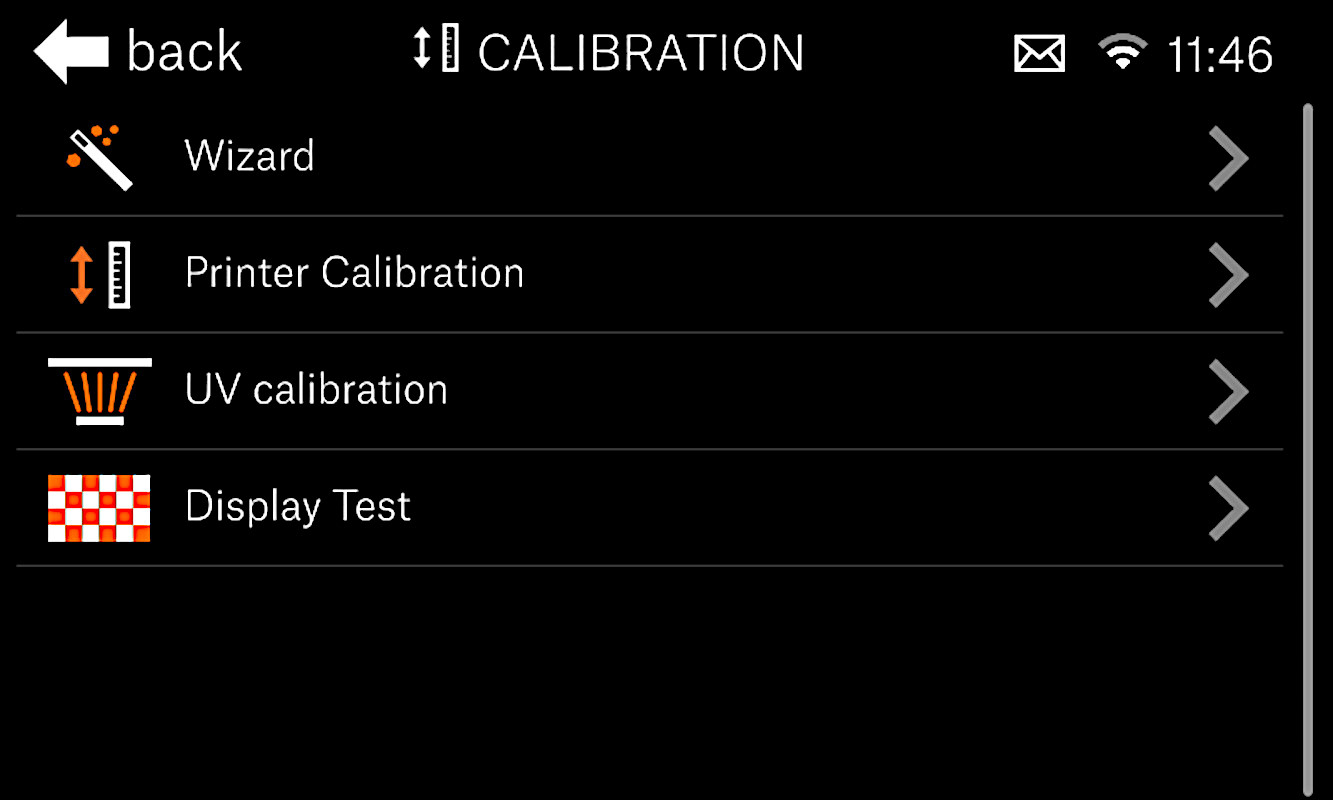
When first turning on your SL1 printer, or after a factory reset, the printer will ask to start the selftest. You can also start the Selftest in the printer menu in Settings -> Calibration -> Wizard. The selftest checks the most important functions of the printer.

Selftest procedure checks
- Tank home check
- Tower home check
- UV led check
- Fans check
- Display test
- Tower axis check
- Resin sensor check
- Set timezone
- Sound test
Tank home check
The tank home check will start the selftest by checking the tilt for movement and if it can find the homing position. Any error in this process can generate the following message:
Tower home check
The tower is also checked for the range of movement and home position. Any error in this process can generate the following messages:
UV LED check
After the mechanical checks for the tank and the tower, the printer will ask you to unscrew and remove the tank and the print platform. The UV LED will be checked.
Fans check
The SL1 has multiple fans. They are checked during the selftest, and if one of them has something blocking it, is not well connected, or has damage, the following errors can be presented, and in case this happens, the fan will be identified in the message:
Display test
The printer will ask if you can see the Prusa sign from the top of the orange cover. Do not open the orange cover, there is a UV light inside, which will cause damage to your eyes. In case you click that you cannot see the logo, you will see the following message:
Tower axis check
This step will check the tower axis for its full range of motion. In case there is an issue, one of the following messages might appear:
Resin sensor check
After inserting the print platform at 60º, the resin sensor will be checked. In case the sensor is not found, the following error will be shown:
Set timezone
At this step, you can set the timezone for your printer. The step is optional.
Sound test
The printer will play a sound, and if you click that you cannot hear it, the following message will appear:
Comments
Still have questions?
If you have a question about something that isn't covered here, check out our additional resources.
And if that doesn't do the trick, you can send an inquiry to [email protected] or through the button below.