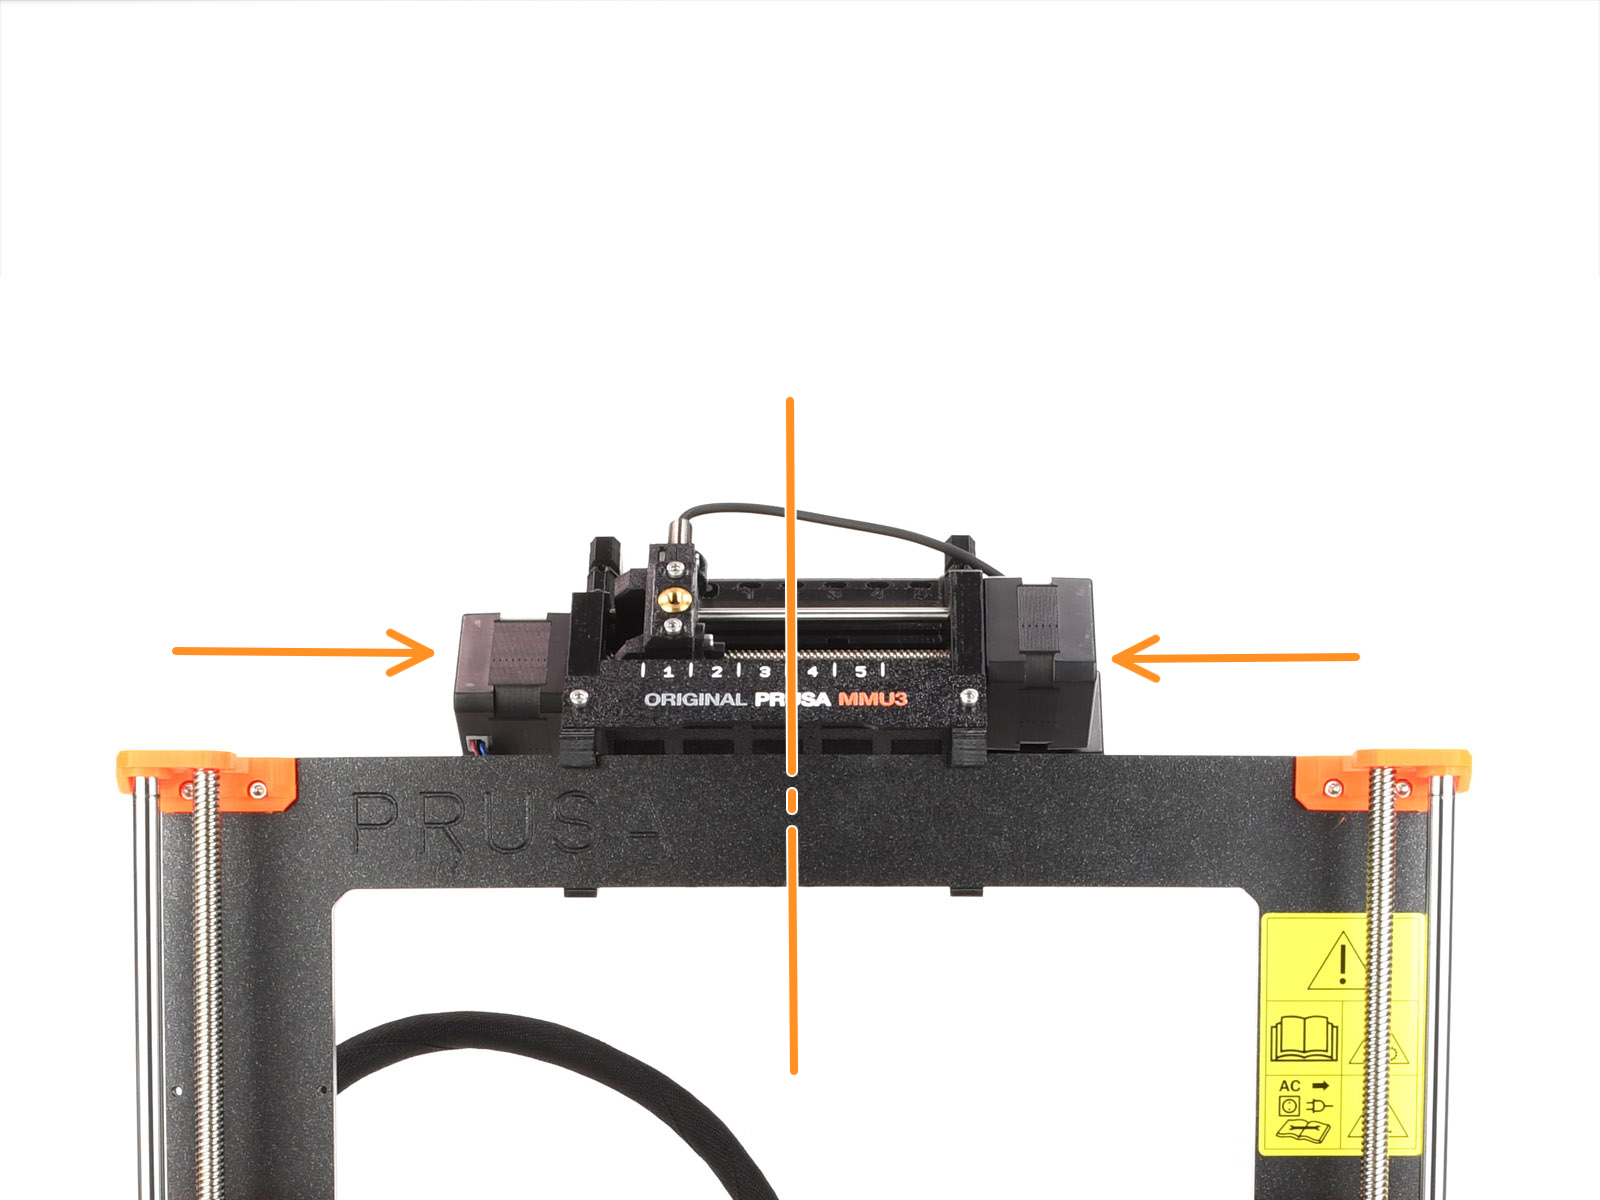
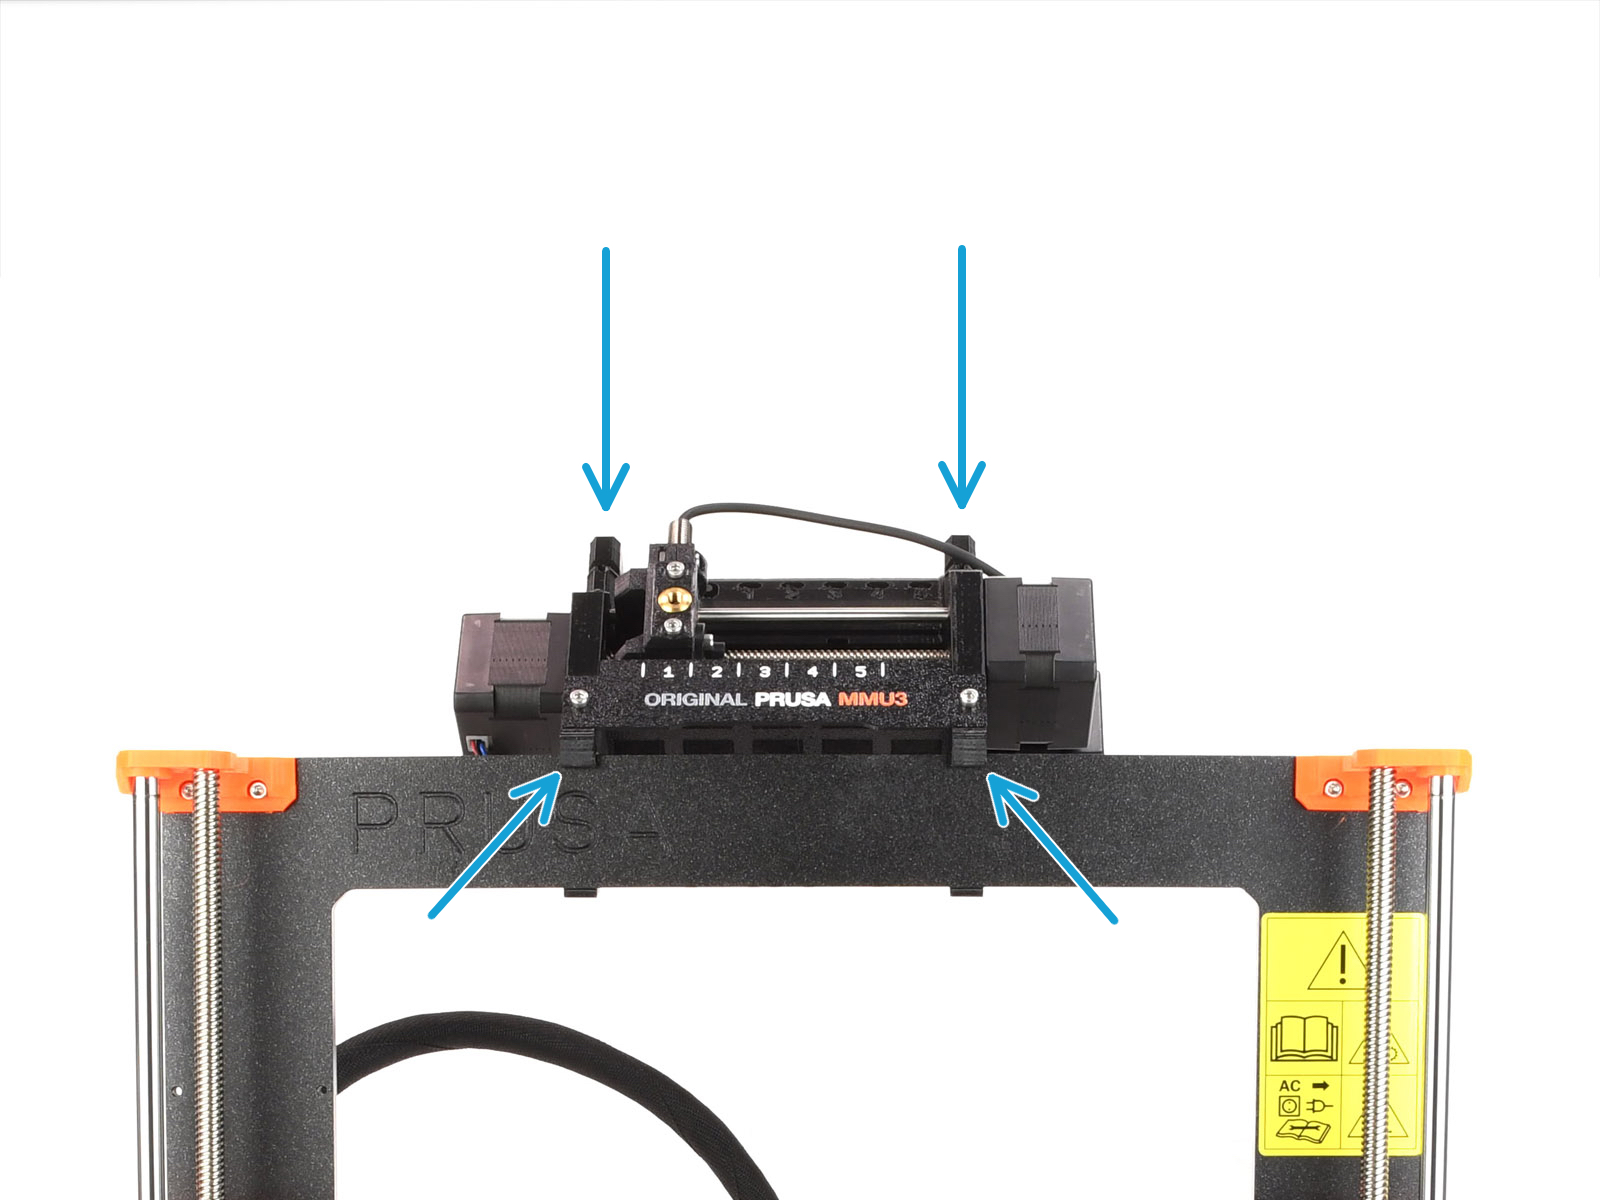
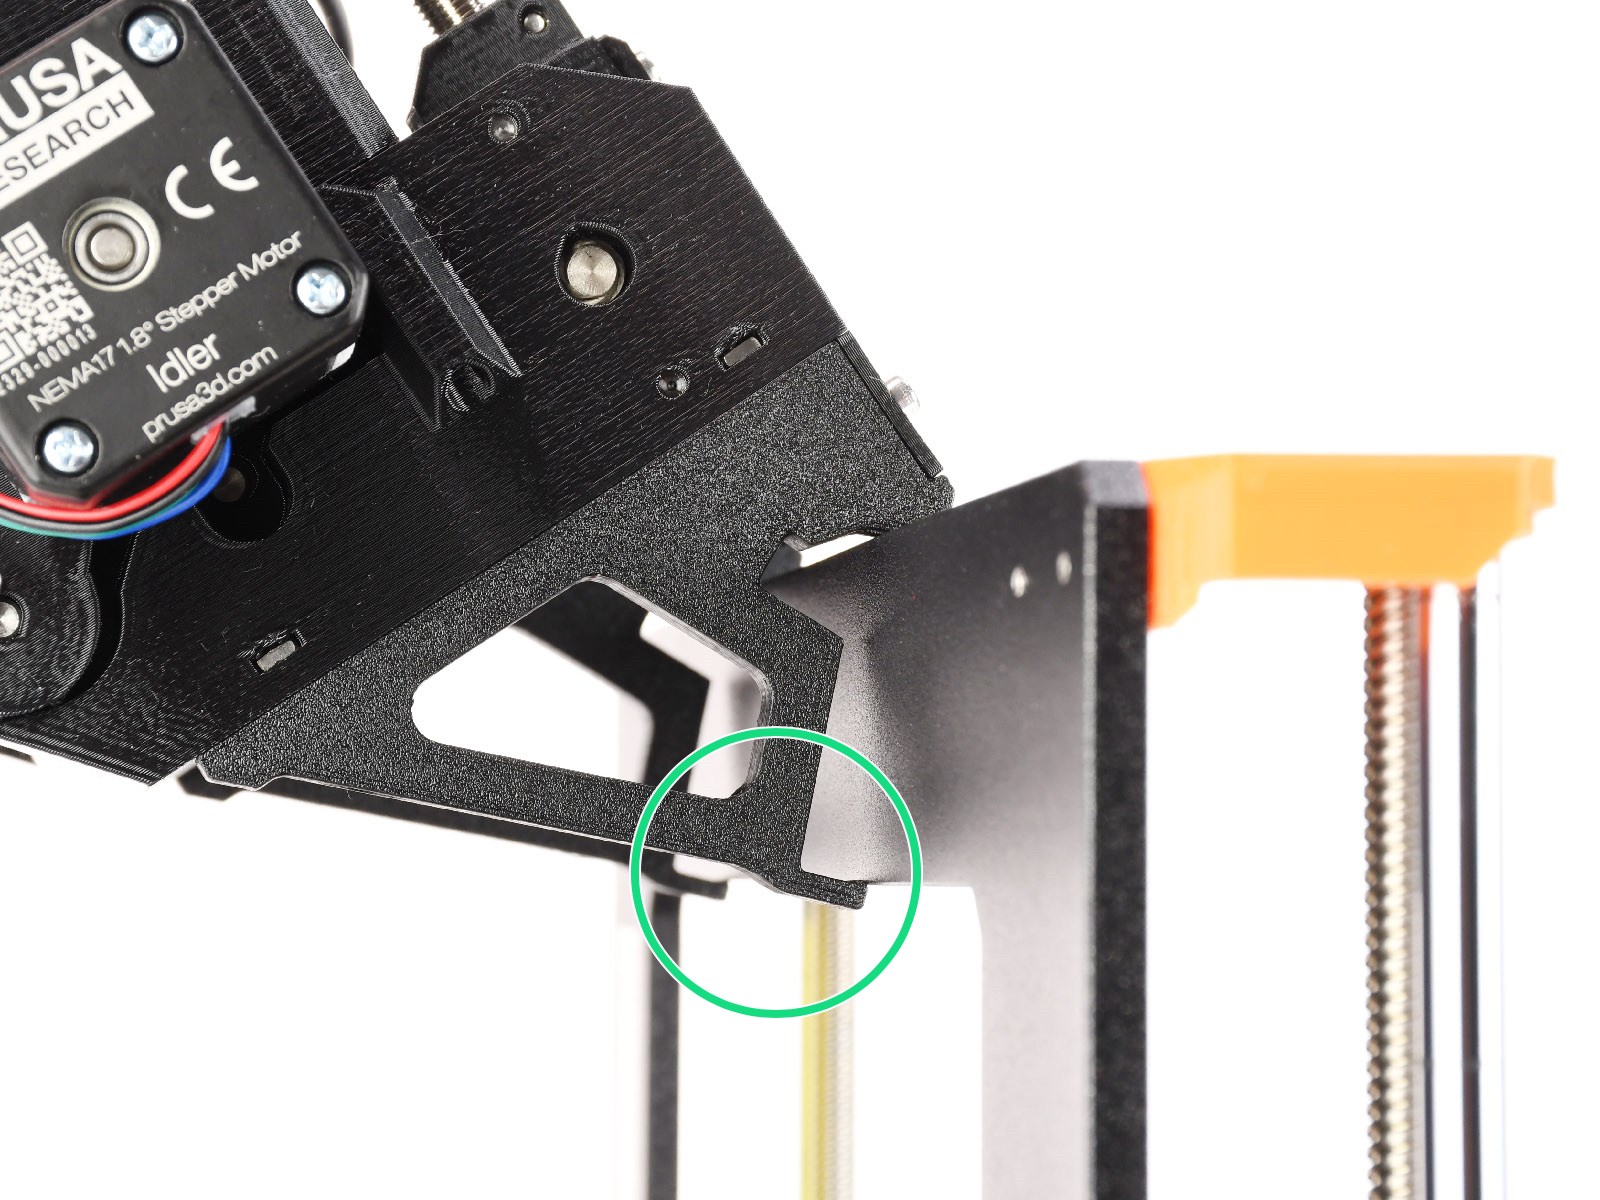
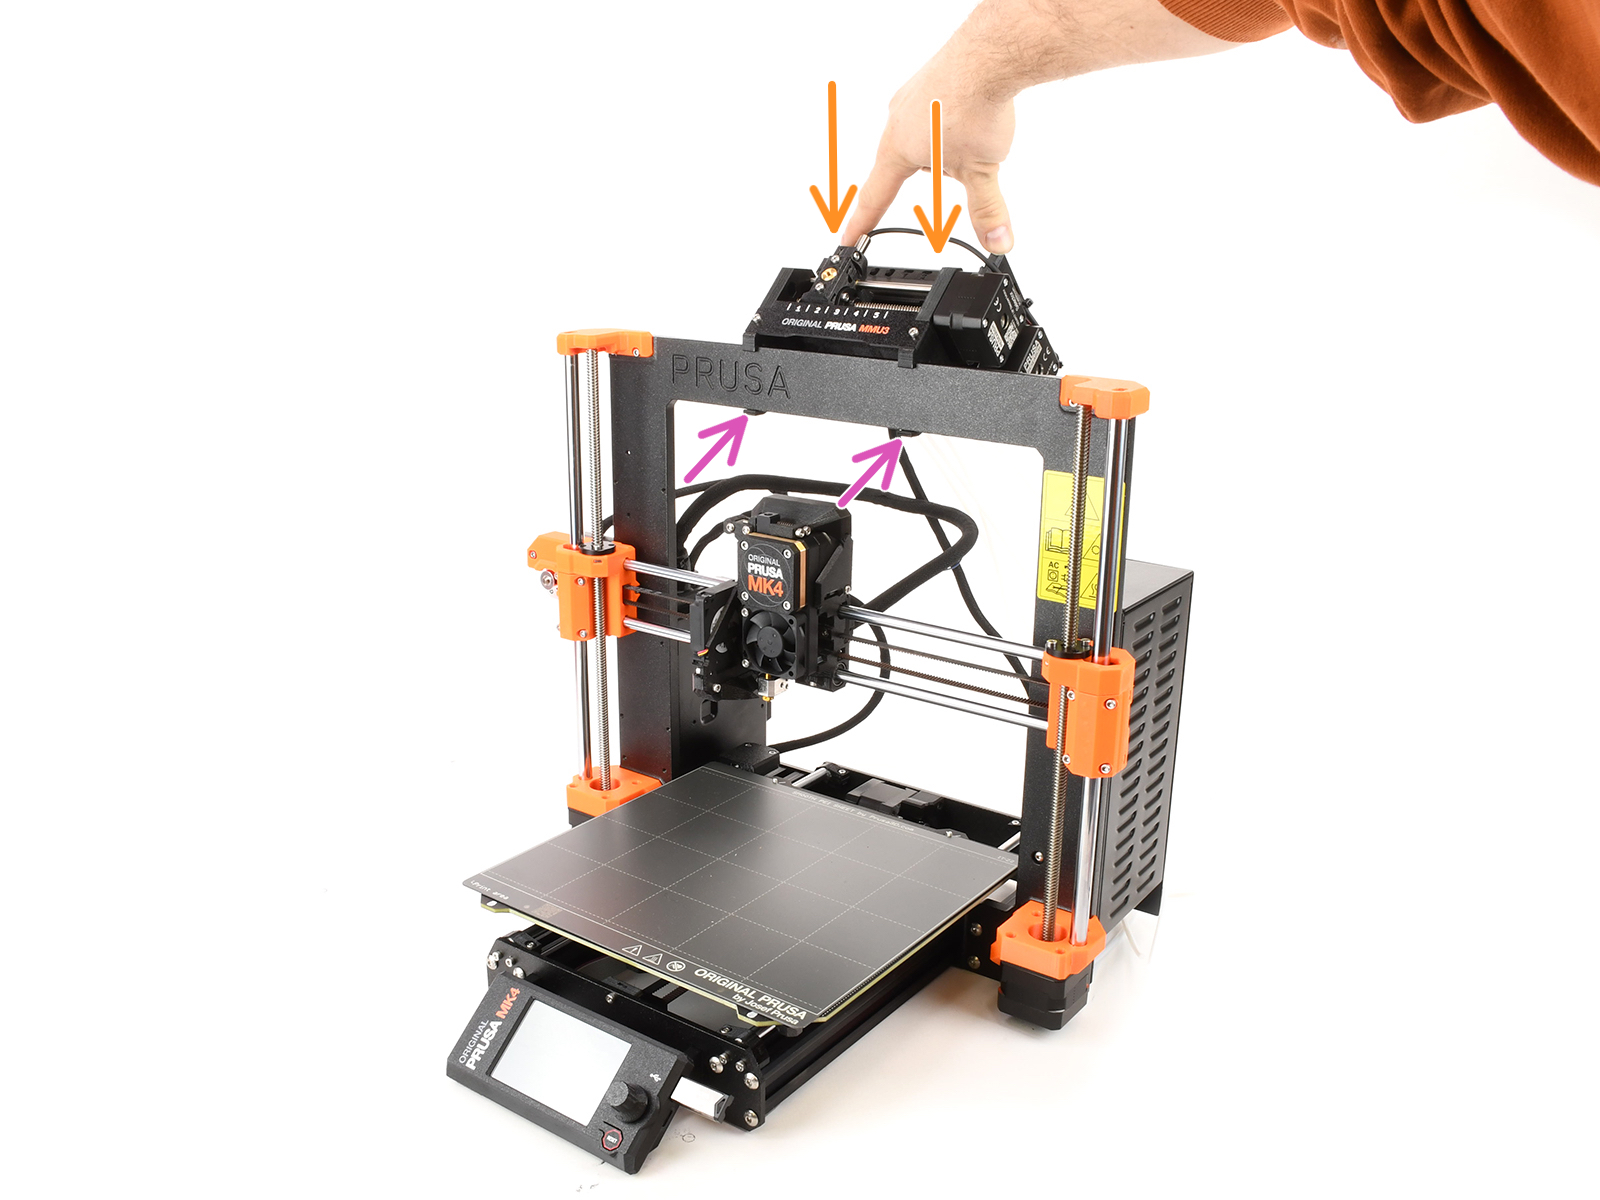
Attach it just by the top hooks.



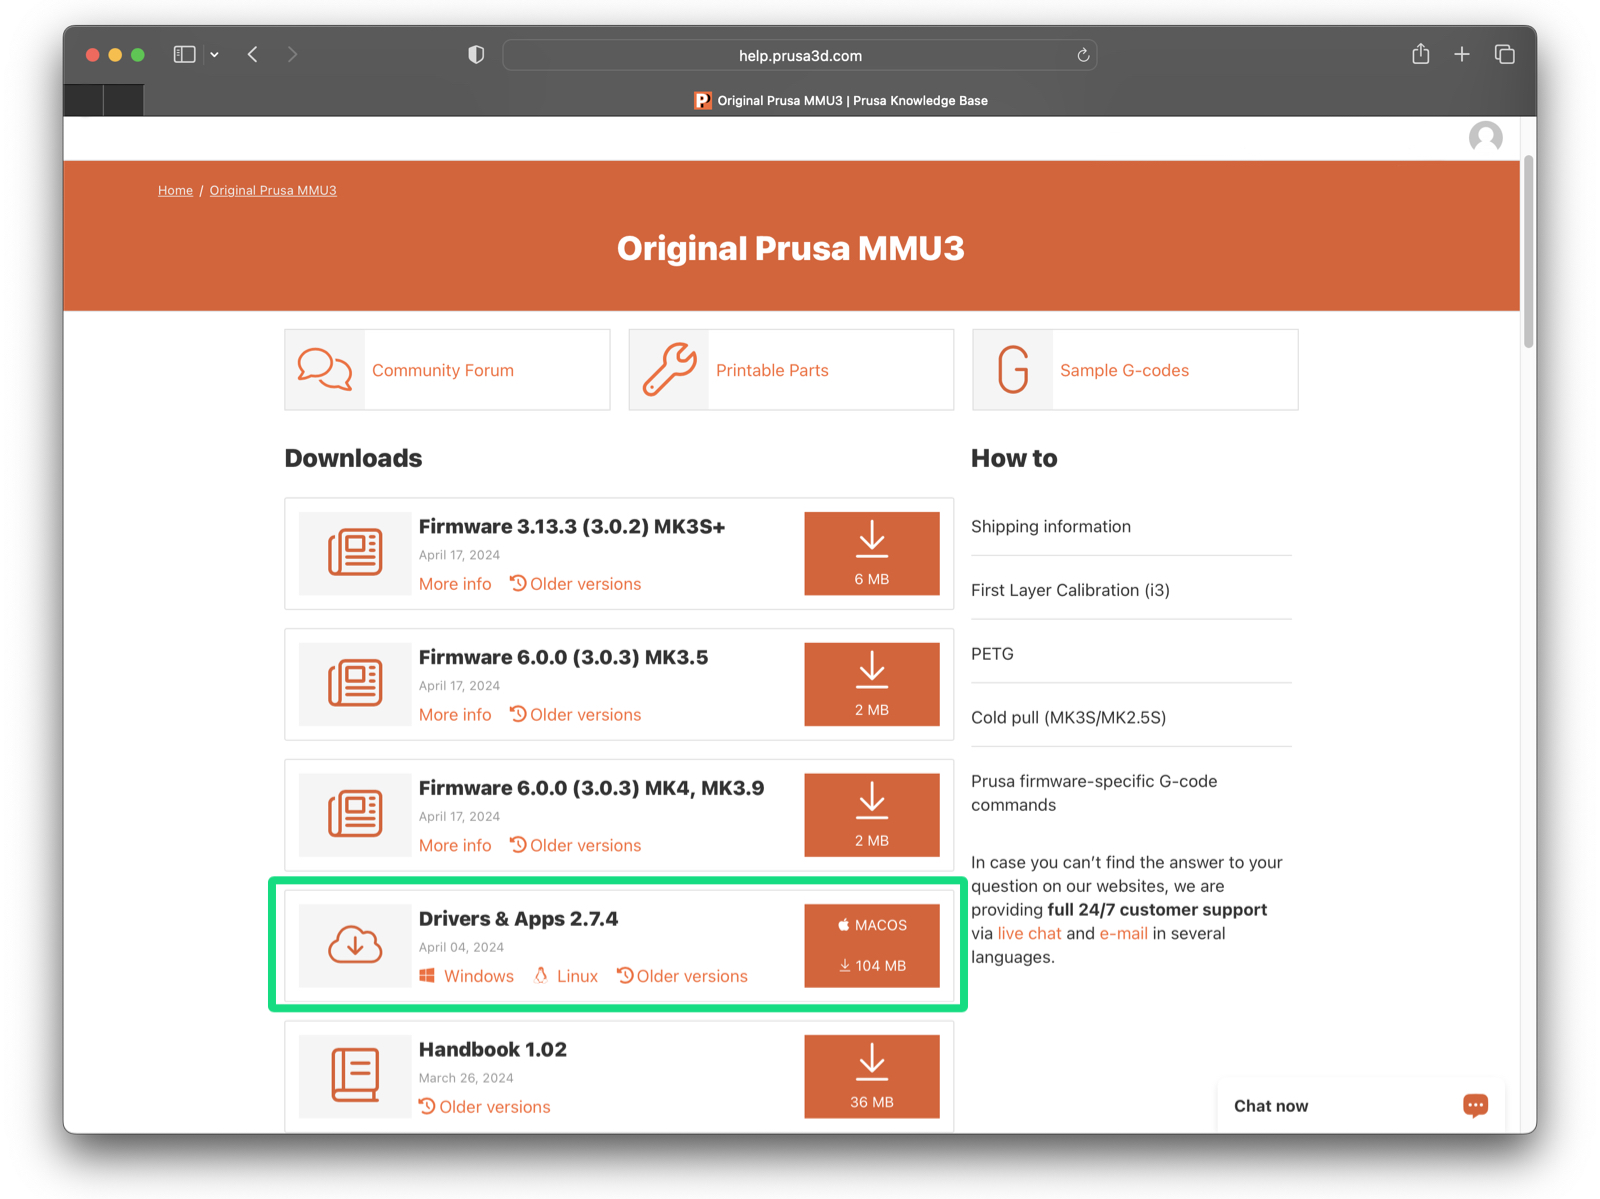
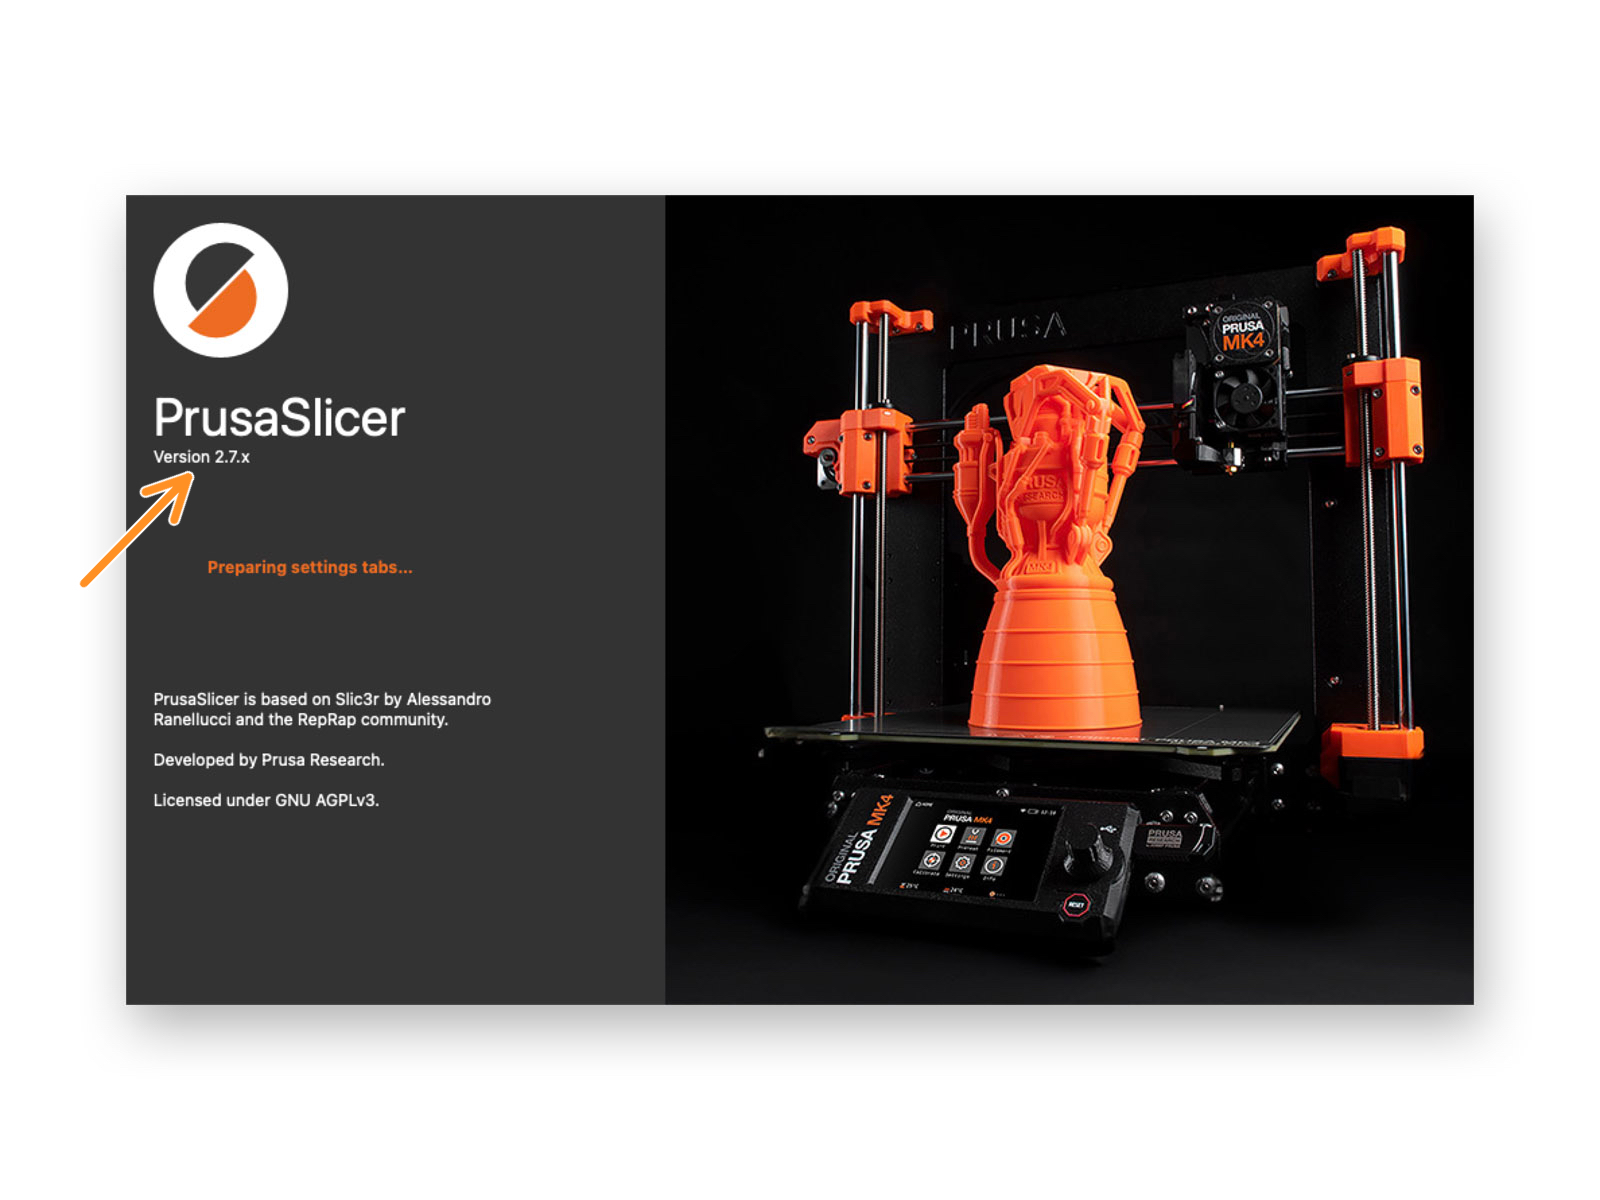
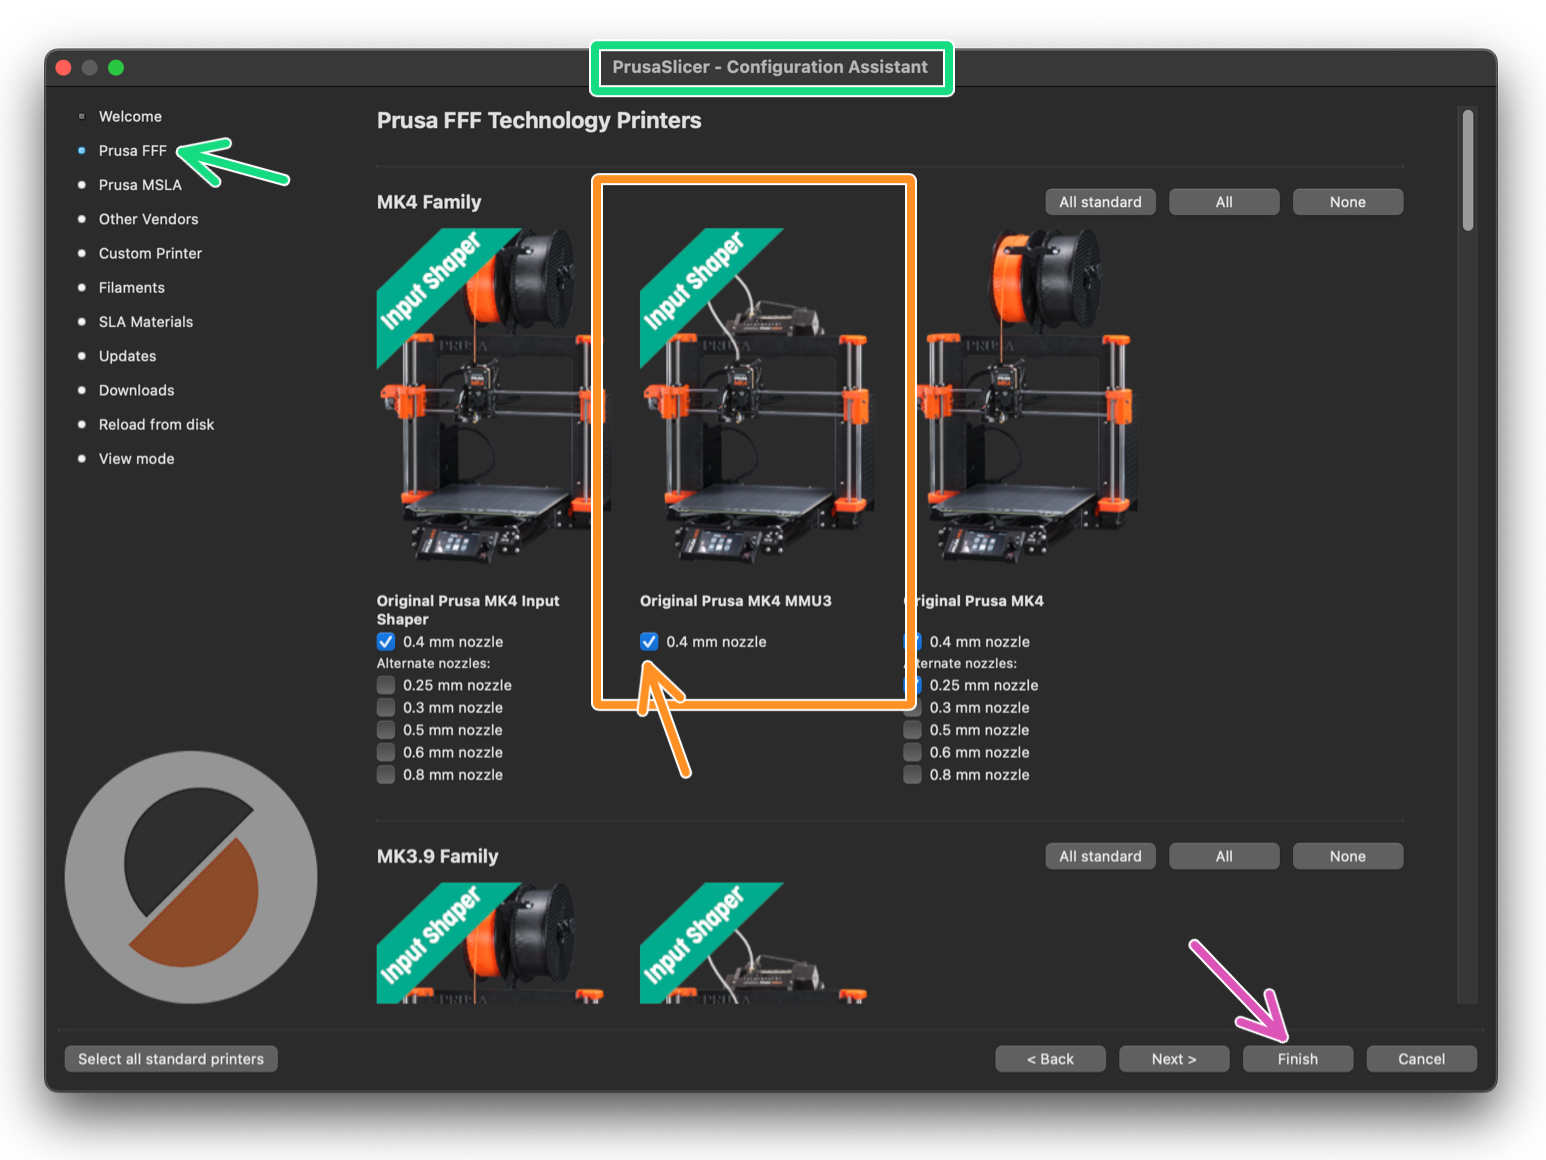
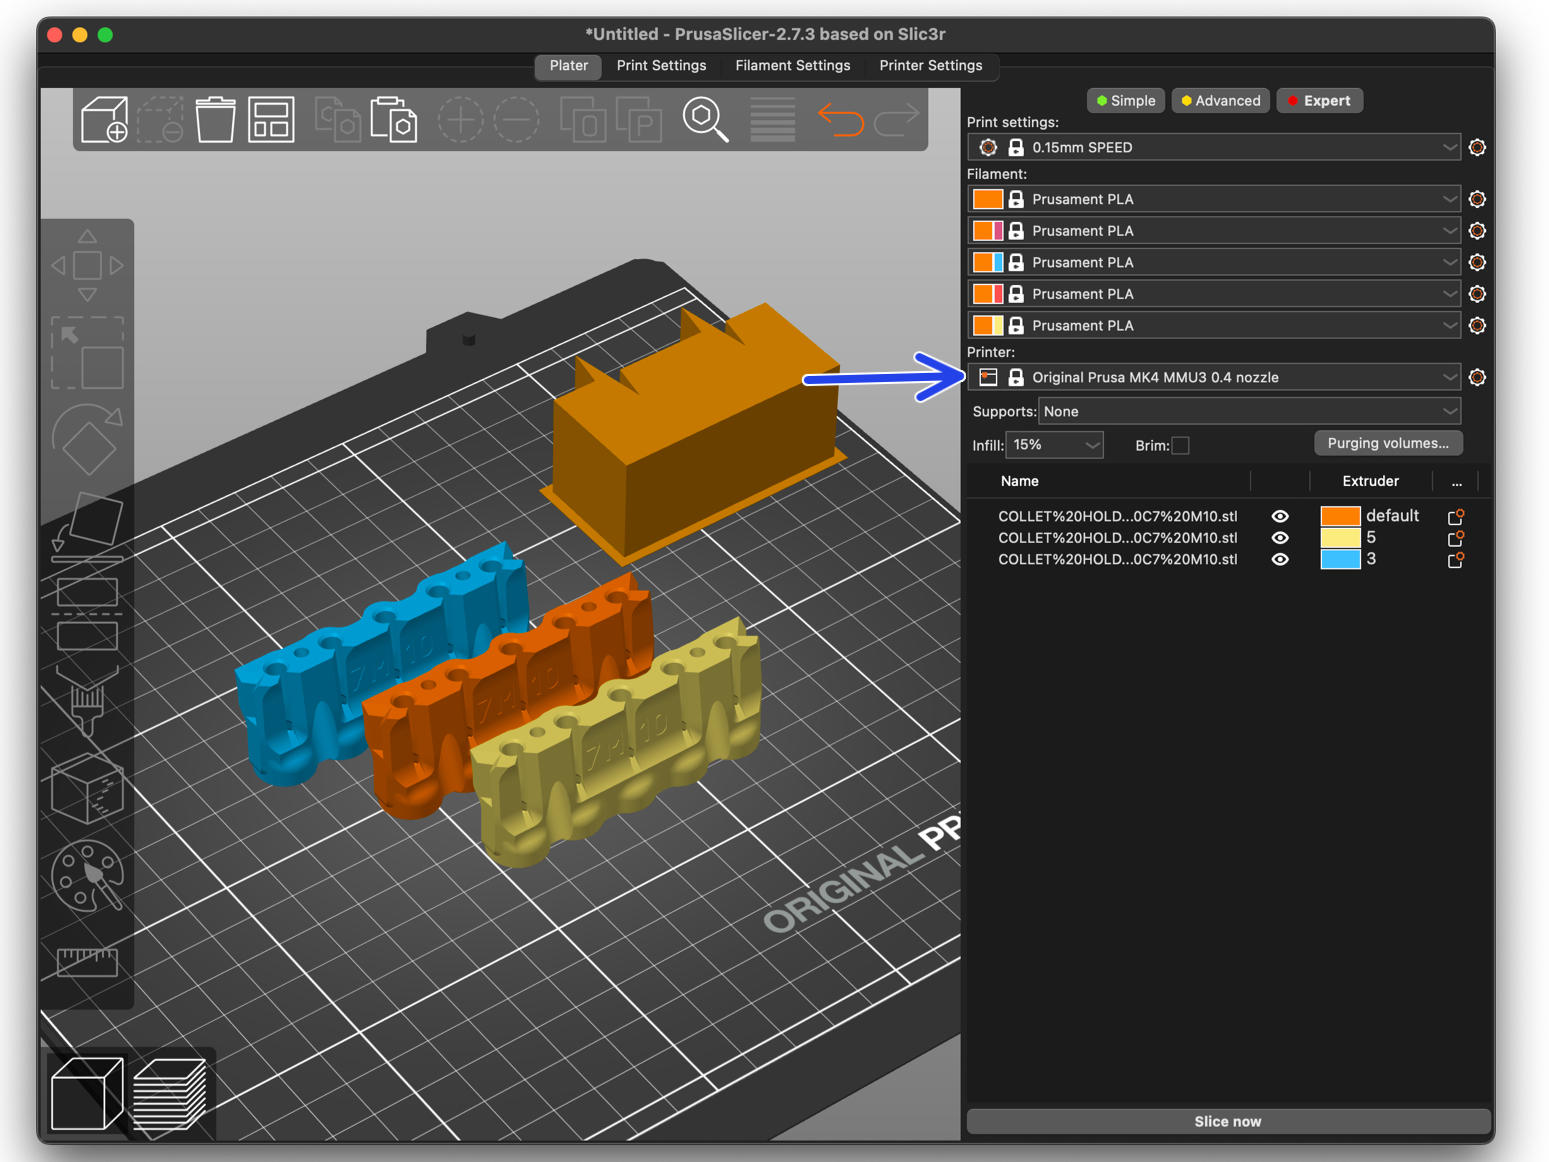
Please be aware that the MMU3 on MK4 IS NOT COMPATIBLE with older PrusaSlicer profiles or G-codes for MMU2, MMU2S, or even MMU3 + MK3S+ or MK3.5.
Using an incompatible G-code file on the MMU3 + MK4 could lead to a failed print or potentially damage the printer!
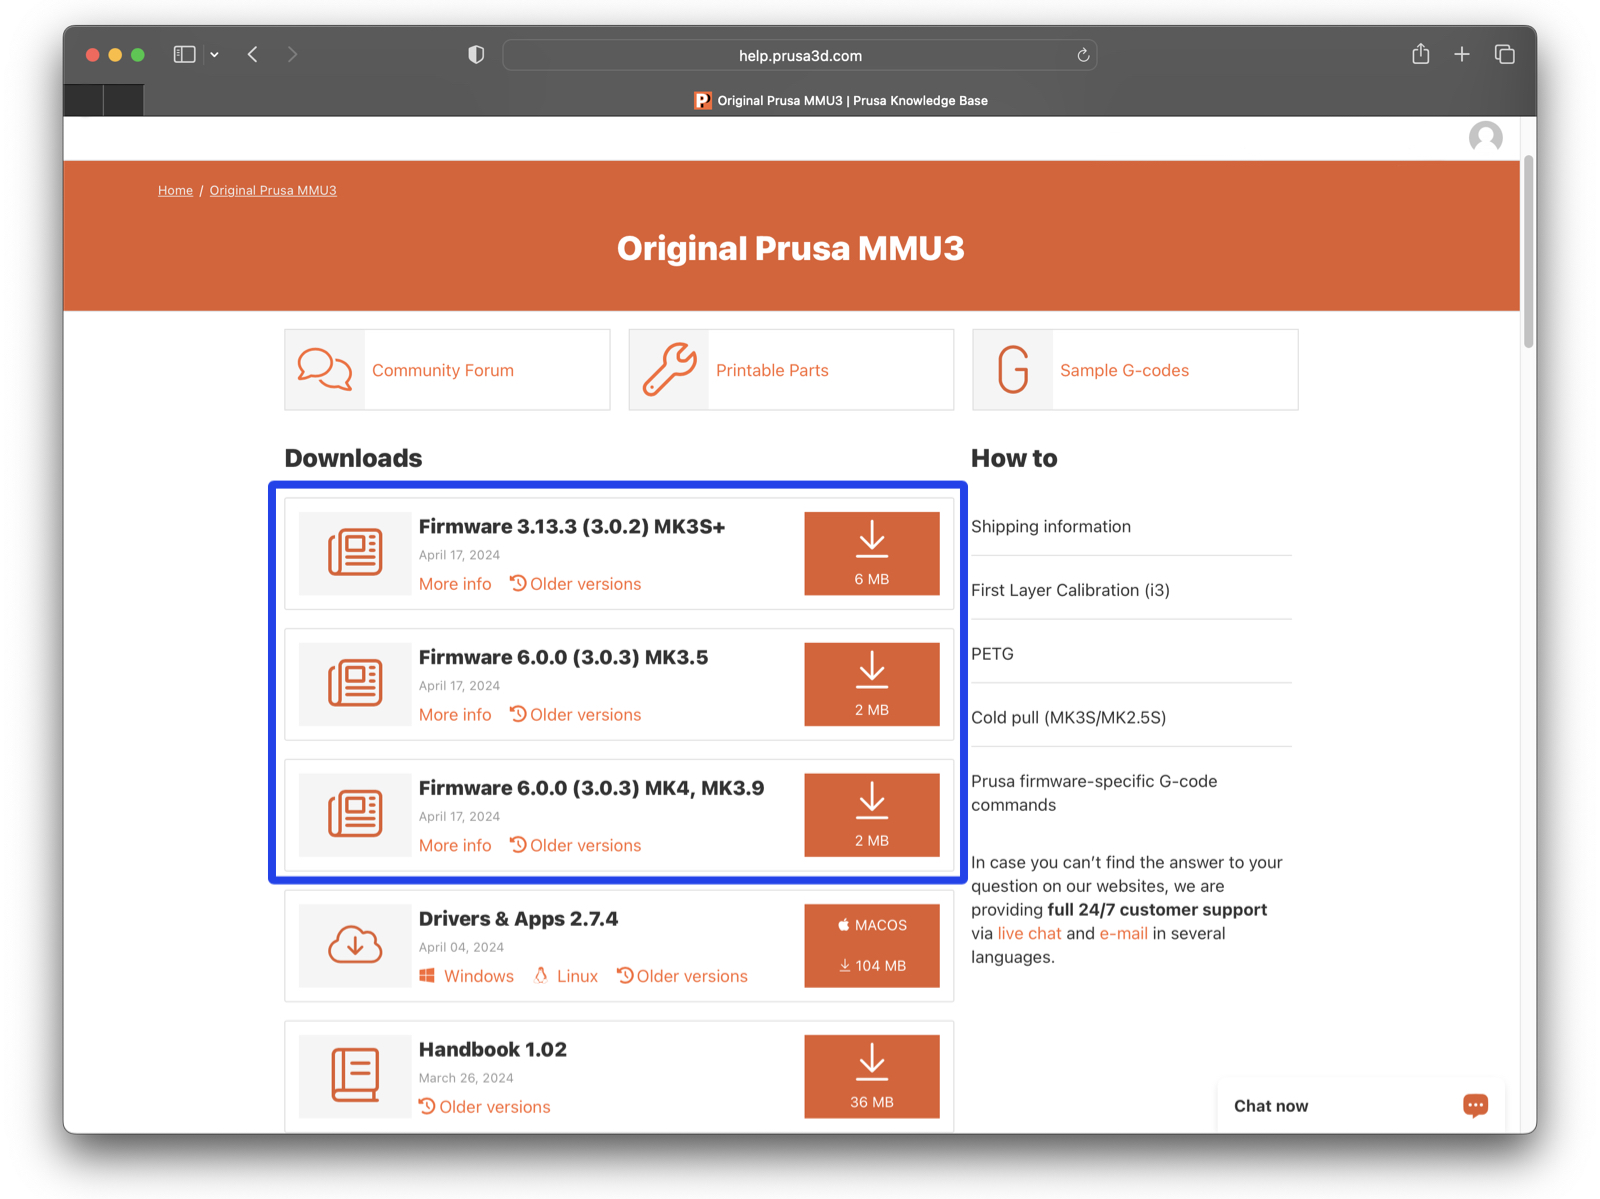
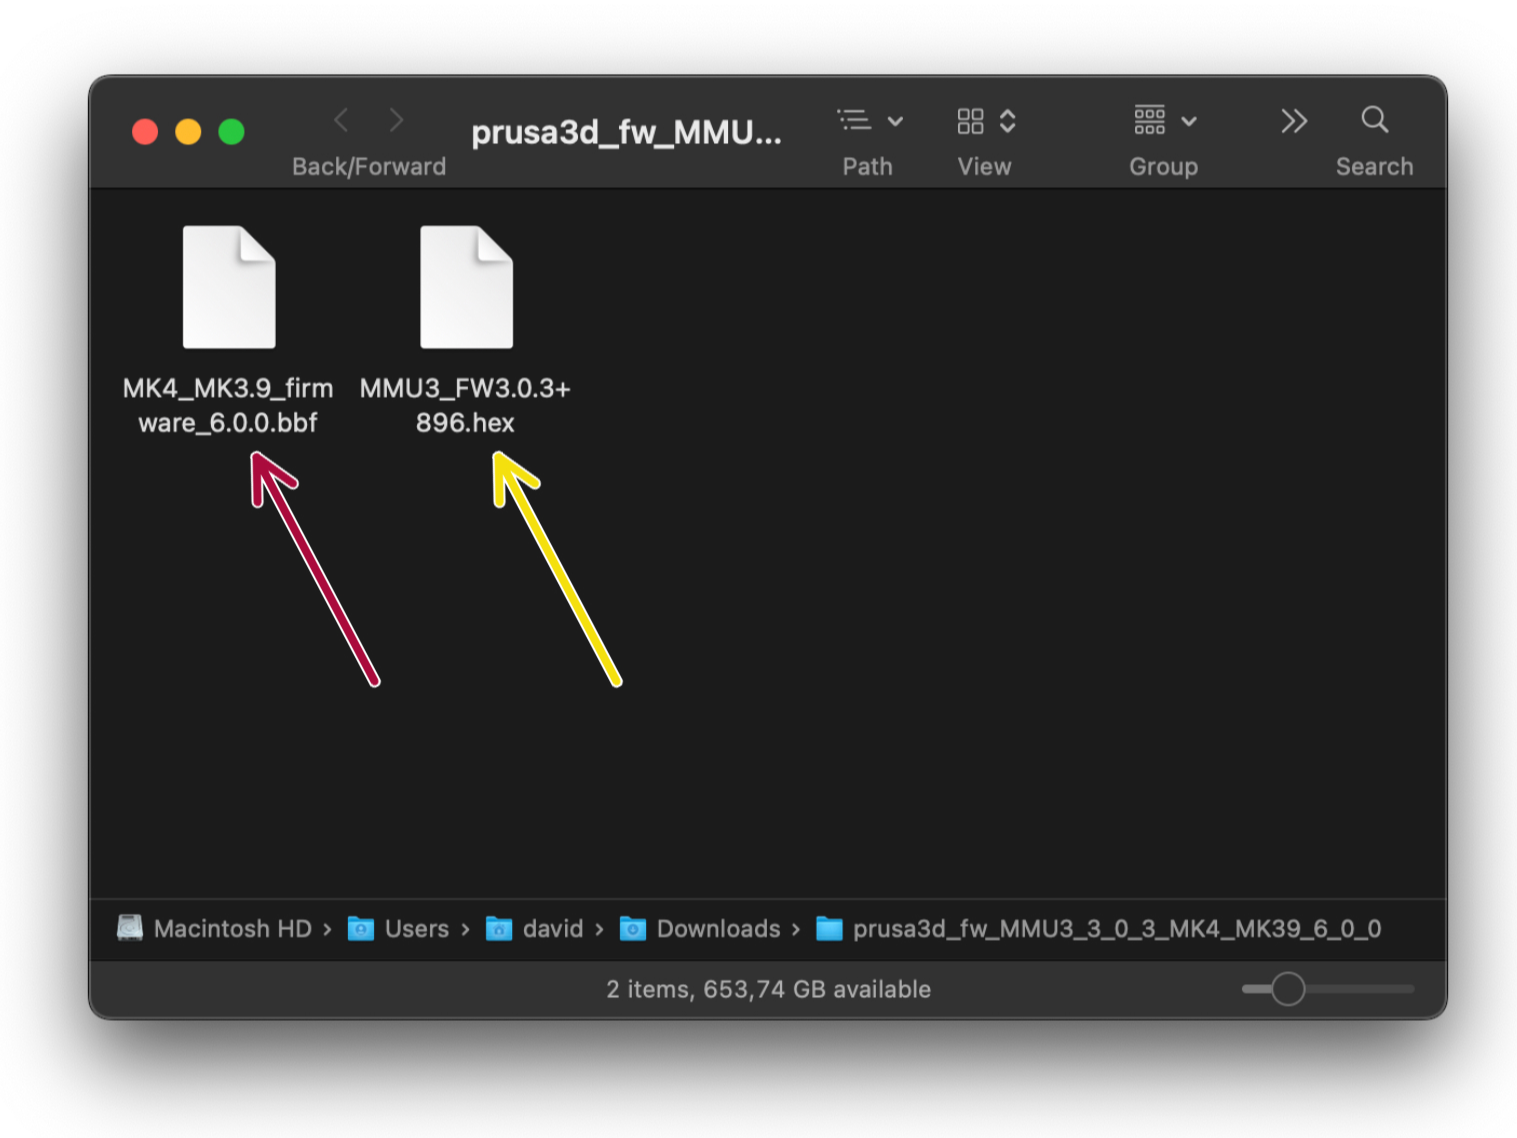
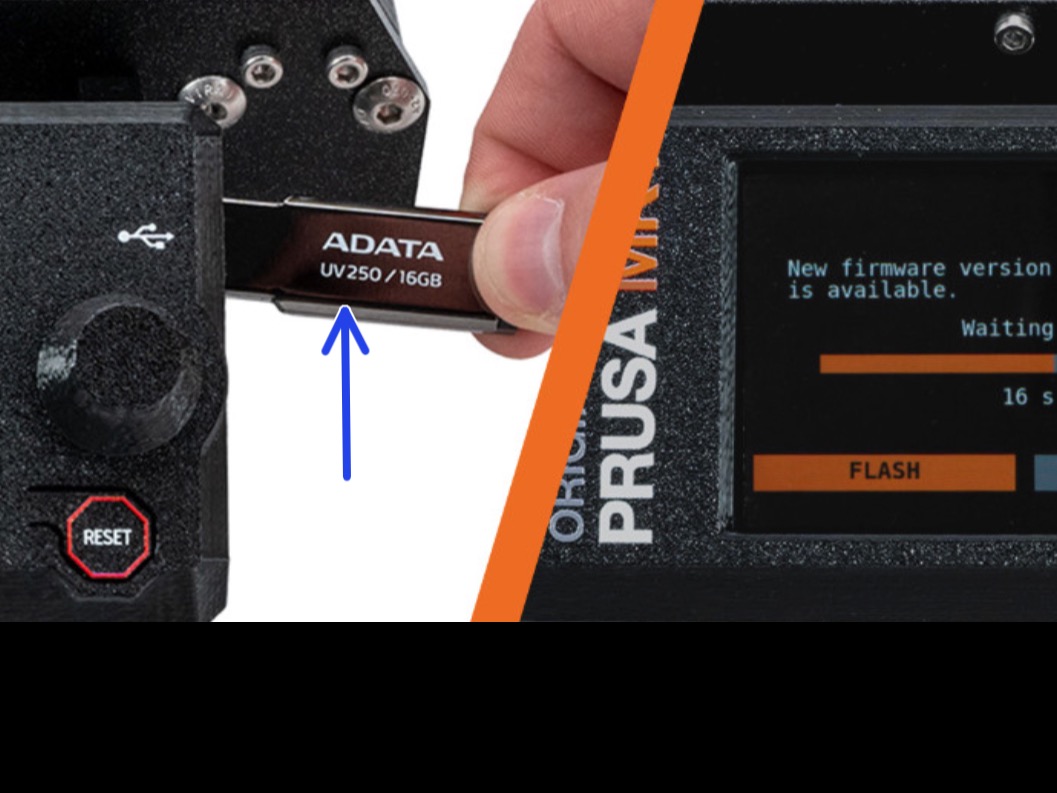
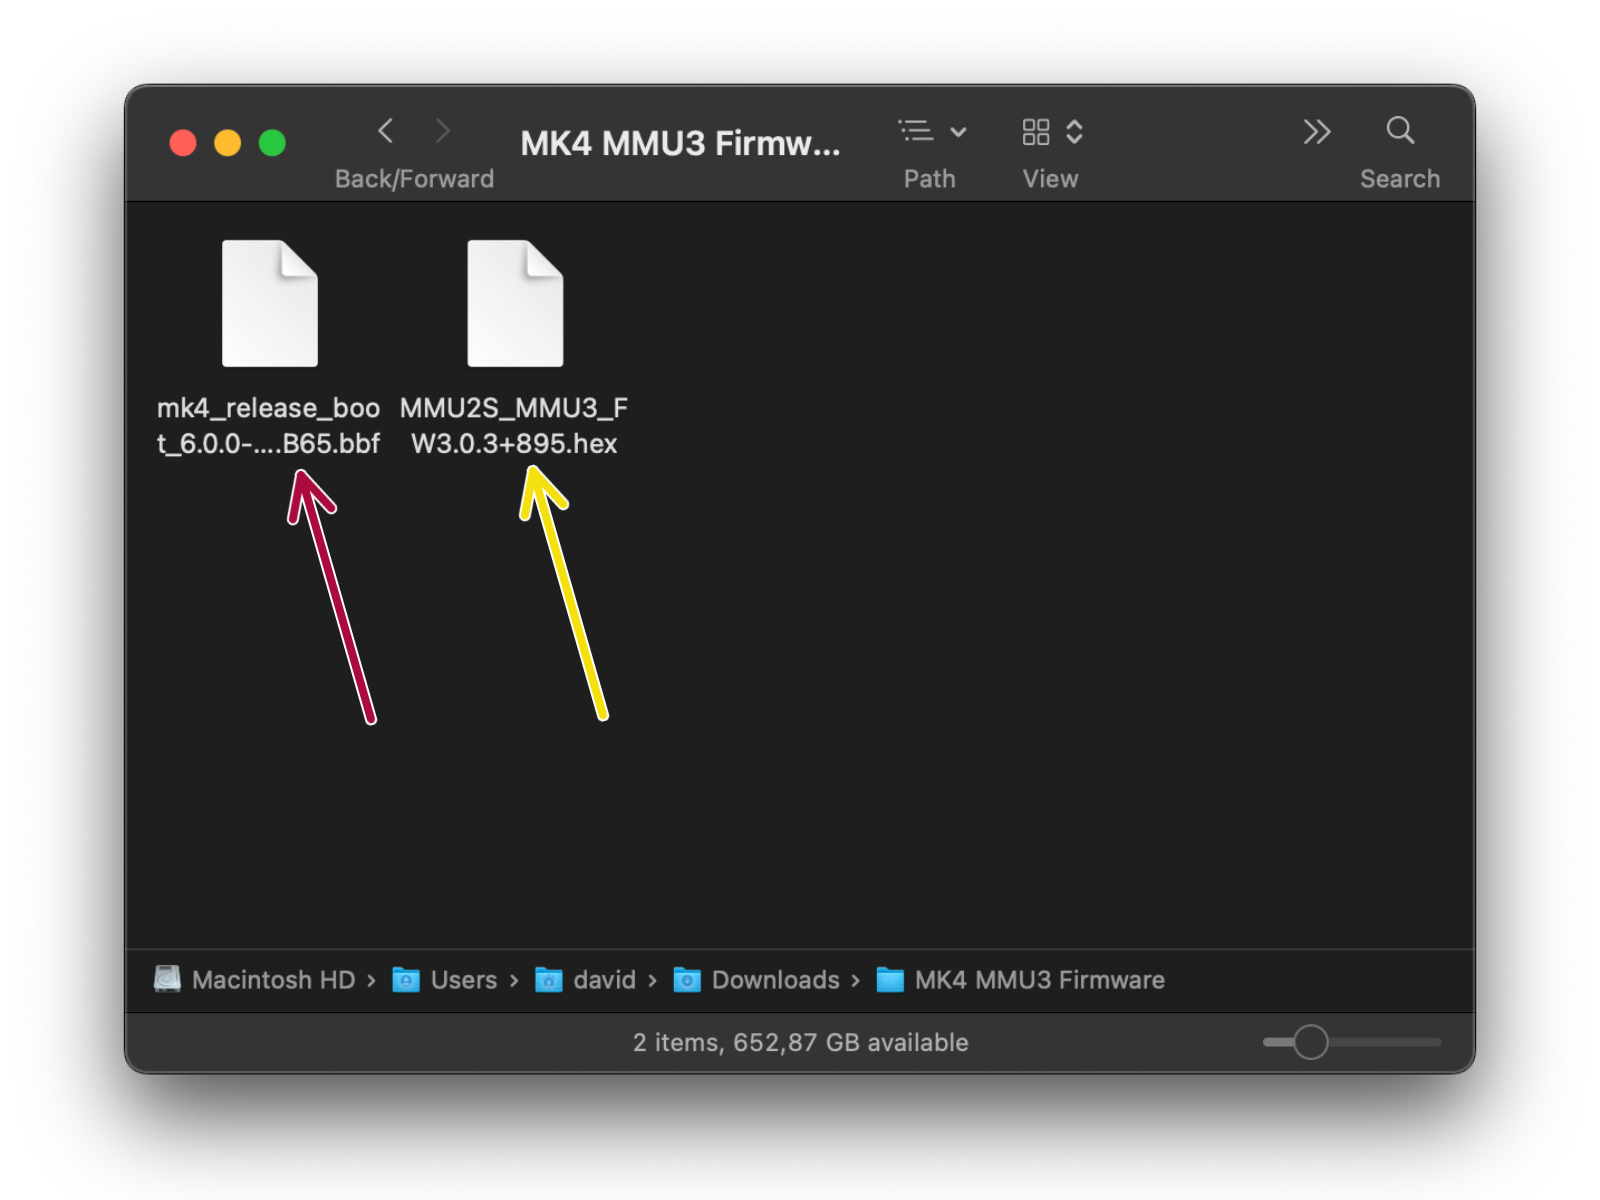
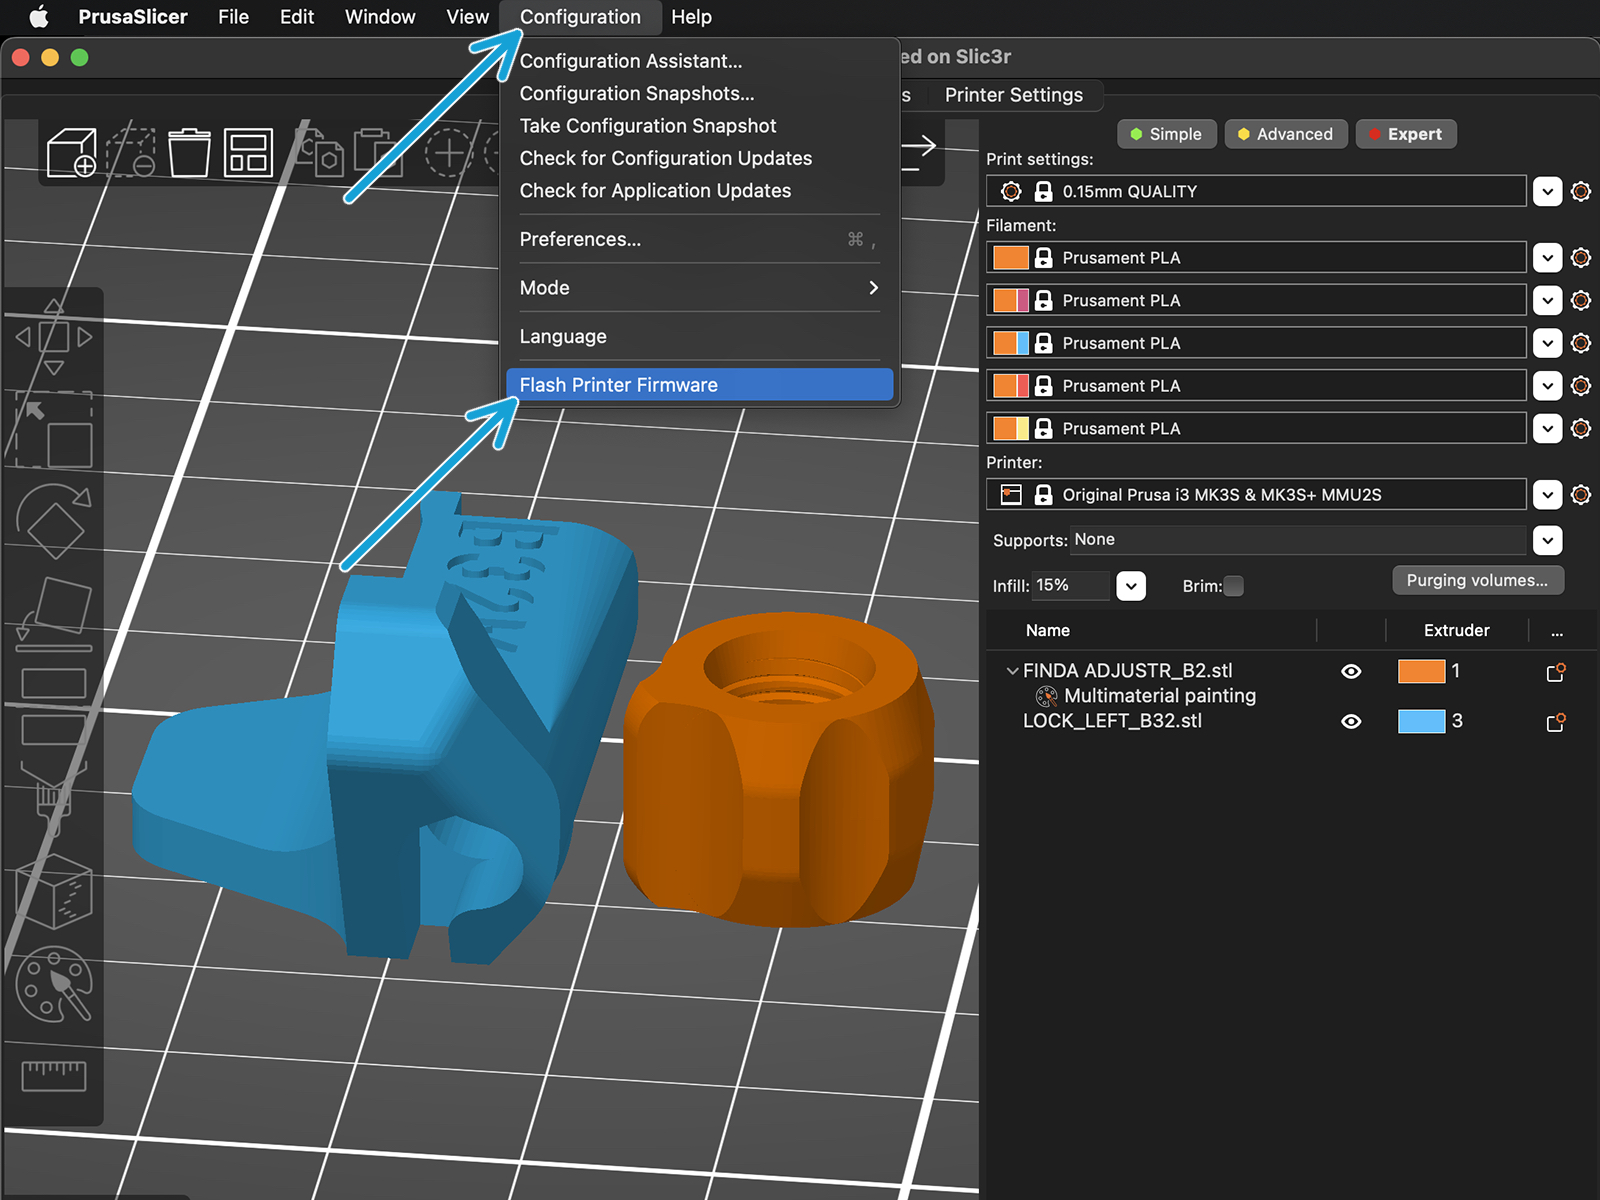
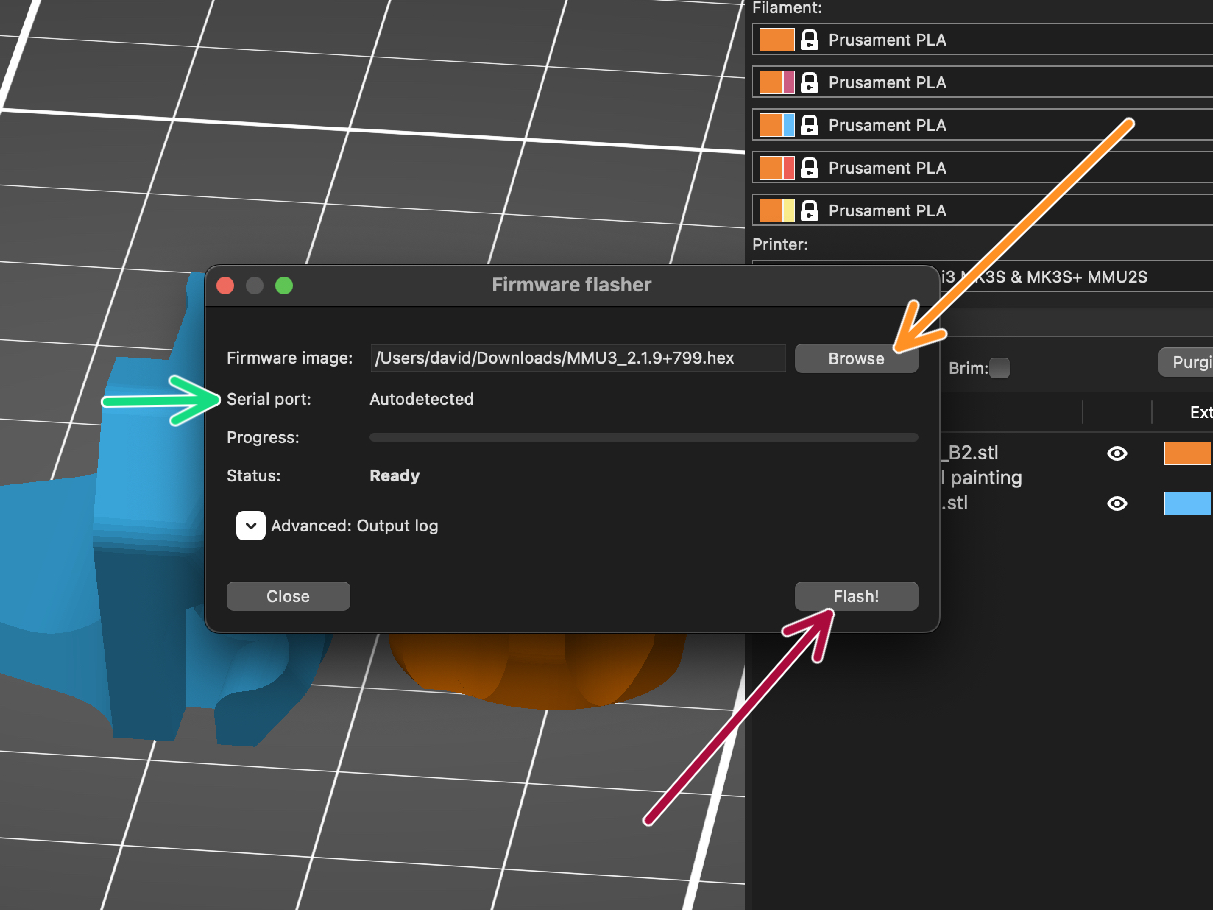
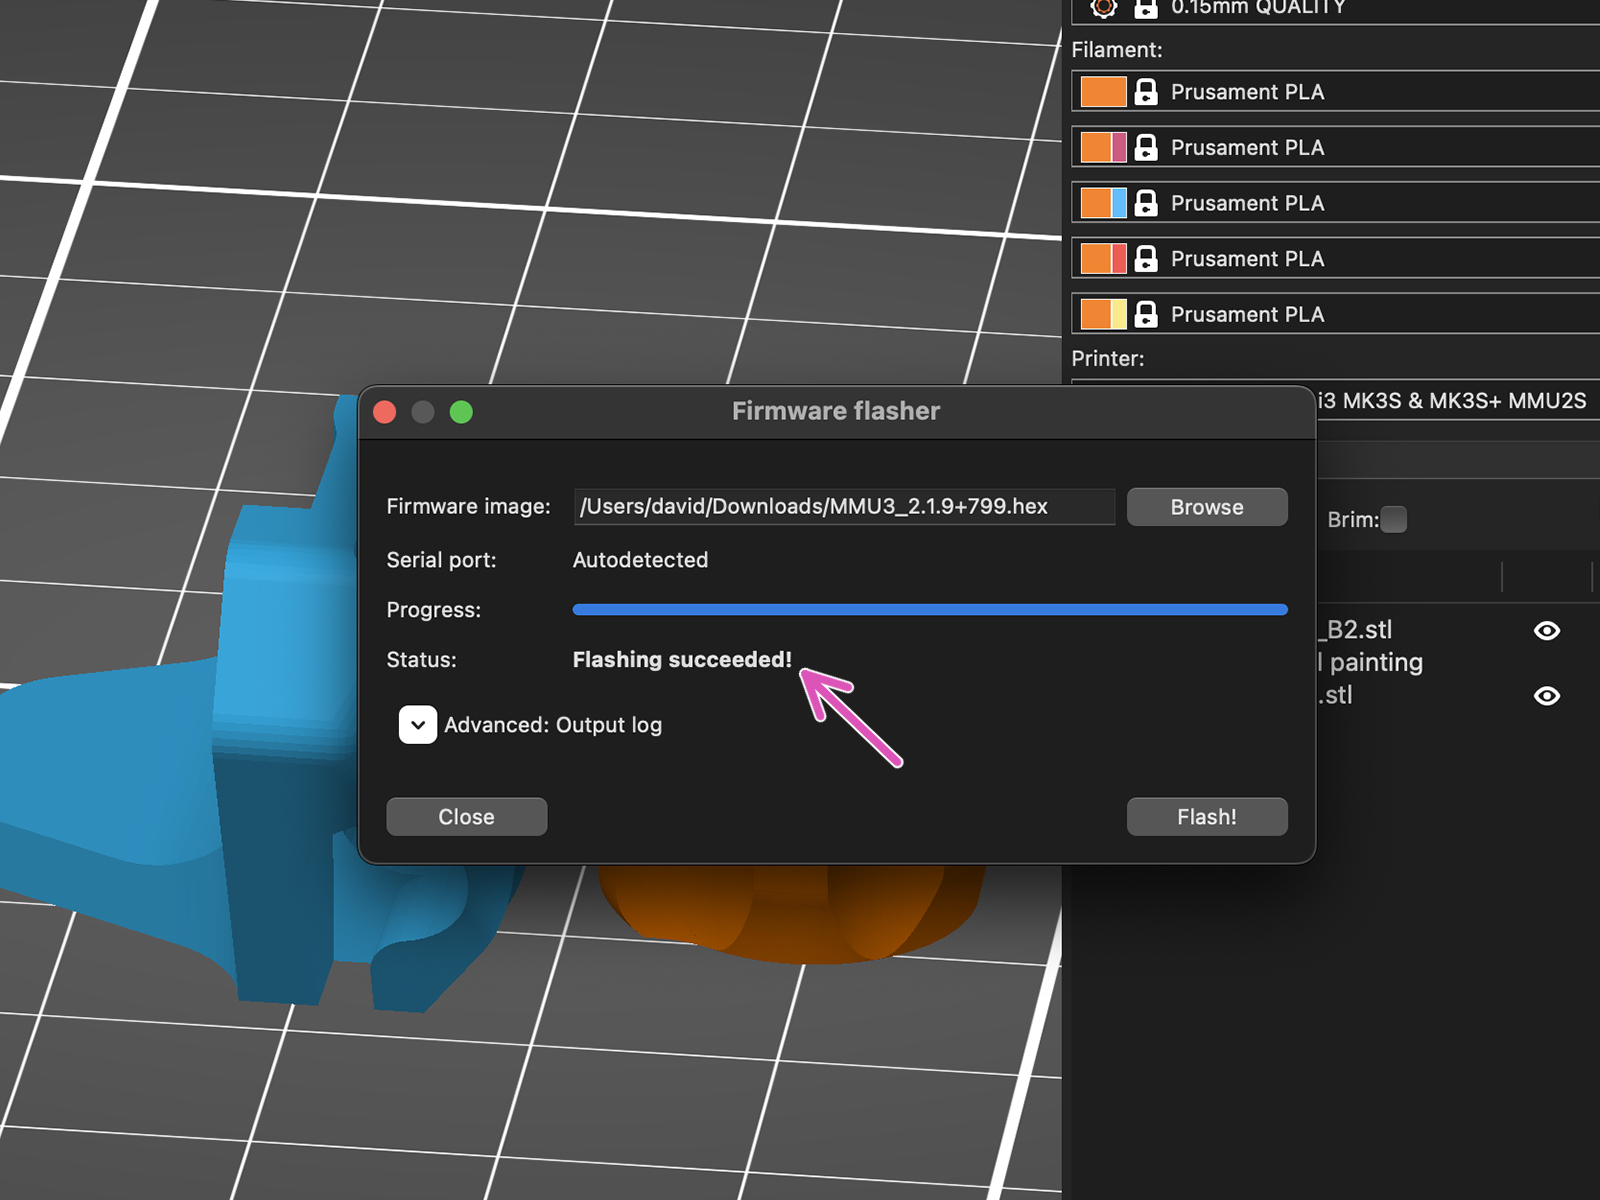
Update the printer’s firmware. First, transfer the firmware file onto a USB drive.
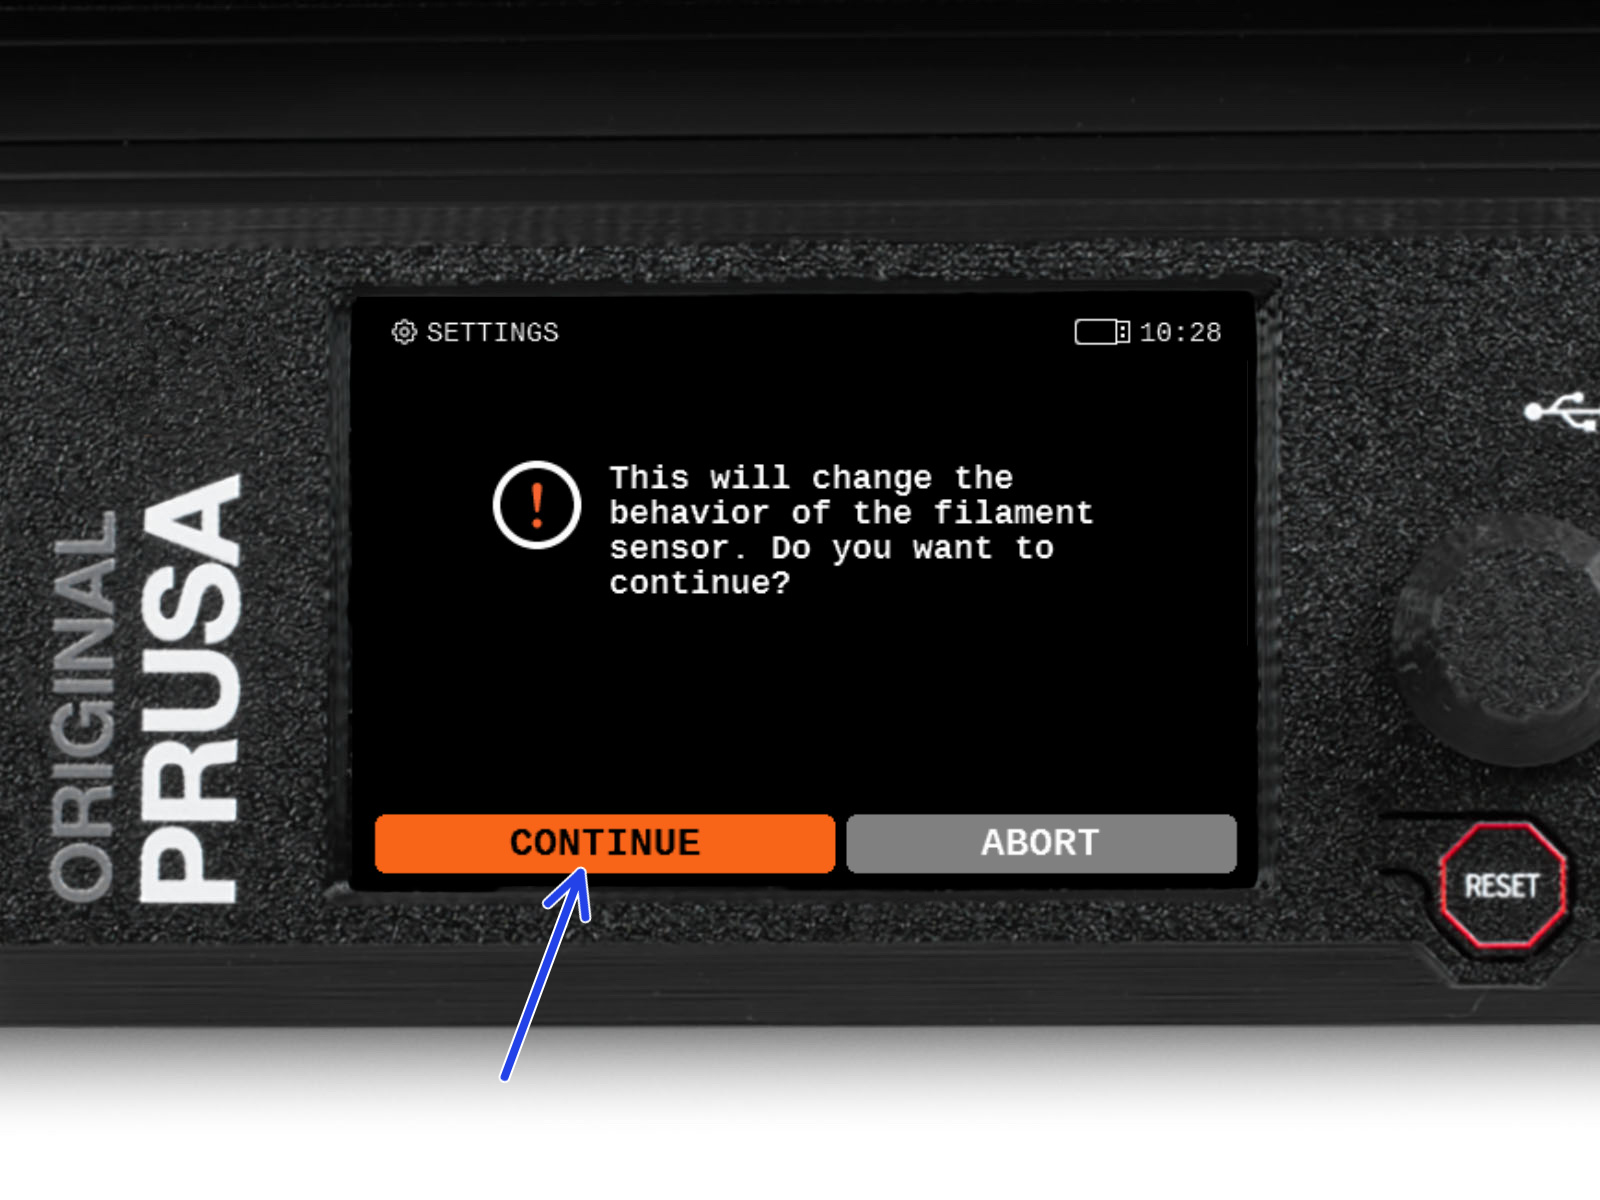
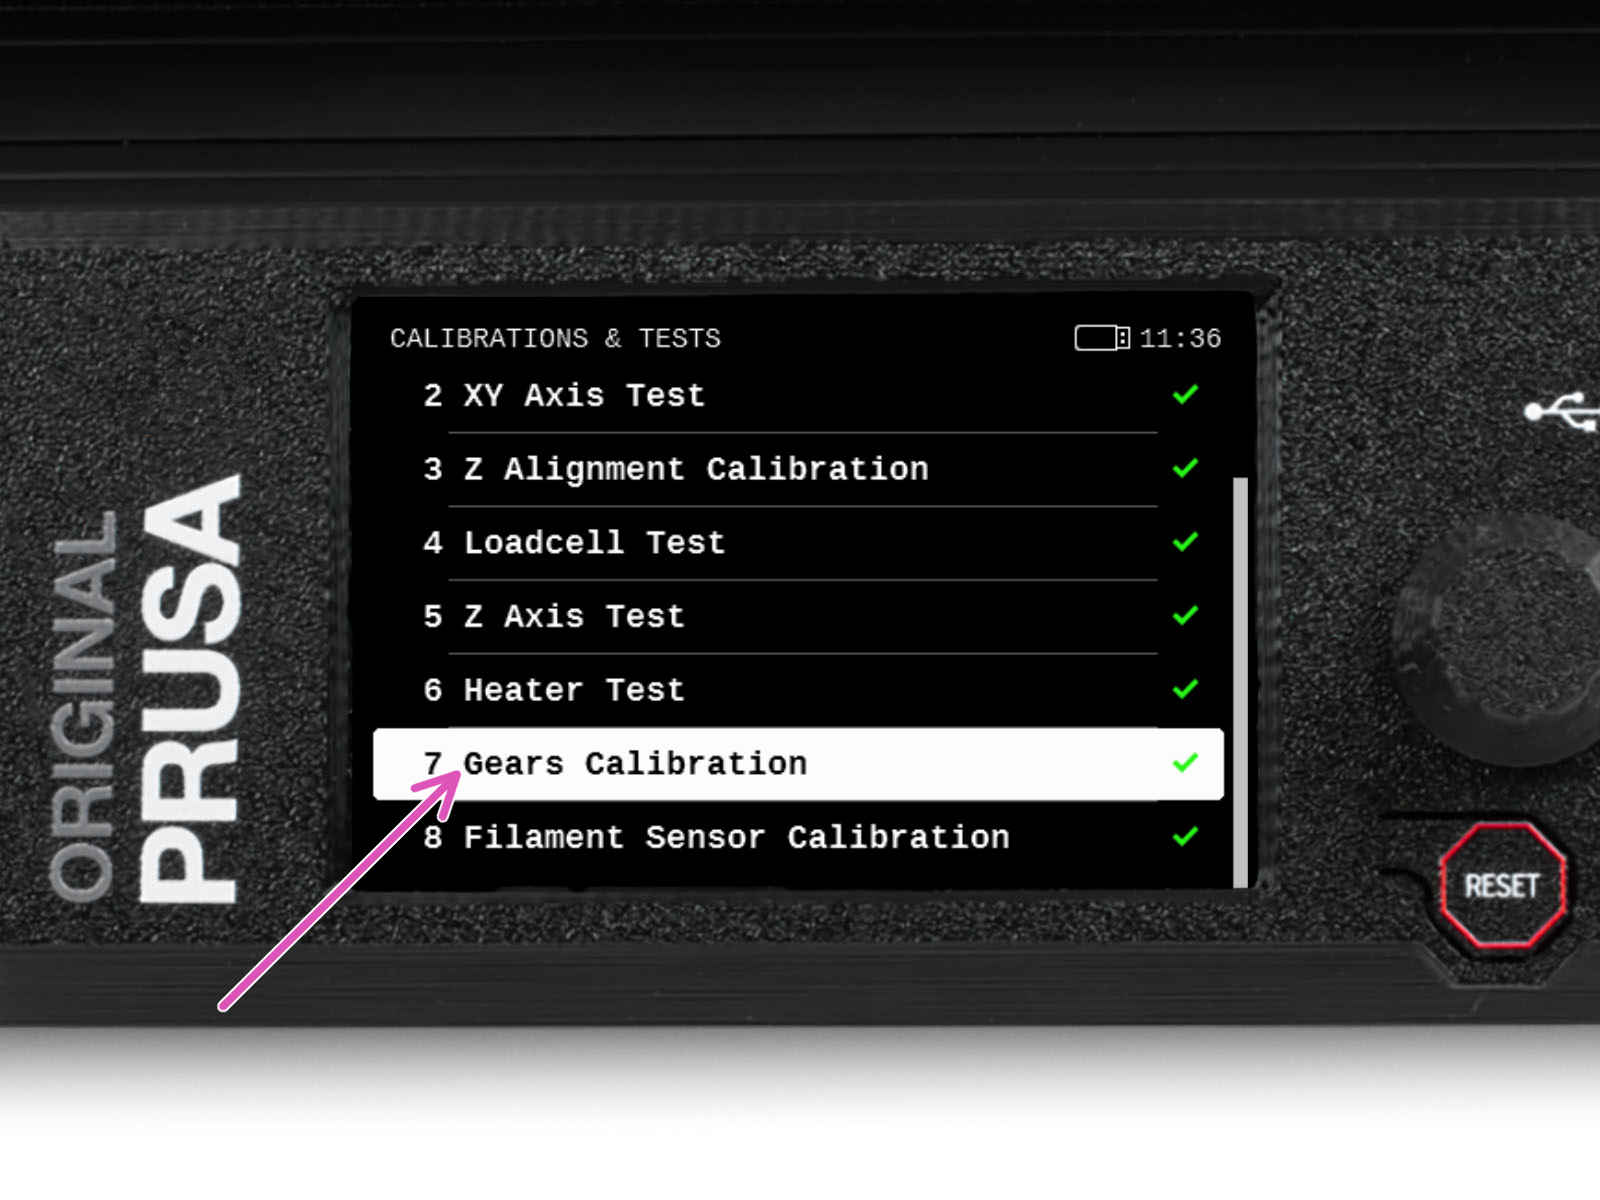
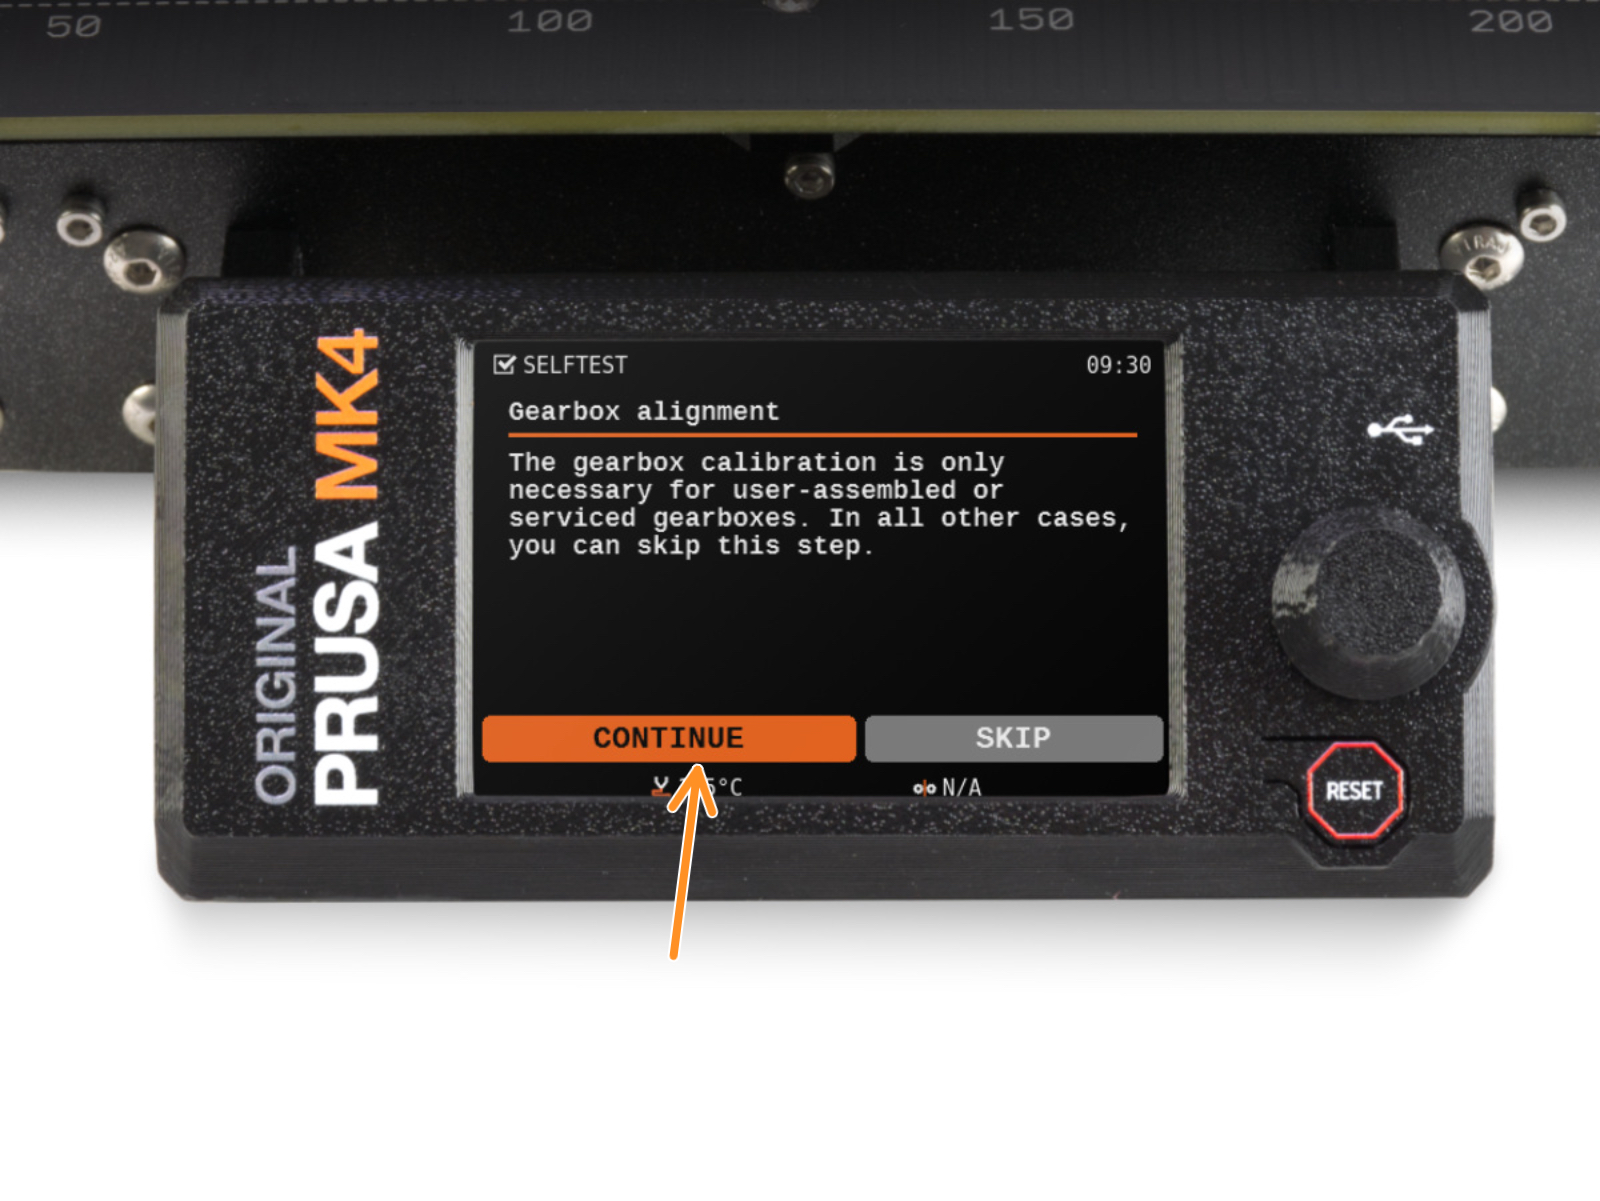
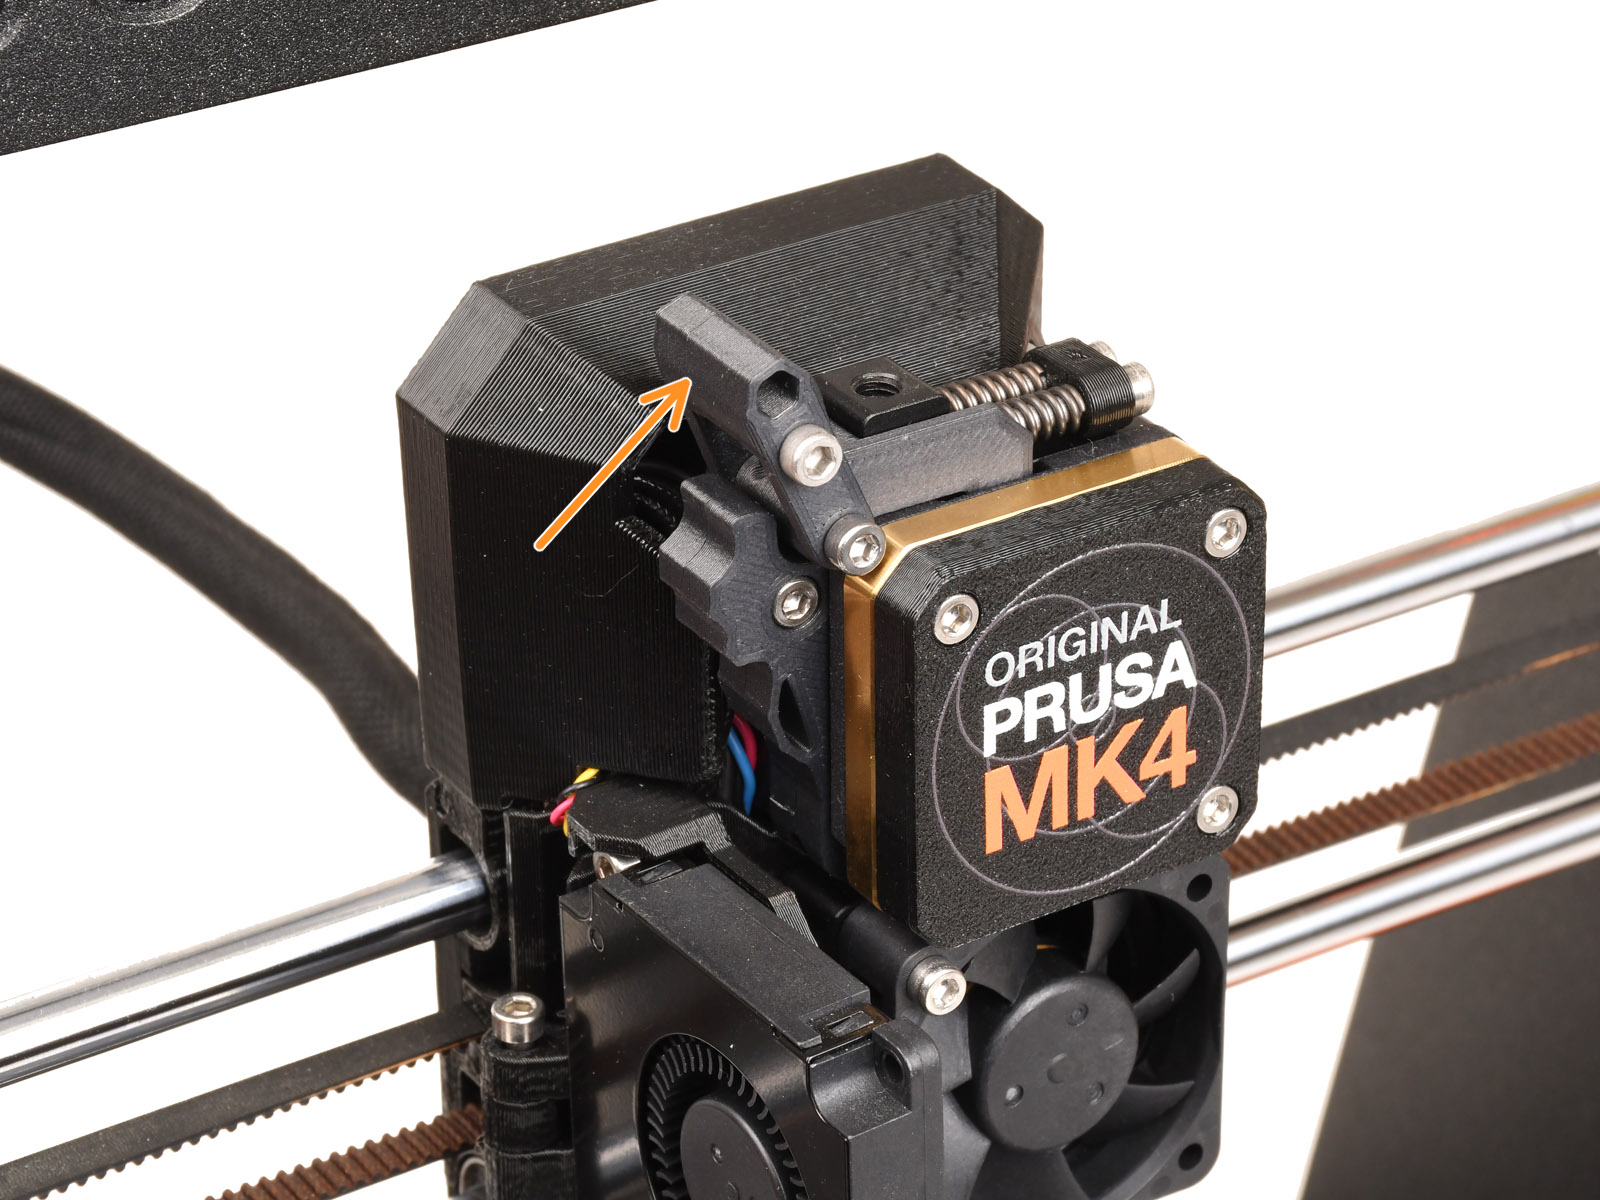
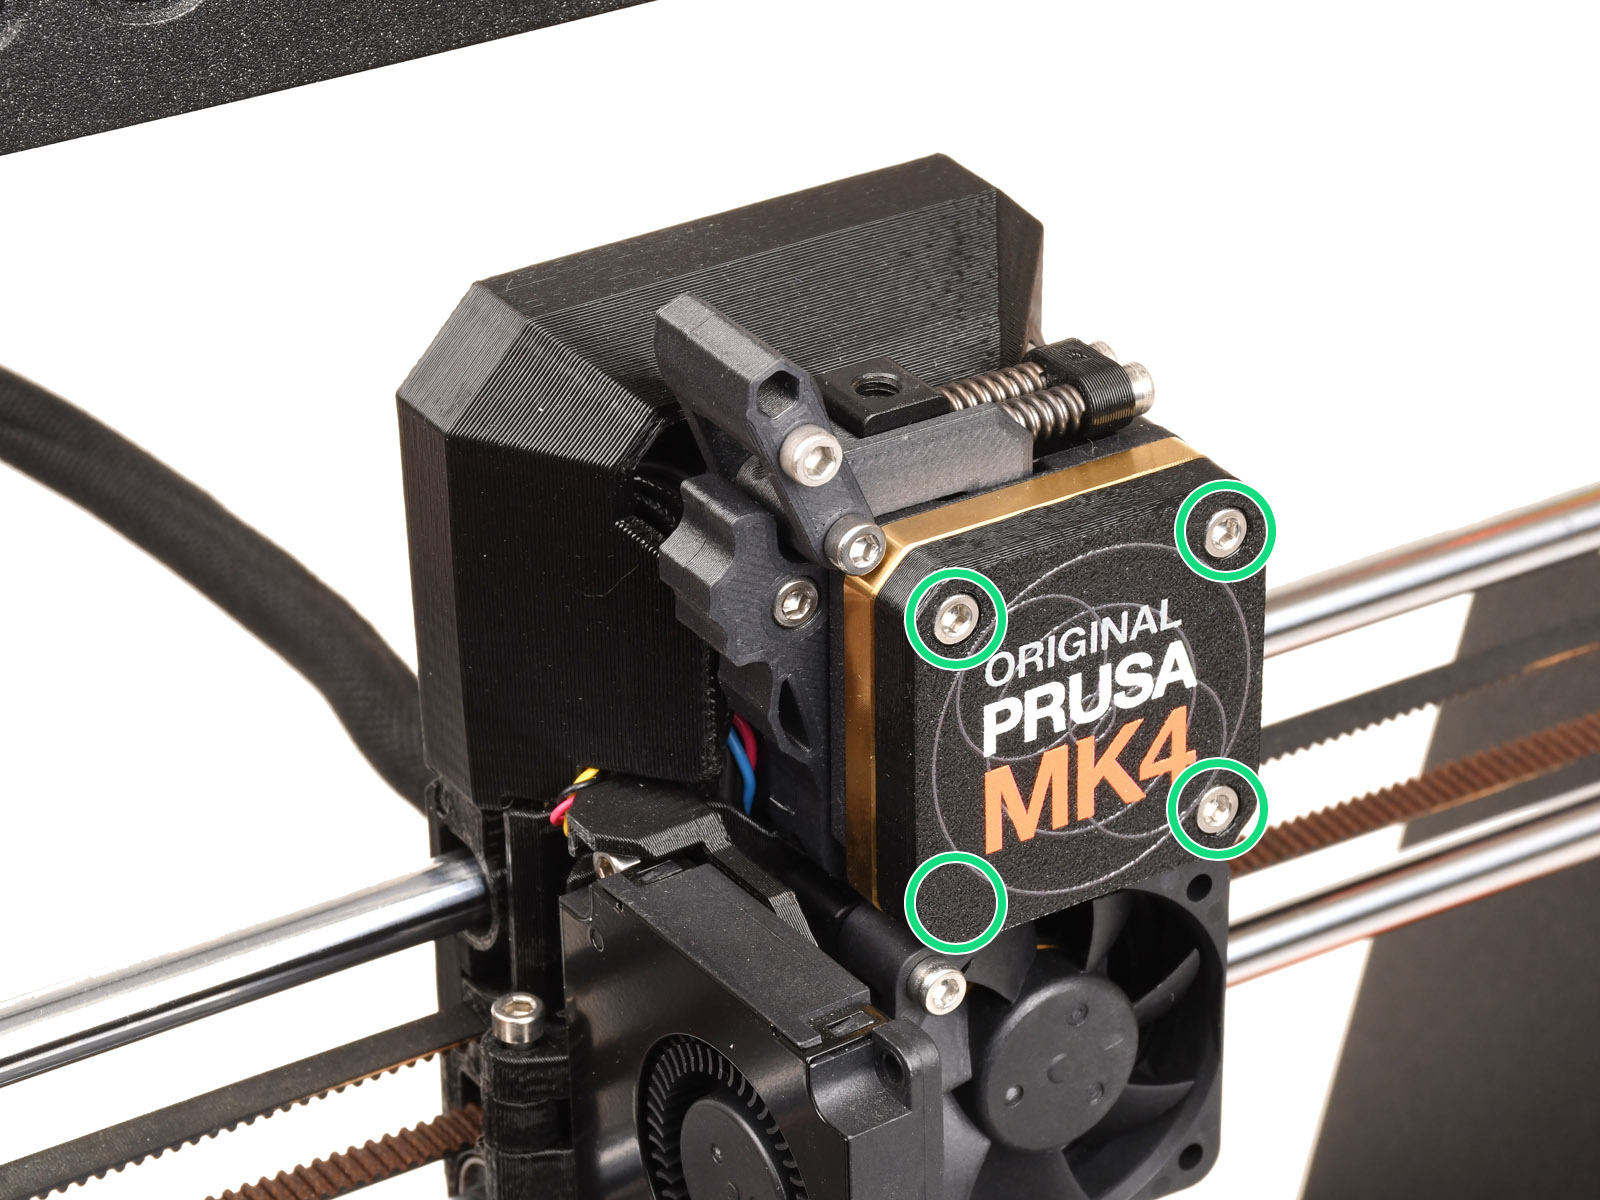
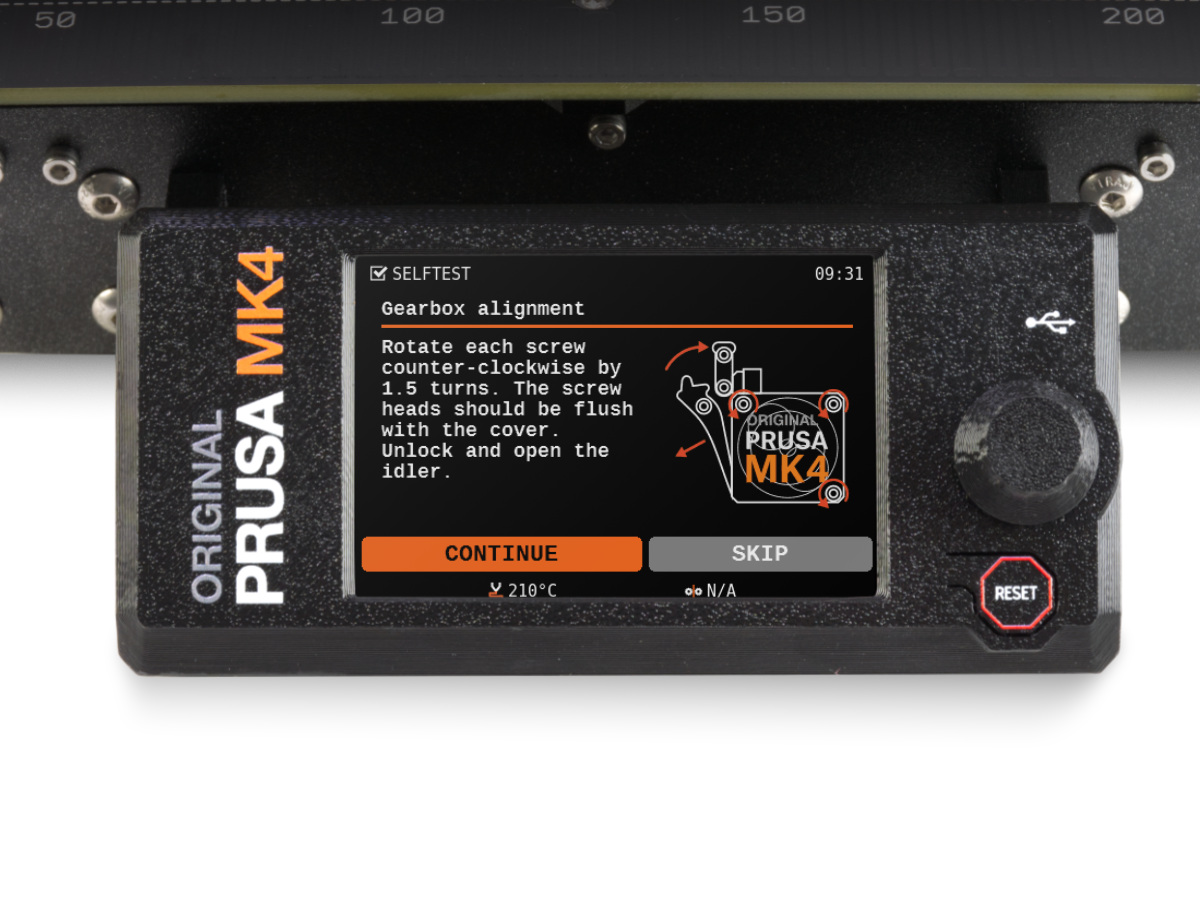
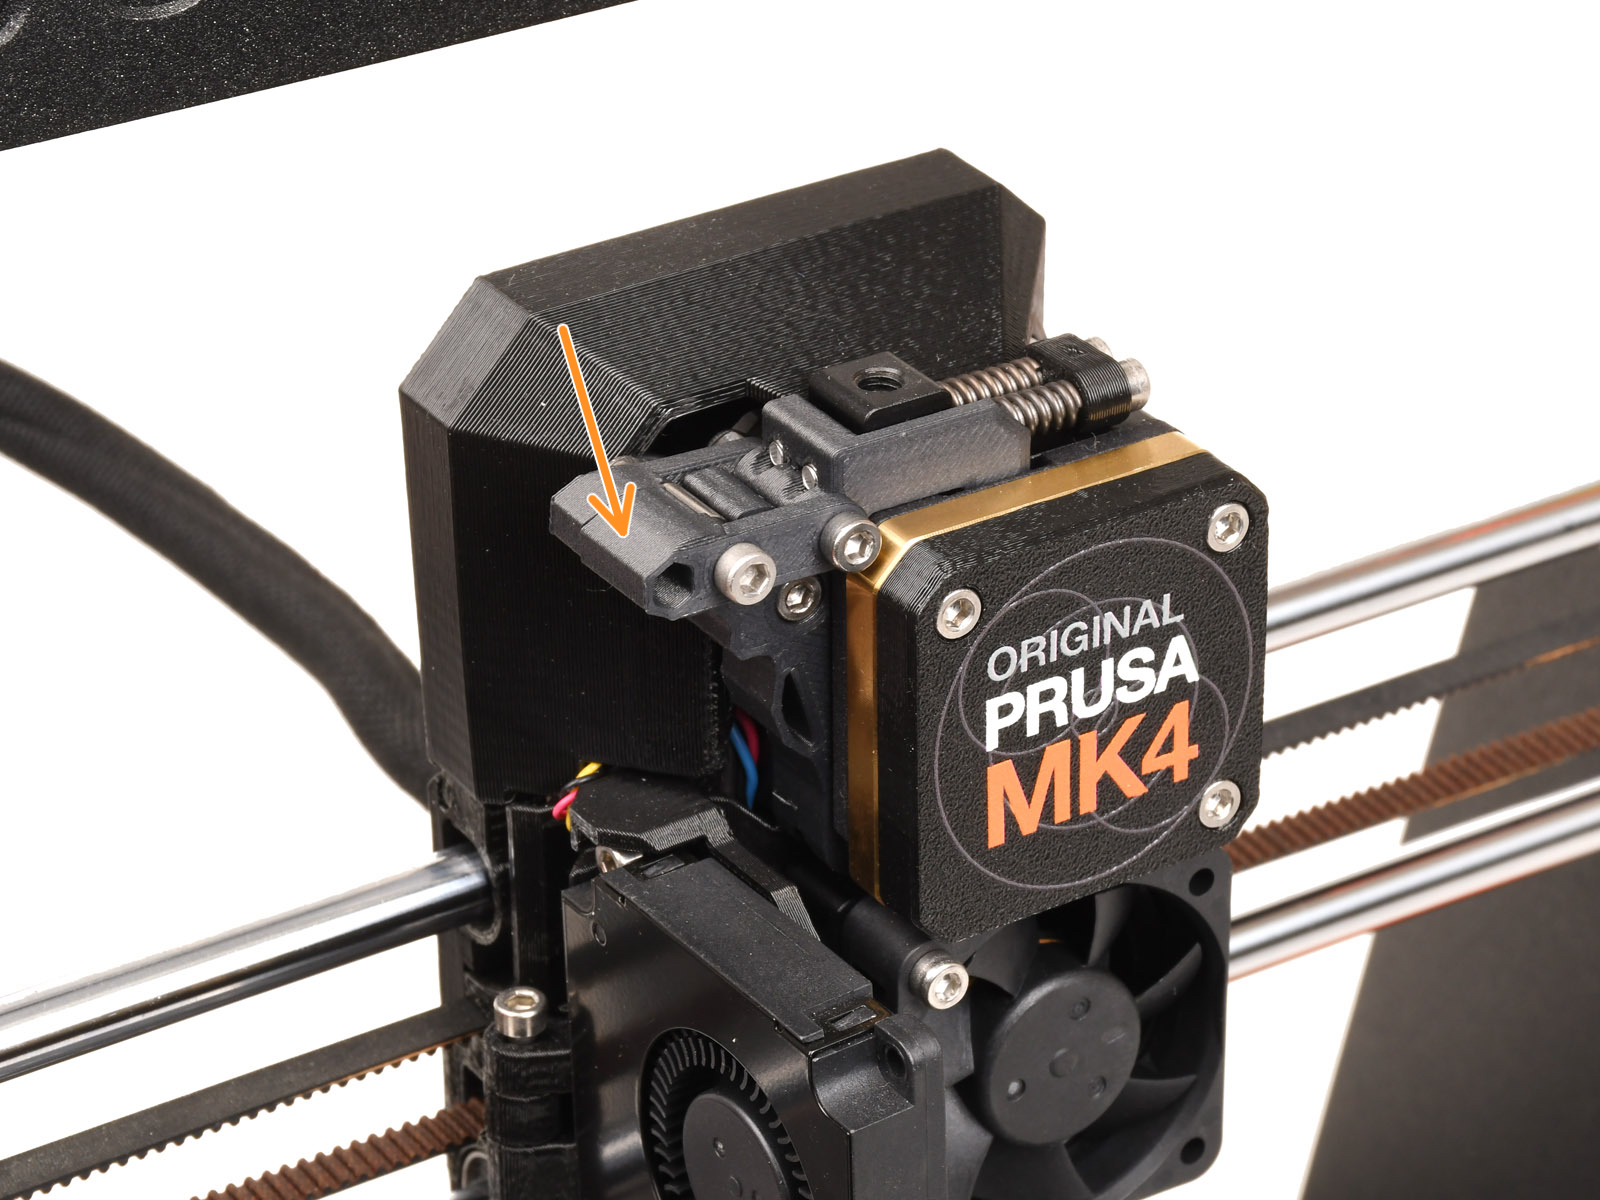
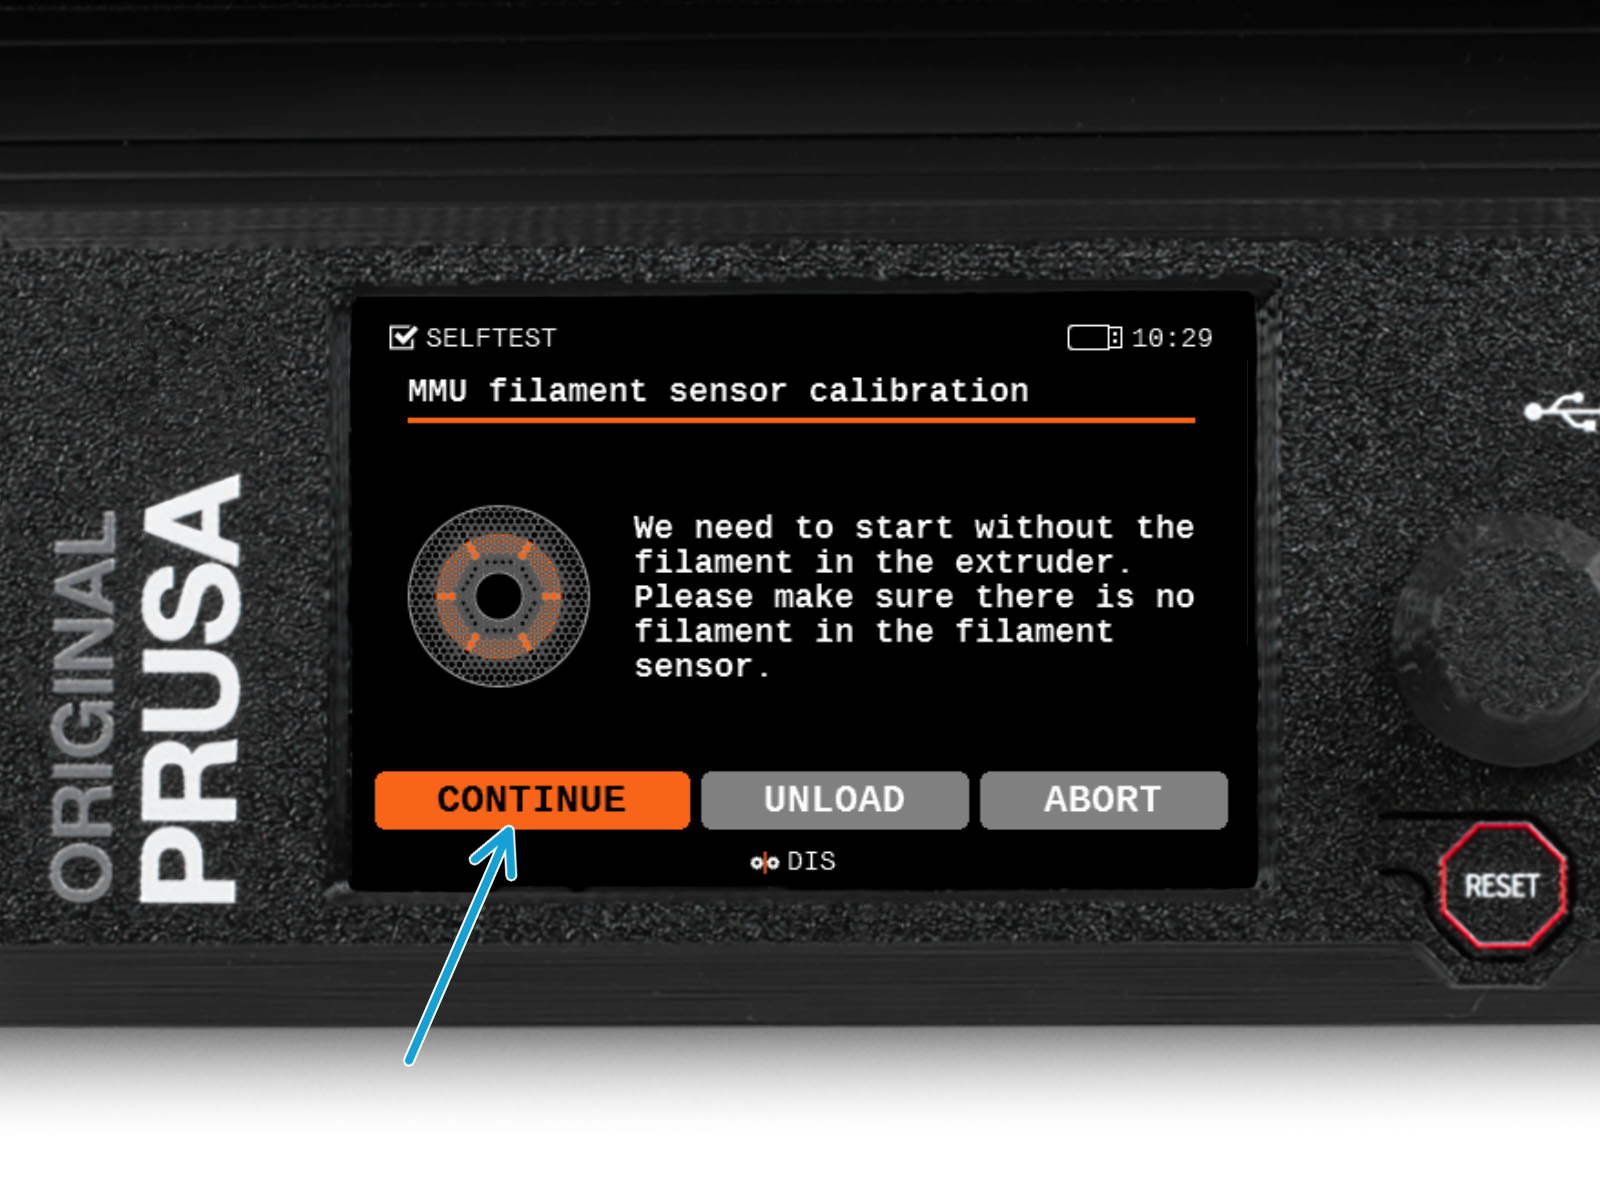
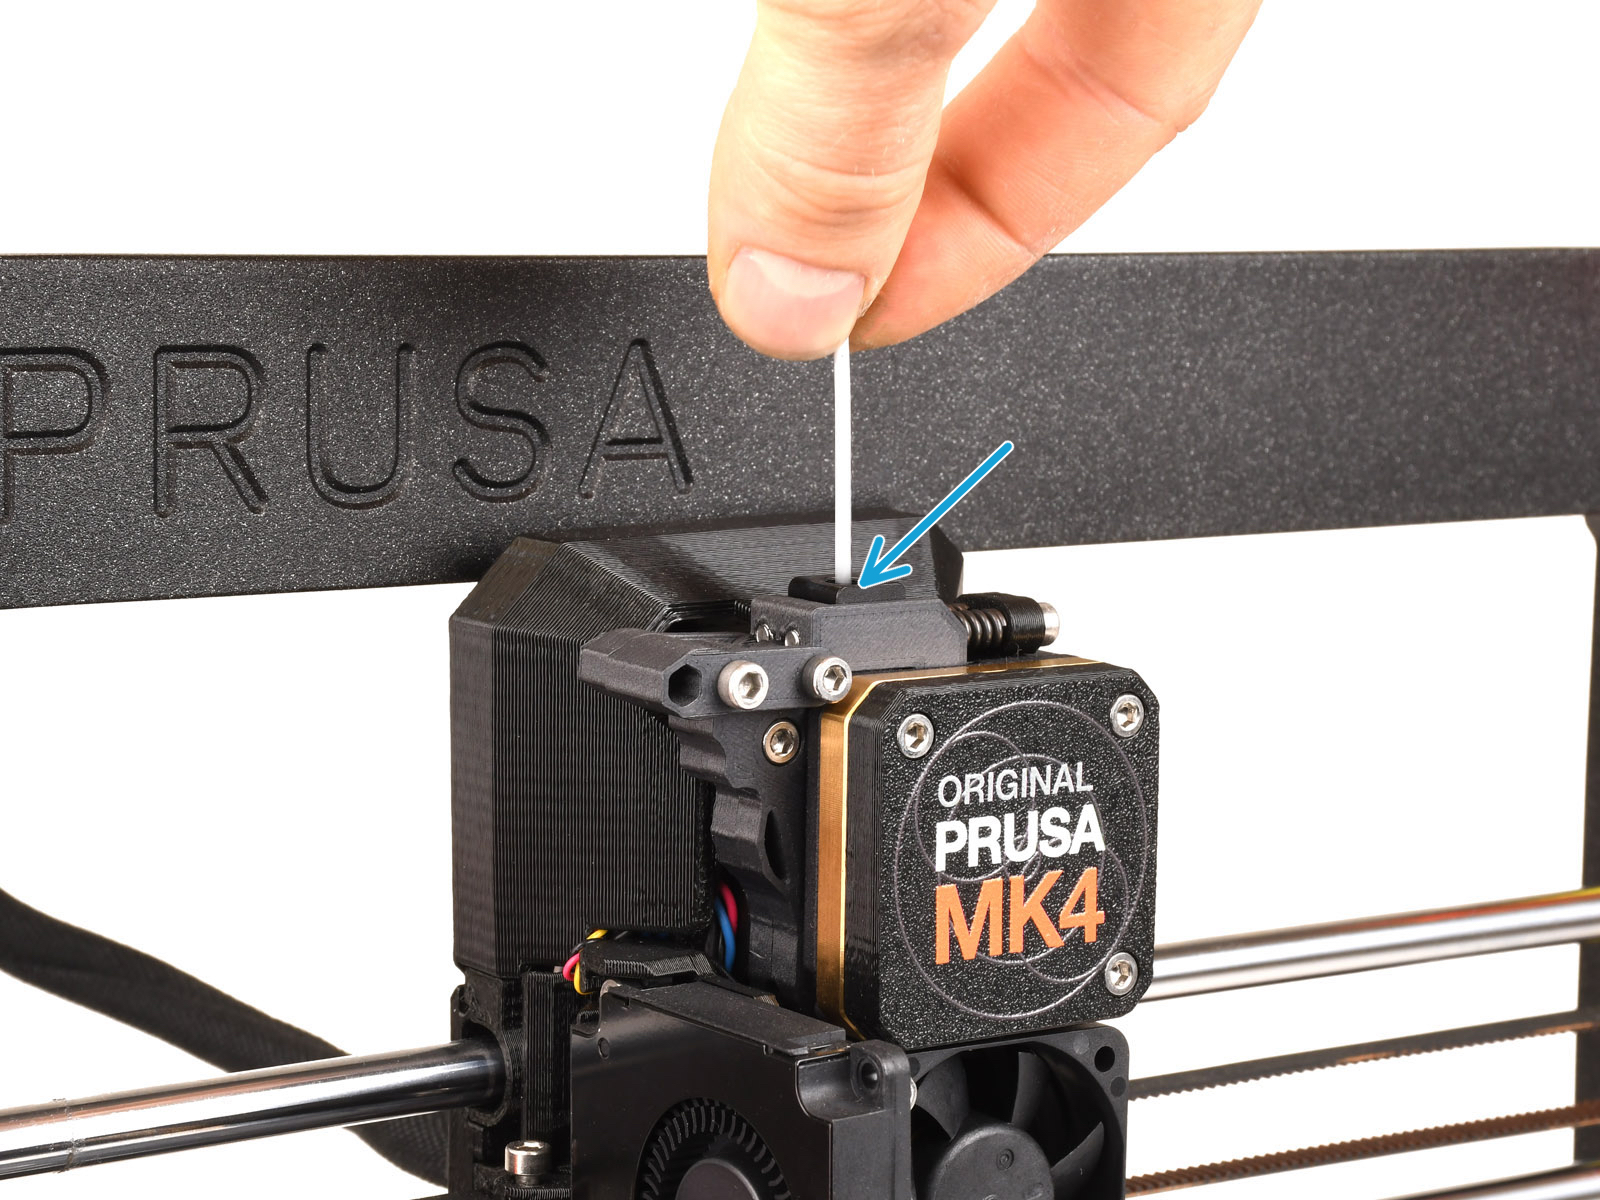
During the filament sensor calibration, you will need to use a short piece of filament. Prepare a filament and select Continue.
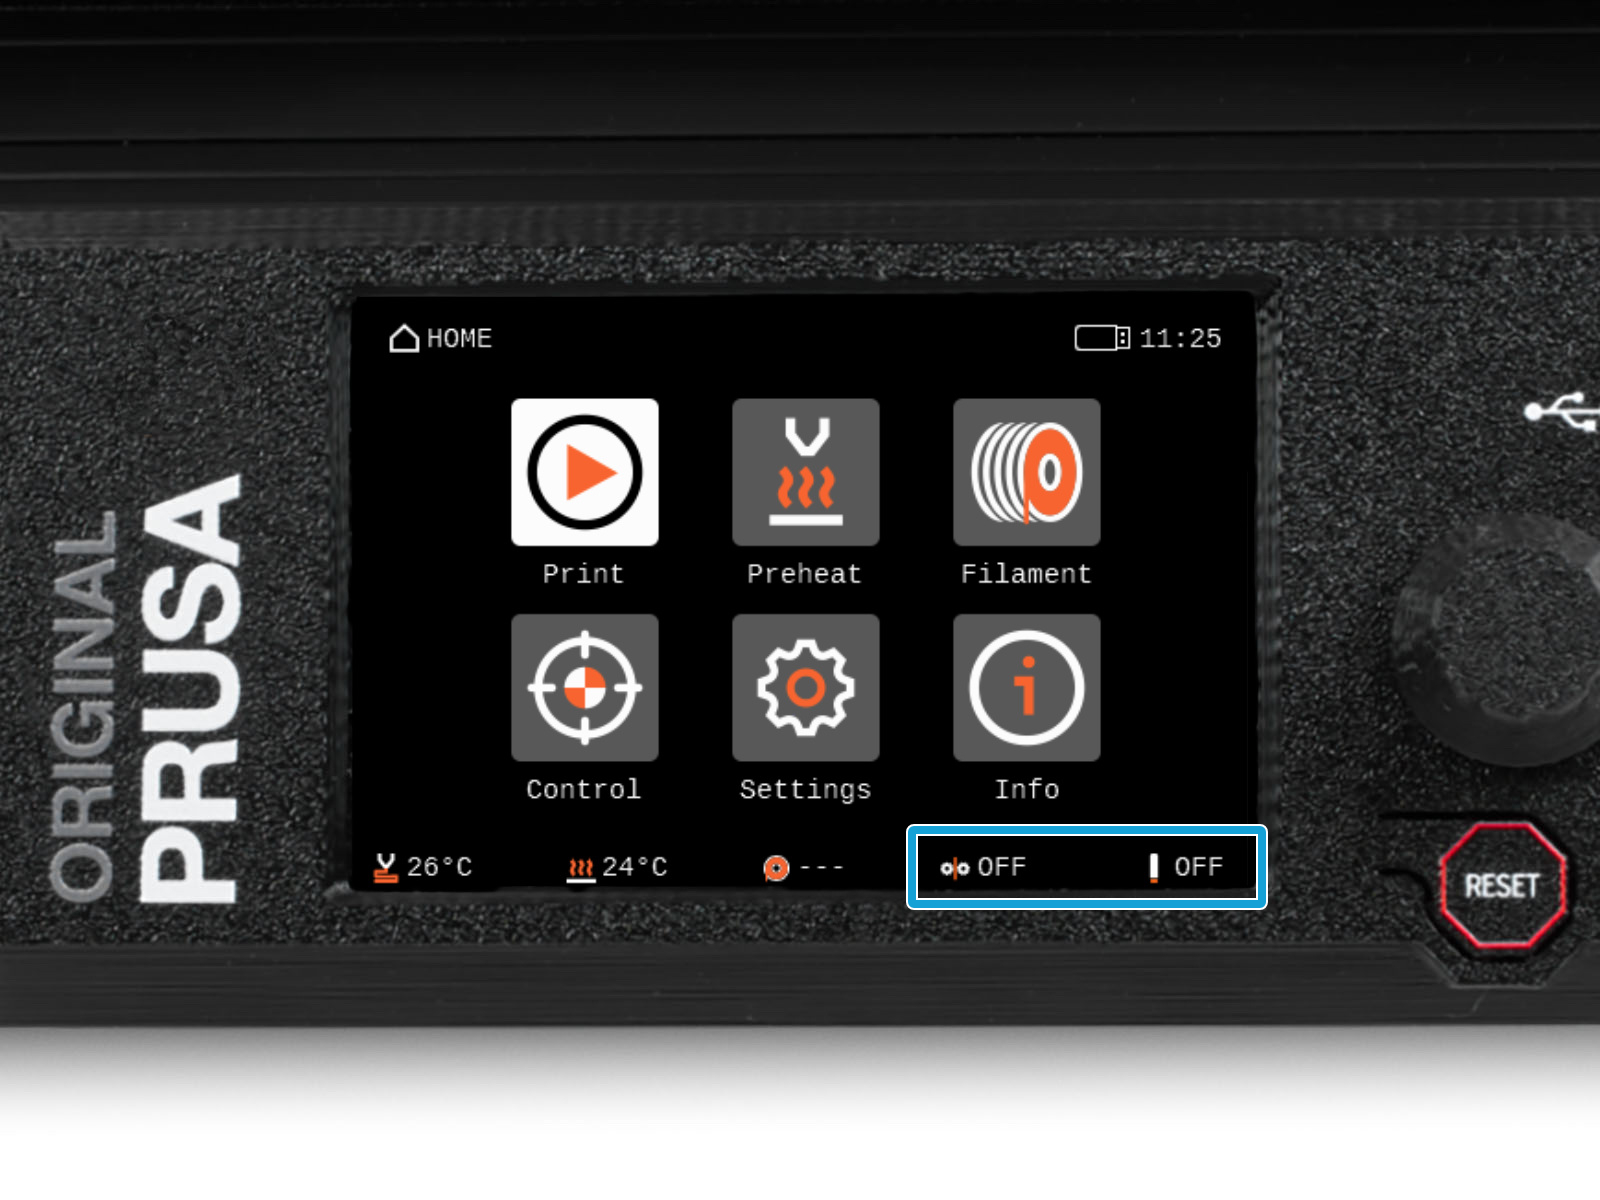
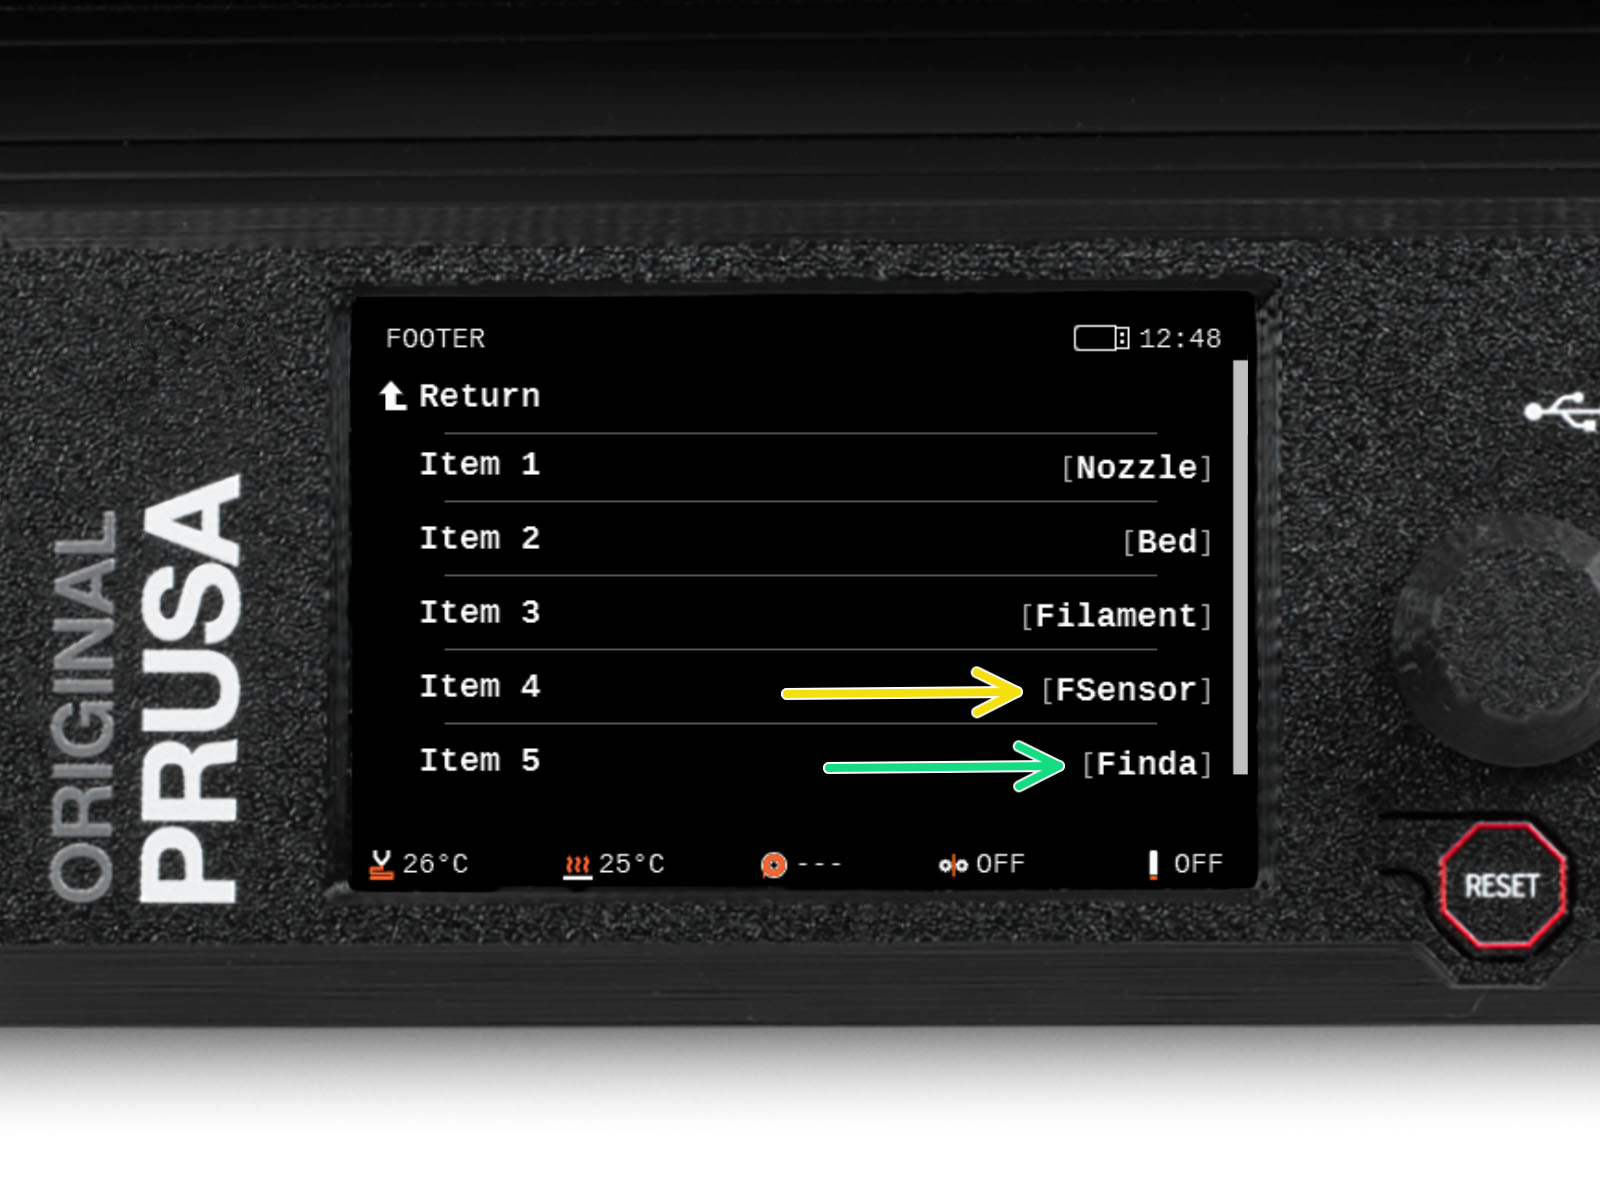
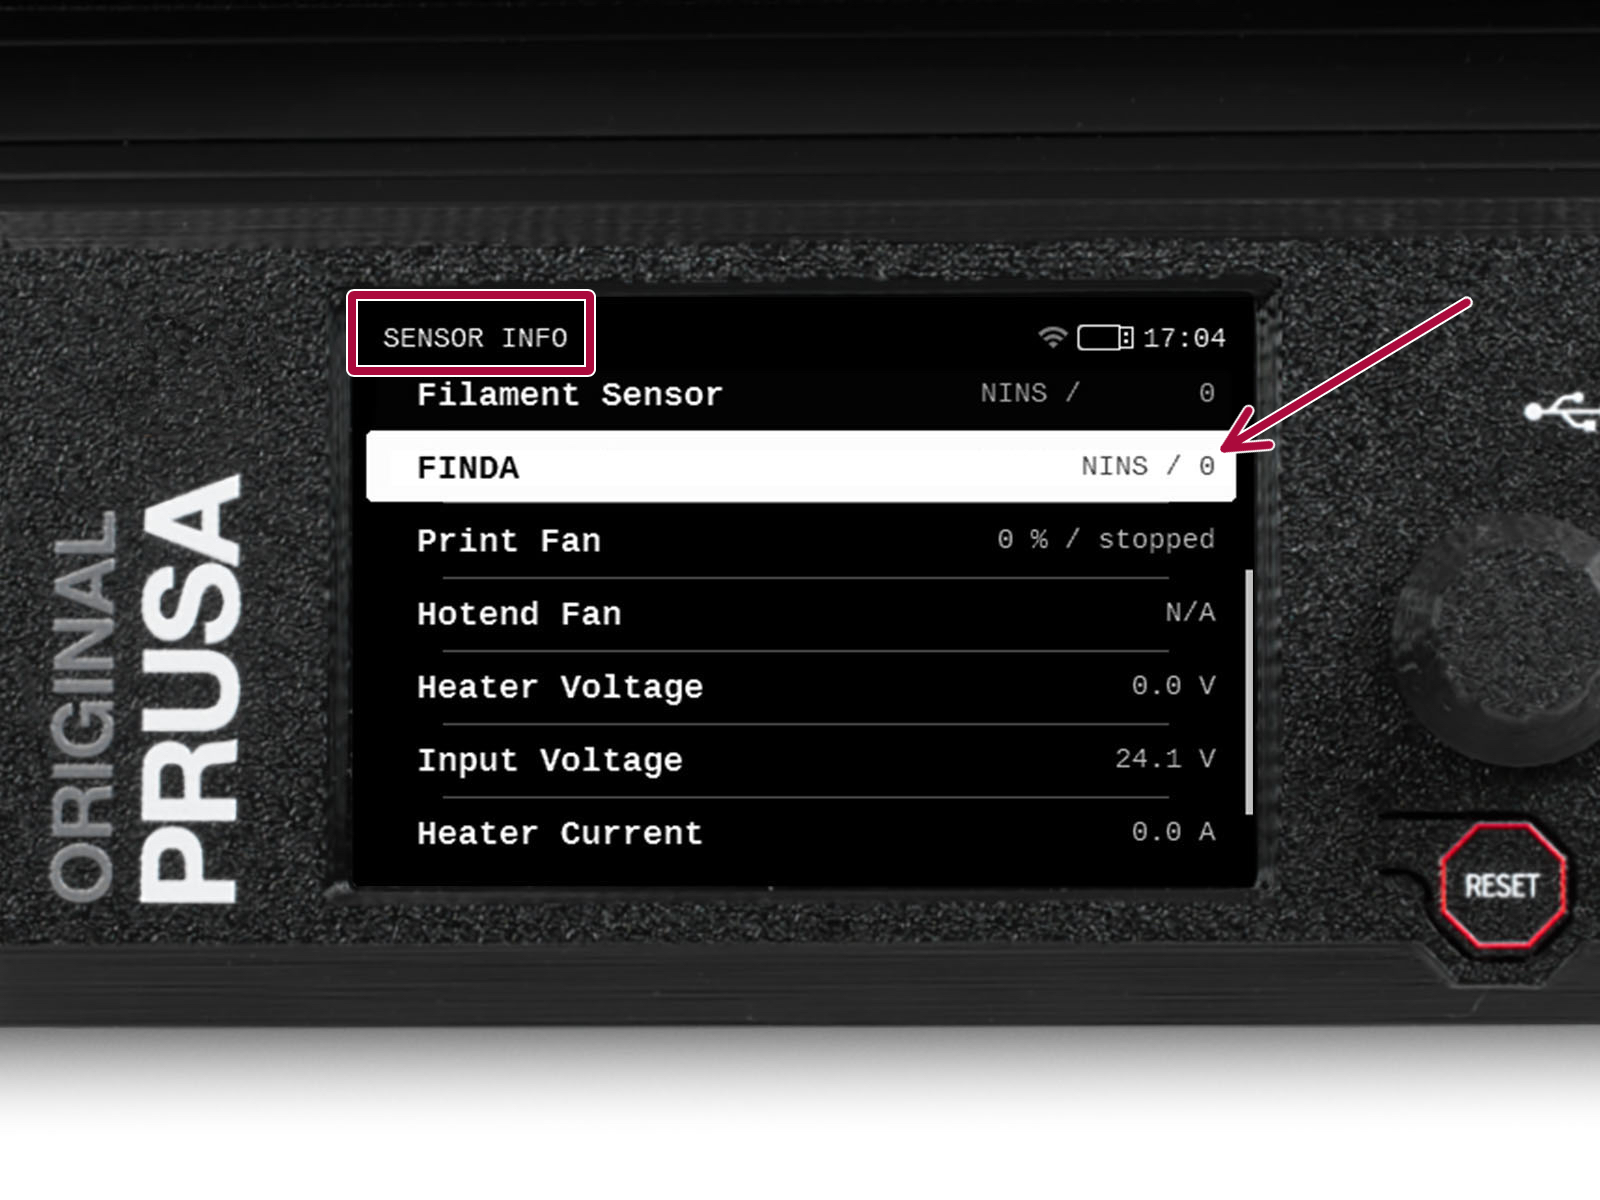
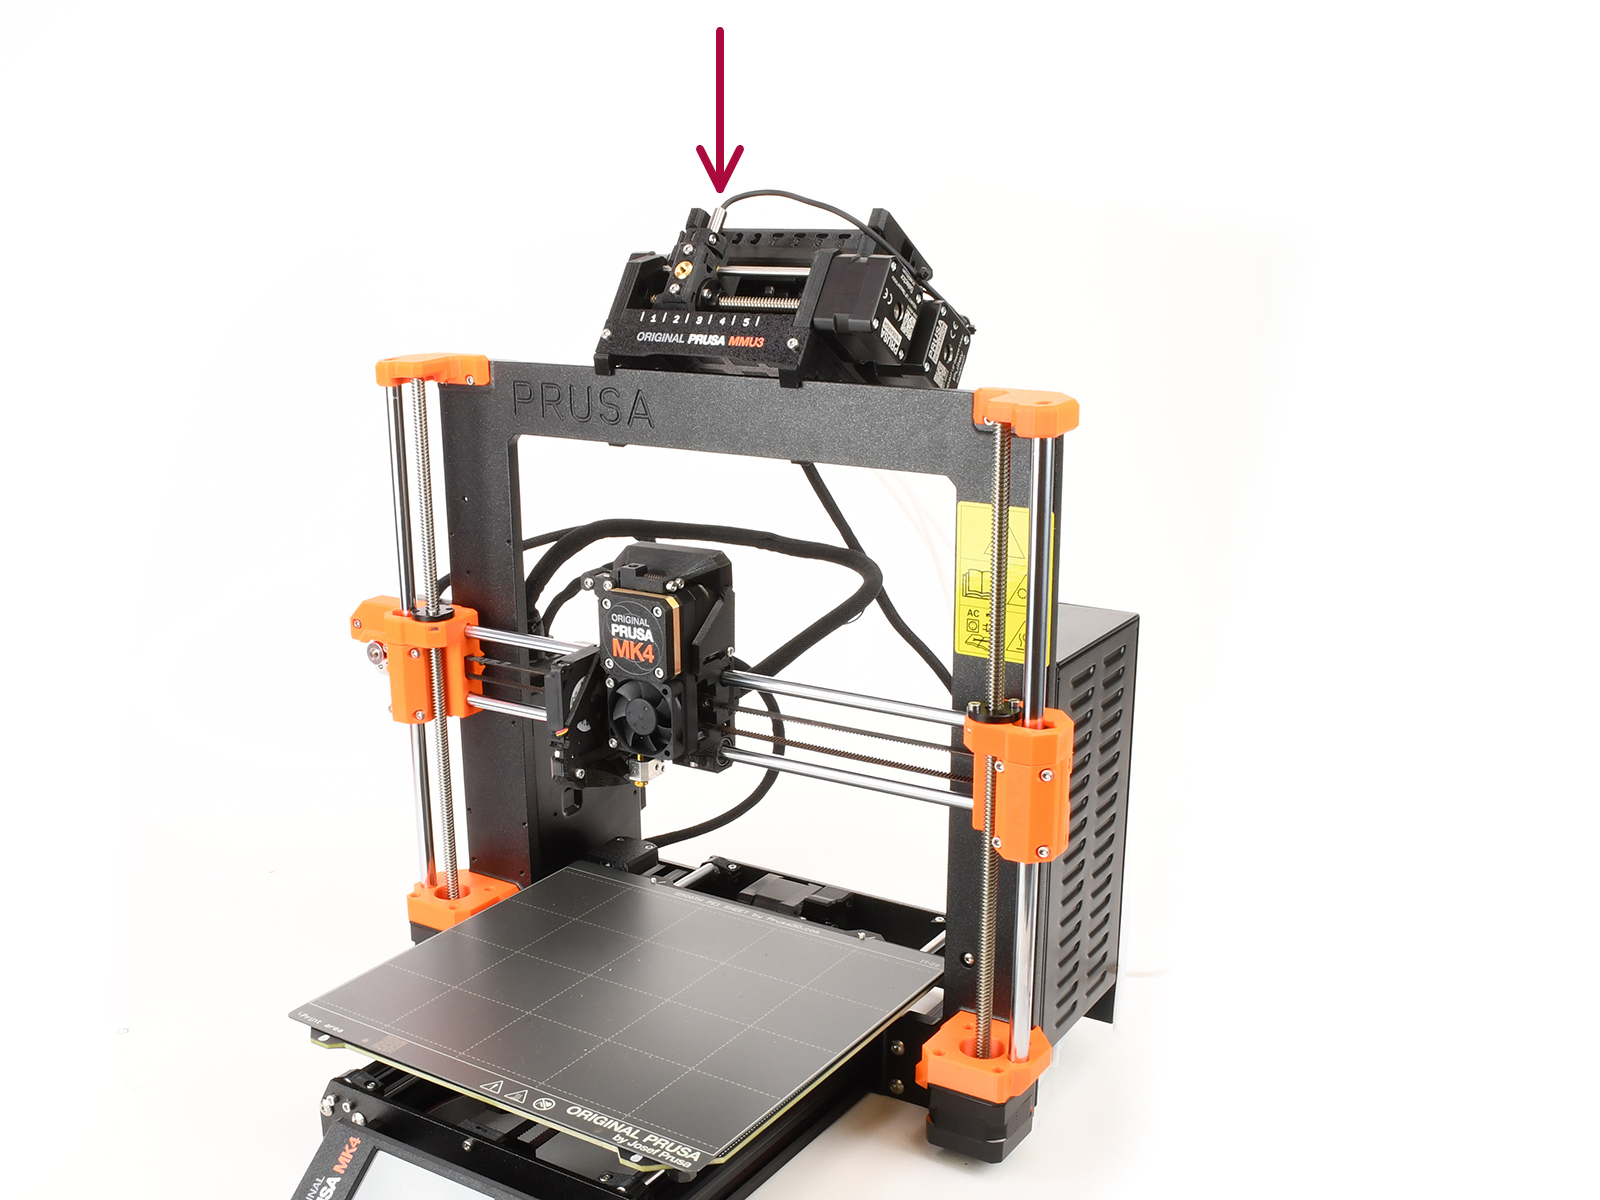
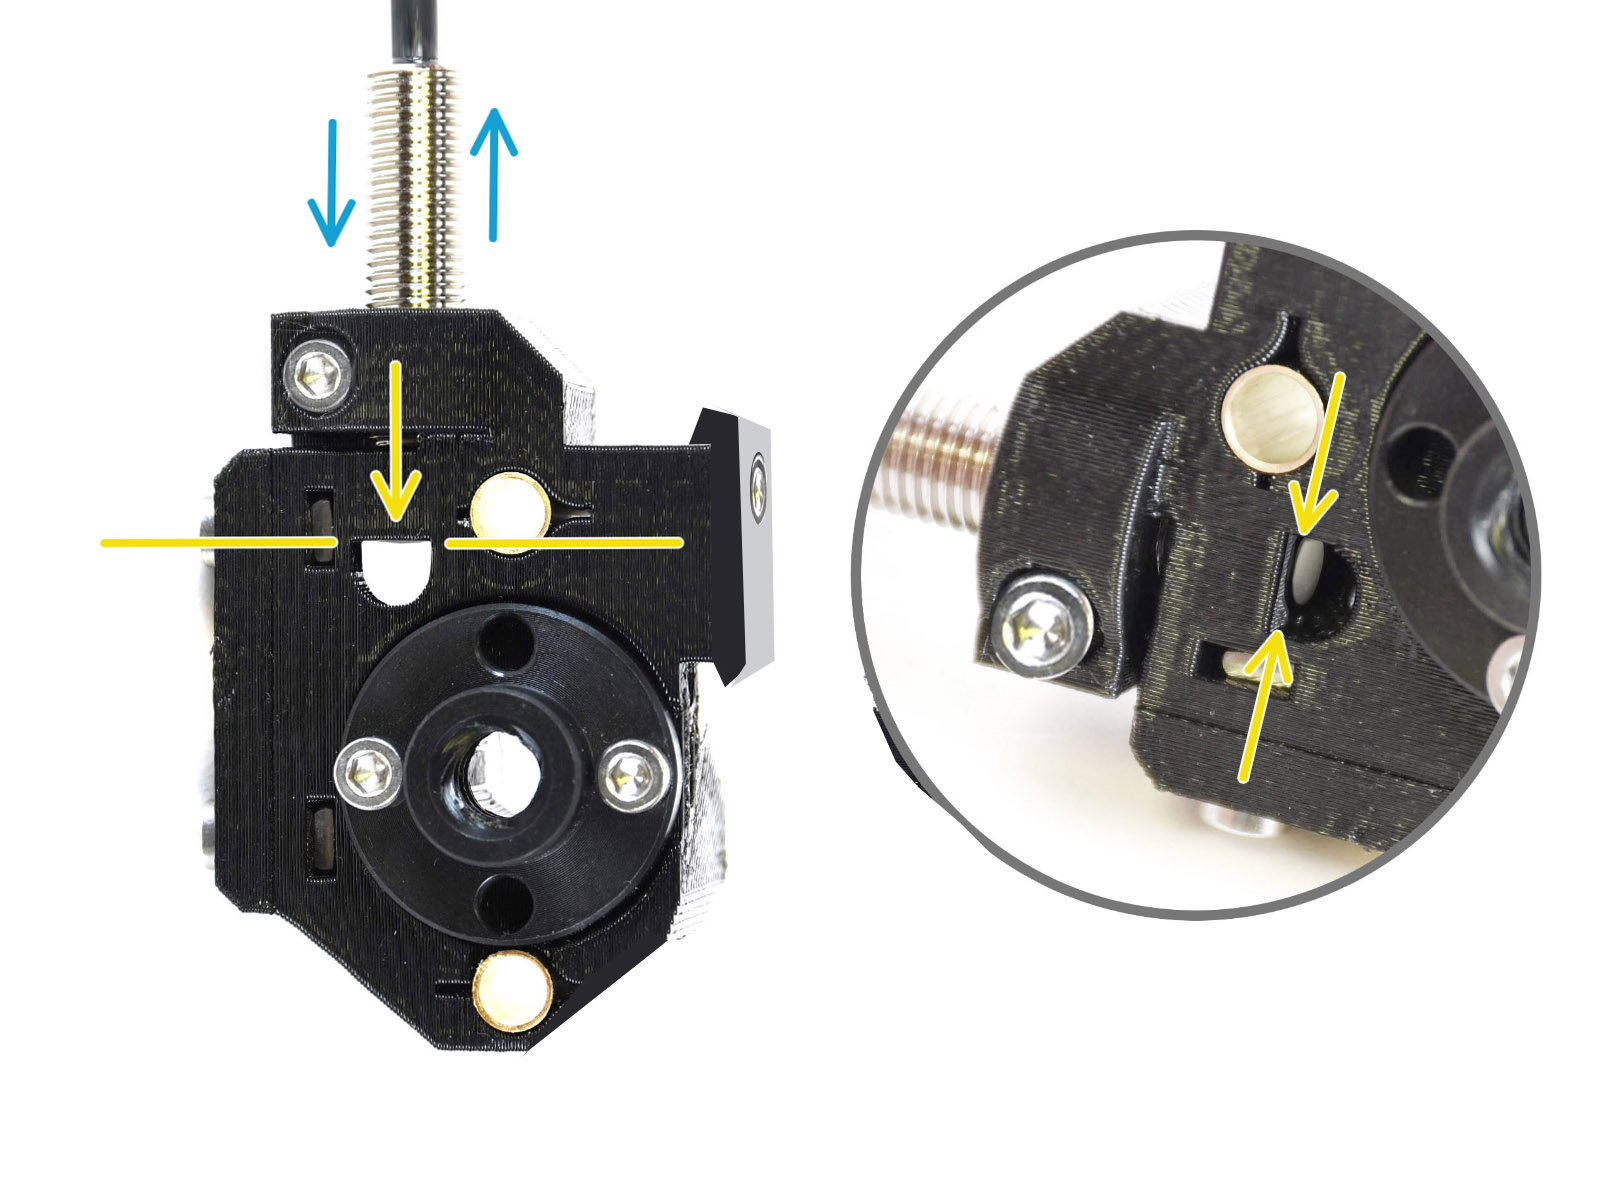
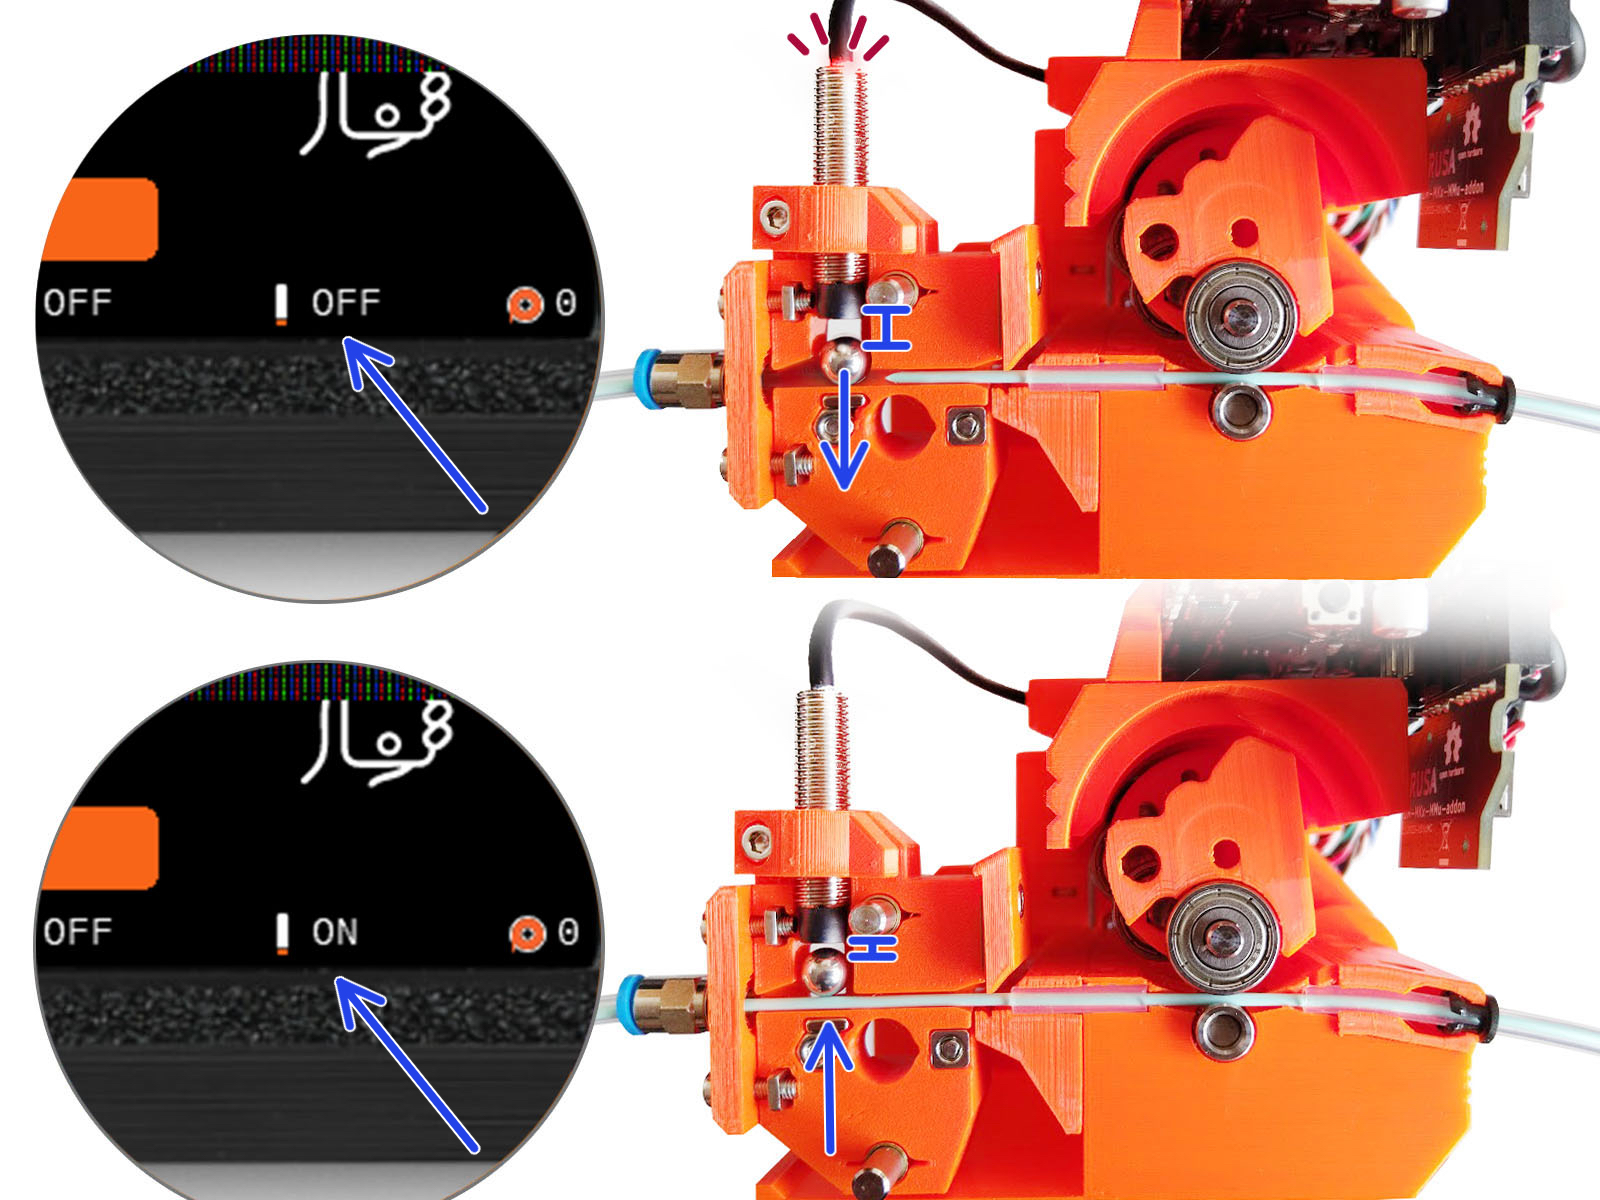
For factory-assembled MMU3 units, the SuperFINDA is pre-calibrated, so you can skip the calibration steps.
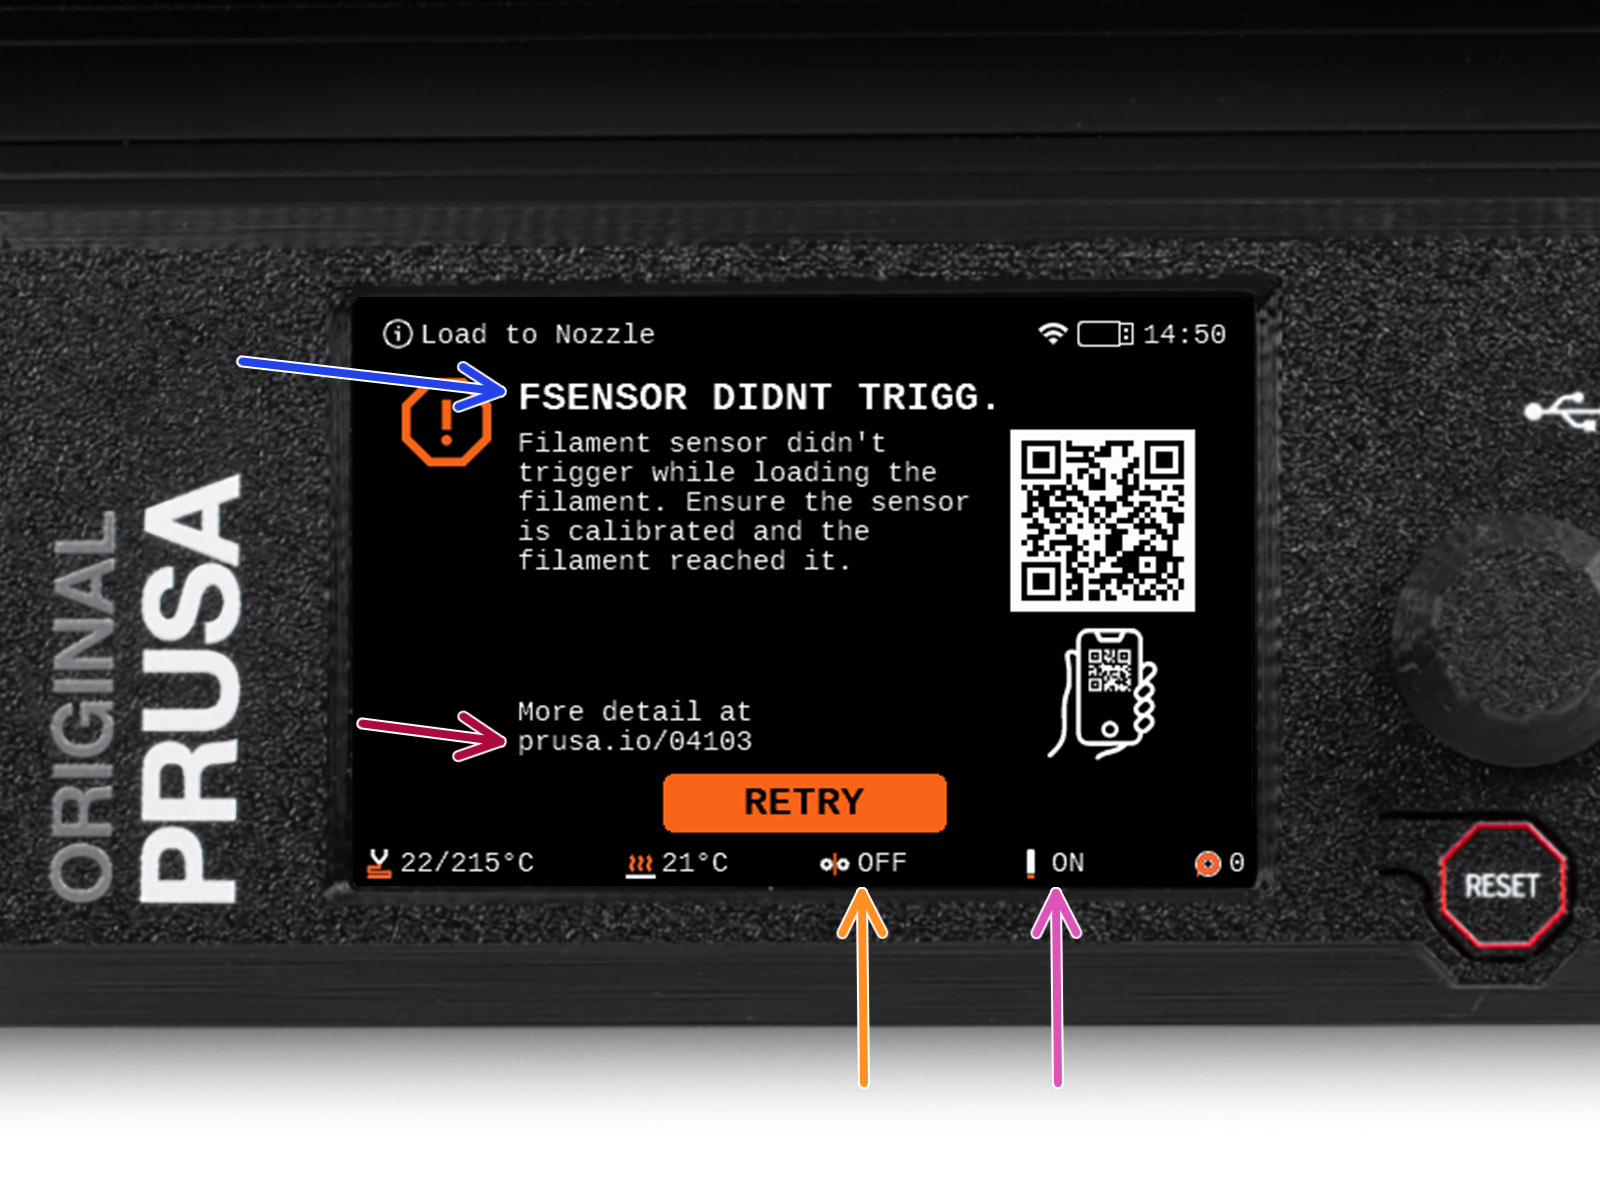
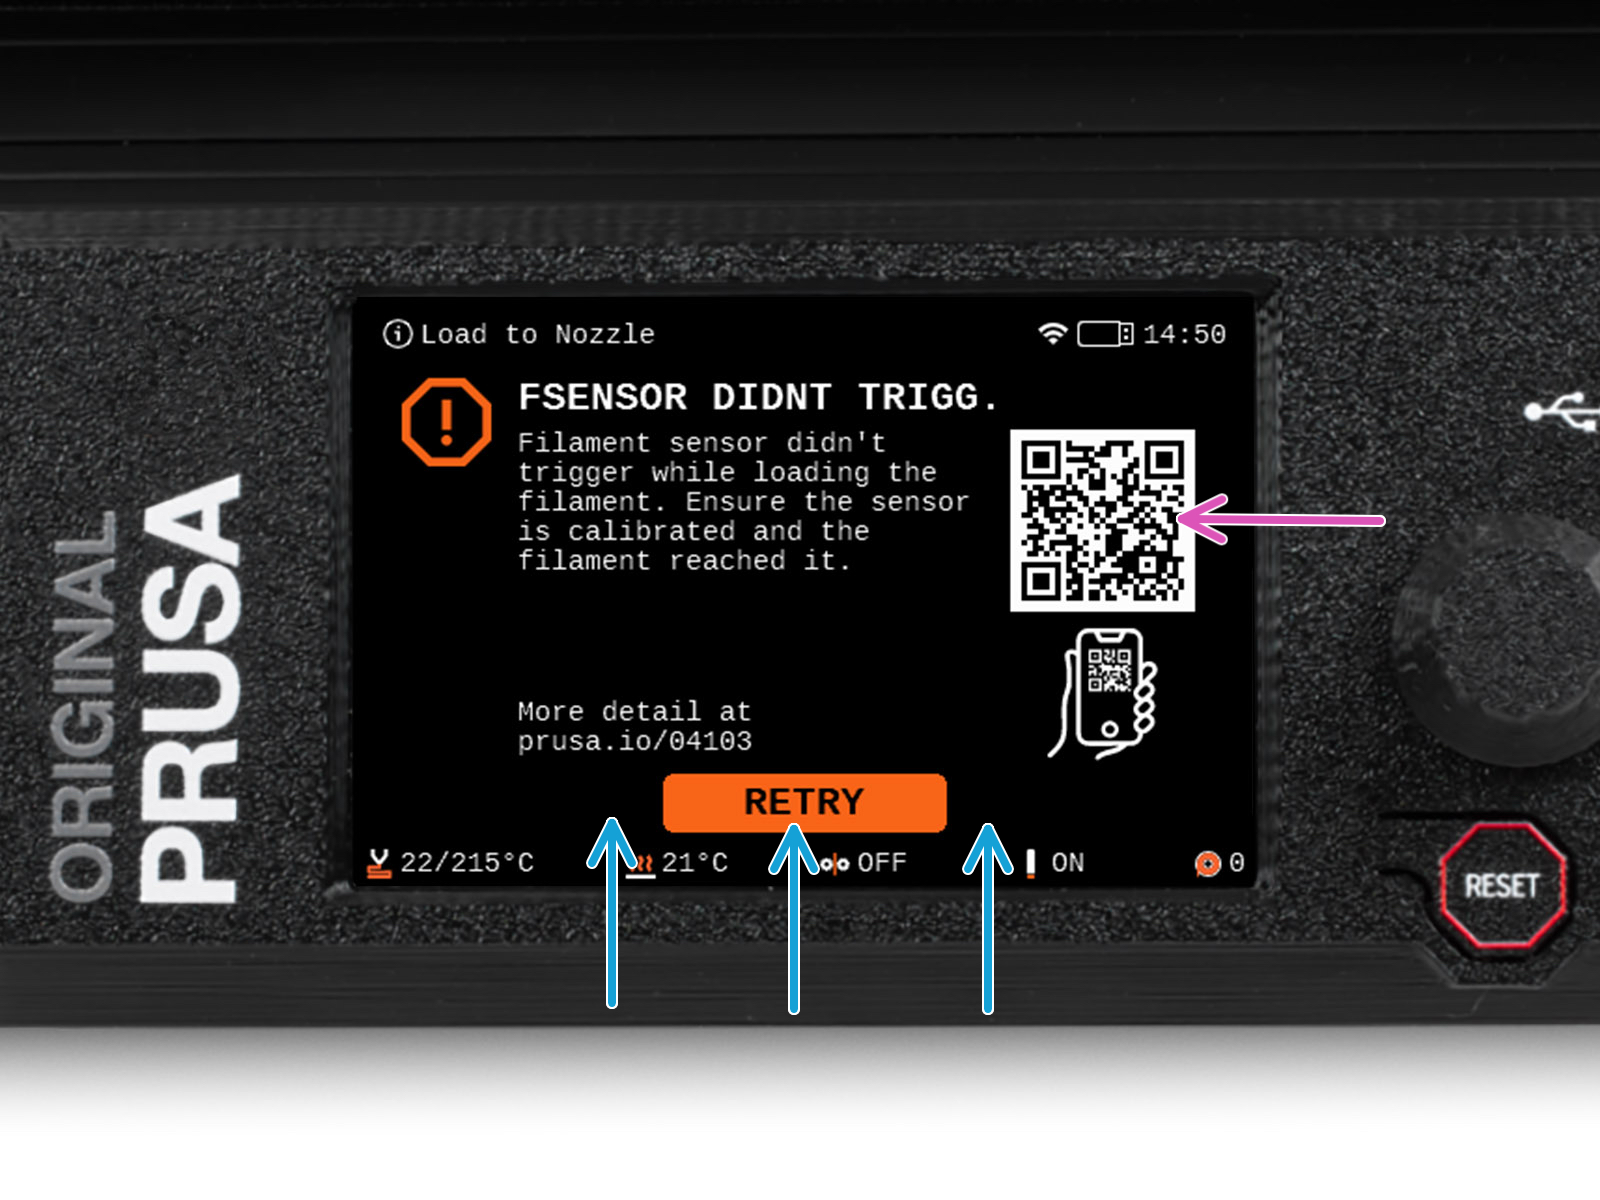
It is CRITICAL that both the filament sensor in the extruder and the SuperFINDA sensor function accurately. Otherwise, you will have trouble with the device.
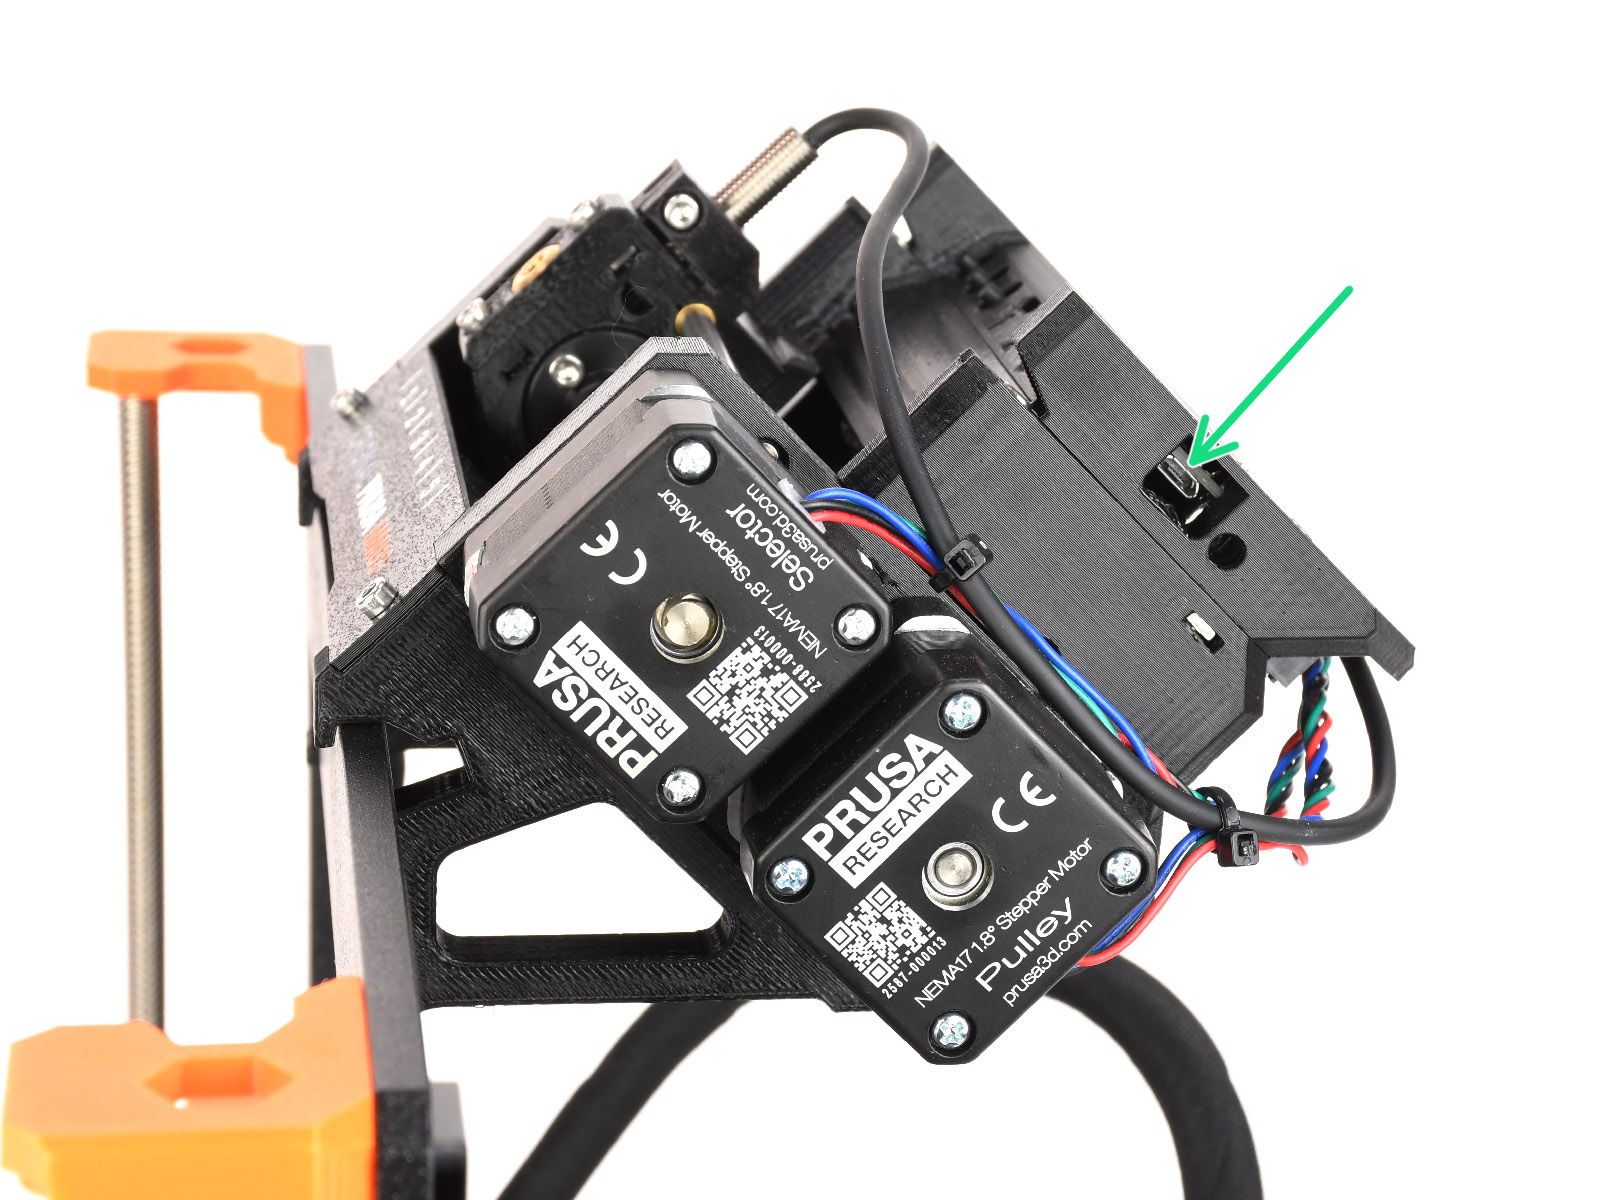
Use the inspection window on the selector to align the bottom of the sensor with the top of the window, as a starting point.
When filament is in the selector, the steel ball rises and should be detected by the SuperFINDA sensor. Ensure the distance between the ball and the sensor is perfectly calibrated.
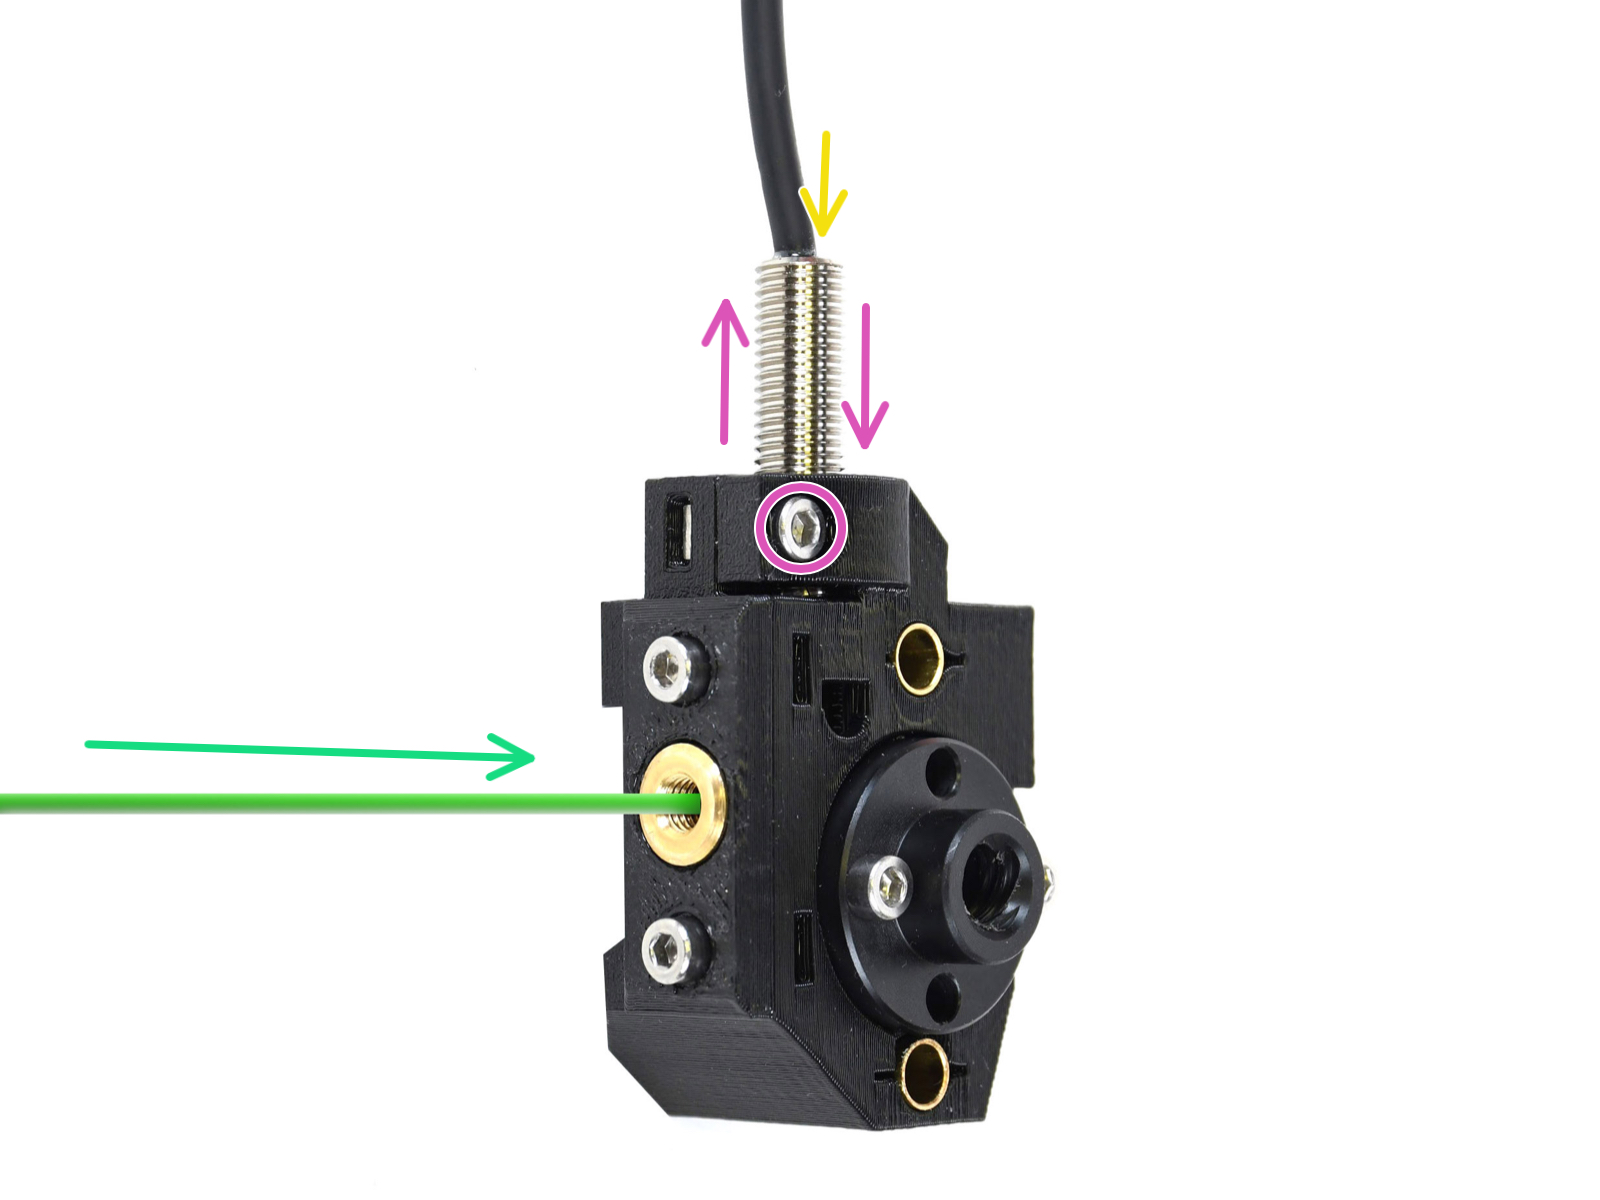
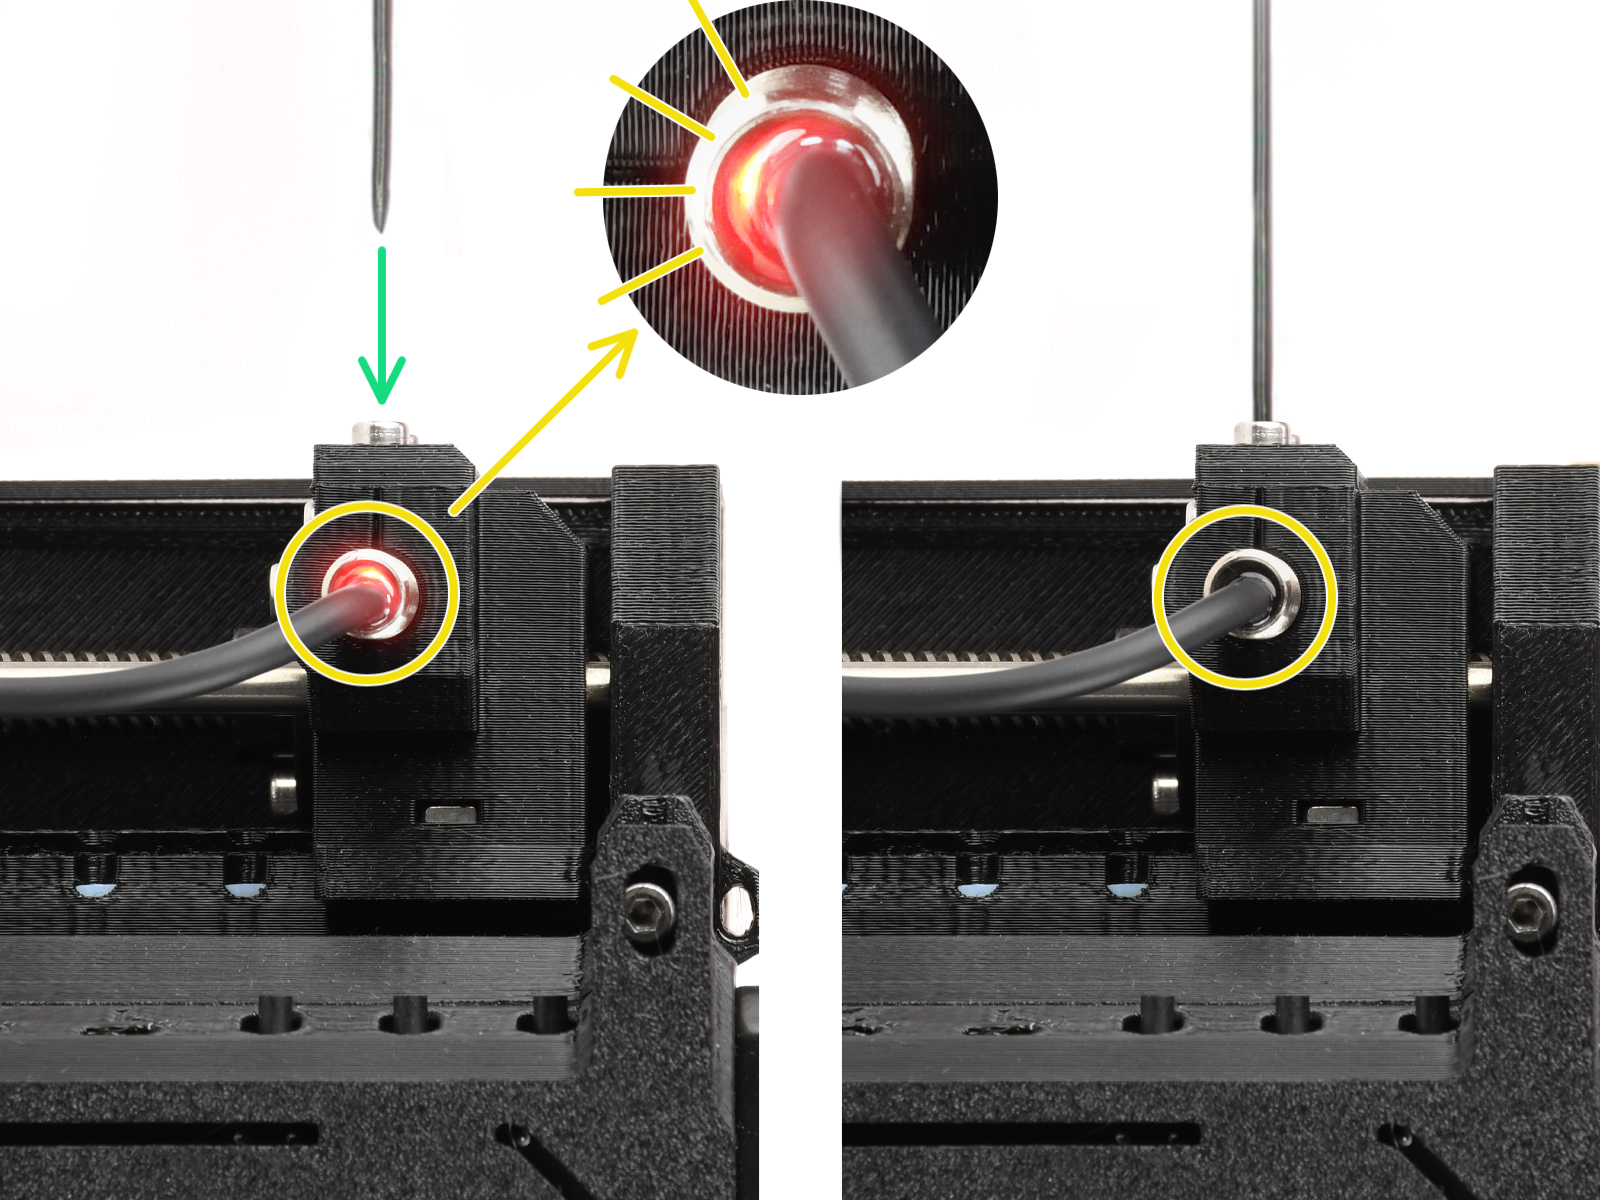

If the light is still on, lower the SuperFINDA slightly.
If the light doesn't ever go on, raise the SuperFINDA probe by releasing the screw by its side, moving the probe, and tightening the screw back up.
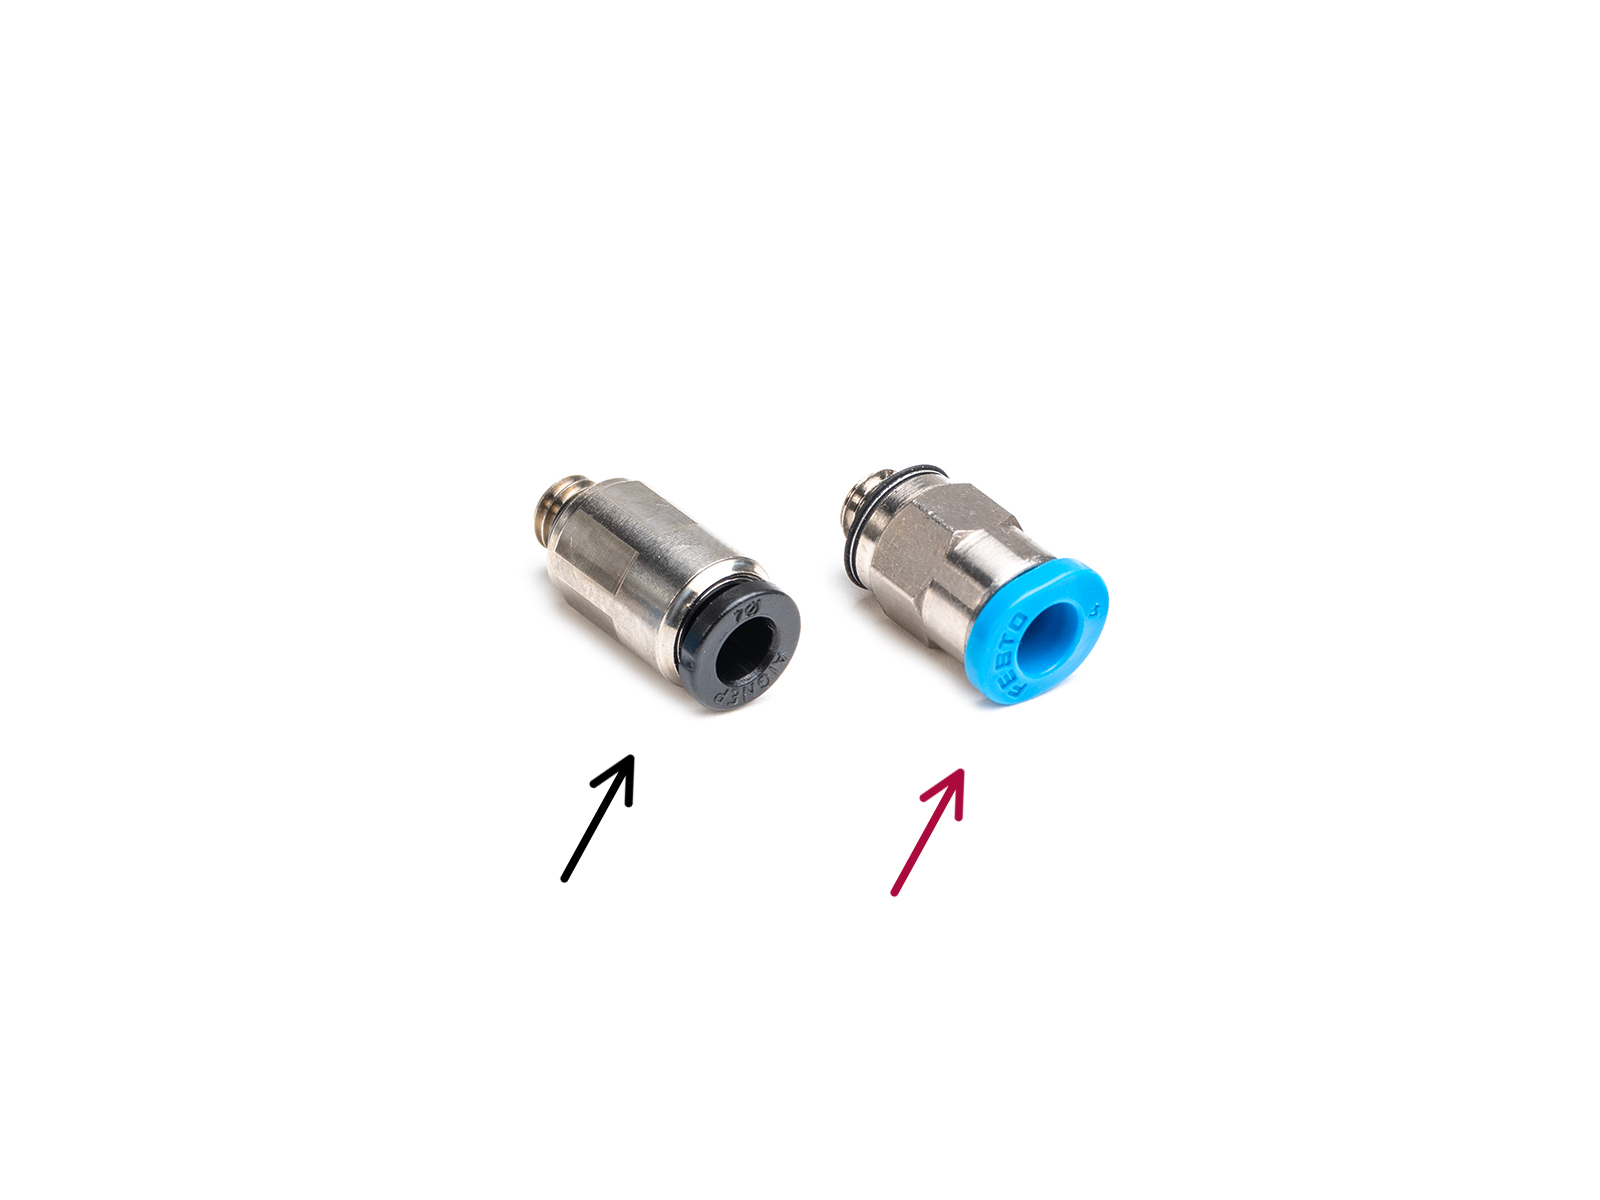
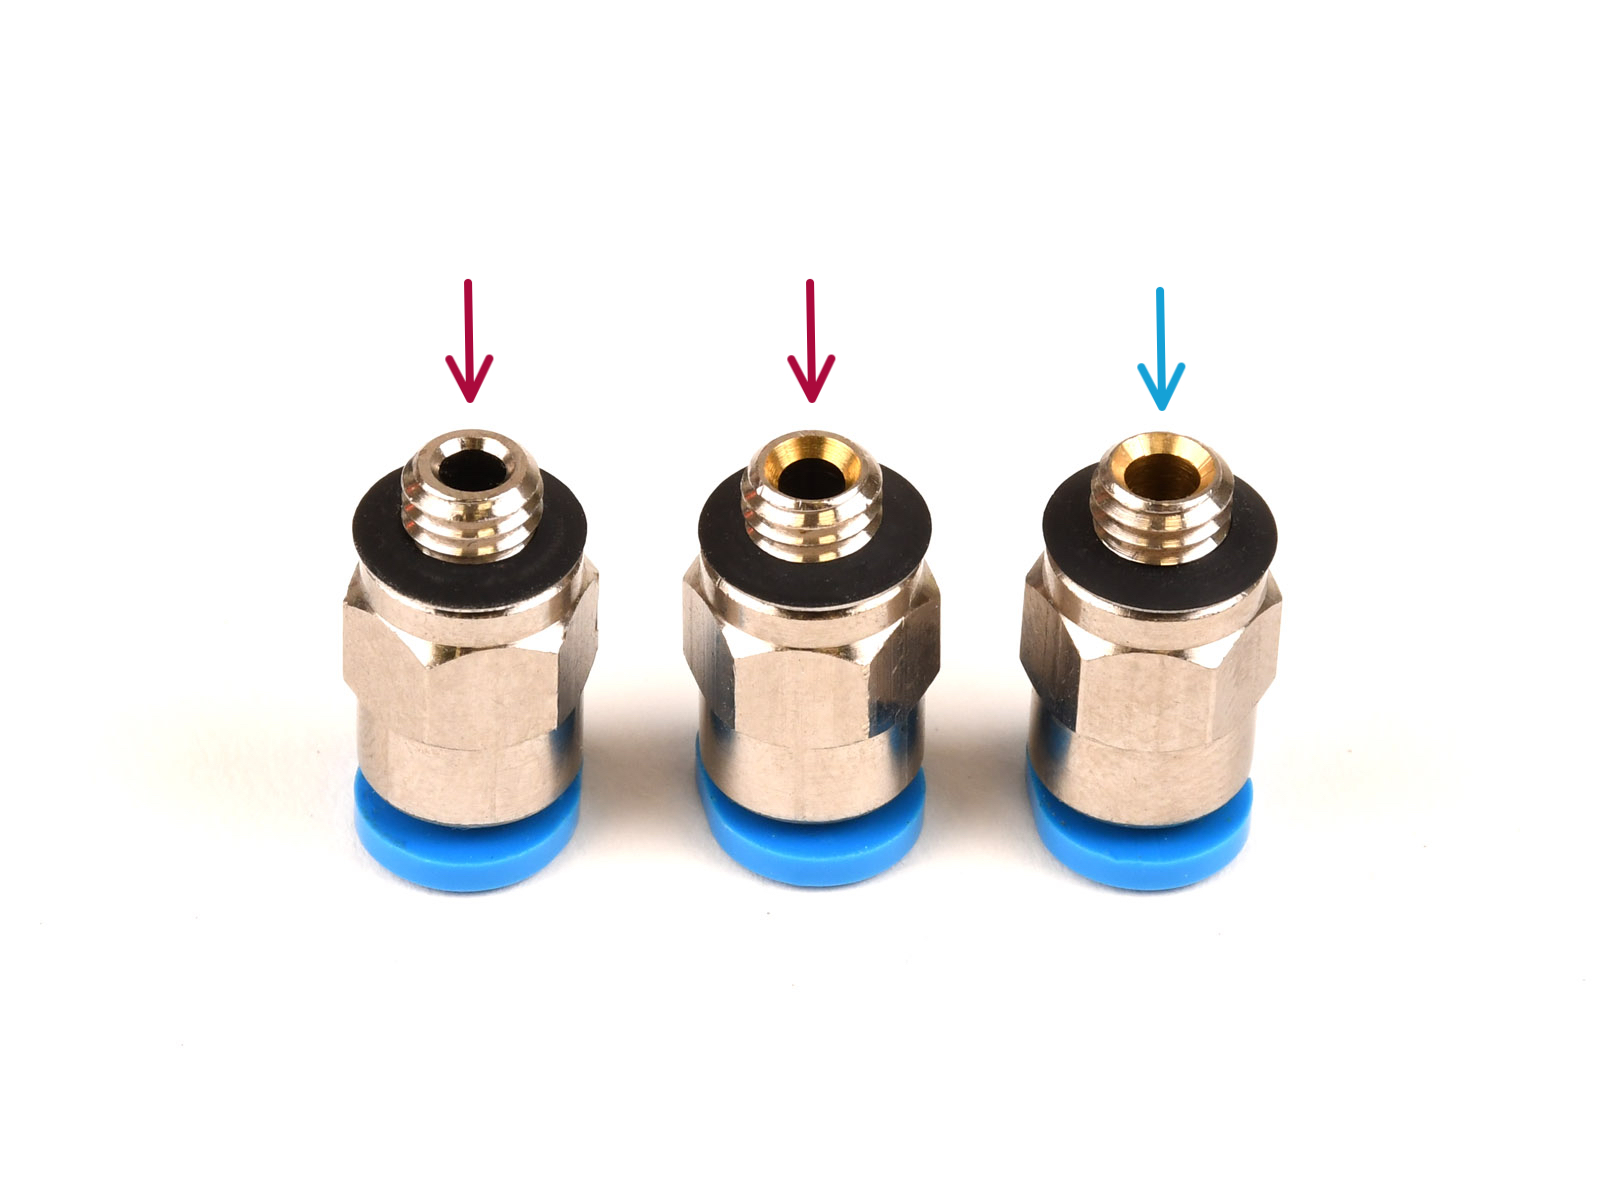
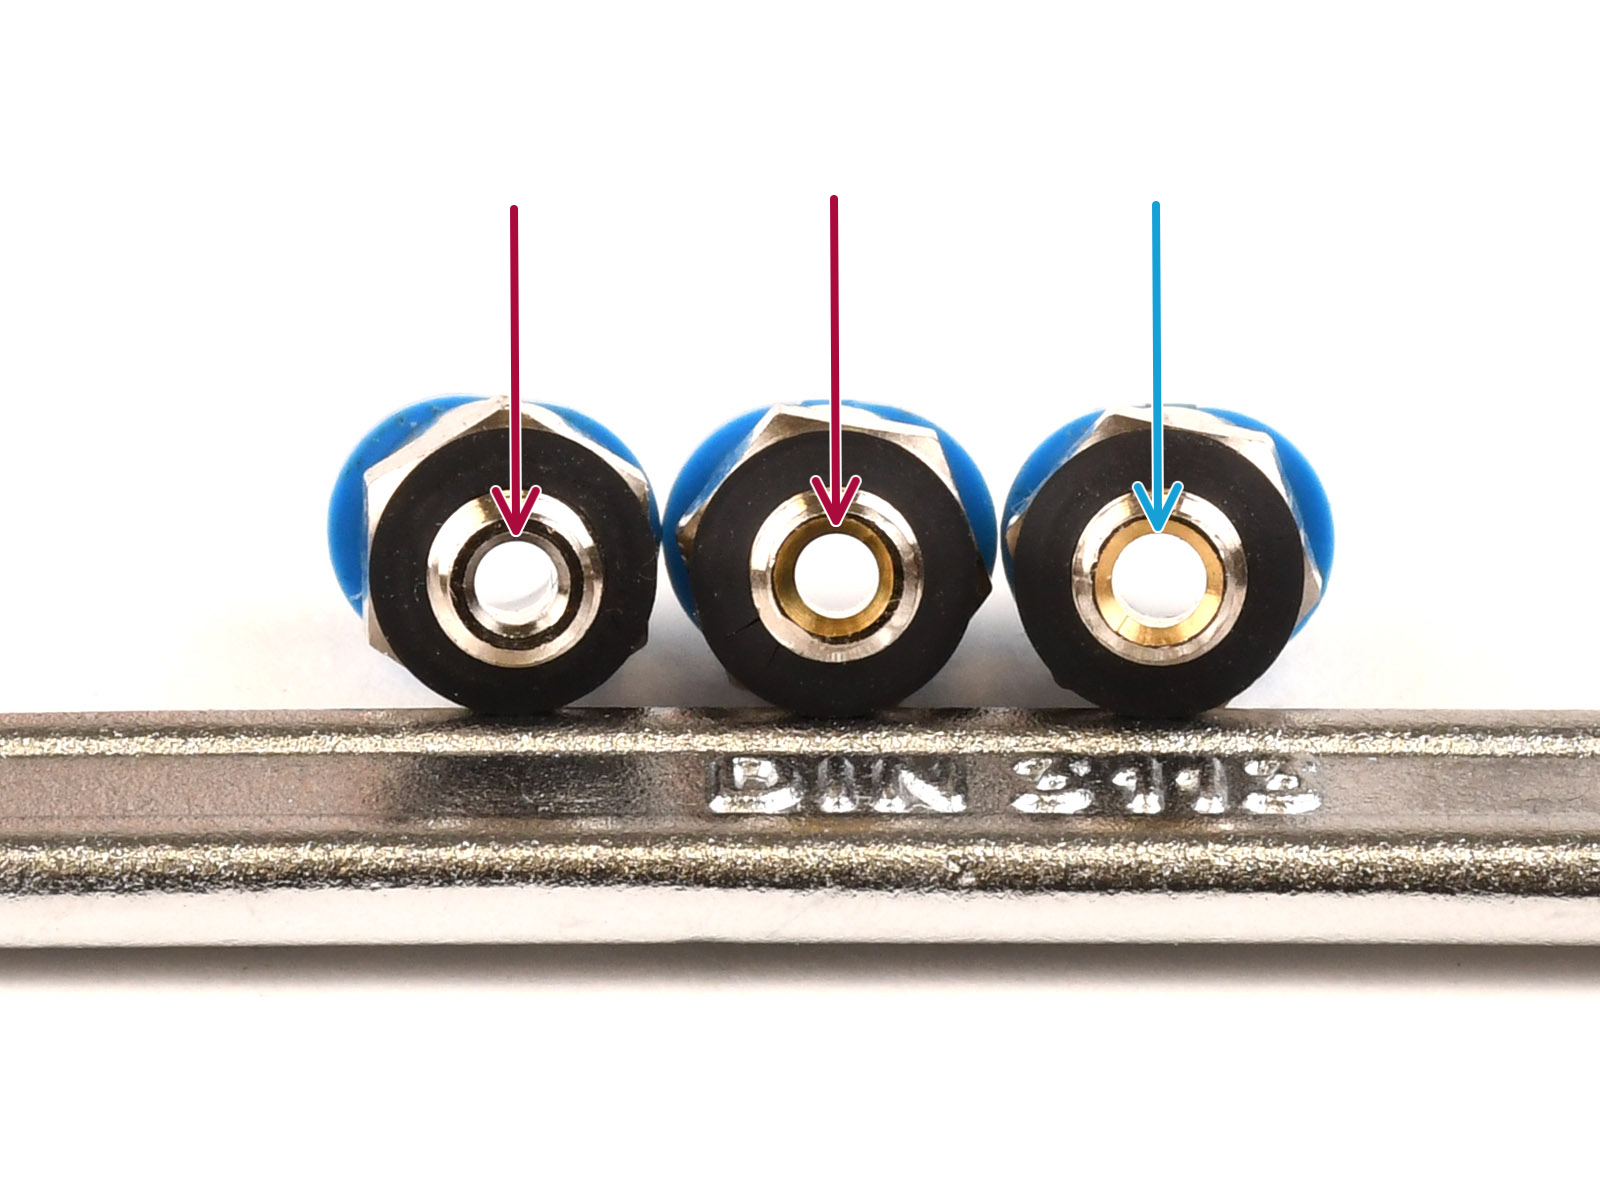
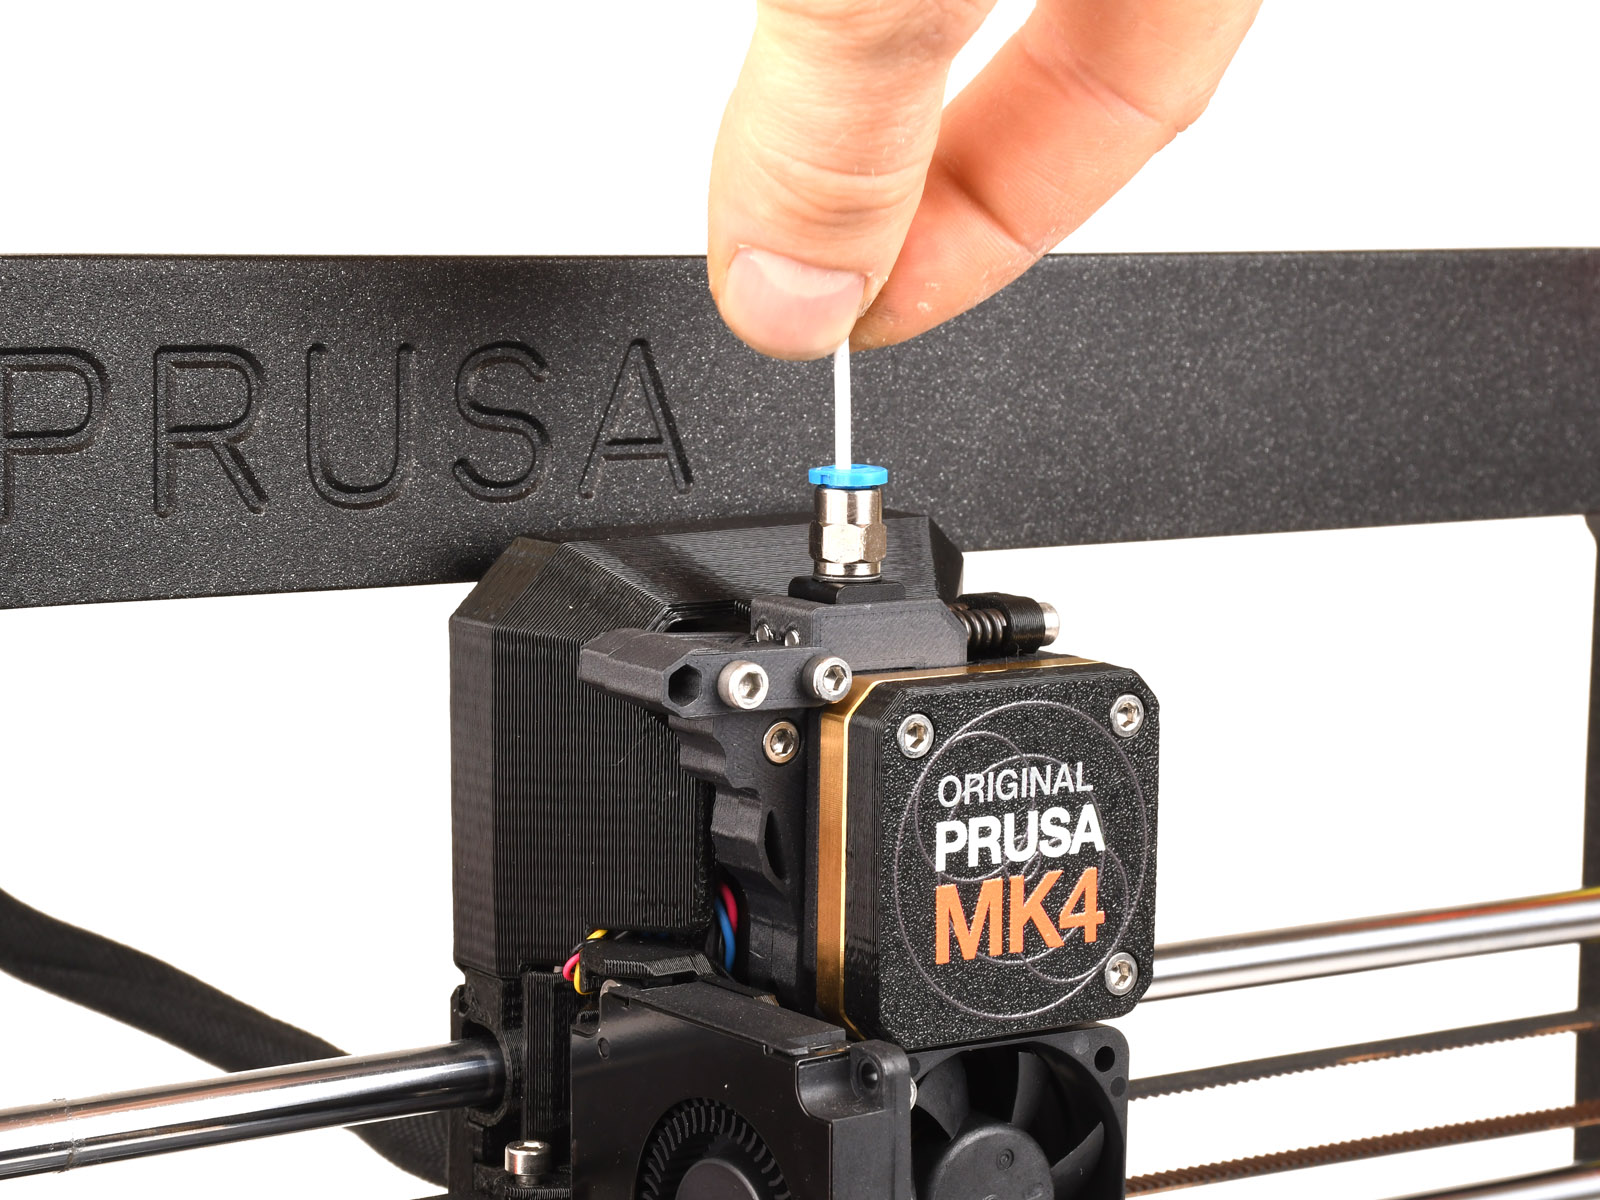
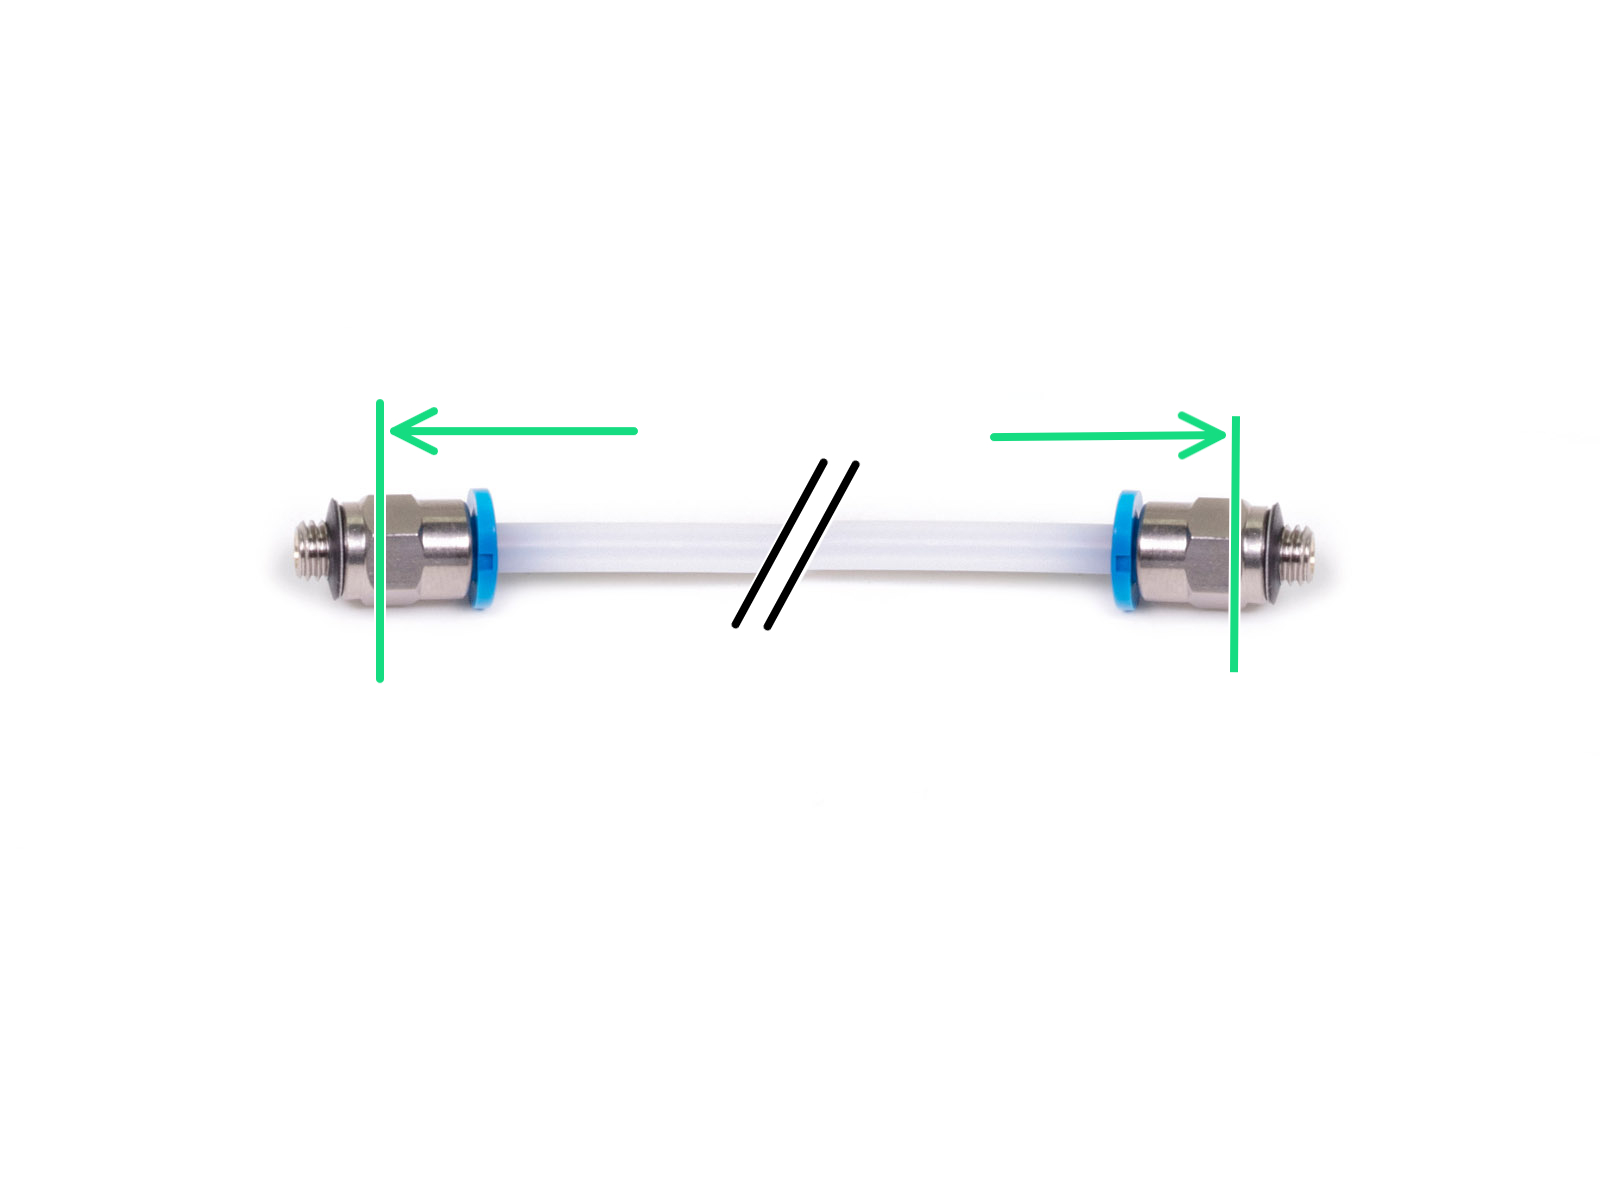
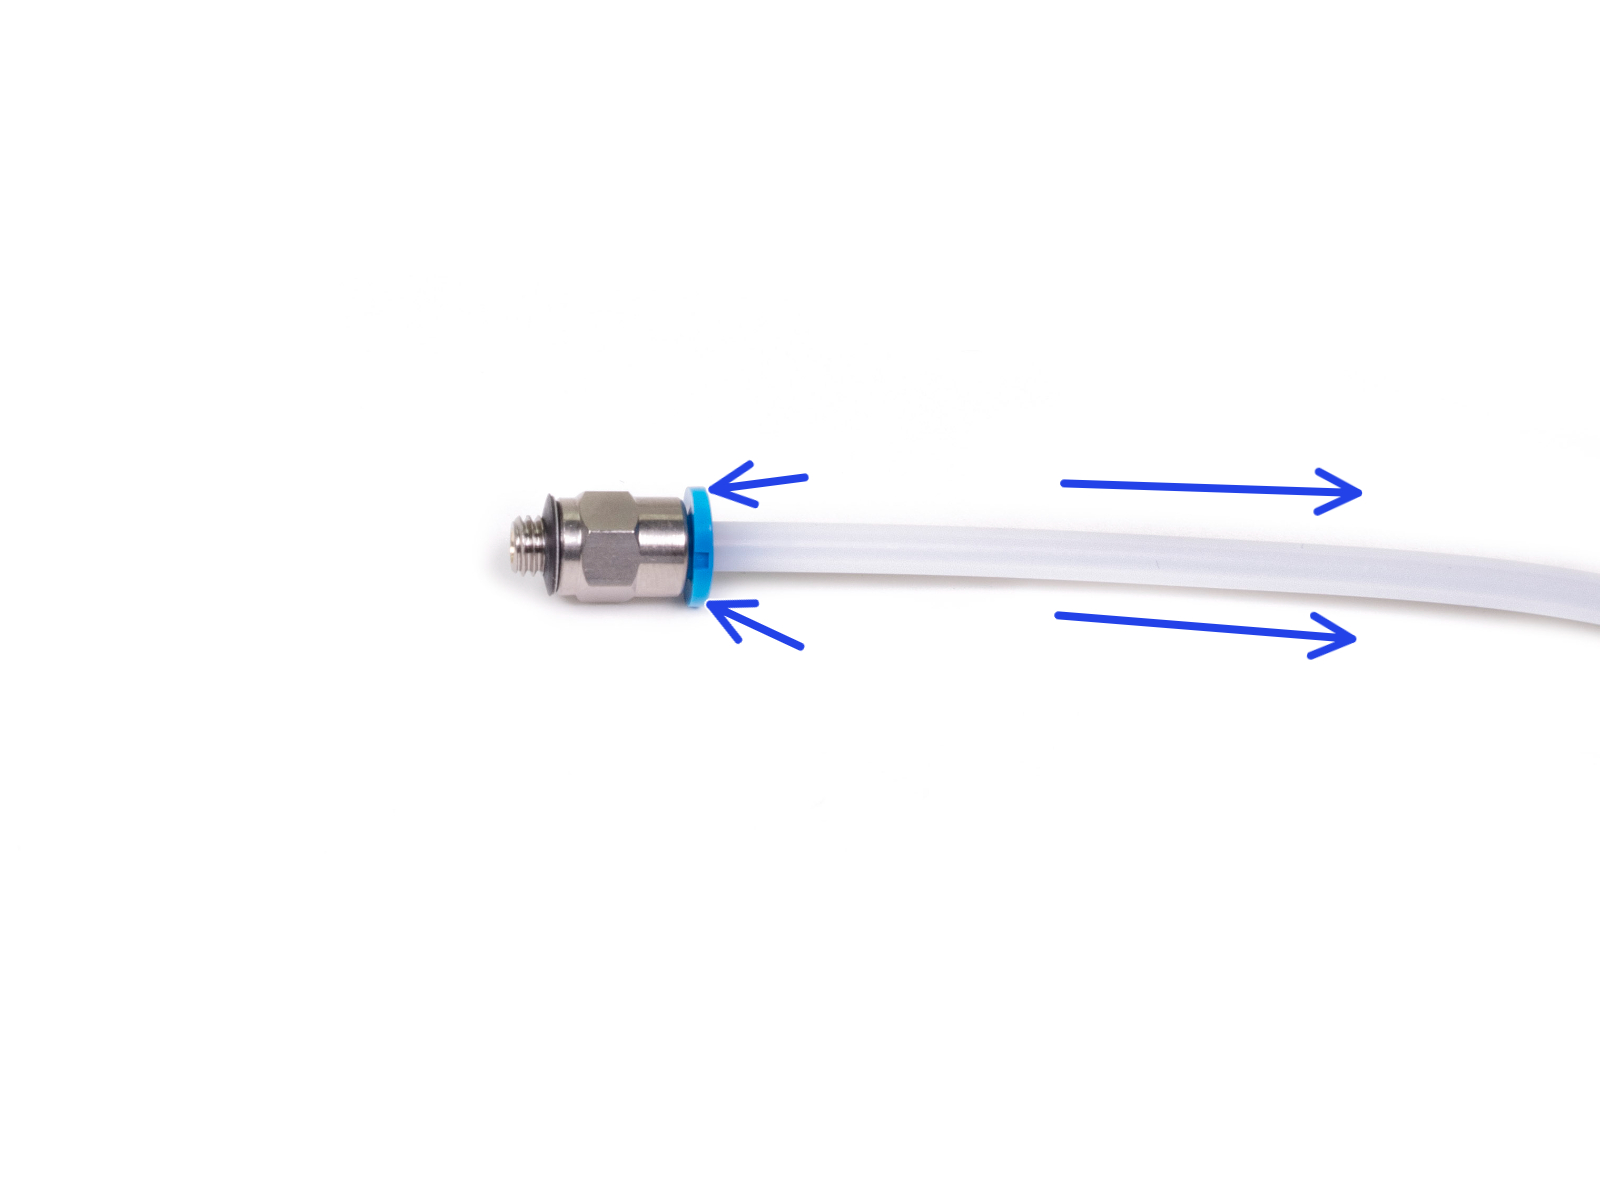
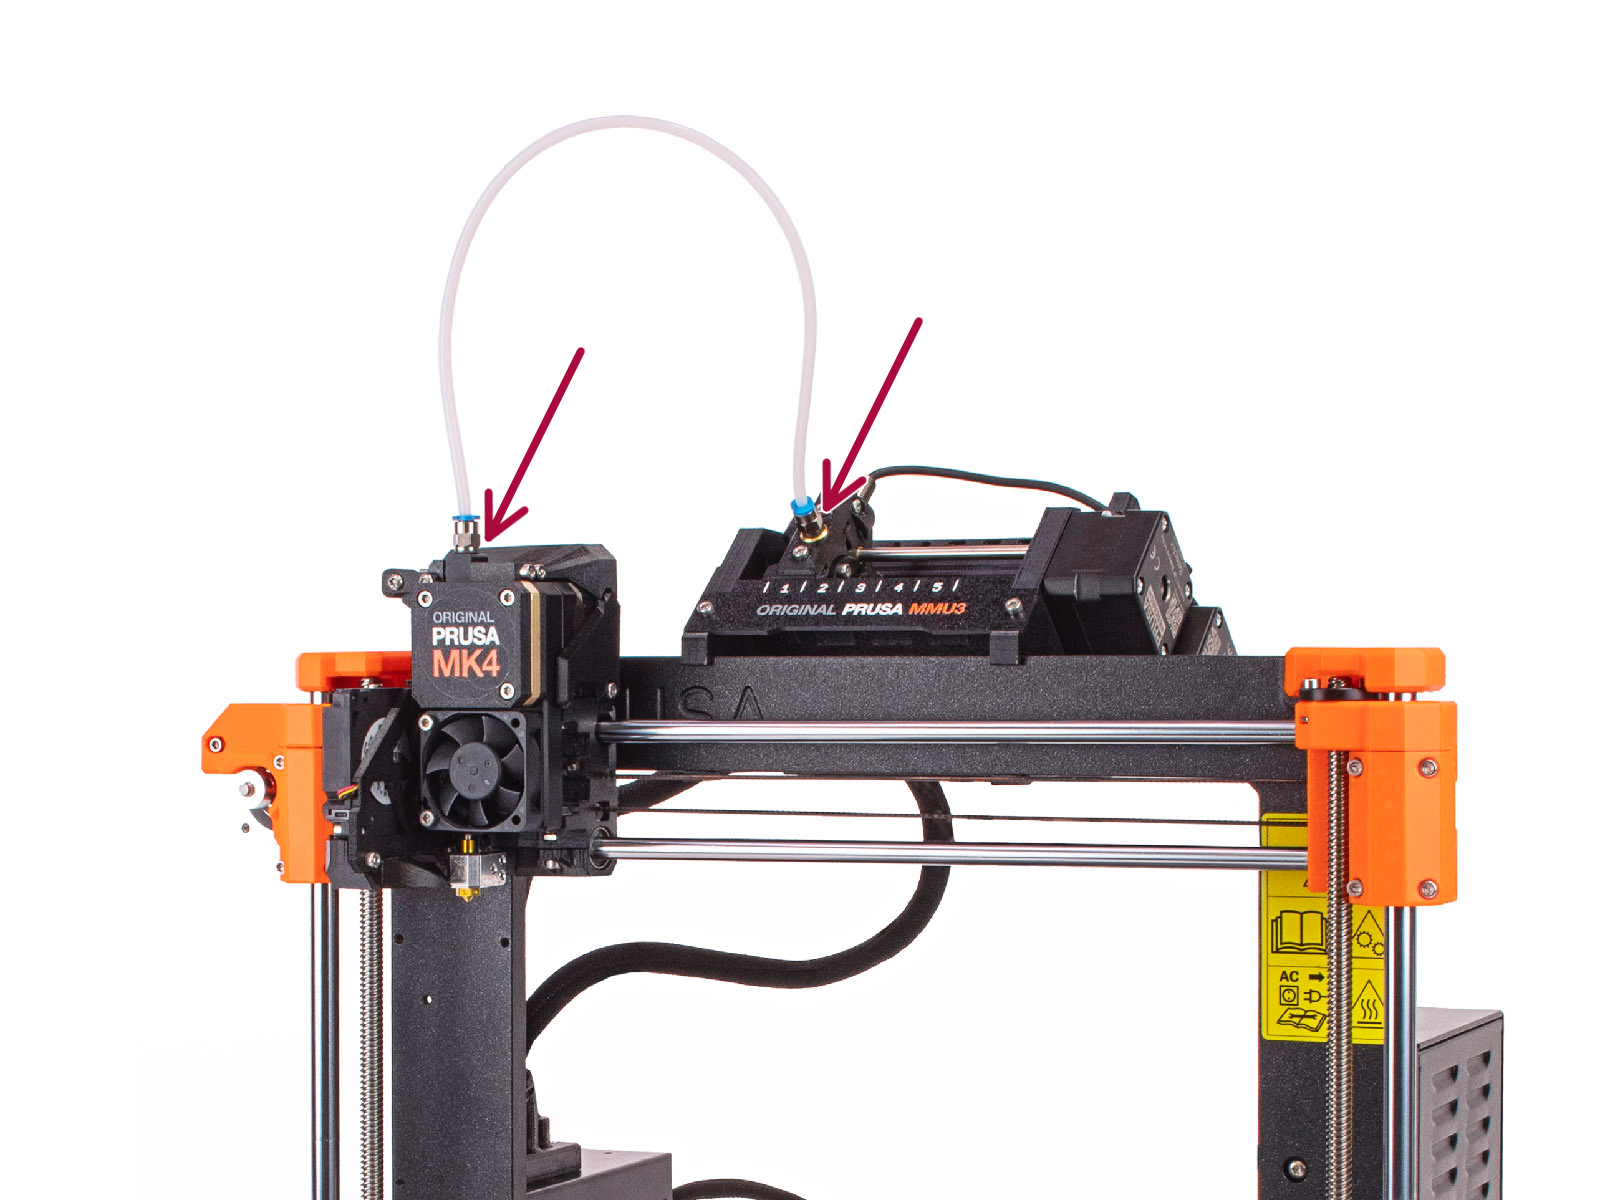
Older type of these fittings has a blue collet.
Various versions of the blue fittings were included with Prusa products shipped before April 2024.
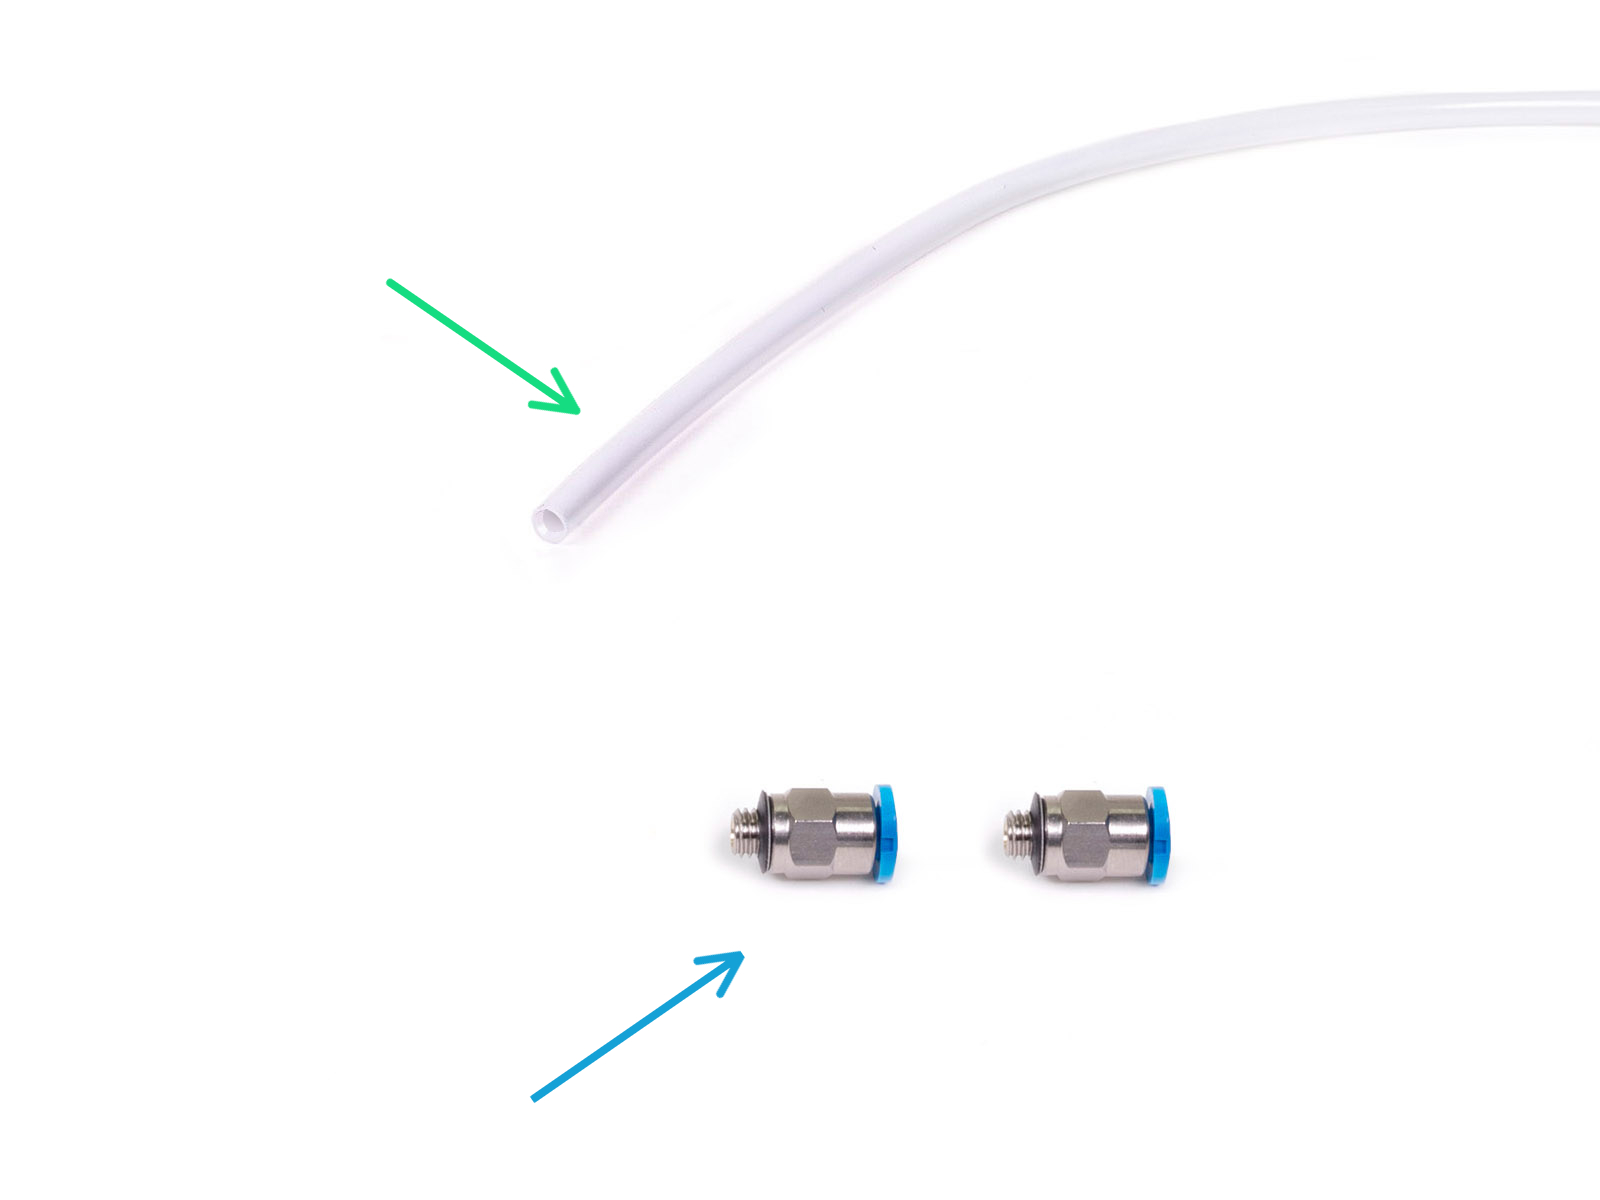
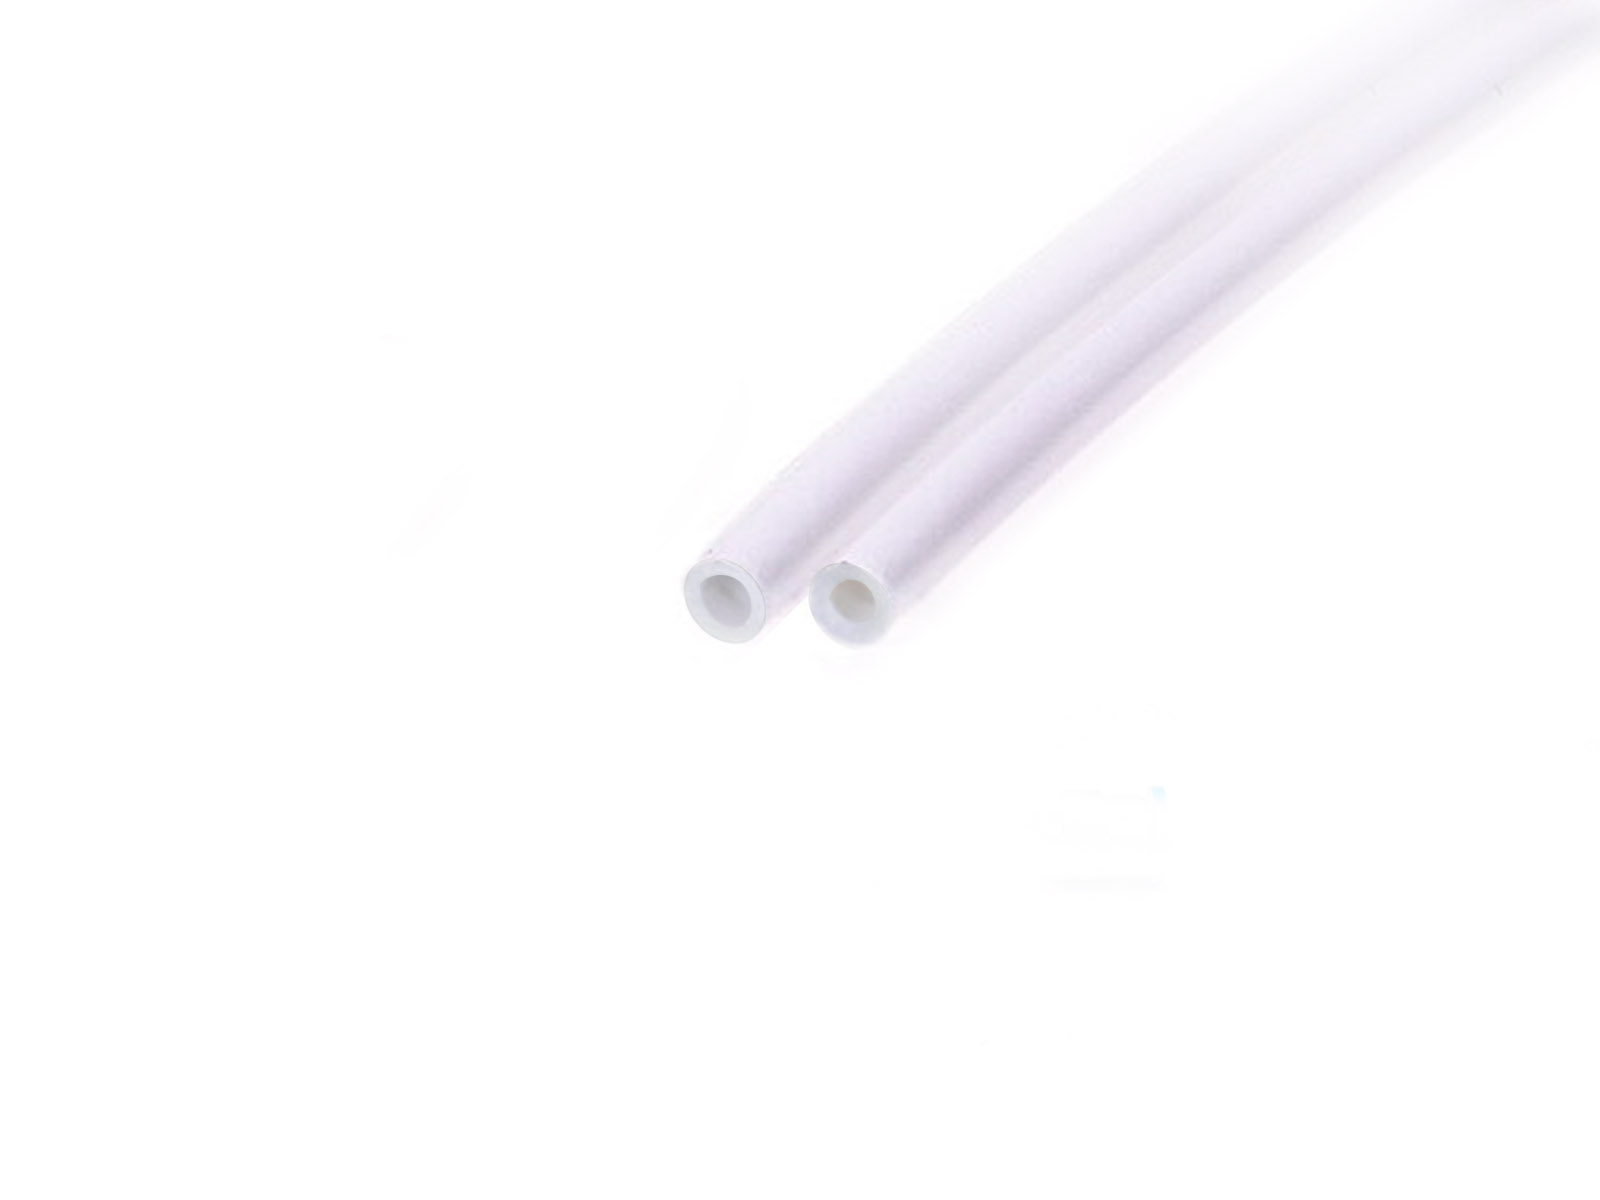
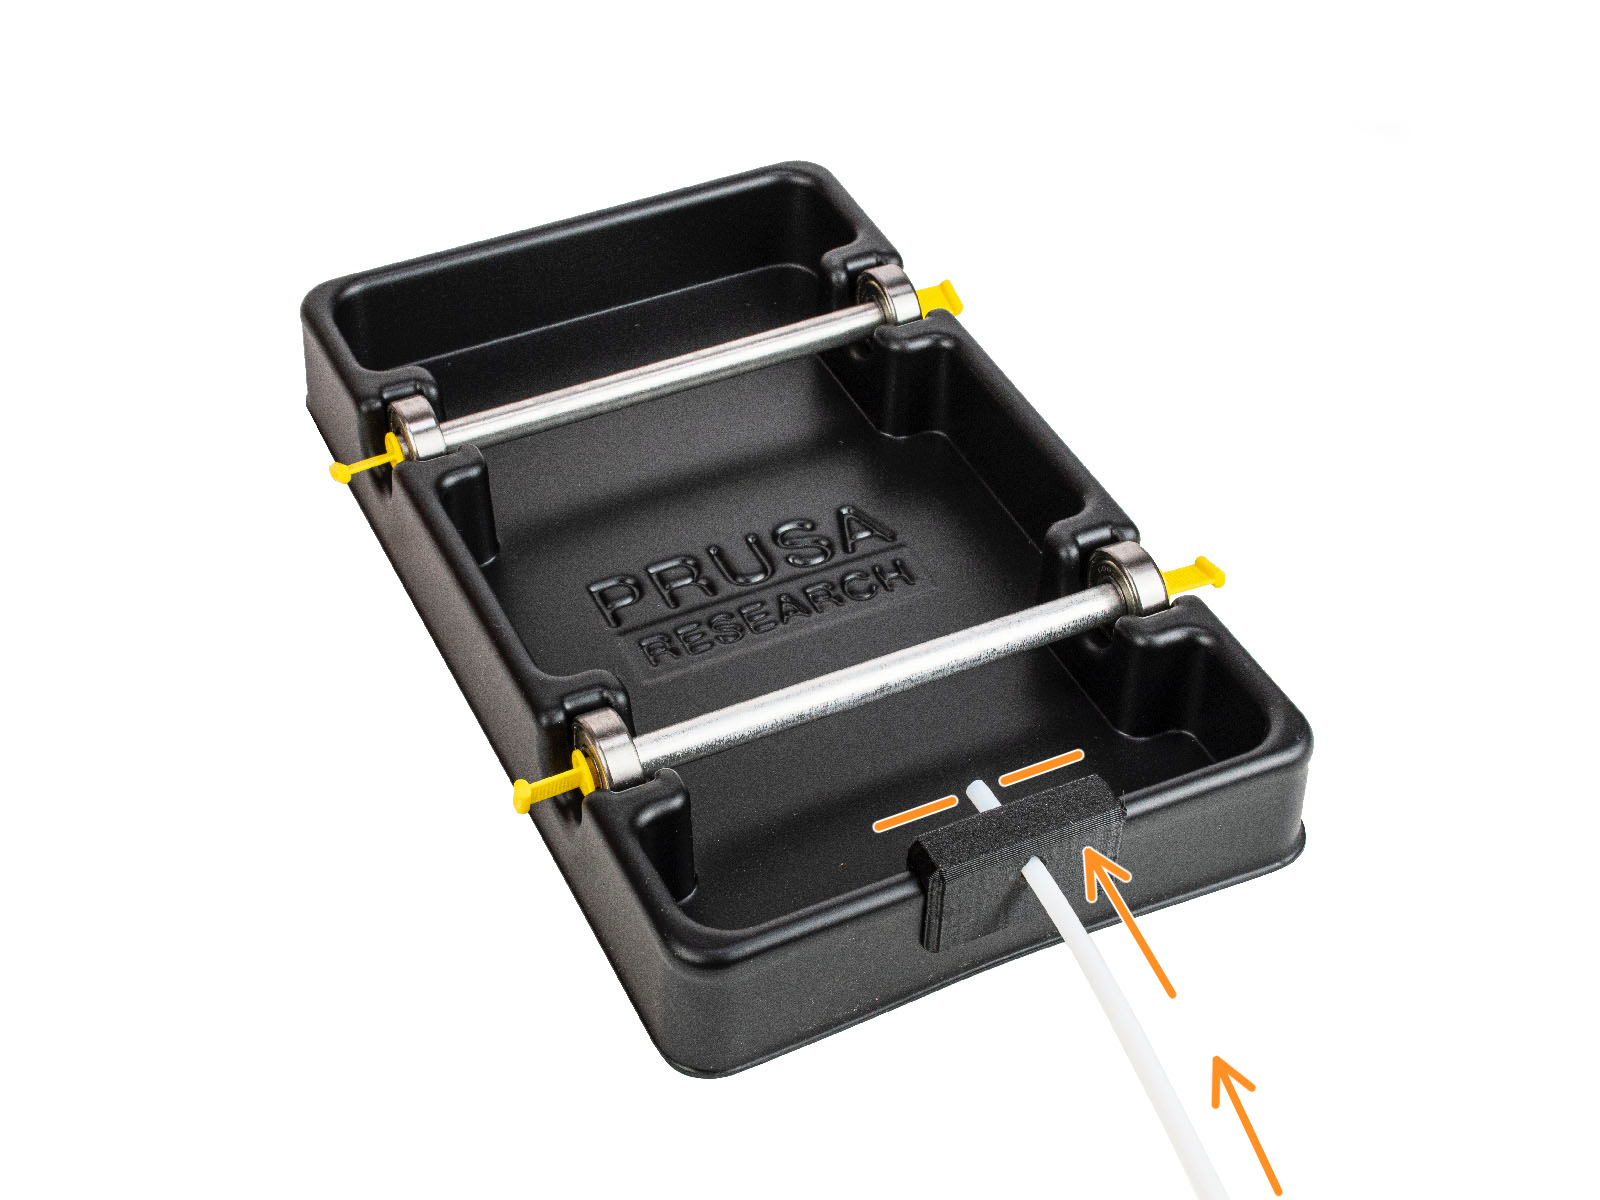
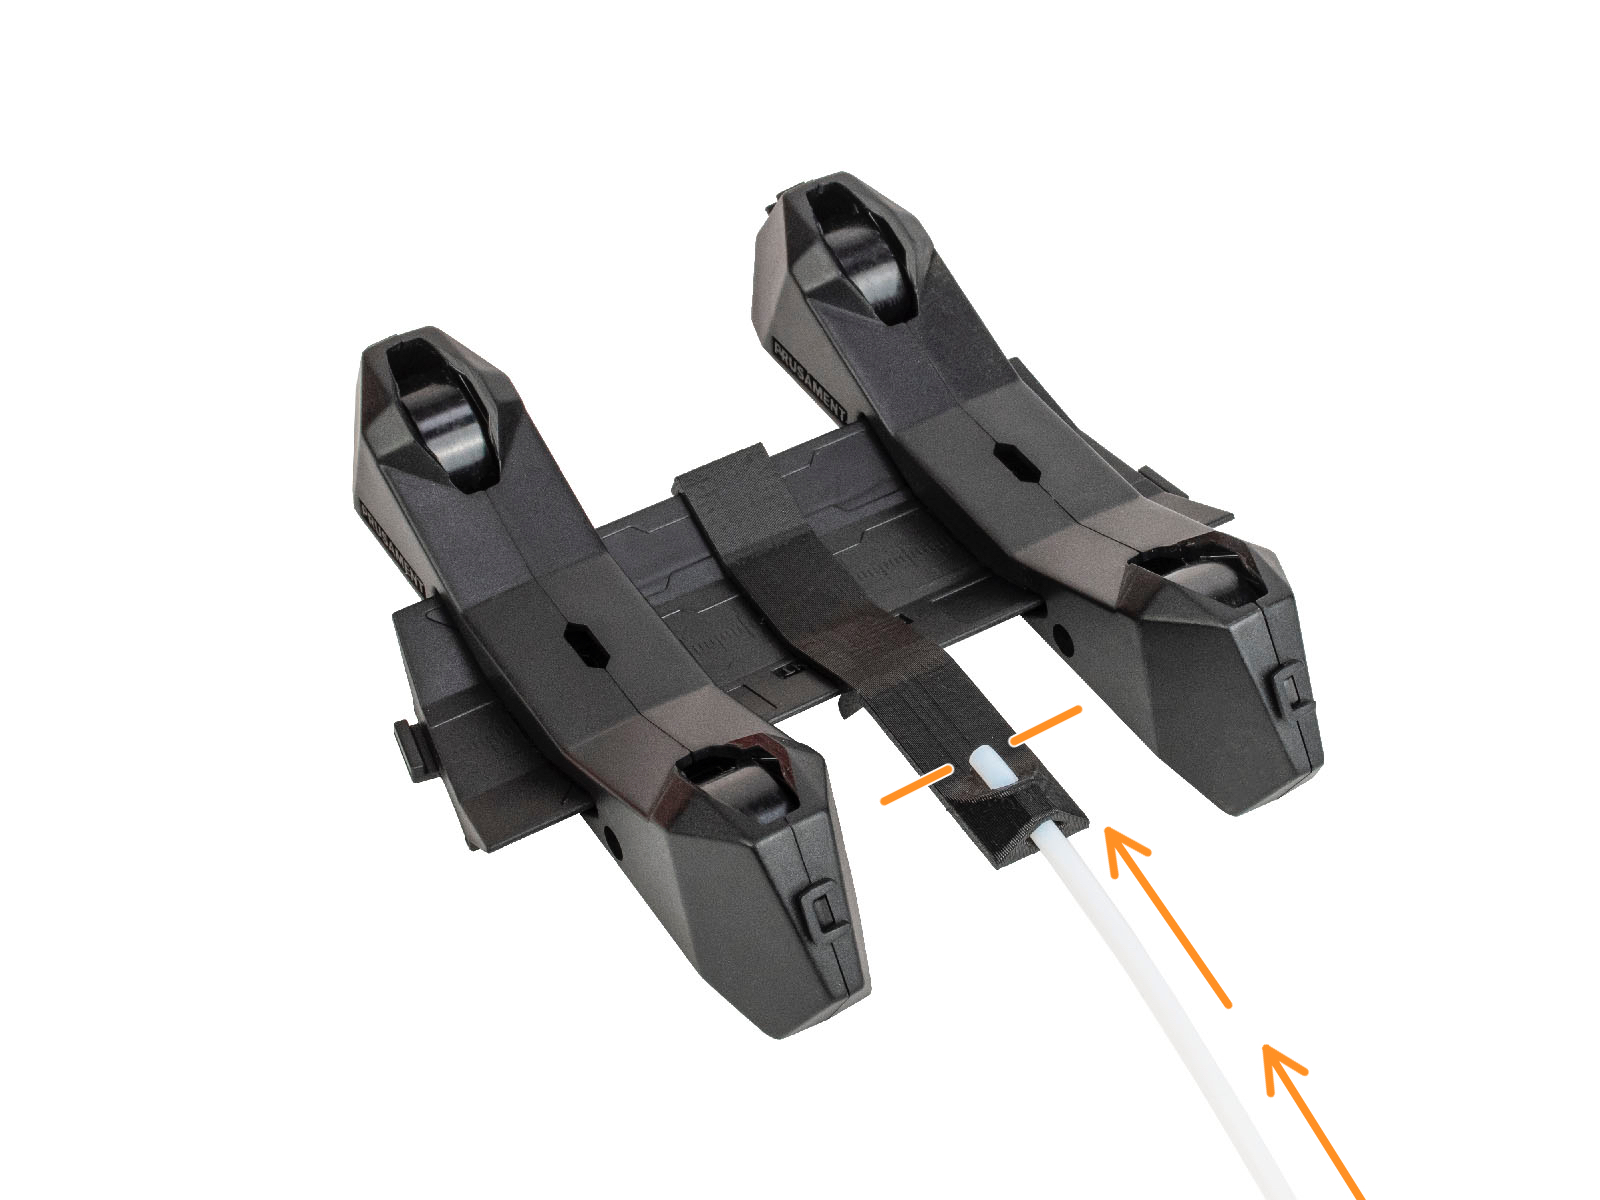
The PTFE tube bundled with the MMU3 for MK4 has an internal diameter of 2.5mm. In case you are upgrading from the 2mm ID MMU2S tube, and you have trouble distinguishing between the old and the new one, try comparing the internal diameter of the two. See the second picture. The tube on the left is the new one.
If you have a question about something that isn't covered here, check out our additional resources.
And if that doesn't do the trick, you can send an inquiry to [email protected] or through the button below.