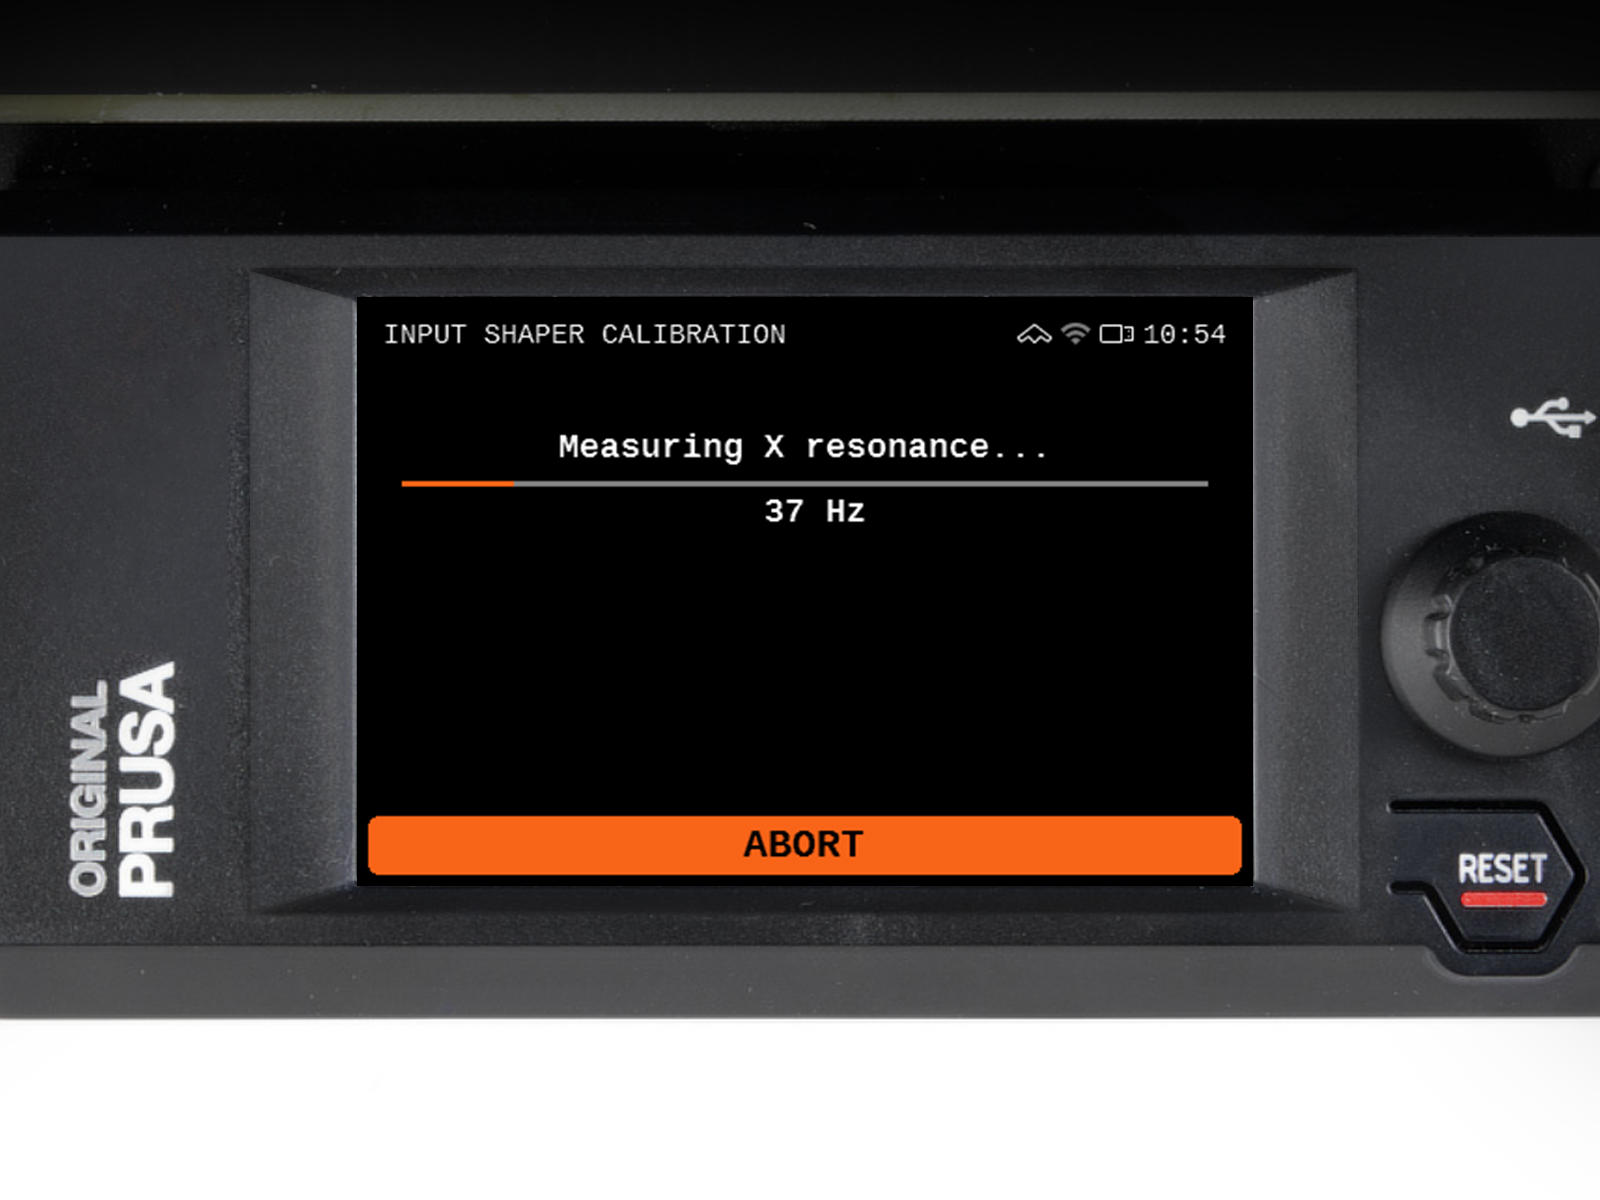
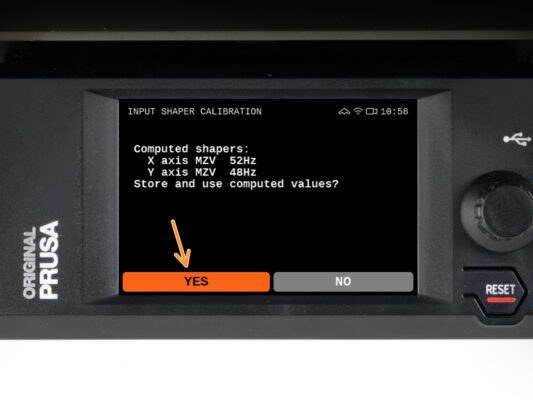
ES
  • English
  • Čeština
  • Italiano
  • Deutsch
  • Polski
  • Français
Iniciar sesión

How to use accelerometer (MK3.5/S)

How to use accelerometer (MK3.5/S)

How to use accelerometer (MK3.5/S)
Relevante para :
Ultima actualización 19 days ago
How to use accelerometer (MK3.5/S)
 Dificultad
Moderada
 Pasos
14
 Idiomas disponibles
ENCSPLDEITFR
Introduction
Introduction
This guide will take you through the Input shaper calibration using an accelerometer on your MK3.5 or MK3.5S.
The input shaper is calibrated from factory. However, if you made some modifications to the printer hardware, it might be benefitial to re-calibrate the settings using the accelerometer.
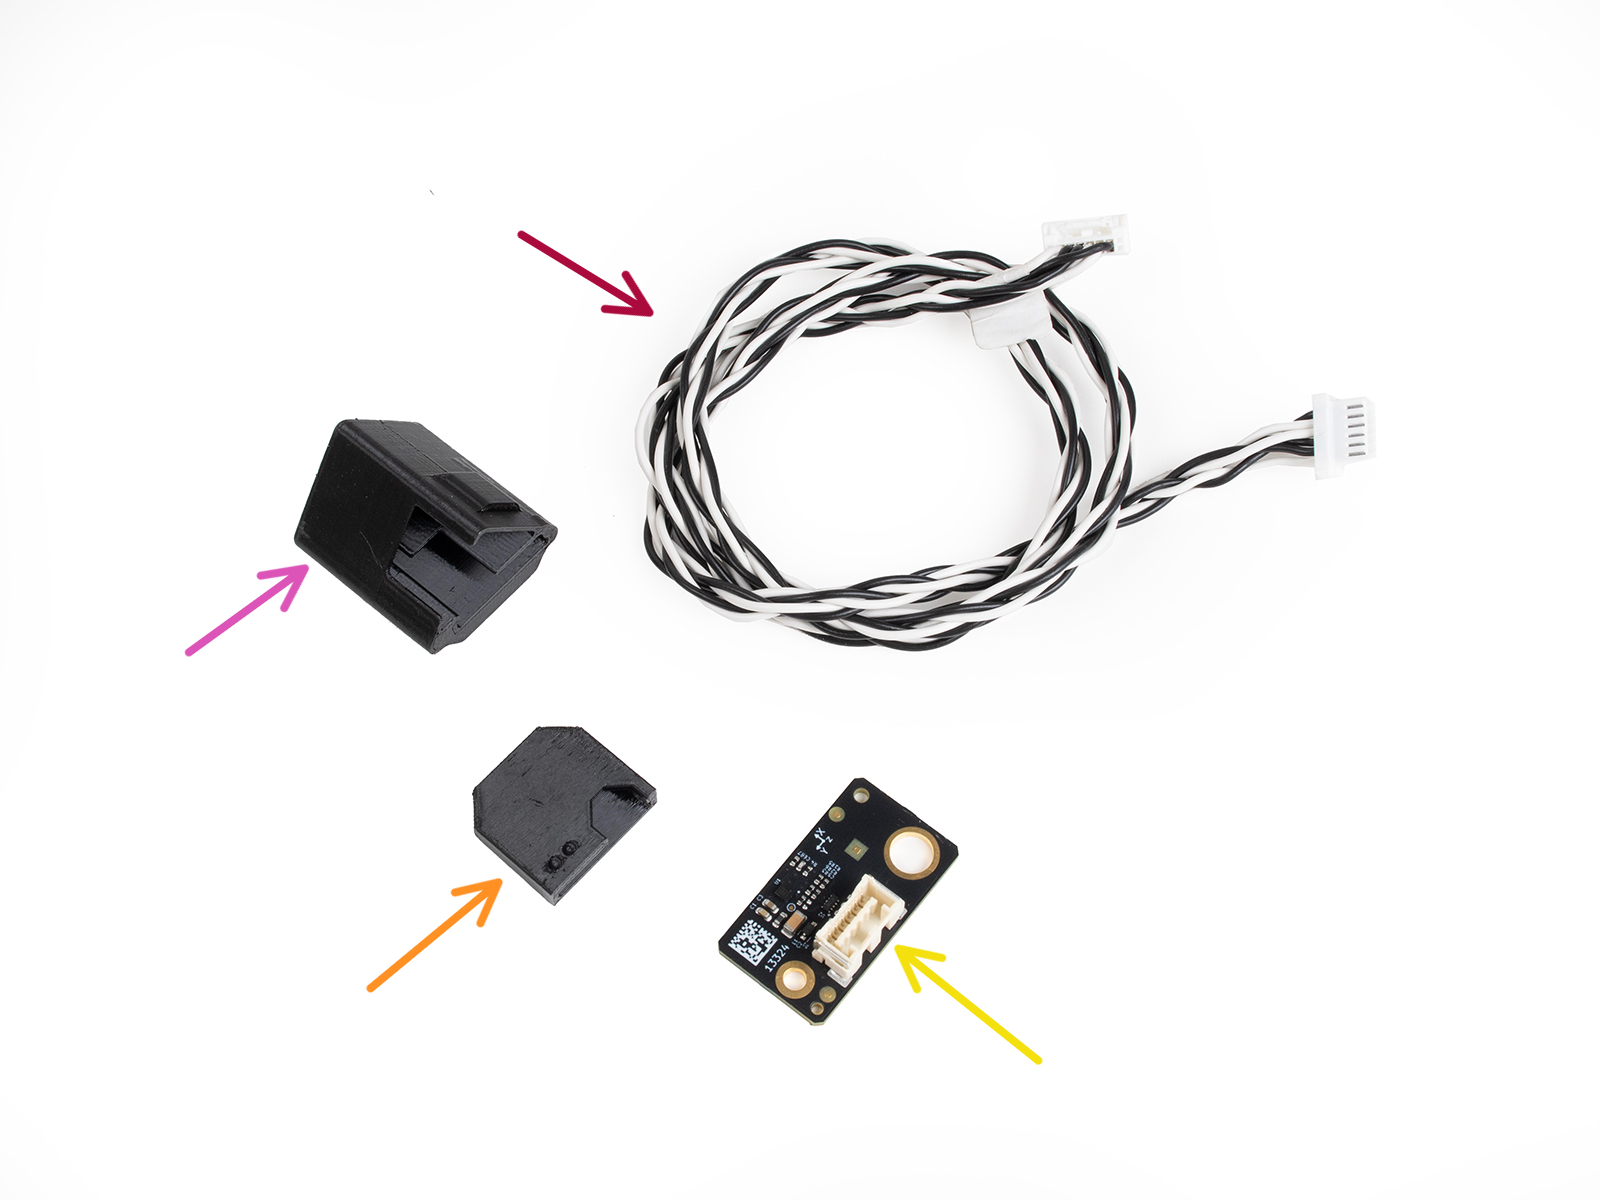
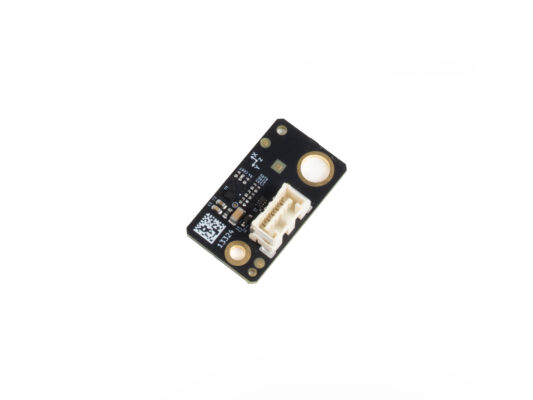
Todas las piezas necesarias están disponibles en nuestra tienda prusa3d.com.
Ten en cuenta que debes iniciar sesión para tener acceso a la sección de repuestos.
Parts preparation
Parts preparation
Para los siguientes pasos, por favor prepara:
Accelerometer cable (1x)
Accelerometer cover (1x)
Soporte acelerómetro (1x)
Acelerómetro (1x)
Montaje del acelerómetroS
Attach the cover onto the accelerometer. Note that the notch on the cover fits around the connector.
Connect the cable into the accelerometer.
Attach the bracket onto the assembly.
Asegúrate de que el cable pasa por debajo de la parte superior del soporte y de que ningún cable queda aprisionado.
Preparando la impresora
Make sure your printer runs firmware 6.1.0 or newer.
If your printer has an older firmware, please upgrade to 6.1.0 or newer.
Before you start, make sure that the printer is switched OFF and the power cord is disconnected from the printer (power supply unit)!
Abriendo la caja xBuddy
From the left side of the printer, loosen four M3 screws on the xBuddy box cover and remove it from the printer.
Find the print fan connector on the marked position on the xBuddy board.
The connector can be hidden behind the cable bundle. In that case, try to move the cable bundle away carefully. Make sure not to damage or disconnect any of the cables in the bundle.
Conectando el acelerómetro
Desconecta el conector marcado en la placa xBuddy. Déjalo temporalmente desconectado.
Connect the accelerometer cable into the same connector on the xBuddy board.
Leave the xBuddy box open, until the calibration is complete.
No toques ninguno de los componentes internos mientras la impresora esté encendida y en funcionamiento.
Deja a un lado por ahora el acelerómetro conectado. Asegúrate de que no interfiere con ninguna de las partes móviles de la impresora.
Calibración parte 1
Calibración parte 1
Calibración parte 1
Connect the printer and turn it on.
Navigate to the menu Settings > Input Shaper > Calibration
The printer will park its axes.
Calibración parte 2
Calibración parte 2
Calibración parte 2
Calibración parte 2

Once prompted to by the on-screen wizard, attach the accelerometer assembly onto the extruder.

First, make sure the assembly is oriented as seen in the picture. The cable should be pointing towards the extruder.
Insert the assembly into the space between the print-fan and the extruder-front part. Make sure it is firmly attached.
Continua con el asistente en la pantalla.
Calibración parte 3
Calibración parte 3
Calibración parte 3
Calibración parte 3
Once prompted to by the on-screen wizard, remove the accelerometer assembly from the extruder.
Lift the steel sheet on the heatbed. Attach the protruding part on the accelerometer by the steel sheet.
Make sure the cable is on top of the steel sheet.
Make sure the accelerometer holds firmly on the heatbed.
Sigue con el asistente en la pantalla.
Calibración parte 4
Calibración parte 4
Calibración parte 4
Once the calibration is successfull and complete, select YES to store the new values in the printer.
Remove the accelerometer from the heatbed and re-seat the steel sheet so that it is aligned properly.
Apaga la impresora y desconéctala de la toma de corriente.
Desconectando el acelerómetro
Disconnect the accelerometer from the xBuddy board.
Connect the print fan connector back into the xBuddy board.
Verify all the connections are exactly the same as before.
Terminando
Terminando
Congratulations. You have just re-calibrated the input shaper.
Turn on the printer and run a test print.
¿Fue útil esta guía?

Comentarios

¿Todavía tienes preguntas?

¿Todavía tienes preguntas?

Si tienes alguna pregunta sobre algo que no se ha tratado aquí, comprueba nuestros recursos adicionales.
Y si eso no lo soluciona, puedes enviar una petición a [email protected] o mediante el botón que hay más abajo.

Contacta con nosotros