Polski
Login
Drukarki 3D
Materiały
Części i akcesoria
Oprogramowanie
Modele 3D
Aplikacje
Społeczność
Pomoc
Akademia
Blog
Firma
Wsparcie
Original Prusa i3 MK2S
Montaż zestawu Original Prusa i3 MK2
8. Electronics assembly | Getting the necessary tools
1. Getting the necessary tools
Step 1 of 22 (Chapter 8 of 9)
Pełny ekran
Spis treści
Komentarze
⬢
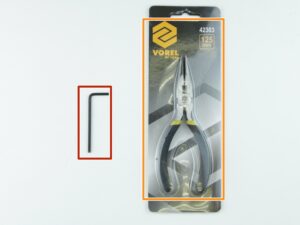
2.5mm Allen key
⬢
Needle-nose pliers
Loading...
Dalej
Spis treści
Montaż zestawu Original Prusa i3 MK2
1. Introduction
2. Y-axis assembly
3. X-axis assembly
4. Z-axis assembly
5. Extruder Assembly
6. LCD assembly
7. PSU & Heatbed assembly
8. Electronics assembly [Tłumaczenie w toku]
Getting the necessary tools
3D printed parts
Preparing the Rambo cover base
Mounting the Rambo cover base on the frame
Identifying mounting holes
Finalizing the Rambo cover base
Identifying mount hole
Mounting Rambo cover hinge bottom
Preparing electronics
Connecting electronics - part 1
Heatbed and extruder cables guide
Securing heat bed cables to the Rambo cover base
Extruder cables guide
Securing extruder cables to the Rambo cover base
Connecting electronics - part 2
Connecting electronics - part 3
Connecting electronics - part 4
Verify electronics connection
Identifying mounting hole
Preparing Rambo cover upper hing
Finalizing Rambo cover
Hooray!
9. Preflight check
Komentarze
Zaloguj się
, aby dodać komentarz
Brak komentarzy