Introduction
In this article, you will learn everything you need to know when mixing resin colors using the Prusament Model Resin Color Kit - either with the help of the Sample Book that comes with the kit or using your own recipes. We include step-by-step instructions and also some practical tips.
Preparing the workspace
Note that mixing the resins necessarily comes with a higher risk of spilling. Make sure your workplace is easy to clean if any accident should happen. Always wear protective equipment - not only rubber gloves but also goggles and a lab coat (or similar clothing) that would protect you from splashes. We also recommend ensuring proper ventilation of your workspace to prevent inhaling fumes. Preferably, don’t expose the resin to any traces of UV light (i.e. through windows letting in natural light).
Few useful tips:
- Set up your workplace over a silicone mat (tray). These mats can be bought at pet stores as they are used as rugs for cat litterboxes. They are easy to clean and their raised edges prevent leaking.
- Always have paper towels and isopropyl alcohol nearby to quickly clean any spills.
- If you plan to weigh the mixture on scales, make sure your scales measure up to 0.1 g precision. Regular kitchen scales may not be sufficient for small amounts of resin as some of them measure just with a 1-2 g precision.
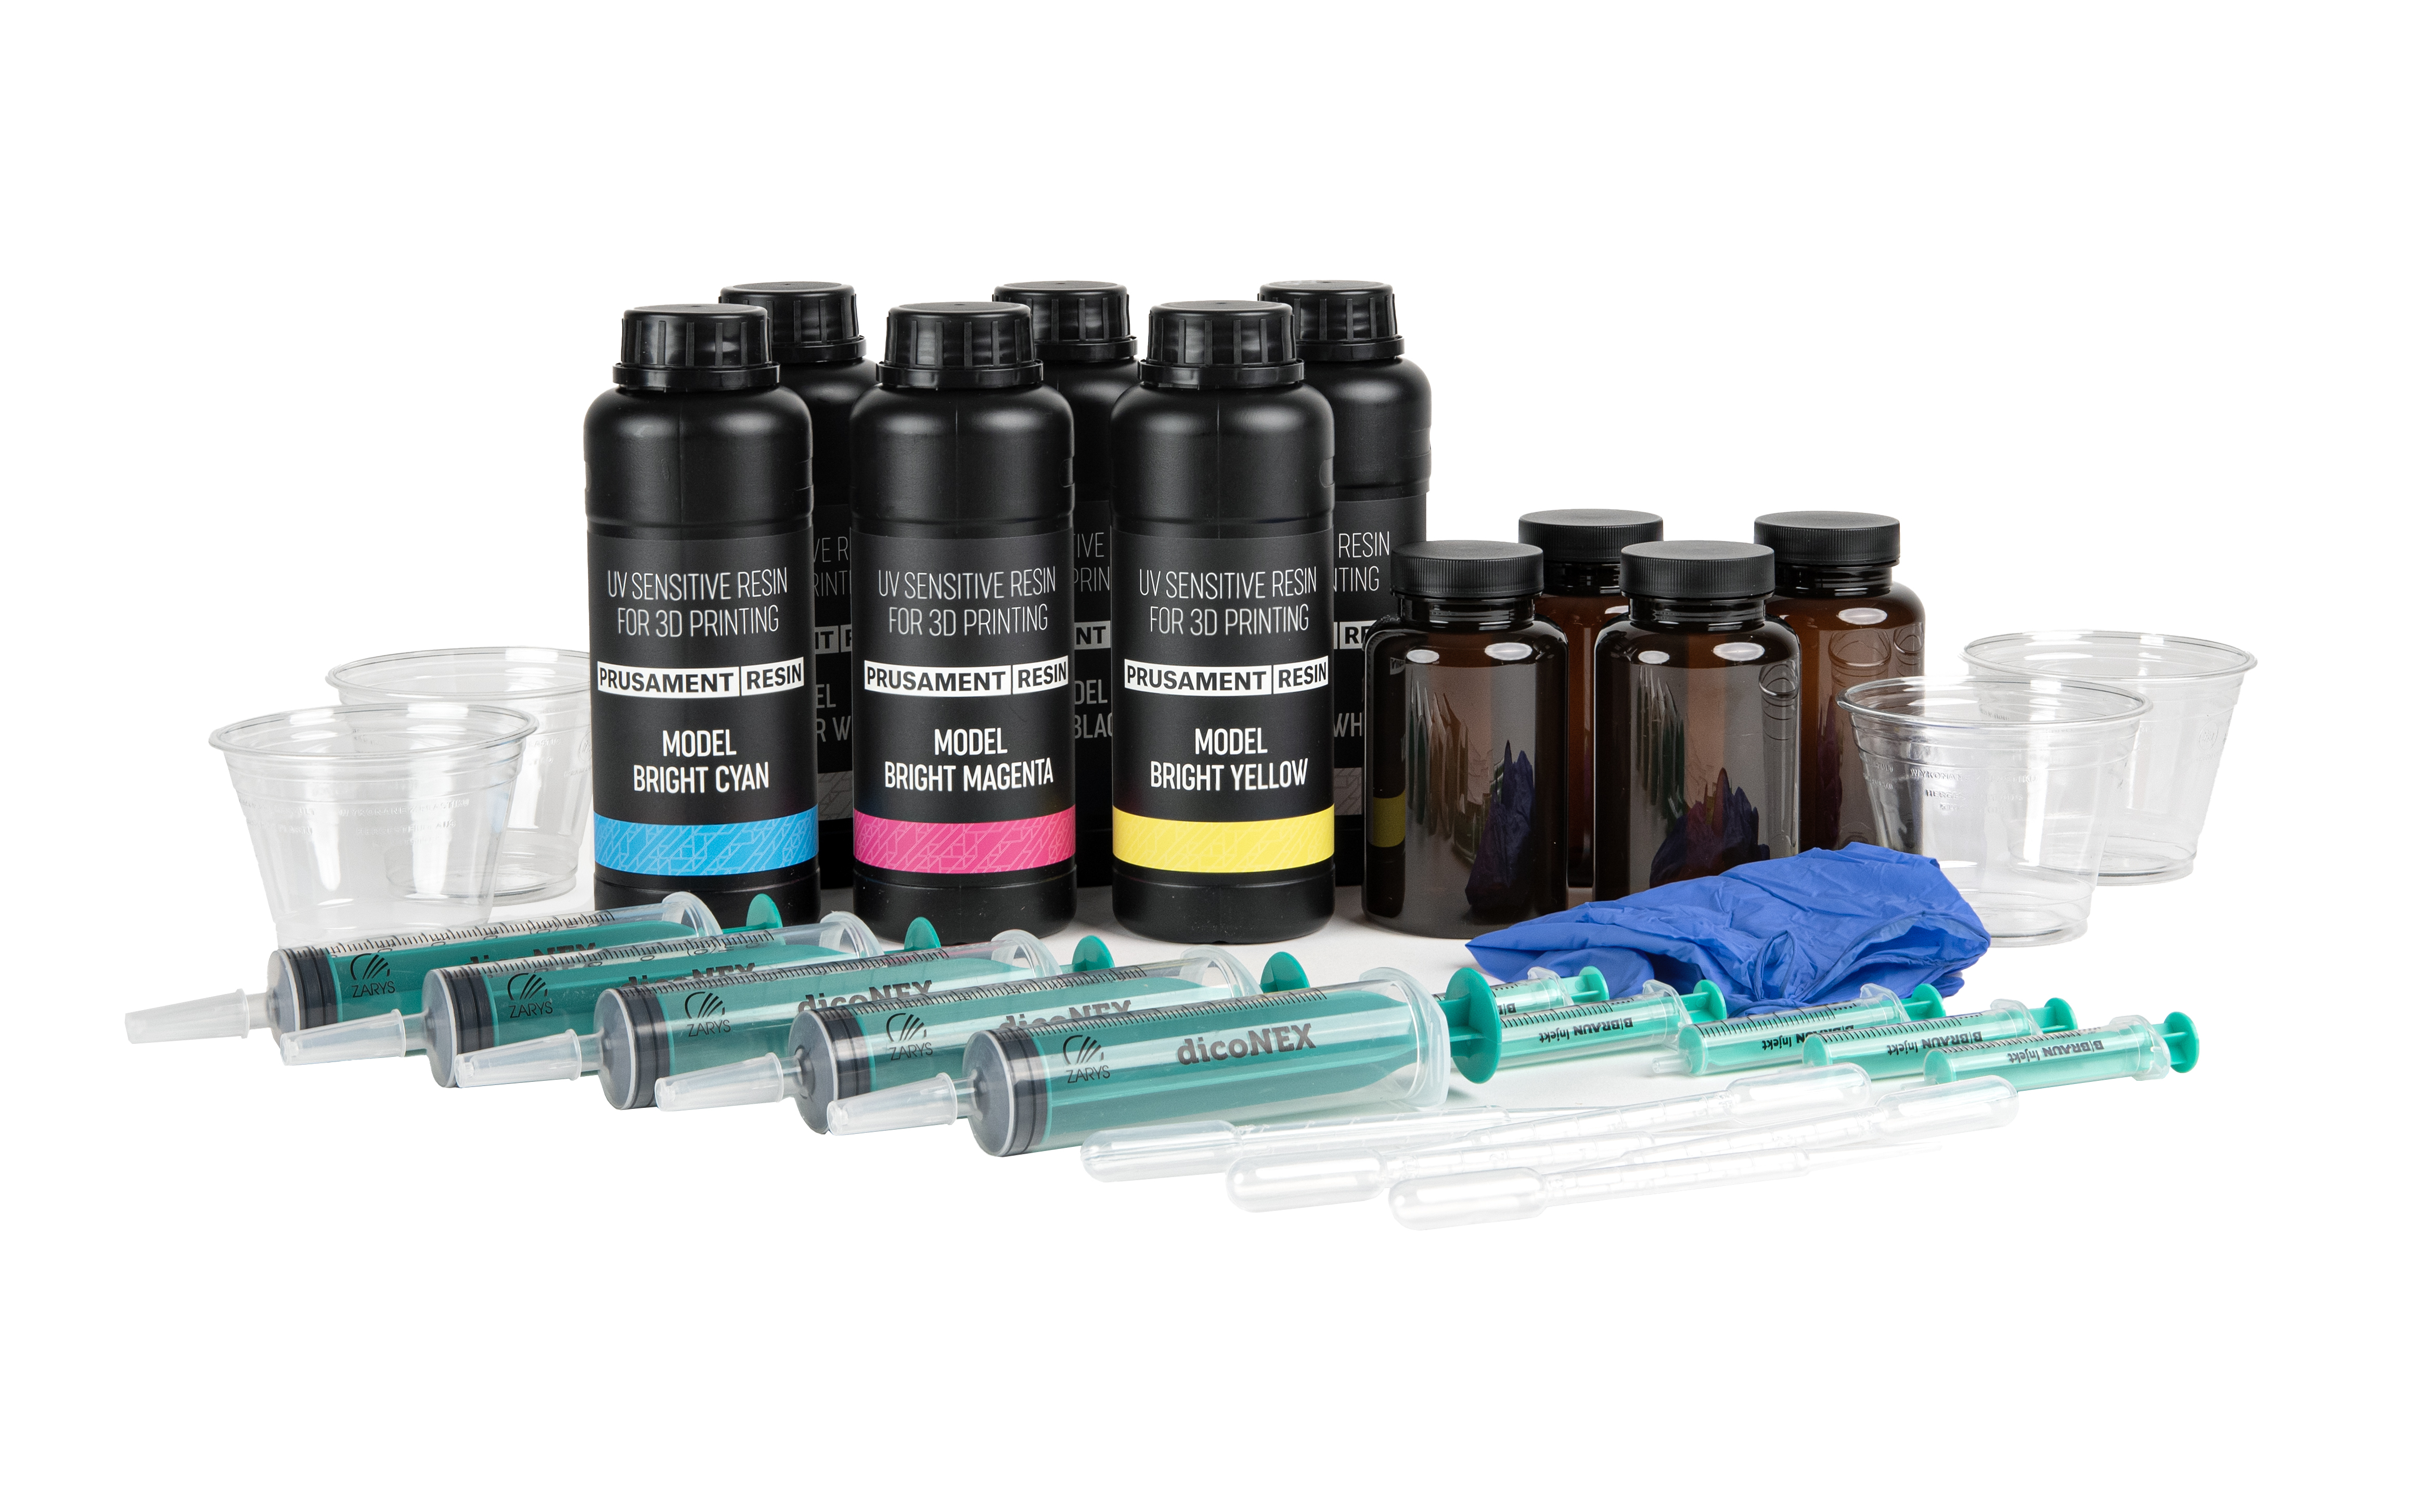
- For measuring by volume, you can use various syringes, pipettes, or cups, such as those included with the Color Kit, or available separately on our e-shop.
Calculating the amounts
The first thing you need to know is the total amount of resin needed for your project (including the pad and supports). Once you slice the model, the total will be calculated by PrusaSlicer (or any other slicer of your choice), both as volume and weight.
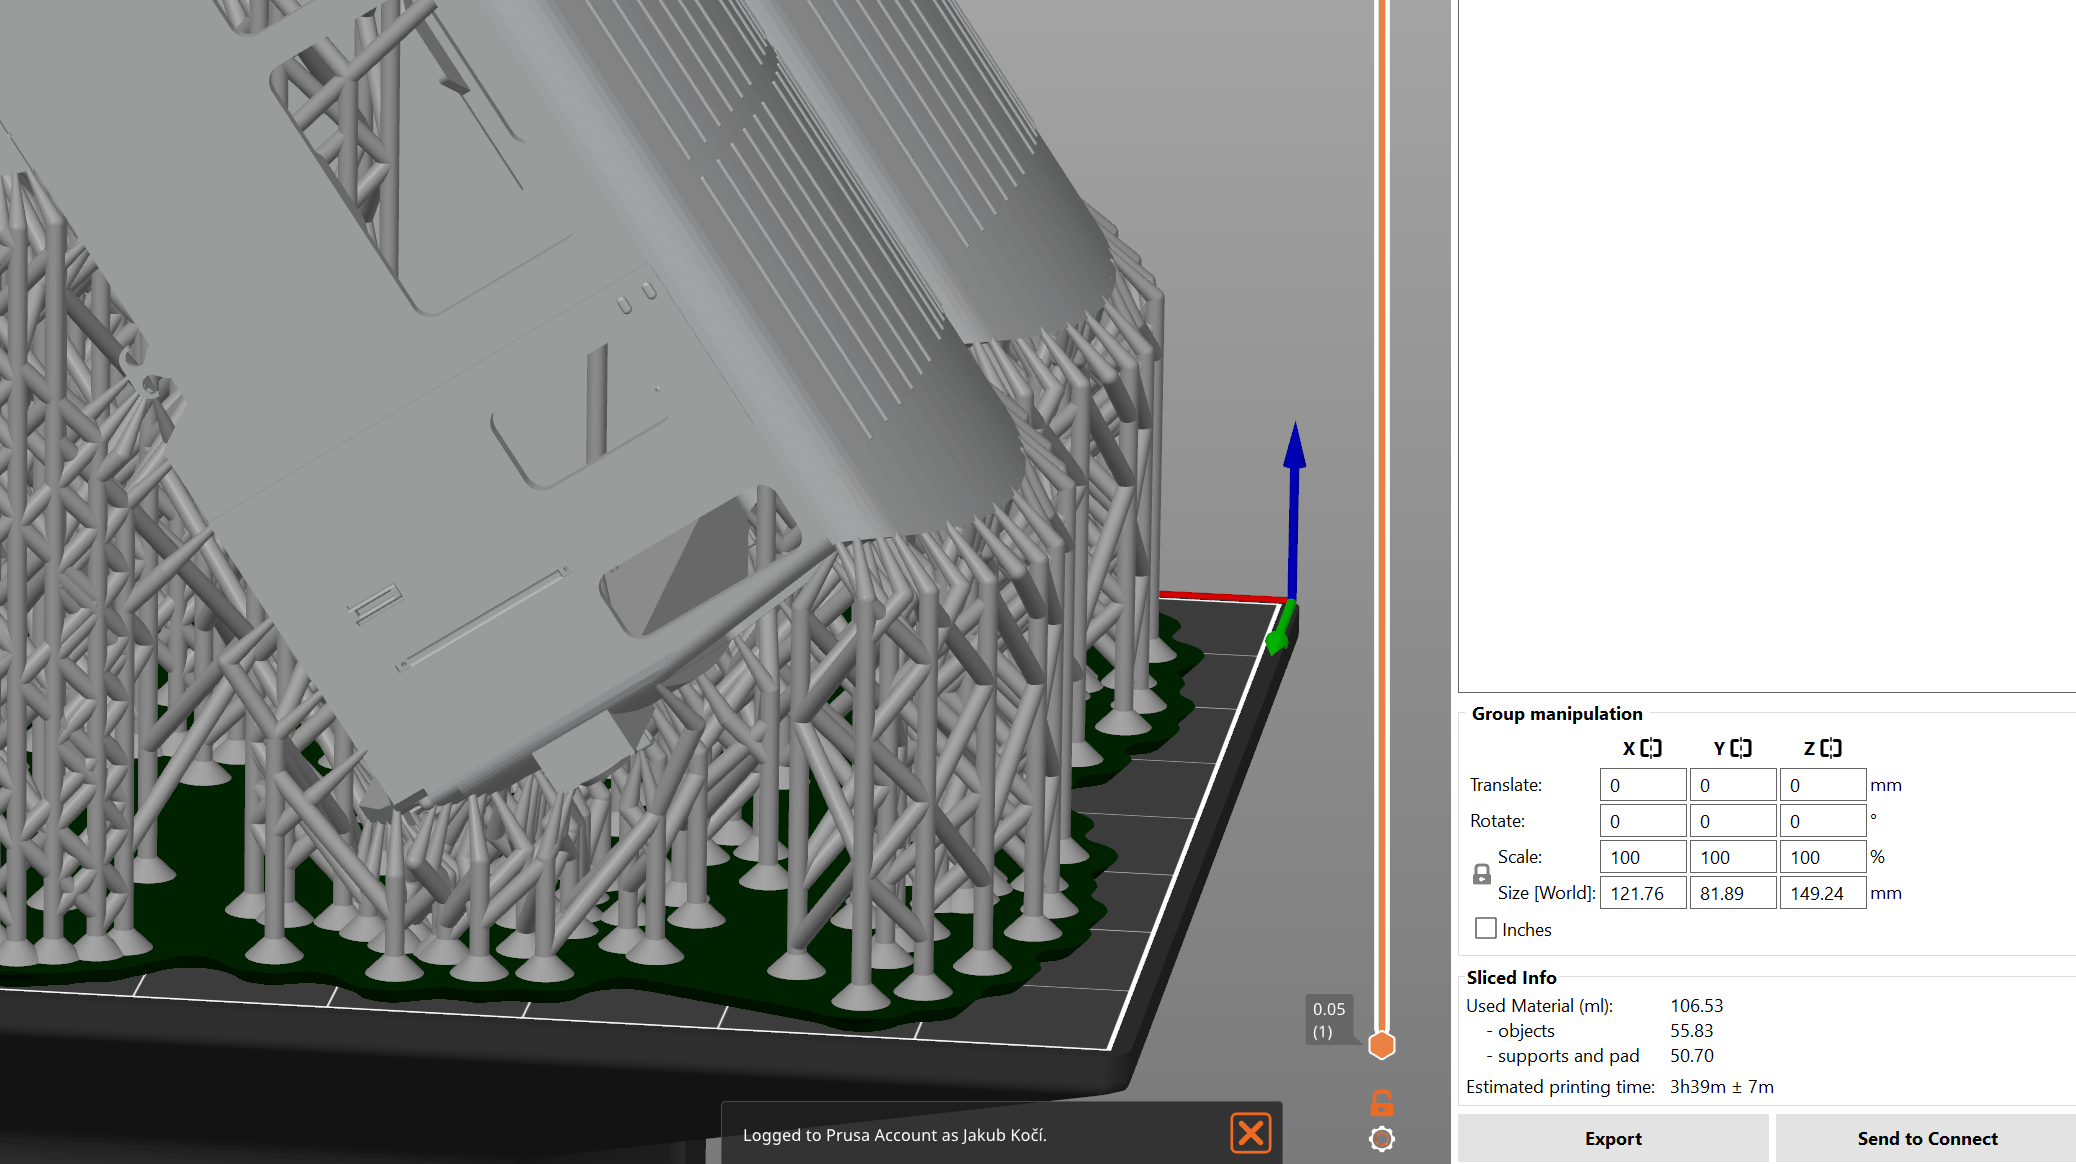
After slicing, the resin volume calculated by PrusaSlicer is on the right side, above the Export button.
Choose which of the two numbers you prefer to use: depending on whether you want to use scales (weight); or pipettes and syringes (volume). If you need to convert the weight to volume and vice versa, keep in mind that resin is about 10% heavier than water, i.e. 10 ml of resin would weigh 11 grams.
Look up the ratios from the Color Kit sample book (or any other homebrew recipe you find online, etc.). Count the volumes according to this equation: prescribed ratio × (total amount / 100) = measured amount.
Here’s an example:
- The PrusaSlicer calculated 240 ml of resin needed for our (hypothetical) model
- The total volume with the extra amount to keep the bottom of the tank flooded would be 270 ml.
- Let’s print for example the sky blue color. The recipe says C: 35, M: 5, W: 60. Here’s the equation for used colors:
Cyan: 35 x 270 / 100 = 94,5 ml (103,95 g)
Magenta: 5 x 270 / 100 = 13,5 ml (14,85 g)
White: 60 x 270 / 100 = 162 ml (178,2 g)
Or, simply use your calculator and multiply 270 by 35% (cyan), then by 5% (magenta), and finally by 60% (white).
When preparing your own recipes, keep in mind that black is very “strong” and even a very small amount would shift the shade considerably.
Of course, you can use the calculator on the Color Kit product page for our tested colors...
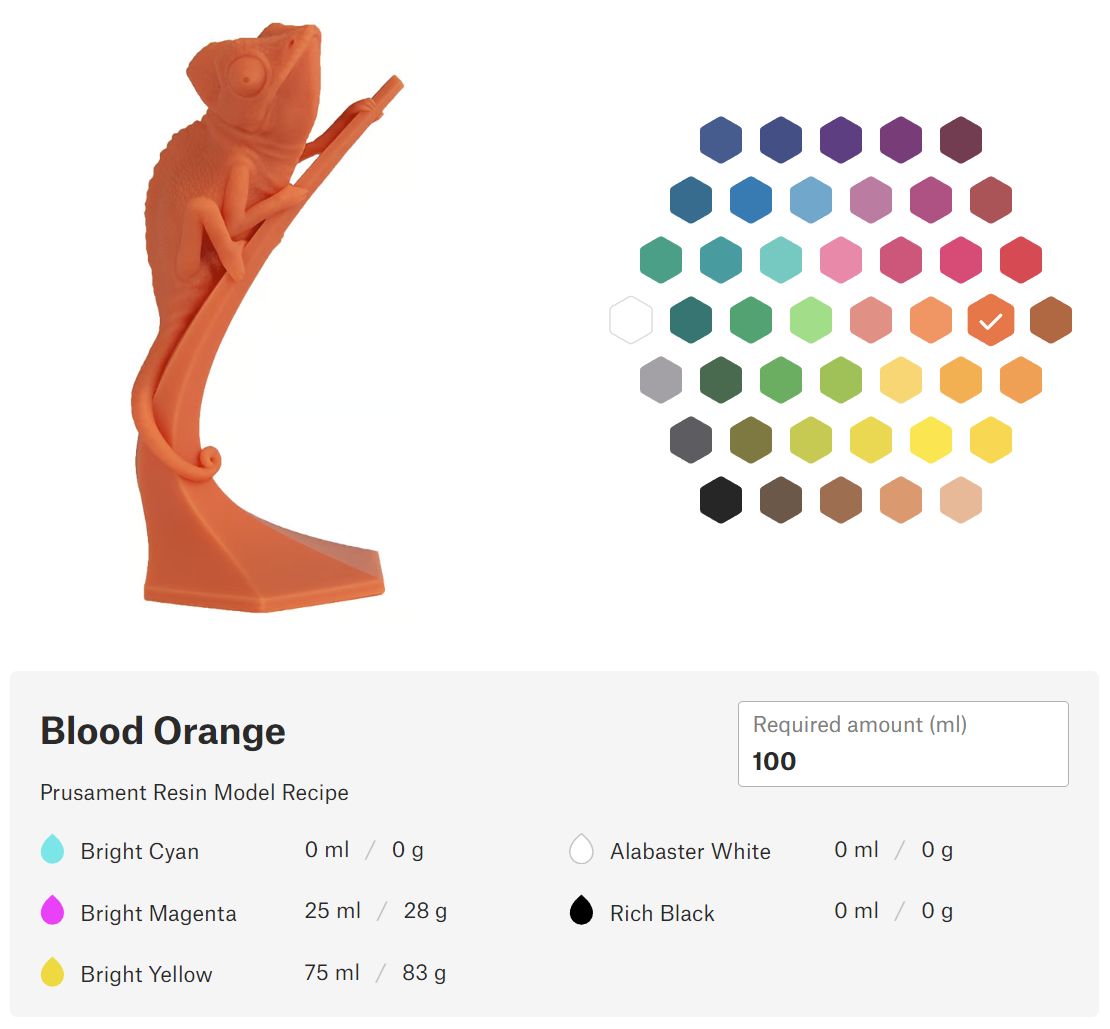
Prusament resin color calculator on the Color Kit product page
Also, when mixing your own colors, keep in mind that both white and black not only lighten/darken the shade but also desaturate it. Adding black will result in a more earthy, natural tone while adding white will create a subdued, pastel color.
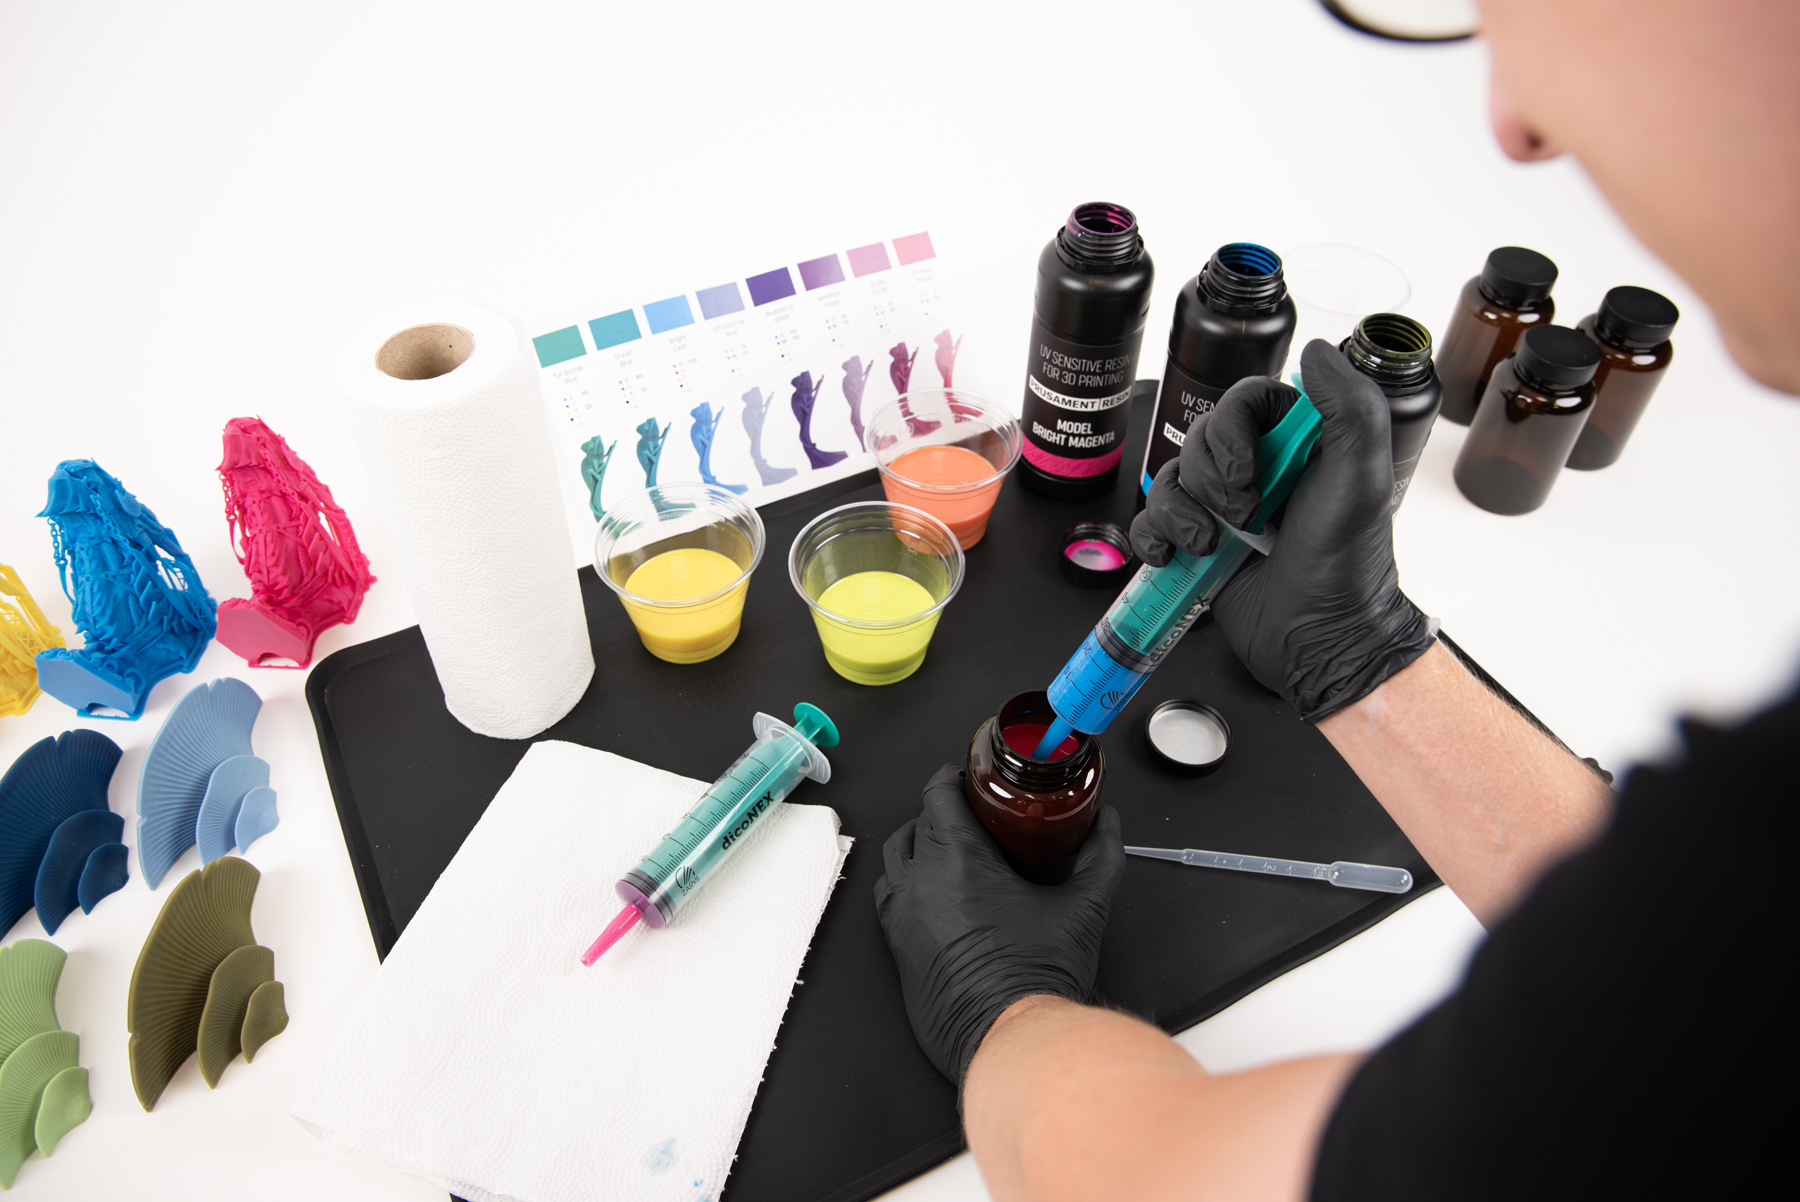
Measuring the resin
To achieve the desired result, take your time and stir all the ingredients very thoroughly before you start mixing them. The pigment in Prusament Resin is very rich and lightfast (i.e. colors won’t bleach over time). However, when left idle for a longer period, the particles tend to sit at the bottom of the bottle (or later in the resin tank!). This effect is most noticeable with the white pigment.
To measure volumes in the order of ml, it is advisable to use a 5 ml syringe with 0.2 ml marks. For larger volumes in the order of tens to low hundreds of ml, a 50 ml syringe with 1 ml marks is suitable.
Excess resin that adheres to the submerged end of the syringe should be wiped off immediately after measuring the required volume. If you measure several resins of different colors with one syringe, it is always necessary to remove the remnants of the previous resin by thoroughly washing them with alcohol and wiping the corners with a paper tissue. This also applies to other tools used.
On the other hand, the pipettes are more gentle but also less precise. You can use them for stirring the mix as well.
It is better to pour the resin first into a cup, not stick the pipette or syringe directly into the resin bottle.
Note that the bigger the total amount, the more accurate your measuring will be. Therefore, if you want to achieve an exact color, consider mixing a larger batch than needed.
Mixing the resin
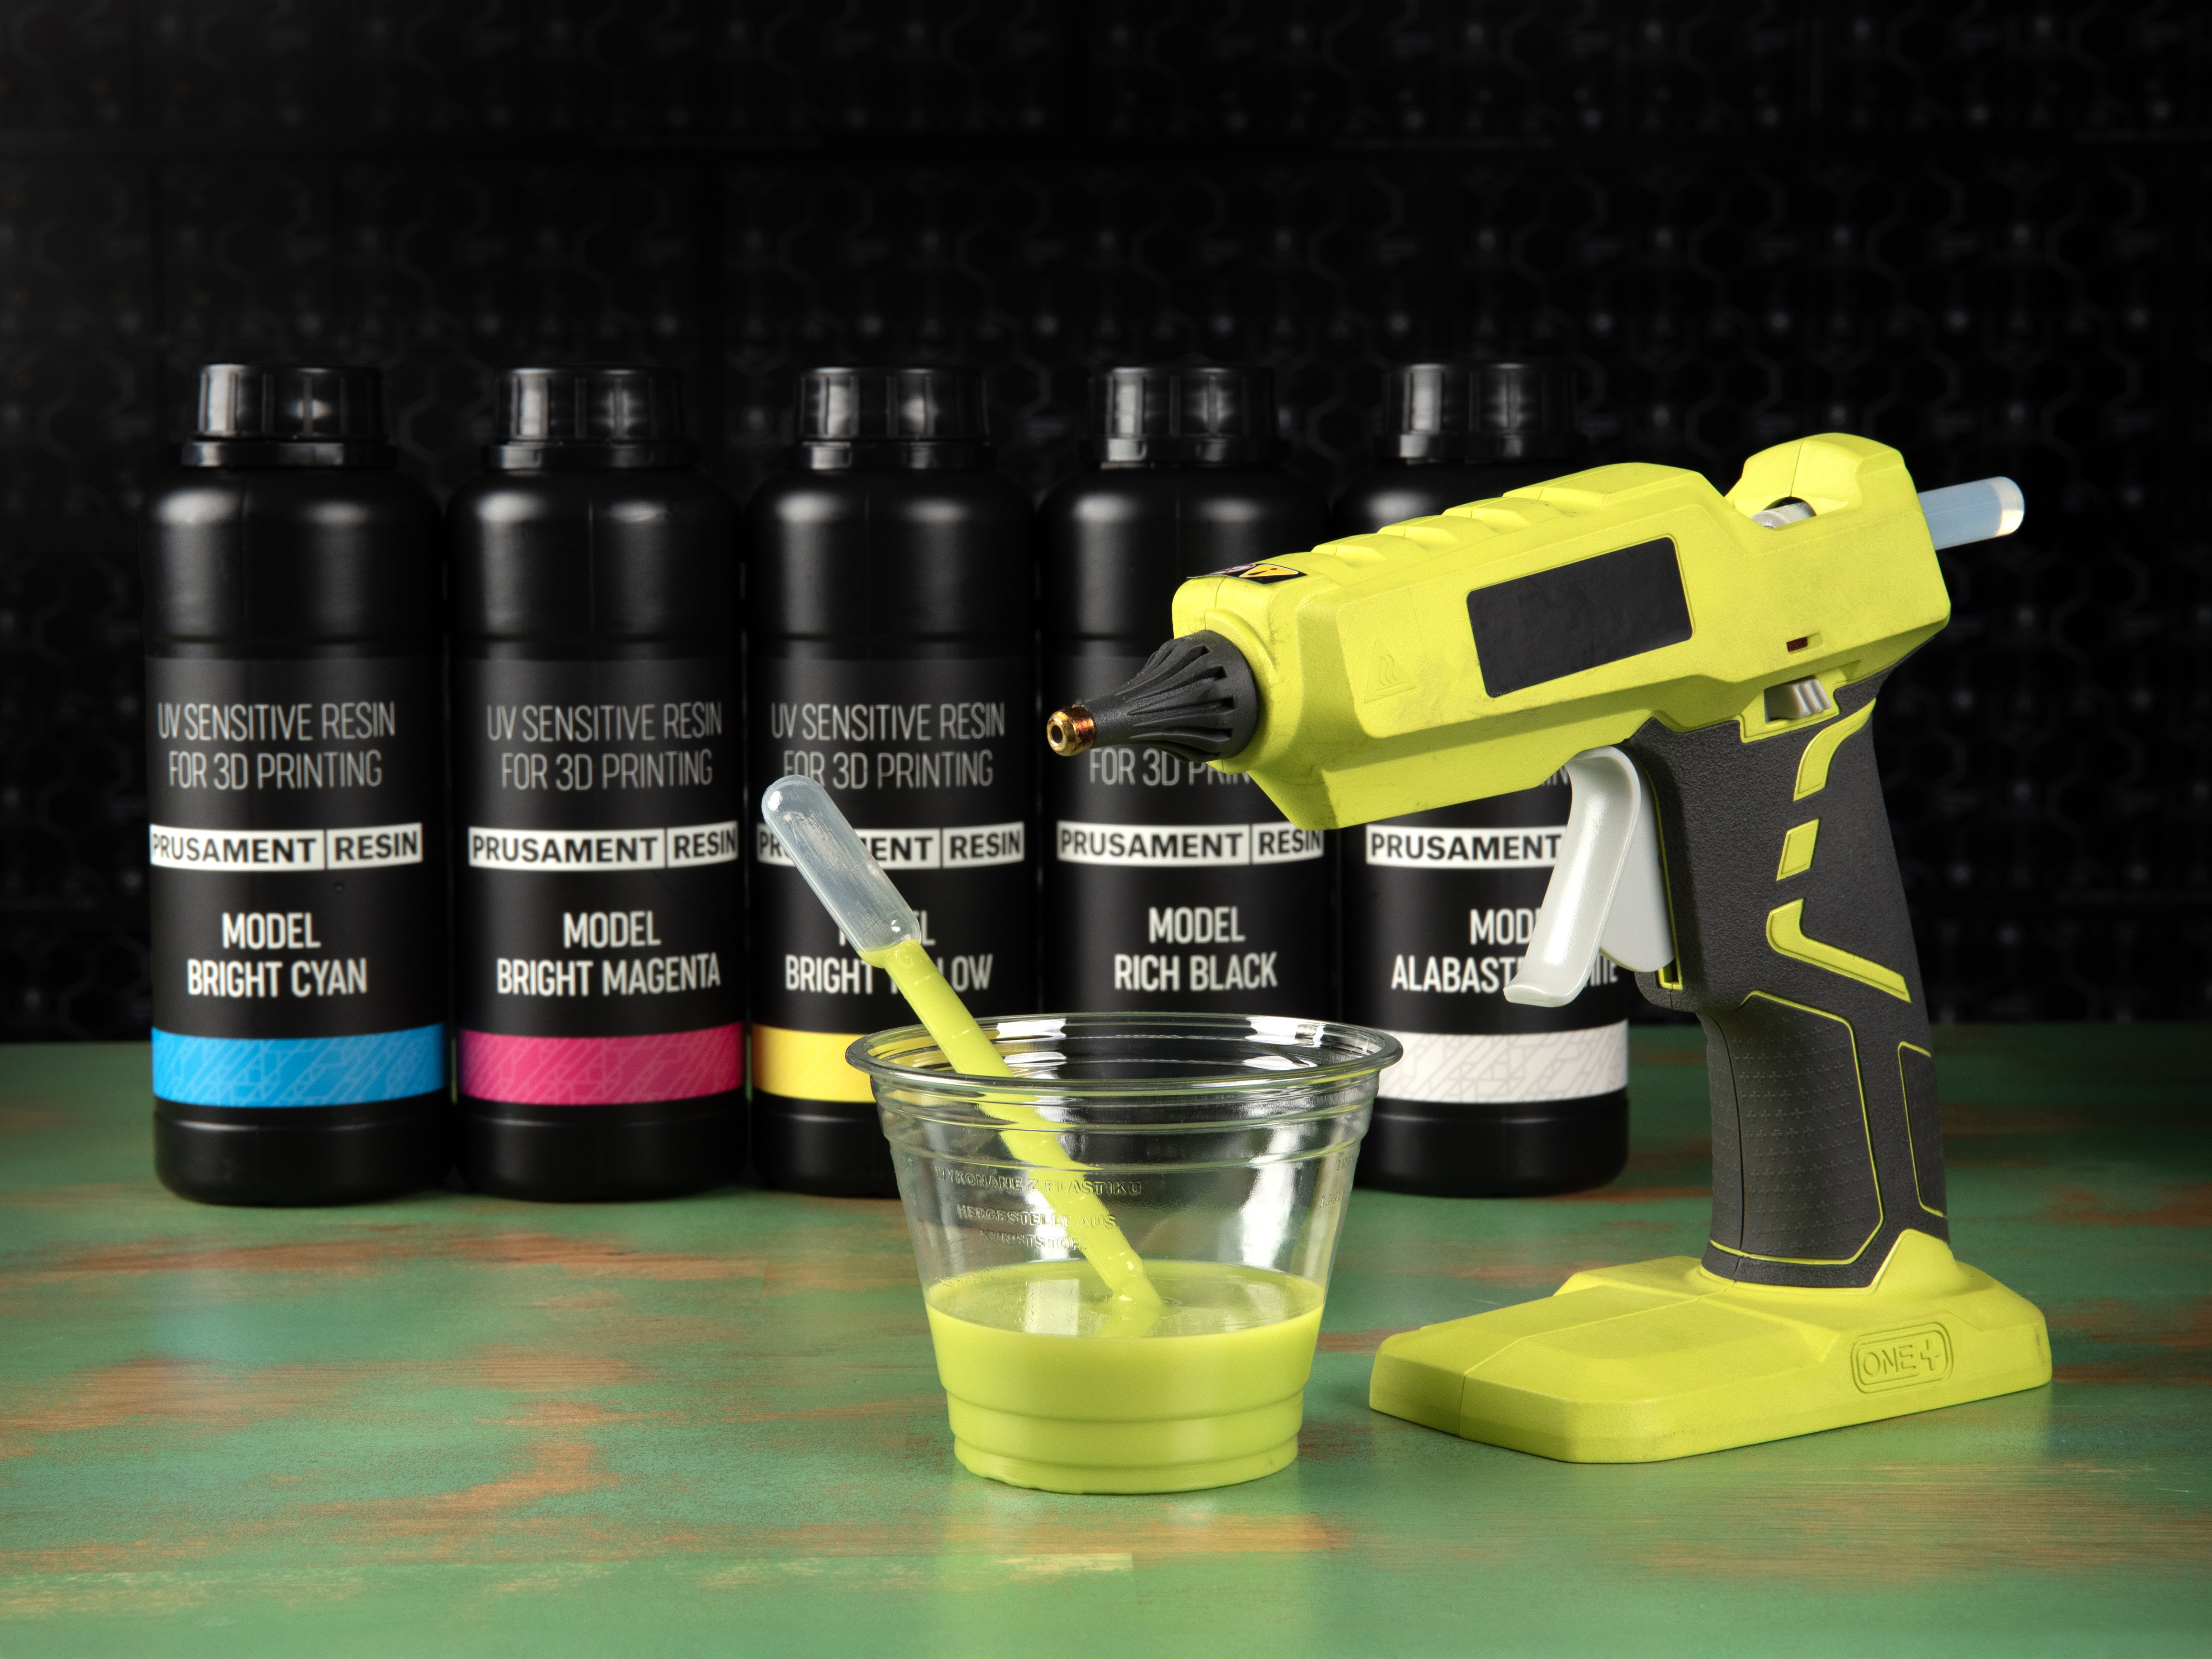
You can mix the resin right in a cup, and stir it for example with a pipette.
However, for more thorough mixing, it is better to pour the mixture directly into a dark, resealable bottle of appropriate volume, which can be used for further storage as well. The Color Kit includes a few 250 ml PET bottles for this purpose. You can also use any empty resin bottles, thoroughly washed with IPA.
Mixing of the resins can be facilitated by heating to a temperature of 30 ~ 40 °C, for example, using the “resin preheat feature” of the Original Prusa CW1S.
Intensive mixing or shaking would induce foam, so it is advisable to let the mixture stand for a few minutes before printing.
Printing
For all the color mixes, you can use the same exposure time as a baseline (basically the same as for the individual Prusament Model Resin Alabaster White). For the Original Prusa SL1S SPEED printer, it is 25/2.2 seconds for a 0.05 mm layer height. If you would like to fine-tune the exposure of a particular color mix, consider printing calibration objects. A guide for the SL1S printer is available here.
Post-processing
The process is the same as with regular Prusament Model Resin: wash the prints in an IPA bath (use two separate baths for super clean results). If you’re not familiar with the washing process, learn more about it in a dedicated article.
Cure the washed prints with UV light. Using the Original Prusa CW1S, 3 minutes of curing will be sufficient. Turn the prints around to achieve an evenly colored surface.
You might experience a slight yellowing of the print surface, especially with pale colors, and/or when curing the prints for a prolonged period. This effect will mostly diminish over time (48 hours at room temperature). You can accelerate it by heating the prints (for example using the CW1S "resin preheat function" for one hour at 60 °C).
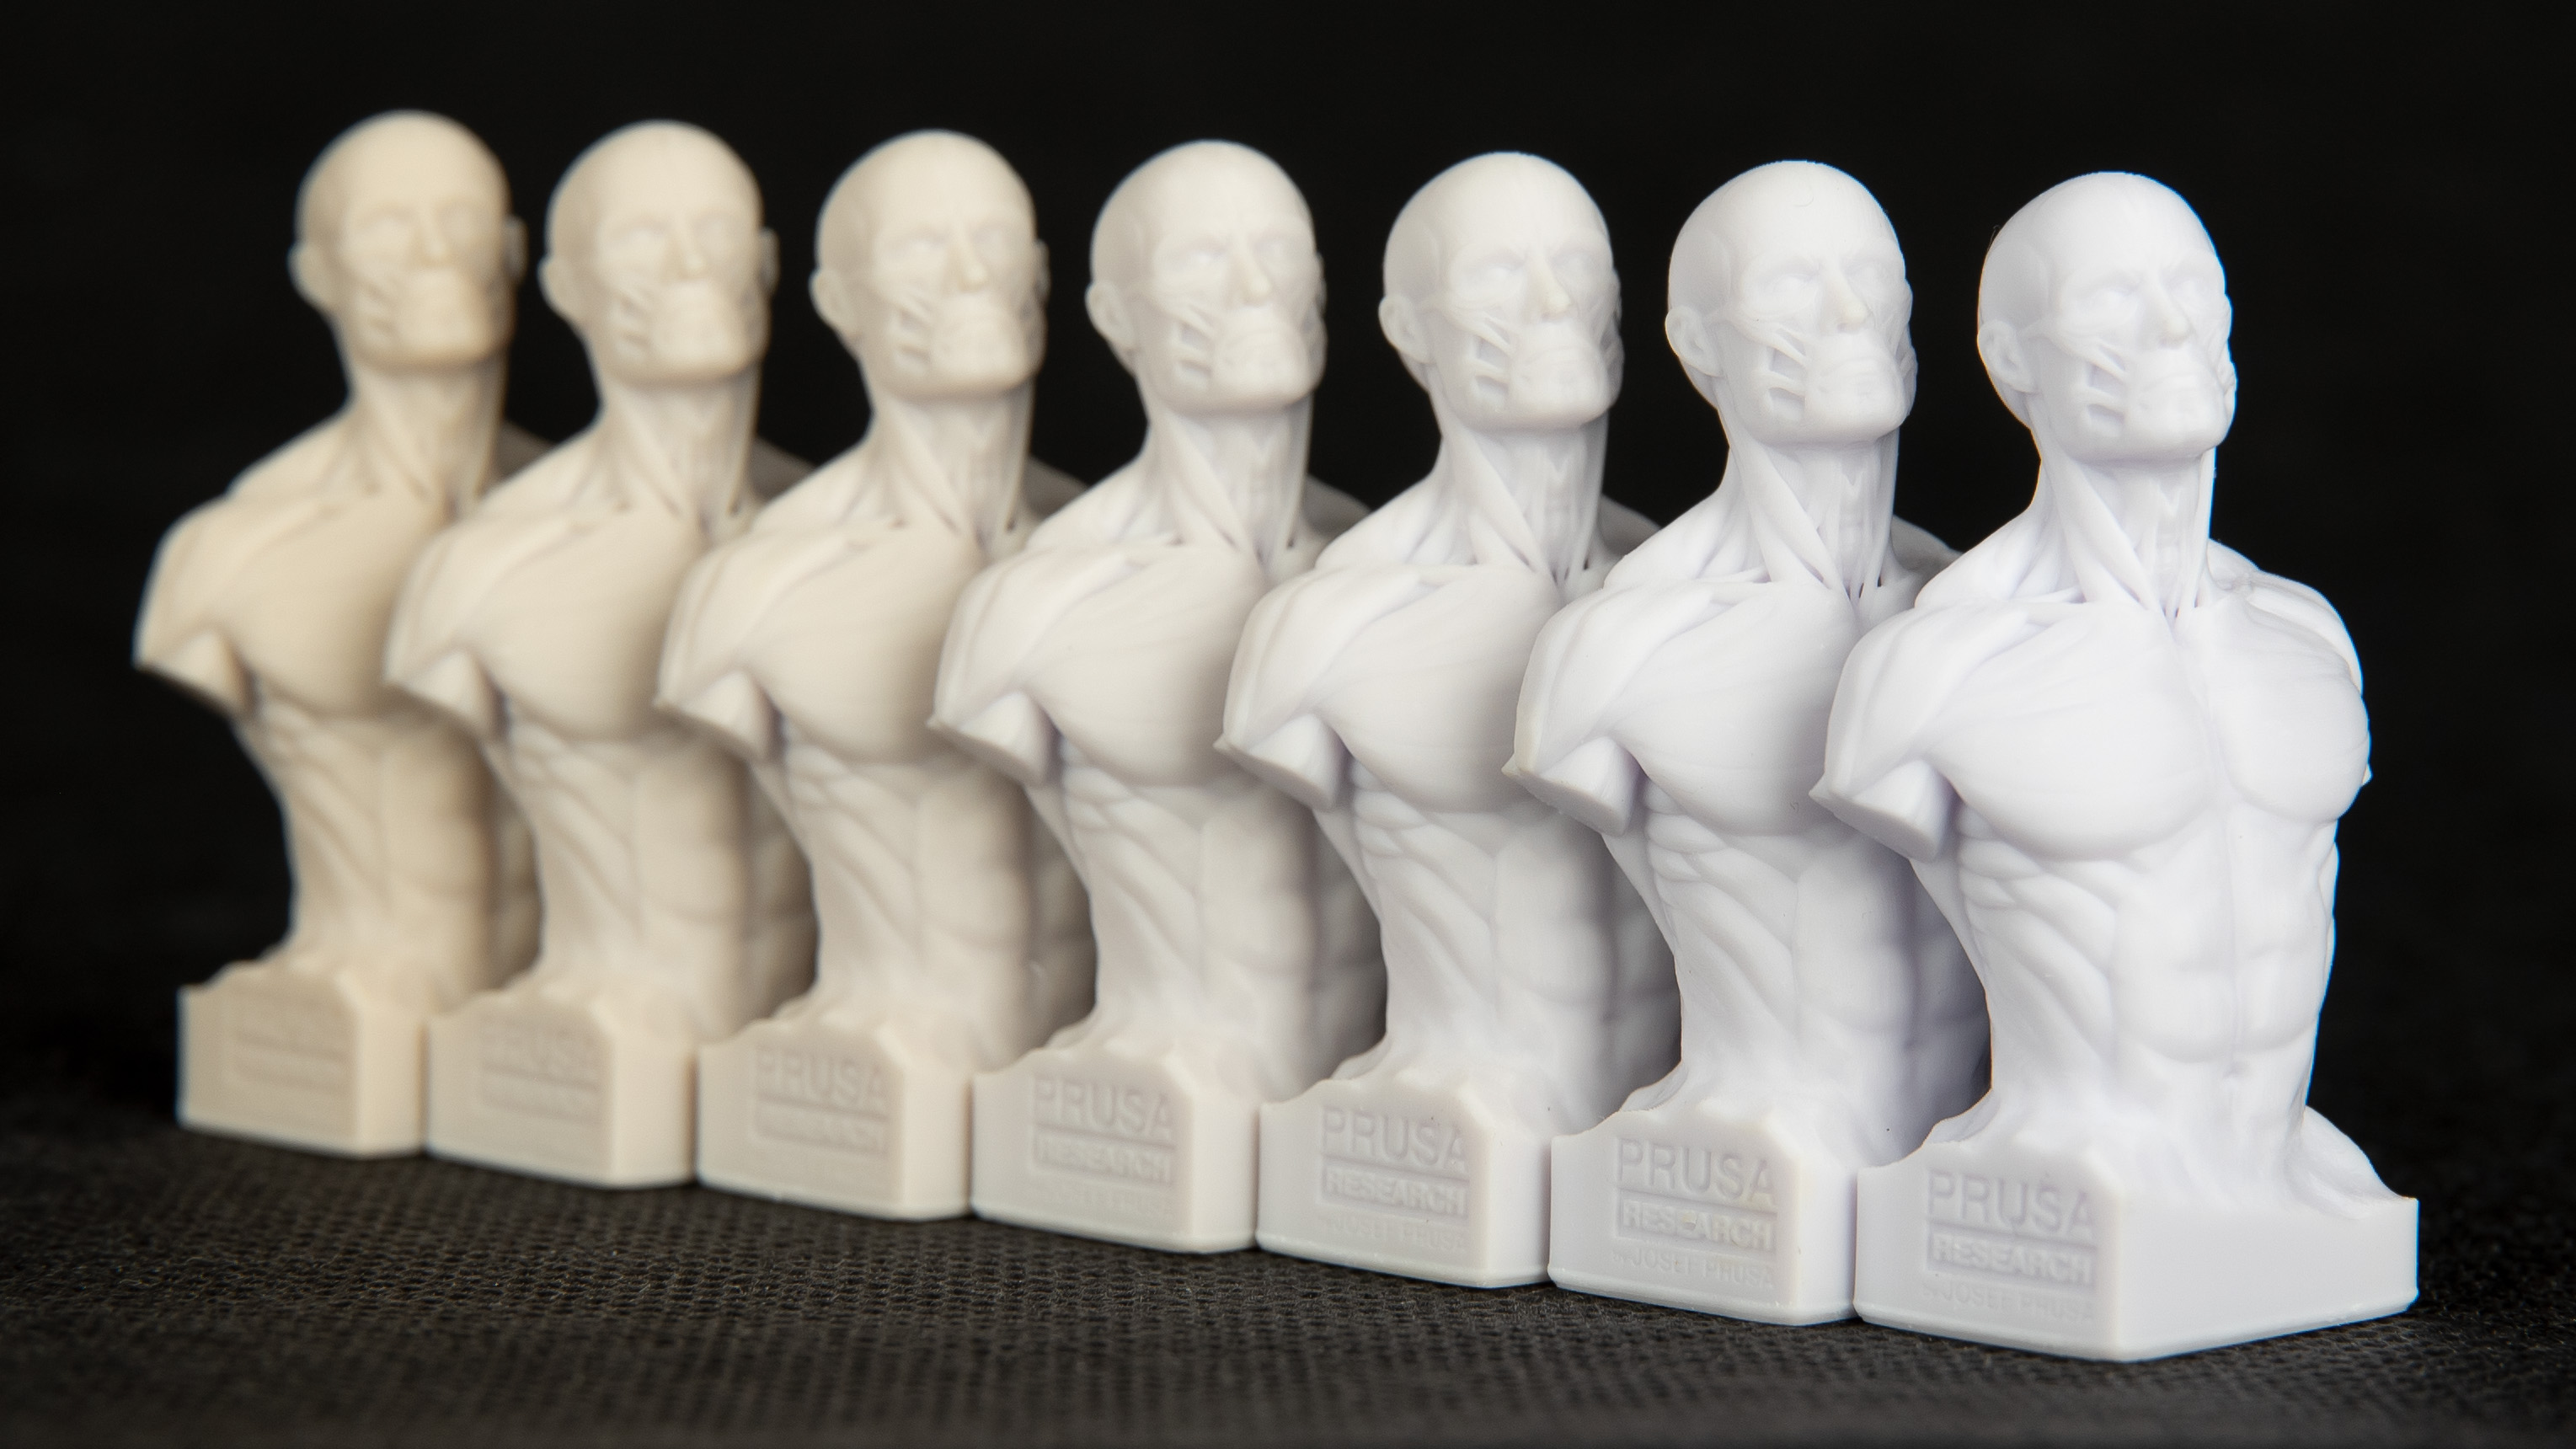
If you want to achieve a more evenly colored surface, consider turning the print around during the curing process, so the exposure to the UV light is as even as possible.
Again, there is a dedicated article on the topic of resin yellowing.
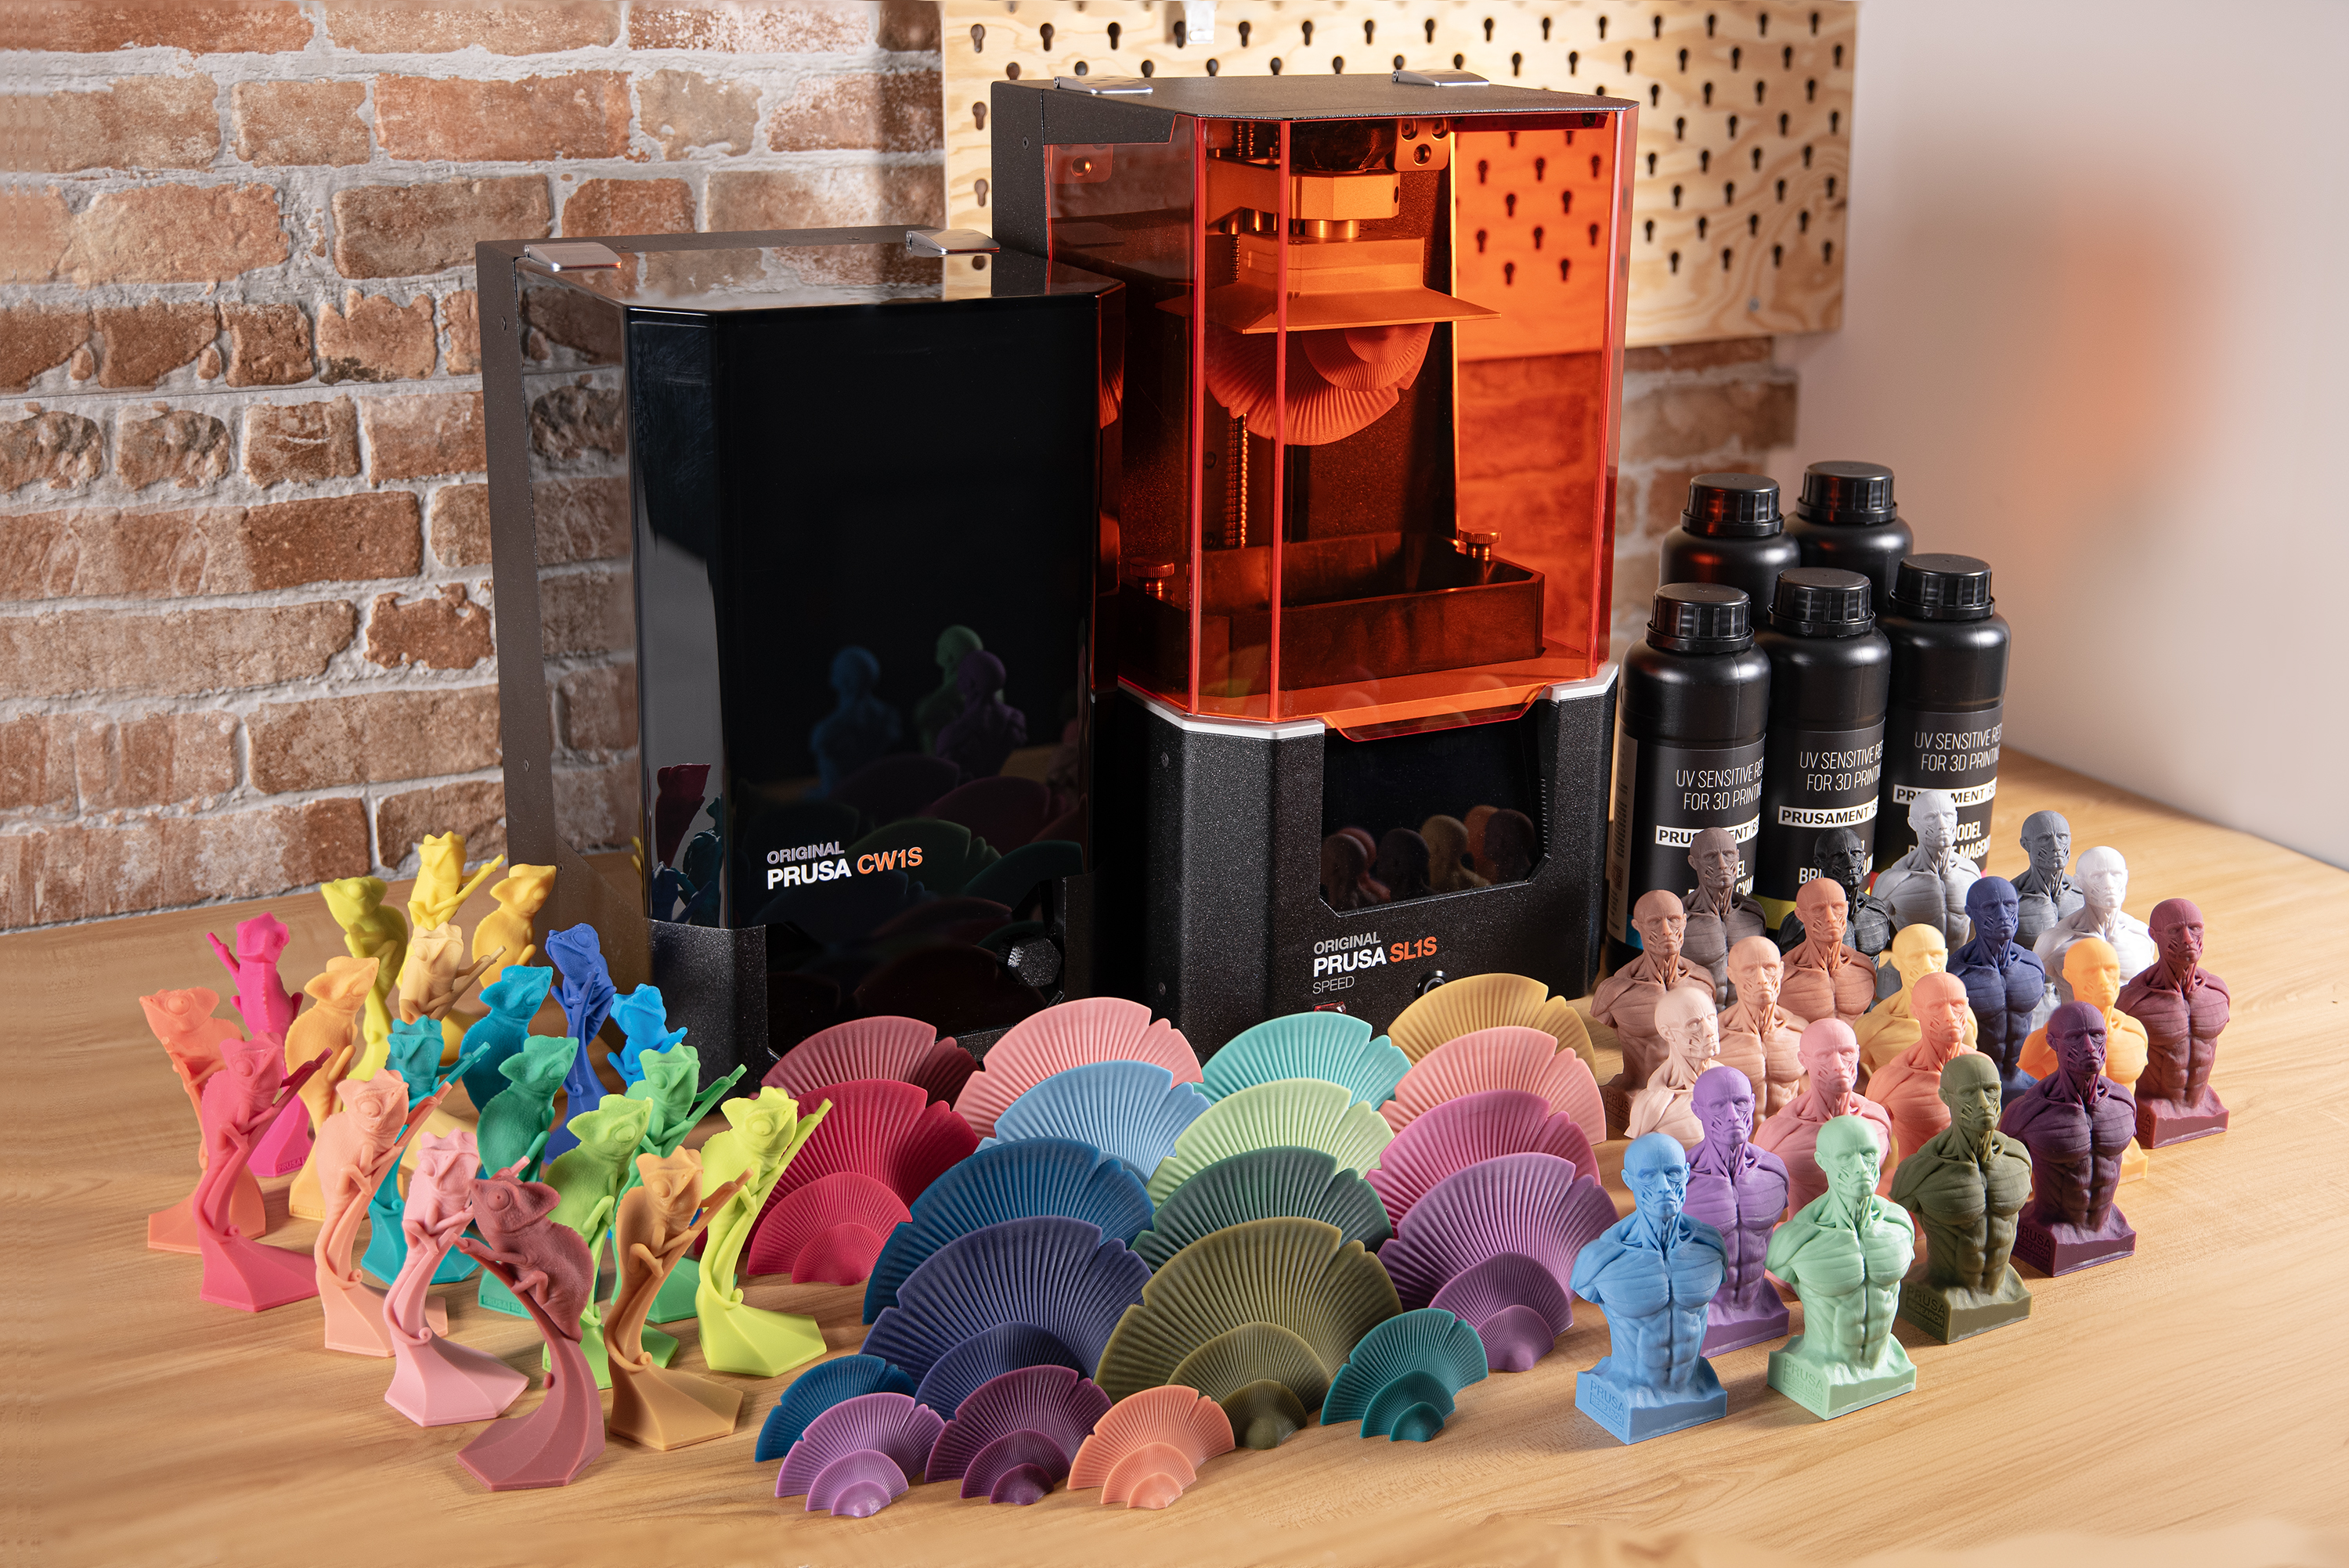
Out of resin or accessories? You can get more at prusa3d.com:
Full Prusament Resin Model Color Kit