Italiano
Login
Stampanti 3D
Materiali
Componenti e accessori
Software
Modelli 3D
Campi d'applicazione
Community
Aiuto
Academy
Blog
Azienda
Supporto
Original Prusa i3 MK2S
Kit da assemblare Original Prusa i3 MK2S
7. PSU & Heatbed assembly | Getting the necessary tools
1. Getting the necessary tools
Step 1 of 32 (Chapter 7 of 9)
Modalità schermo intero
Contenuti
Commenti
⬢
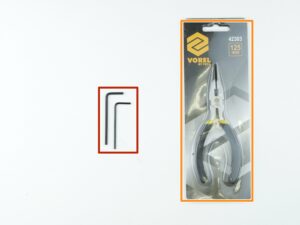
2 and 2.5 mm allen key
⬢
Needle-nose pliers
Loading...
Successivo
Contenuti
Kit da assemblare Original Prusa i3 MK2S
1. Introduzione
2. Y-axis assembly
3. Assemblaggio asse X
4. Assemblaggio asse Z
5. Assemblaggio Estrusore
6. Assemblaggio LCD
7. Assemblaggio Alimentatore & Piano riscaldato
Getting the necessary tools
3D printed parts
Assembling the PSU
Securing the PSU
New design for PSU-Y-Part
Connecting PSU-Y part
Assembling PSU-Y-part
Main power cables guide
Configuring the PSU
Different heatbed versions
Heatbed cable assembly (part 1)
Heatbed cable assembly (part 2)
Heatbed cable assembly (part 3)
Preparing the heatbed
Preparing the heatbed-cable-cover
Mounting the heatbed-cable-cover
Proper cable management
Wrapping the heatbed cables
Securing the sleeve in place
Finalizing the wrap
Y-belt holder helping nuts removal
Preparing the heatbed
Assembling the heatbed
Finalizing the heatbed
Preparing the heatbed cable cover
Assembling the heat bed cover
Preparing the filament
Assemble the heatbed cable cover
Wrapping the heatbed cables
Securing the spiral wrap in place
Check if everything is correct
Last finishing touch and done!
8. Assemblaggio dell'elettronica
9. Controllo finale
Commenti
Accedi
per inviare un commento
Nessun commento