English
Login
3D printers
Materials
Parts & Accessories
Software
3D Models
Applications
Community
Help
Academy
Blog
Company
Support
Prusa Pro HT90
Printer maintenance
How to install the Camera dummy module (HT90) | Begin assembly
1. Begin assembly
Step 1 of 15 (Chapter 2 of 4)
Fullscreen mode
Contents
Comments
Difficulty
Easy
Available languages
Begin assembly
Contents
Printer maintenance
Unpacking the printer (HT90)
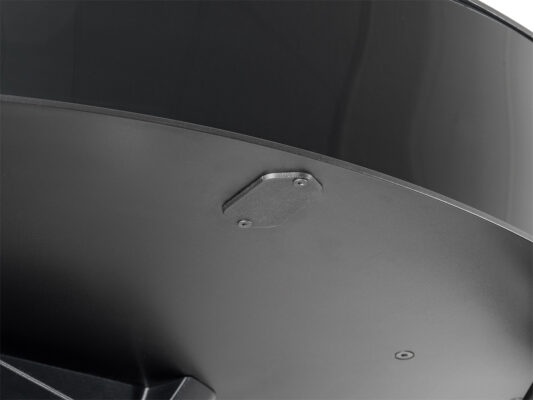
How to install the Camera dummy module (HT90)
Begin assembly
Introduction
Tools necessary for this chapter
Preparing the printer
Door opening stopper releasing
Door opening stopper removing
Lid opening
Camera module removing
Camera dummy module: parts preparation
Camera dummy module installing
Camera dummy module securing
Lid closing
Door opening stopper securing
Printer connecting
Well done!
How to replace the door (HT90)
How to lubricate the magballs (HT90)
Comments
Log in
to post a comment
No comments