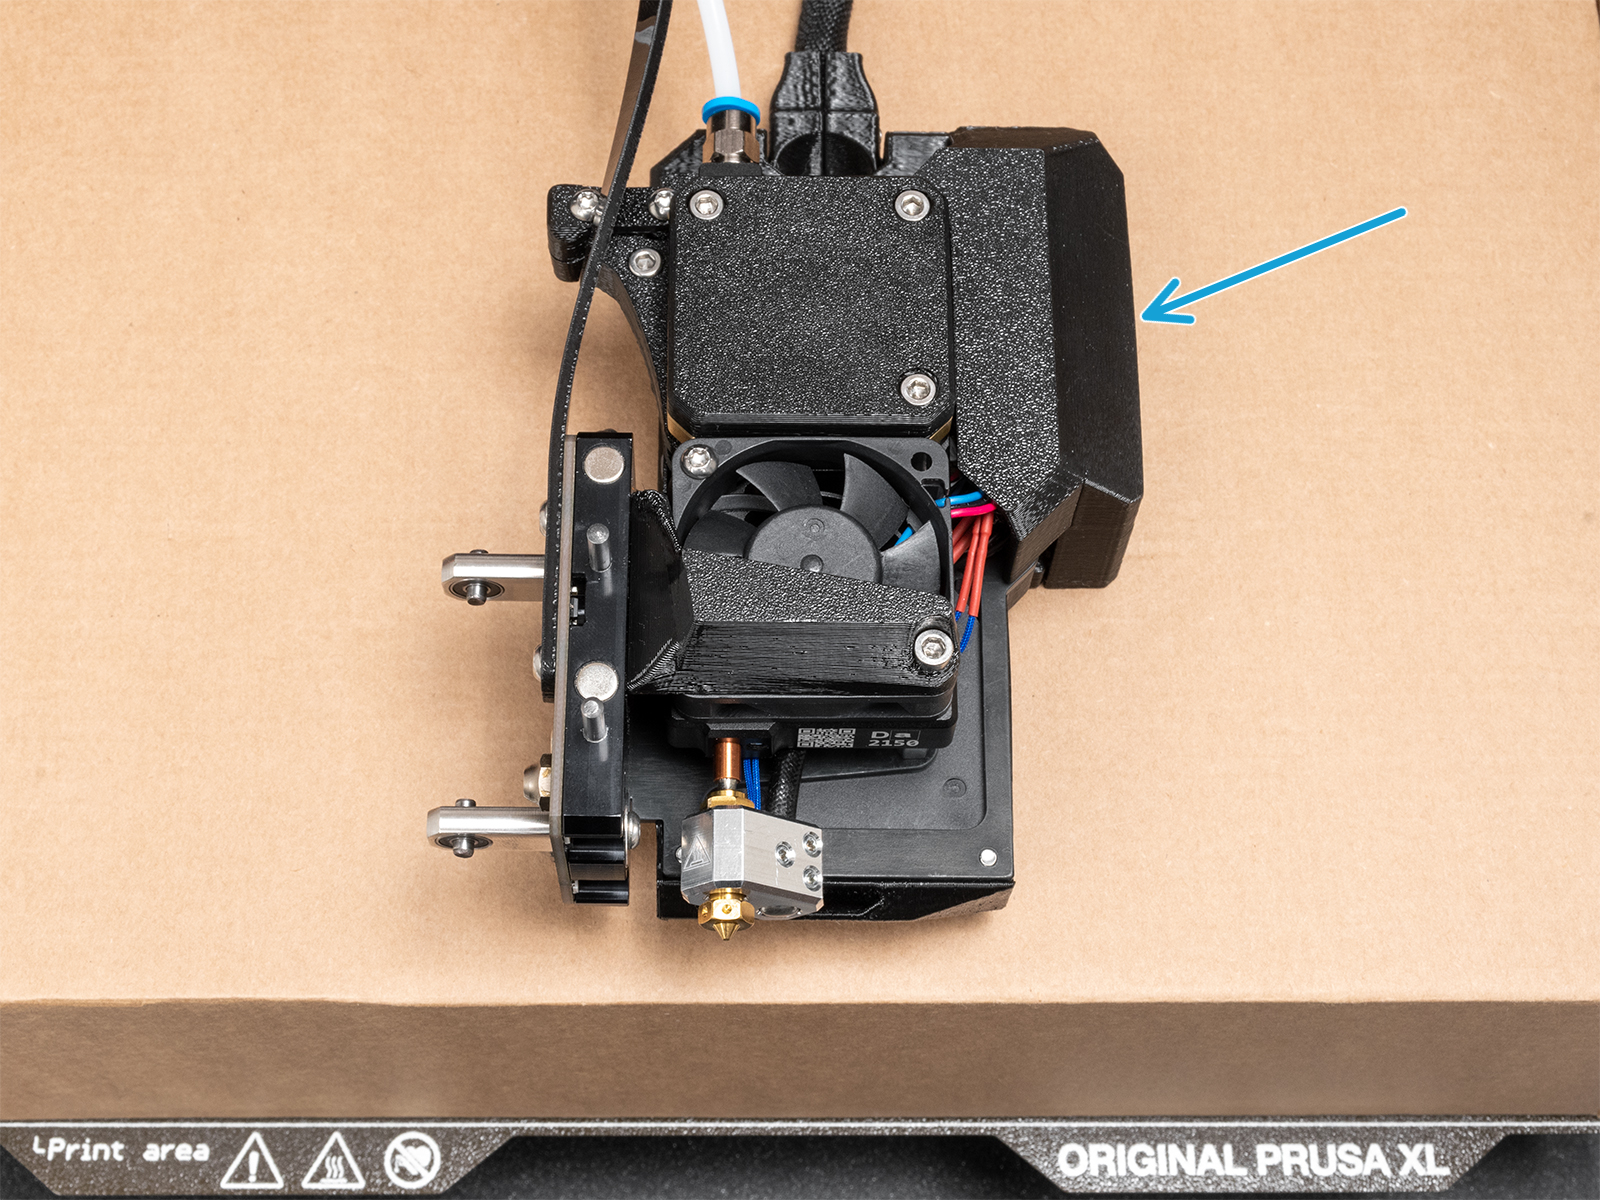
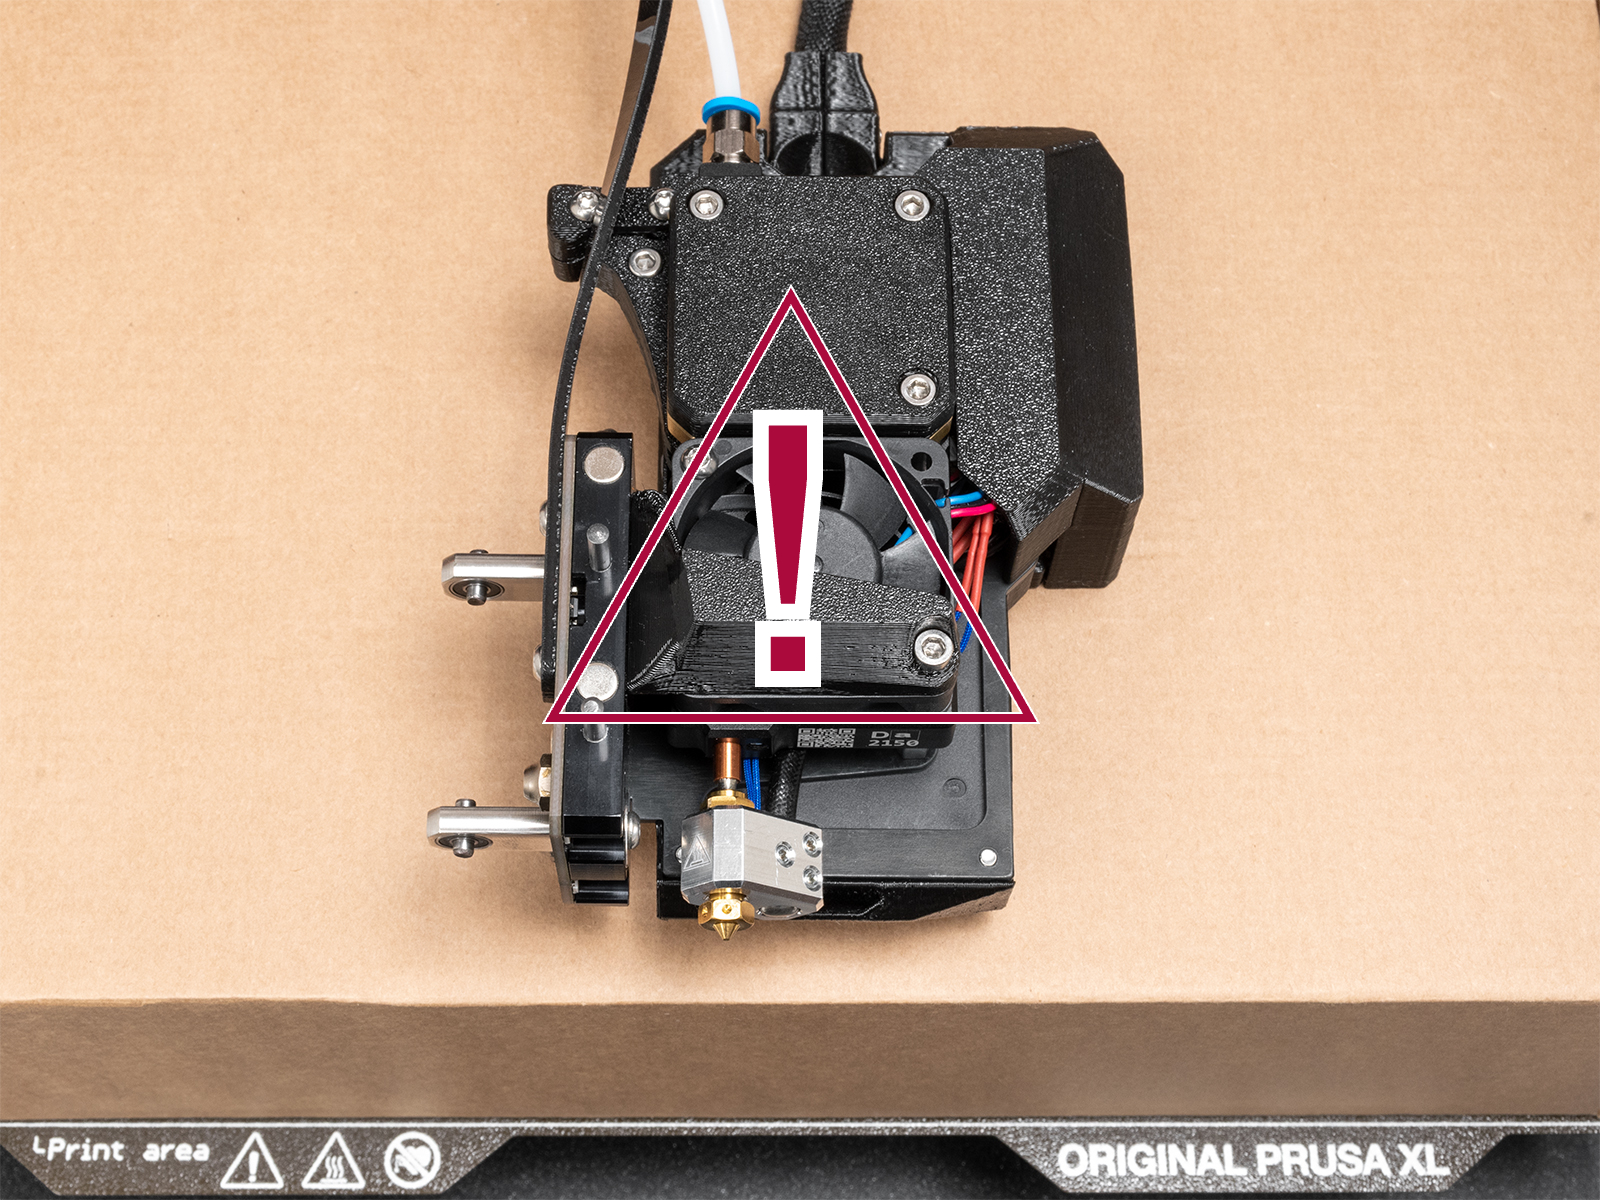
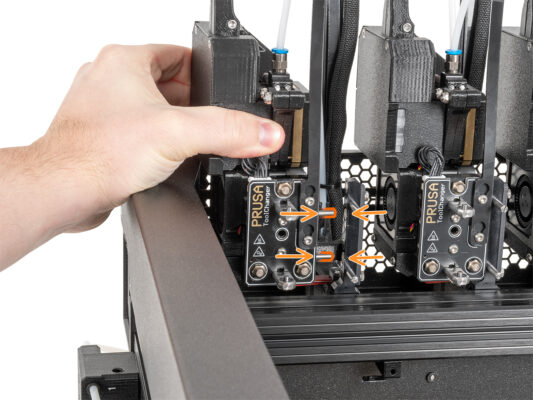
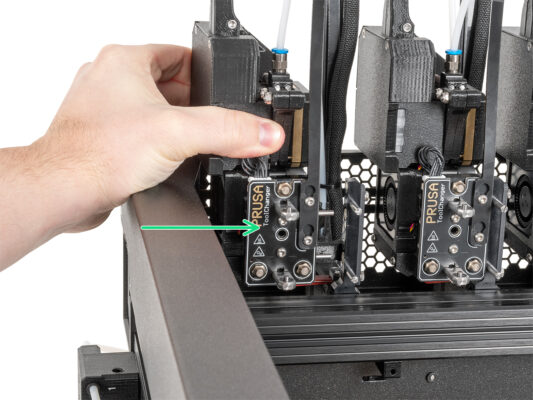
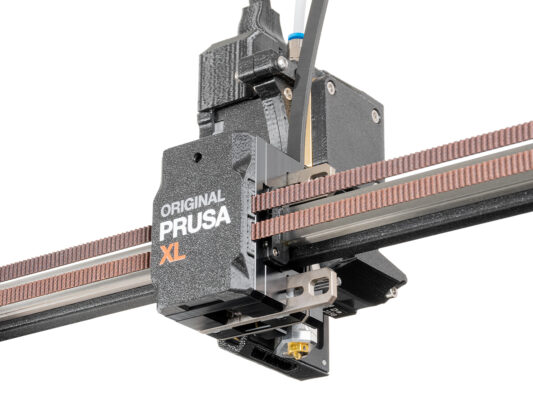
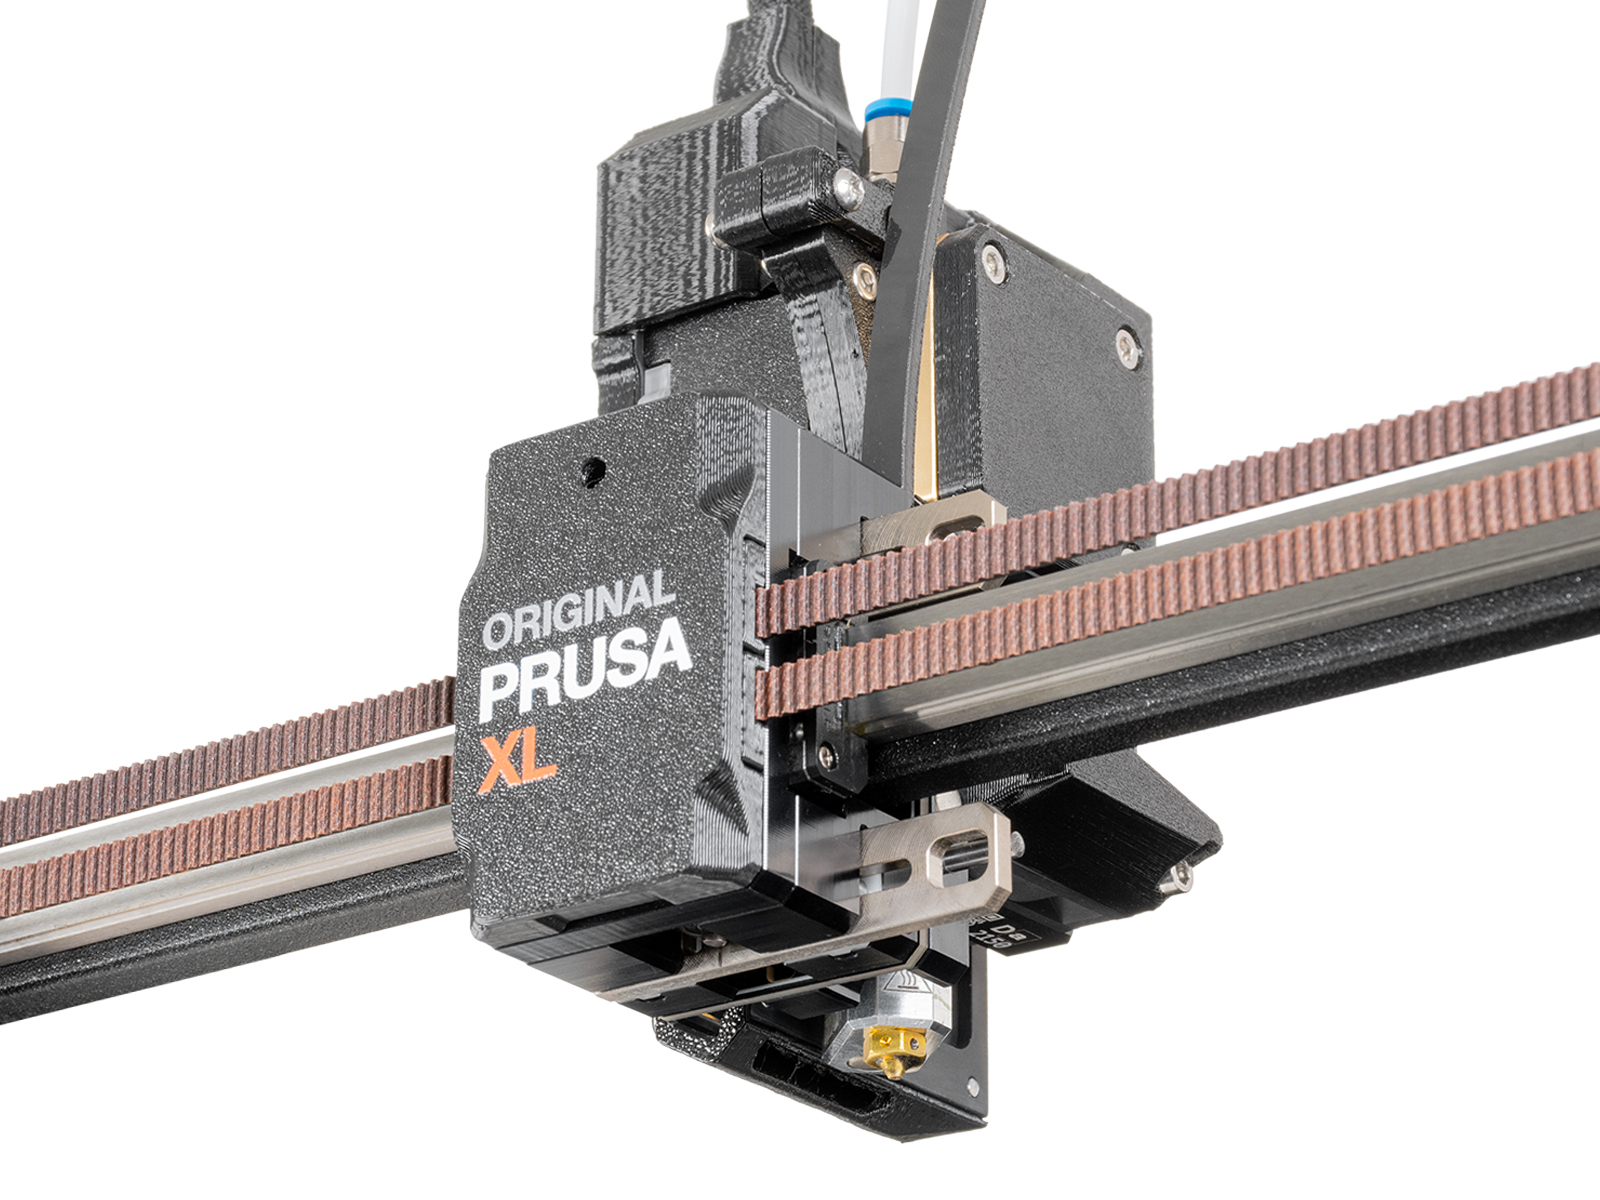
How to install the Nextruder V6 Nozzle Adapter (XL Multi-Tool)

Menu

How to install the Nextruder V6 Nozzle Adapter (XL Multi-Tool)

How to install the Nextruder V6 Nozzle Adapter (XL Multi-Tool)
Relevant for:
Last updated 16 days ago
How to install the Nextruder V6 Nozzle Adapter (XL Multi-Tool)
 Difficulty
Moderate
 Steps
27
 Available languages
Introduction
Introduction
This guide will take you through the installation of the Nextruder V6 Nozzle Adapter on the Original Prusa XL Multi-tool.
For the installation of the Nextruder V6 Nozzle Adapter on the Original Prusa XL (Single-tool) go to the dedicated guide: How to replace the Prusa Nozzle (XL Single-Tool)
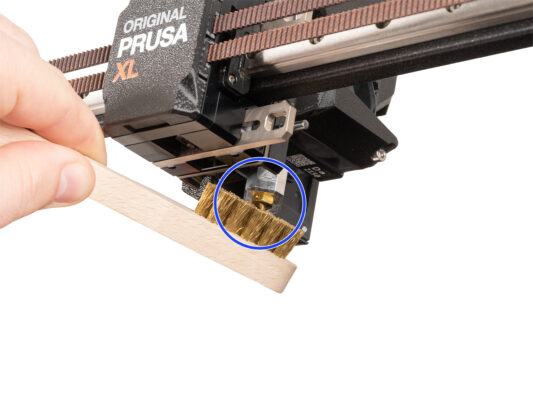
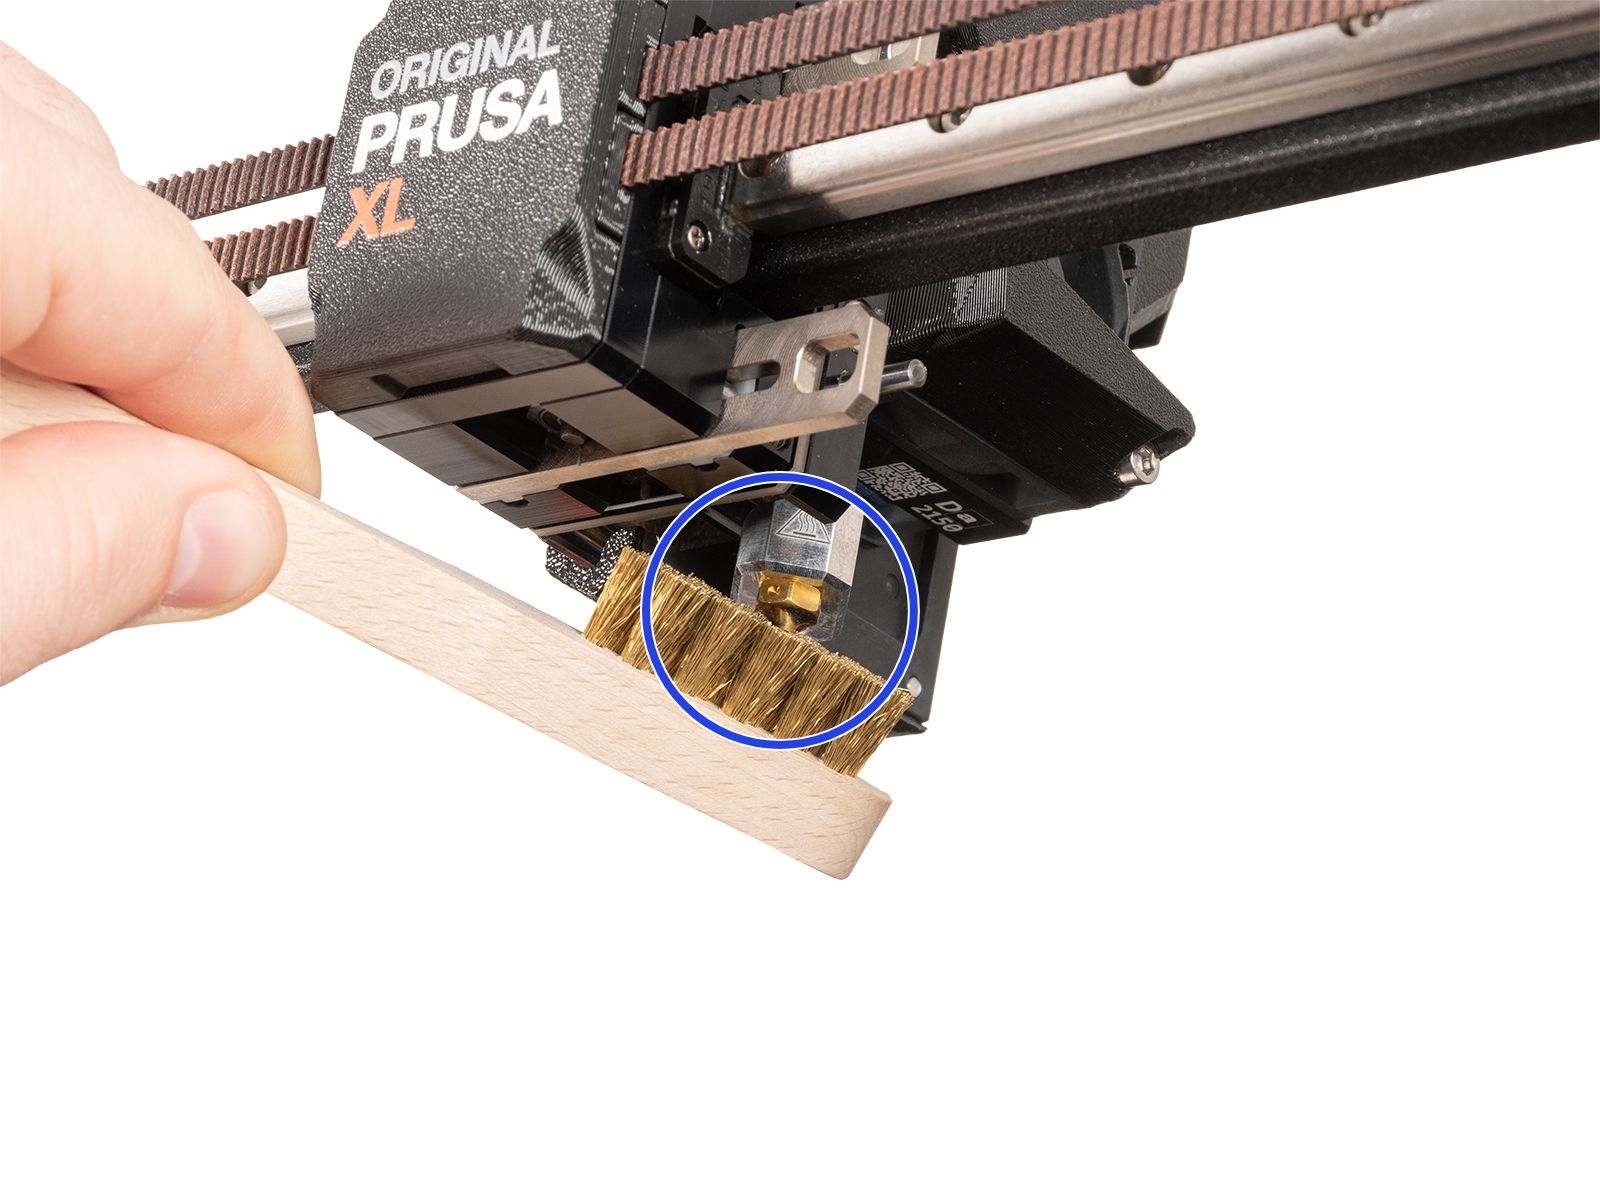
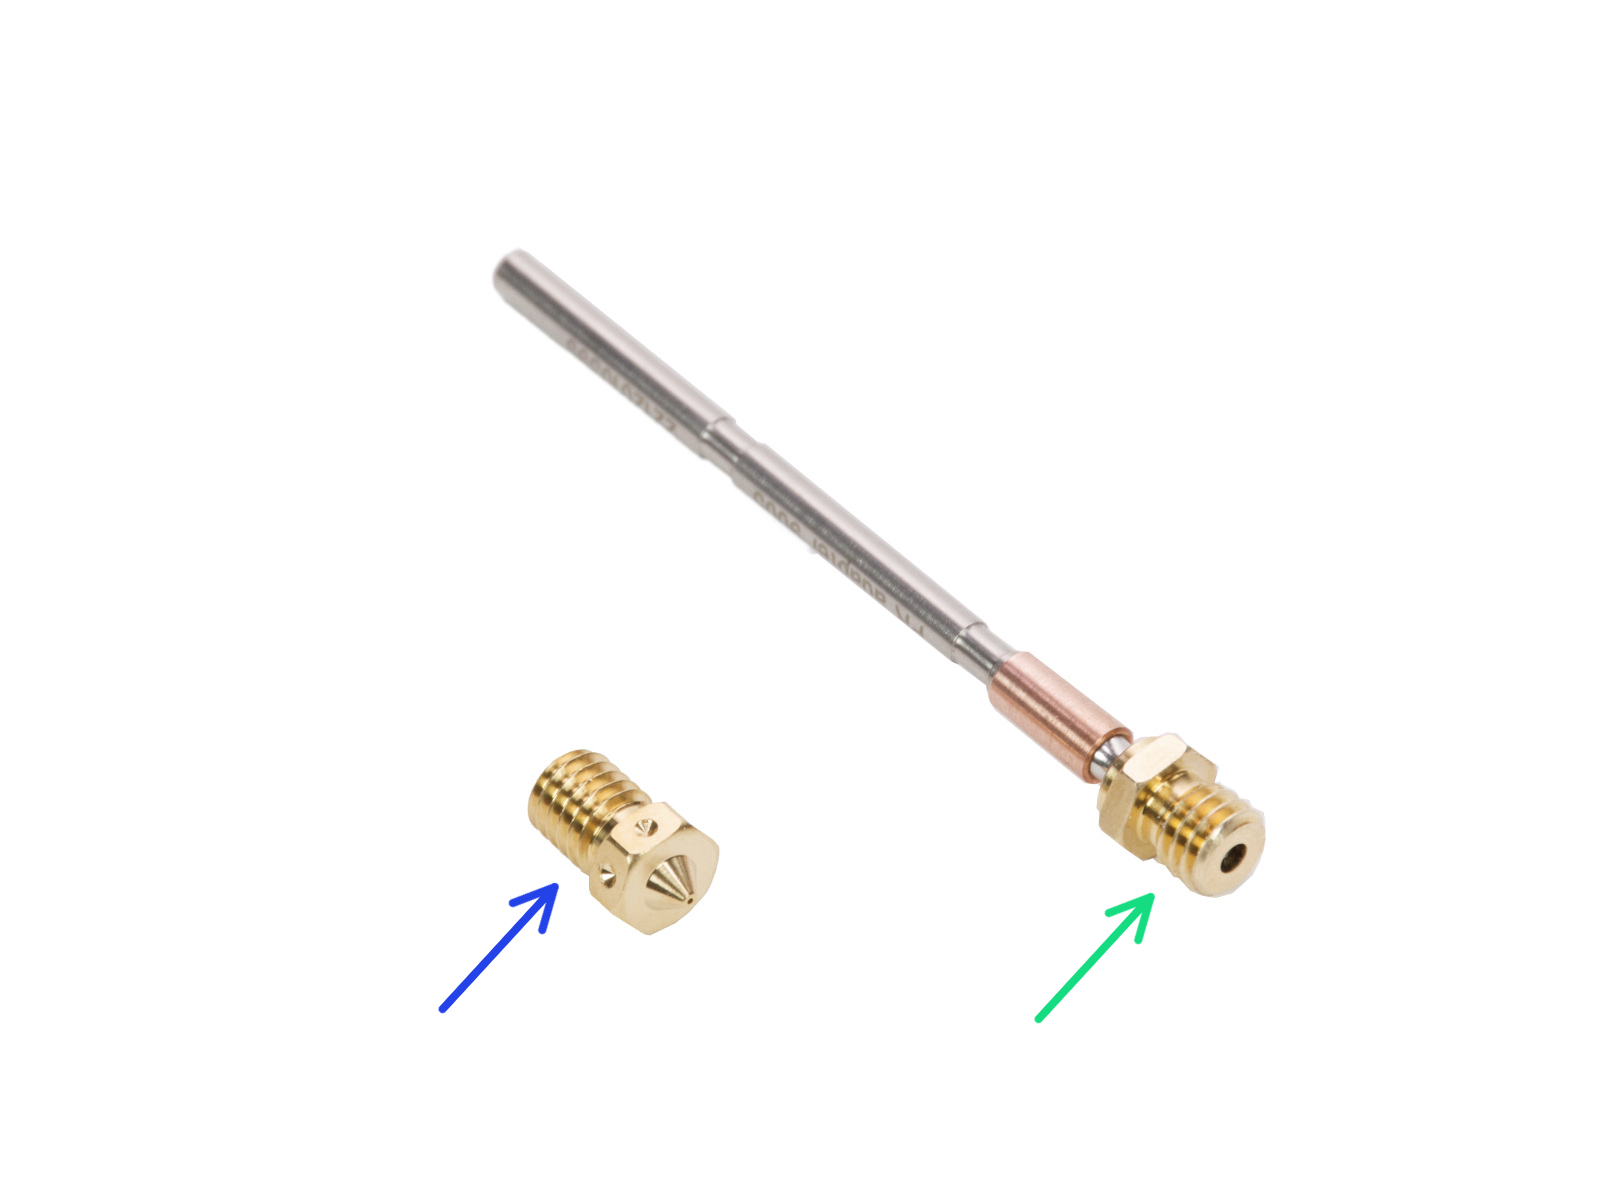
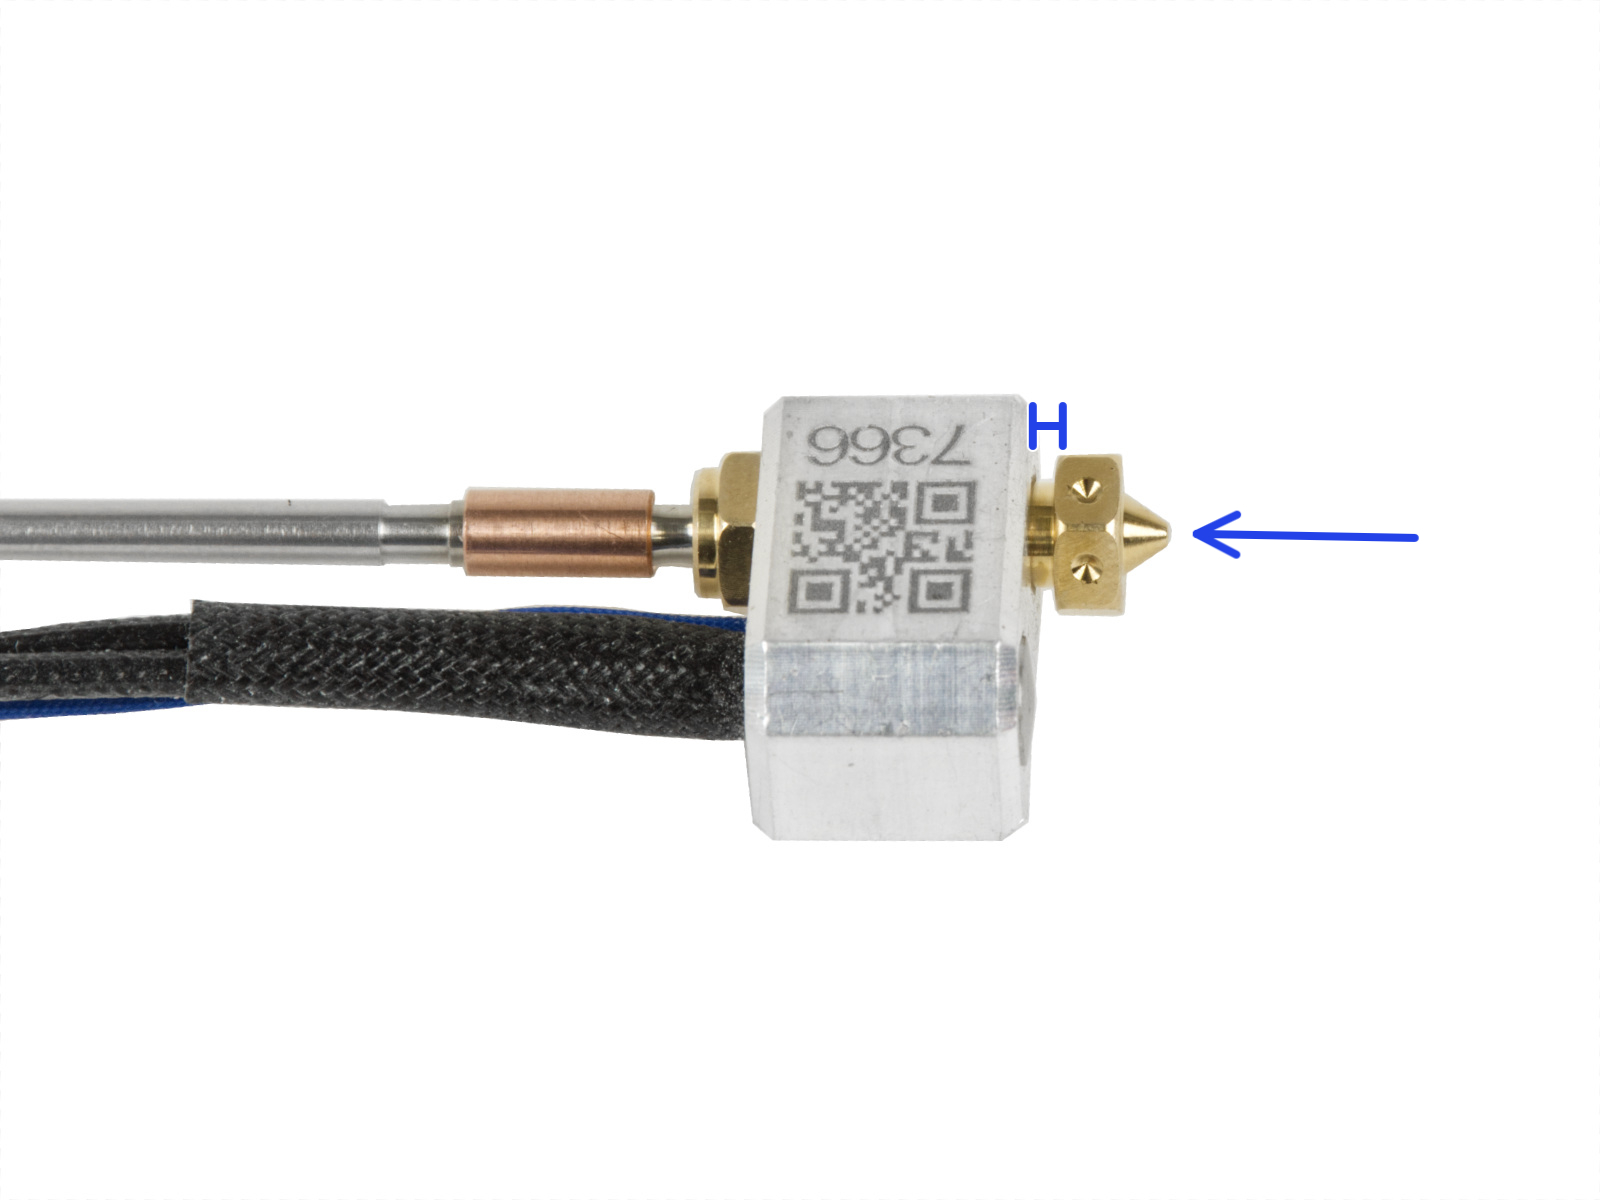
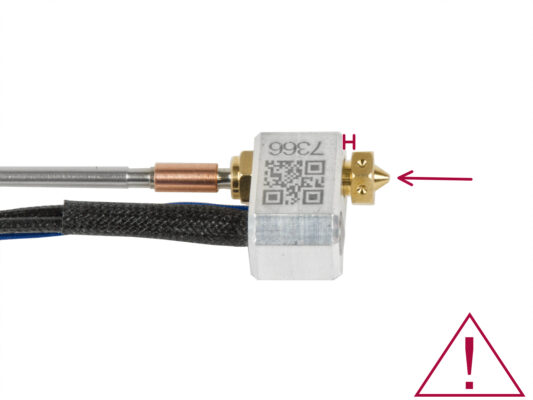
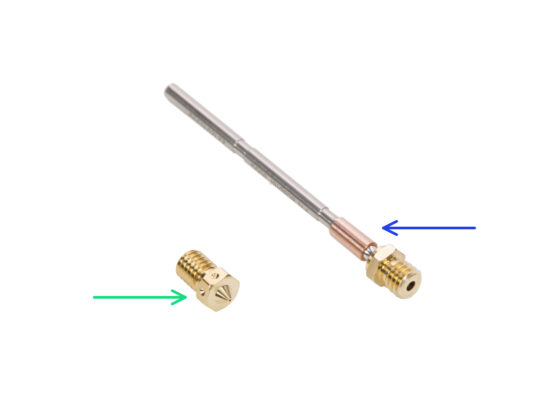
V6 nozzle is available in our eshop prusa3d.com.
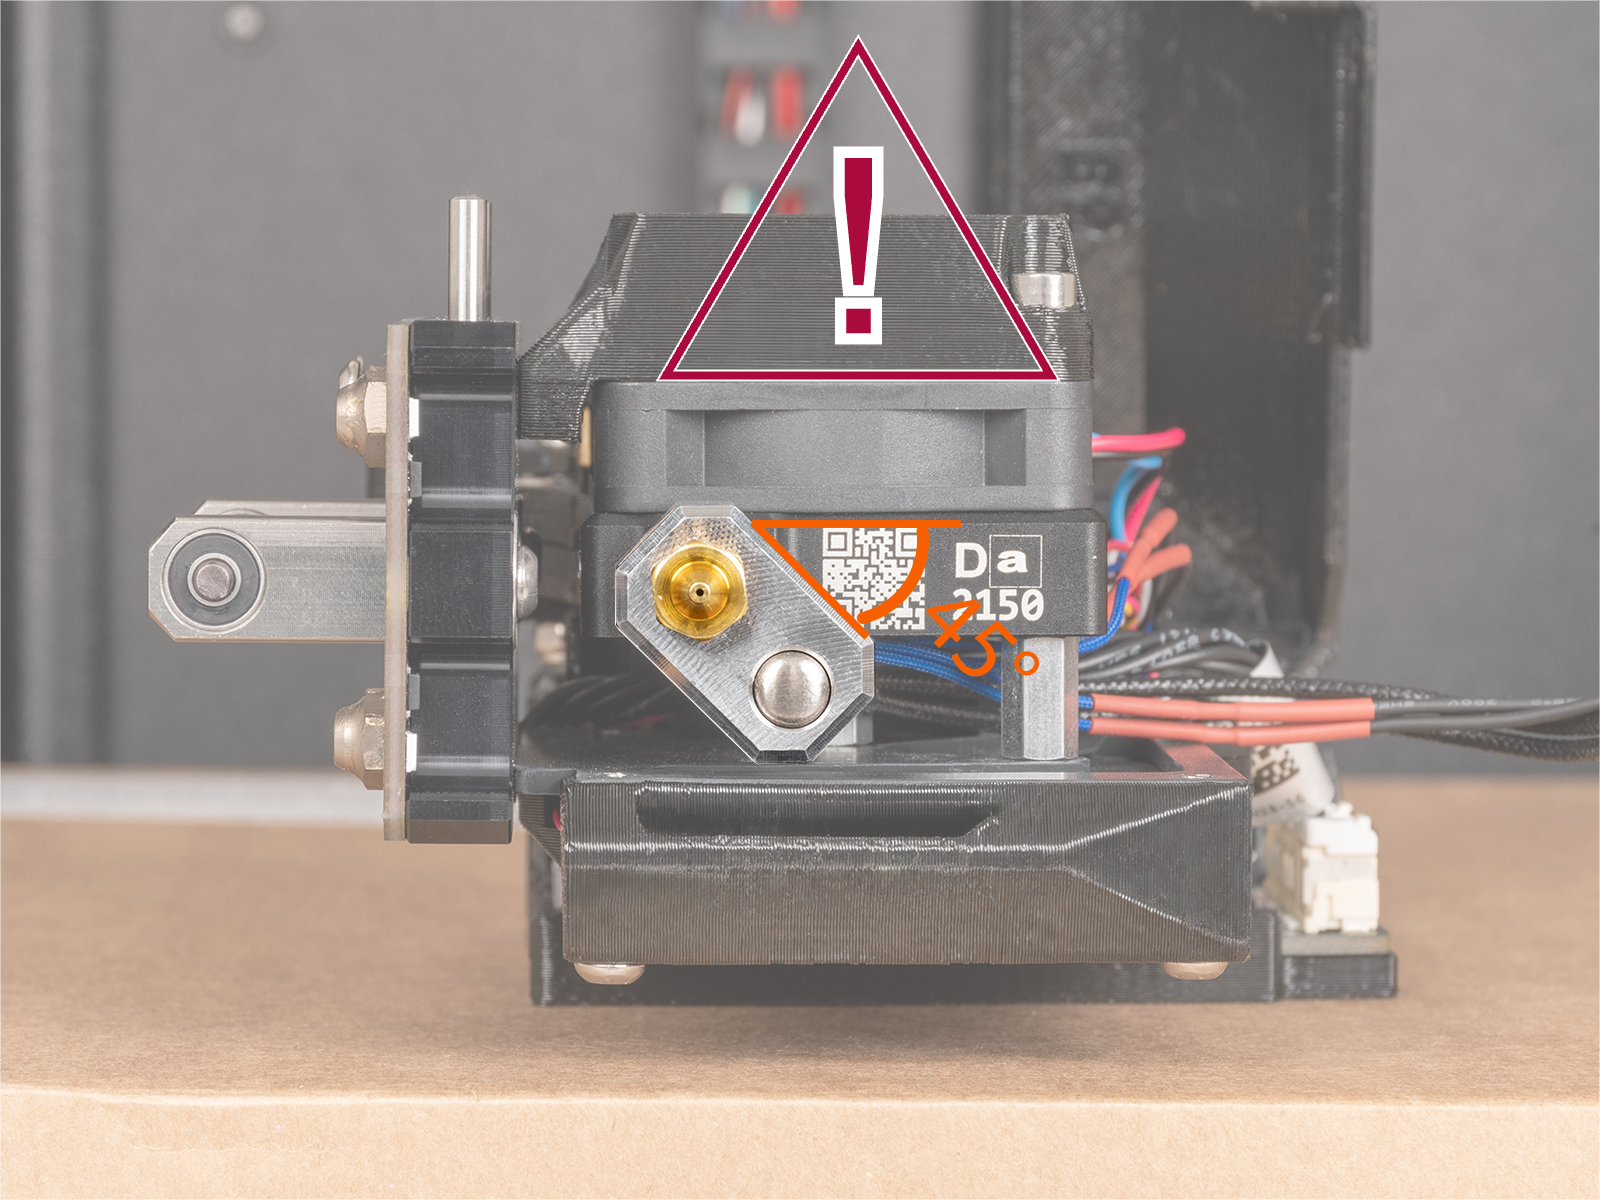
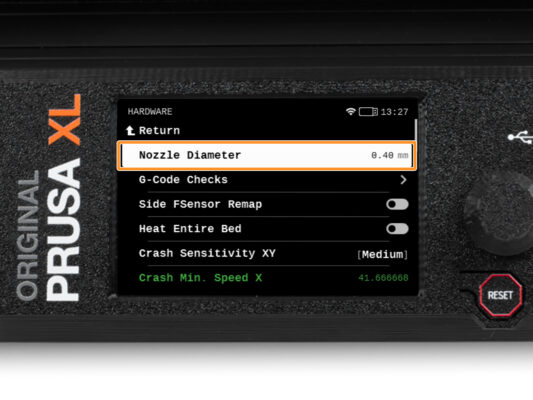
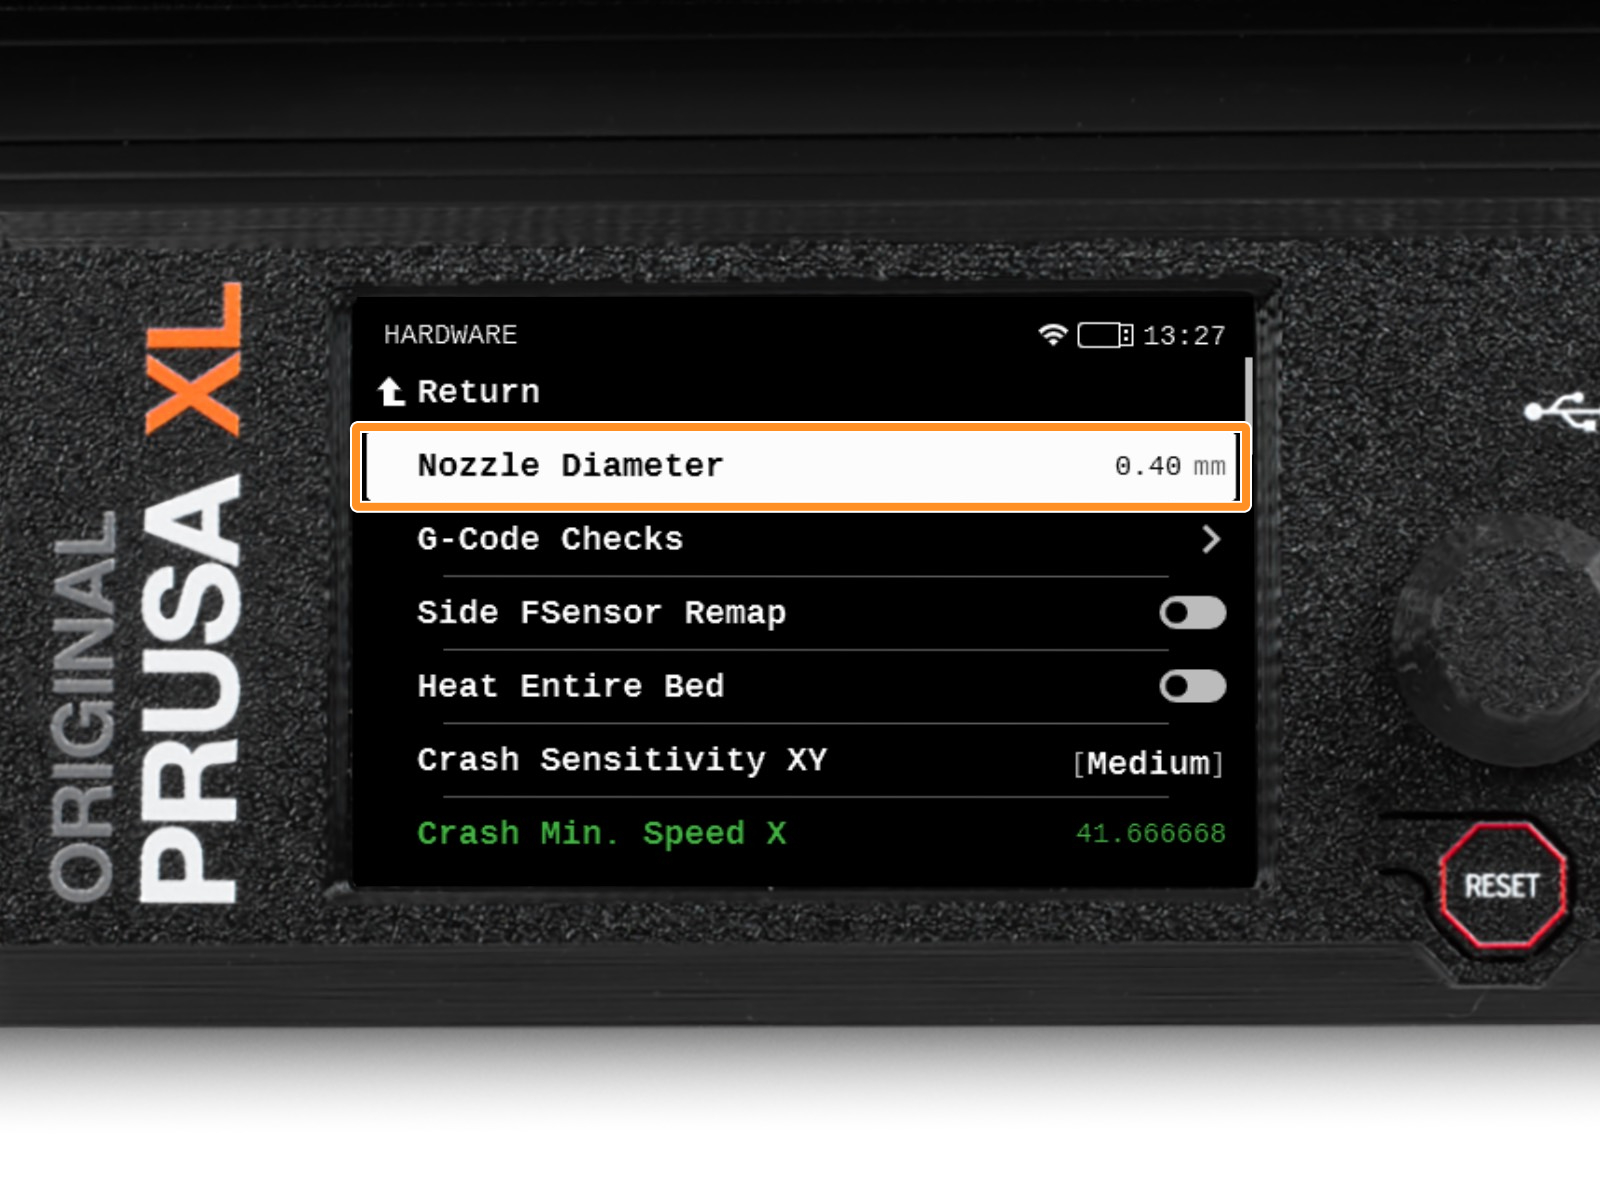
The following instructions are compatible with all V6 nozzle diameters.
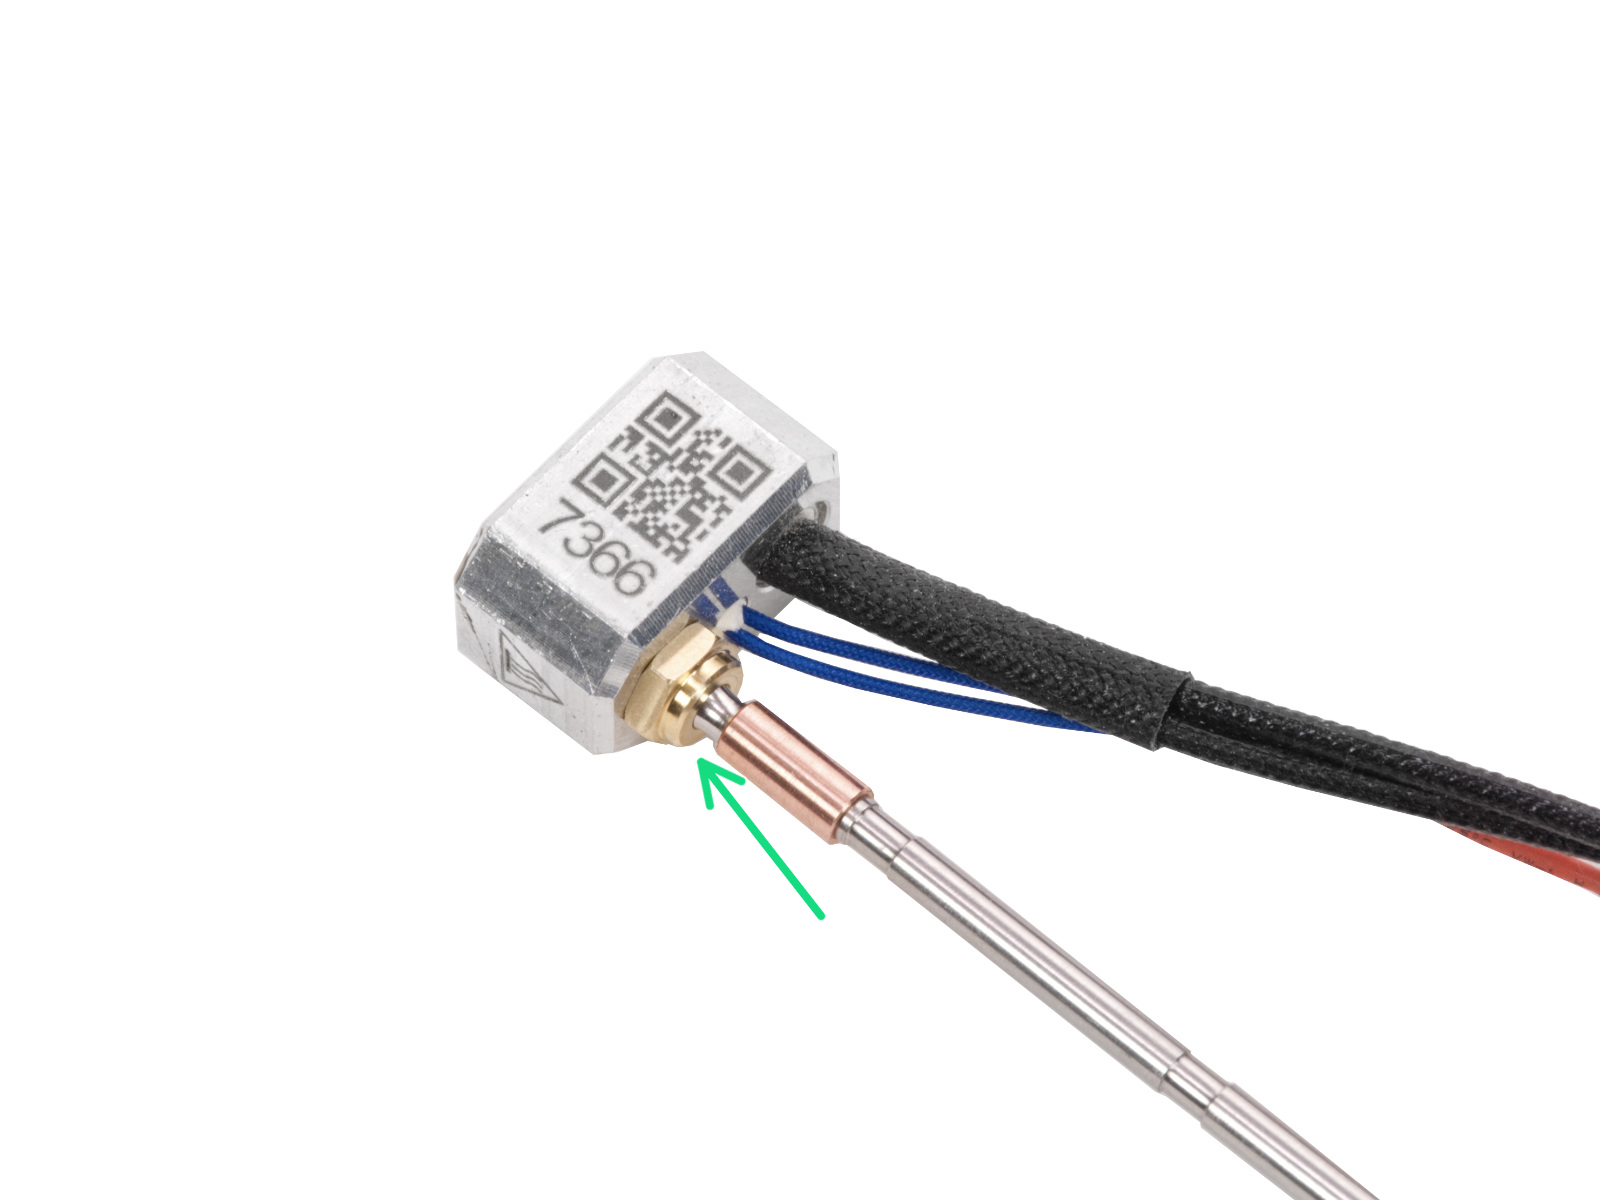
Nextruder V6 Nozzle Adapter is shipped with the Original Prusa XL. And it is available in our eshop prusa3d.com.
Note that you have to be logged in to have access to the spare parts section.
Handling Hot Components Safely
CAUTION: Some subsequent steps involve handling the heated nozzle. It is crucial to proceed with extreme caution to avoid the risk of burns.
We will always inform you when instruction steps involve handling hot parts.
Take care when working on parts that are heated.
Avoid touching hot parts!
While the nozzle is heated and placed on the heatbed (carboard box), DO NOT leave the printer!
Tools necessary for this chapter
For this chapter, please prepare:
T8 Torx key
2.5 mm Allen key
Universal wrench
Wrench 13-16
Nextruder box as a heatbed cover.
Small brass brush for cleaning the nozzle
Select the tool
Select the tool
Select the tool
On your printer, go to Control -> Pick/Park tool.
Select the tool on which you wish to install the V6 Nozzle Adapter.
We'll use "Pick Tool 1" as an example.
Filament unloading
Filament unloading
Filament unloading
Filament unloading
If you have loaded the filament, unload it from the hotend. On the screen, navigate to Filament -> Unload Filament.
Select the tool that you picked in the previous step.
The selected tool will automatically move to the front of the printer.
WARNING: The hotend and heatbed are very HOT. Do not touch these parts!!!
Remove the filament from the hotend. It is not necessary to completely remove it from the printer. Just a few centimeters (inches) above the extruder.
Cleaning the hotend
Cleaning the hotend
Cleaning the hotend
WARNING: The hotend and heatbed are very HOT. Do not touch these parts!!!
For the following steps, it is necessary to have the heaterblock and the hotend clean from the remains of the filament. Otherwise, it can be difficult to release the nozzle.
If you have a Prusa hotend sock on the hotend, remove it.
Using the brass brush, carefully clean the heaterblock and the hotend from the filament residue. Avoid contact of the brush with the hotend cables, as this could cause a short circuit.
When the heaterblock and the hotend are perfectly clean, cool down the printer. On the screen, navigate to Preheat -> Cooldown.
Wait until the hot parts are cooled down to ambient temperature. It takes approximately 10 minutes.
Park the tool
Park the tool
Park the tool
On your printer, go to Control -> Pick/Park tool.
Select Park Current Tool.
Preparing the printer
Before you proceed, it is recommended to protect the heatbed.
Make sure the heatbed is cooled down to ambient temperature. Place the empty cardboard box approximately to the front center part of the heatbed.
From the rear side of the printer, turn the power switch OFF (symbol "O").
Undocking the Nextruder
On the selected, cleaned tool:
Gently undock the Nextruder.
Put the Nextruder on the heatbed.
Disconnecting the hotend
Release the screw holding the dwarf-cover-door using a 2.5mm Allen key. Do not remove the screw, a few turns are enough.
Open the dwarf-cover-door to access the electronics board.
By pressing the safety latch, disconnect the hotend thermistor cable.
By pressing the safety latch, disconnect the hotend heater cable.
Leave both cables free for now.
Removing the hotend
Removing the hotend
Removing the hotend
Insert the TX8 Torx key all the way through the tool-changer until it reaches the grub screw in the Nextruder. Loosen the screw. Do not remove the screw, a few turns are enough!
Carefully pull the hotend assembly out of the Nextruder.
At the same time push the hotend cables behind the fan out of the Nextruder.
Removing the Prusa Nozzle
Using the 13mm cutout in Universal wrench X grasp the heaterblock.
Using the 7mm cutout in the Universal wrench Y grasp the nozzle and loosen it.
Manually release and remove the nozzle with nub from the hotend assembly.
Installing the Nextruder V6 Nozzle Adapter
From the side with cables, screw the Nextruder V6 Nozzle Adapter to the heaterblock.
Hold the heaterblock in your hand and tighten the Nextruder V6 Nozzle Adapter by the universal wrench.
From the opposite side of the heaterblock, screw in the V6 nozzle. Do not tighten it completely. Leave a 2 - 3 mm gap between the nozzle and heaterblock.
The final tightening of the nozzle will proceed later. Please continue to the next step.
Installing the hotend
Insert the hotend assembly into the Nextruder.
Push the hotend cables behind the heatsink fan up to the electronics.
Connect the hotend heater to the upper slot on the electronics board.
Connect the hotend thermistor to the lower slot on the electronics board.
Close the dwarf-cover-door.
Tighten the M3 screw using a 2.5mm Allen key.
Leave the hotend assembly free, we'll adjust the hotend angle later.
Turning the printer ON
Leave the Nextruder on the heatbed.
From the rear side of the printer, turn the power switch ON (symbol "I").
The fans on the nextruders will turn on, that's all right.
Heating the nozzle
Heating the nozzle
Heating the nozzle
In the following steps, we will need to heat up the nozzle. Avoid touching the HOT parts on the hotend.
On the printer screen, go to Control -> Temperature -> select the nozzle and using the knob set 250°C.
DO NOT leave the printer!!!
WARNING: From now, the hotend is very HOT. DO NOT touch this parts!!!
Pay attention to everything around the hot end. Keep away the children!
Make sure there are no objects around the nozzle that could be damaged or injured by the high heat!
Proceed to the next step.
Tightening the nozzle
WARNING: From now, the hotend is very HOT. Do not touch this parts!!!
Do not use too much force. You could break something and burn yourself!
NOTE: The Nextruder can move freely on the box.
Grasp the heaterblock with the wrench 13-16. Avoid pulling on the hotend!
Tighten the nozzle using the universal wrench. Do not overtighten it, you can damage the thread. Use the sufficient force. The prescribed tightening torque is 1.5 Nm.
NOTE: Avoid bending the hotend assembly while tightening! After that, there will be a gap of approximately 1 mm between the nozzle and the heater block.
Cool down the printer. Go to Preheat -> Cooldown.
Adjusting the hotend
Make sure the nozzle is cooled down!
Set the angle as close as possible to the initial 45° of the hotend assembly. Look at the picture.
Using a TX8 Torx key, gently tighten the grub screw holding the hotend assembly in its place.
Well done! The Nextruder is ready for docking.
How to dock the Nextruder
Take the Nextruder and place it carefully next to the dock.
Place the two metal inserts through the white holes in the dock. The magnets will help you dock the Nextruder.
Setting the nozzle diameter
If you have replaced your nozzle twith the one having a different diameter, you have to change the nozzle diameter setting in the printer’s menu too.
Go to Settings -> Tools -> Tool -> Nozzle Diameter and set it to the corresponding size.
When slicing in PrusaSlicer, make sure to have the correct nozzle diameter selected in the Printer: menu.
To add other nozzle diameter versions of the printer profile in PrusaSlicer, hit the small cog icon and select Add/Remove Presets. Then, select the nozzle diameters you are going to use.
Tool Offset Calibration
Navigate to Control -> Calibrations & Tests -> 10. Tool Offset Calibration.
During offset calibration, you will need to screw the calibration pin into the center of the heatbed.
Click on Continue to start the Tool Offsets Calibration.
Extract the calibration pin from the side filament sensor.
Tool Offset Calibration - pin installation
Follow the instructions on the screen.
Take off the steel sheet from the heatbed.
Install the calibration pin into the middle of the heatbed. Turn the pin clockwise.
Now, the printer will calibrate all tool heads.
Tool Offset Calibration - Done
Follow the wizard instructions on the screen.
Untighten the calibration pin from the heatbed and take it off. Rotate counterclockwise.
Place the steel sheet on the heatbed.
The printer will finish the calibration.
Good job! The offset calibration is done.
It's done
It's done
That's it, good job! You just successfully installed the V6 nozzle on your Original Prusa XL.
Was this guide helpful?

Comments

Still have questions?

Still have questions?

If you have a question about something that isn't covered here, check out our additional resources.
And if that doesn't do the trick, you can send an inquiry to [email protected] or through the button below.

Contact us