You’ve probably guessed it already but the PEI 1010 isn’t exactly a “plug and print” material like our basic Prusaments (PLA, PETG…). Although we do our best to make our filaments as easy to print as possible, there are still certain physical limitations.
Necessary hardware
The melting point of this material is very high and so is the printing temperature, so you need an enclosed and actively heated 3D printer like the Prusa Pro HT90.
The moisture absorption is extremely fast and difficult to undo - you’ll need a professional dryer (oven) and a suitable dry box, or a dryer that can be connected directly to a printer. The spool placed outside without a dry box absorbs moisture in dozens of minutes. In a passive dry box (with silica gel only) the difference is noticeable after half a day or so and after several days the filament gets practically unprintable.
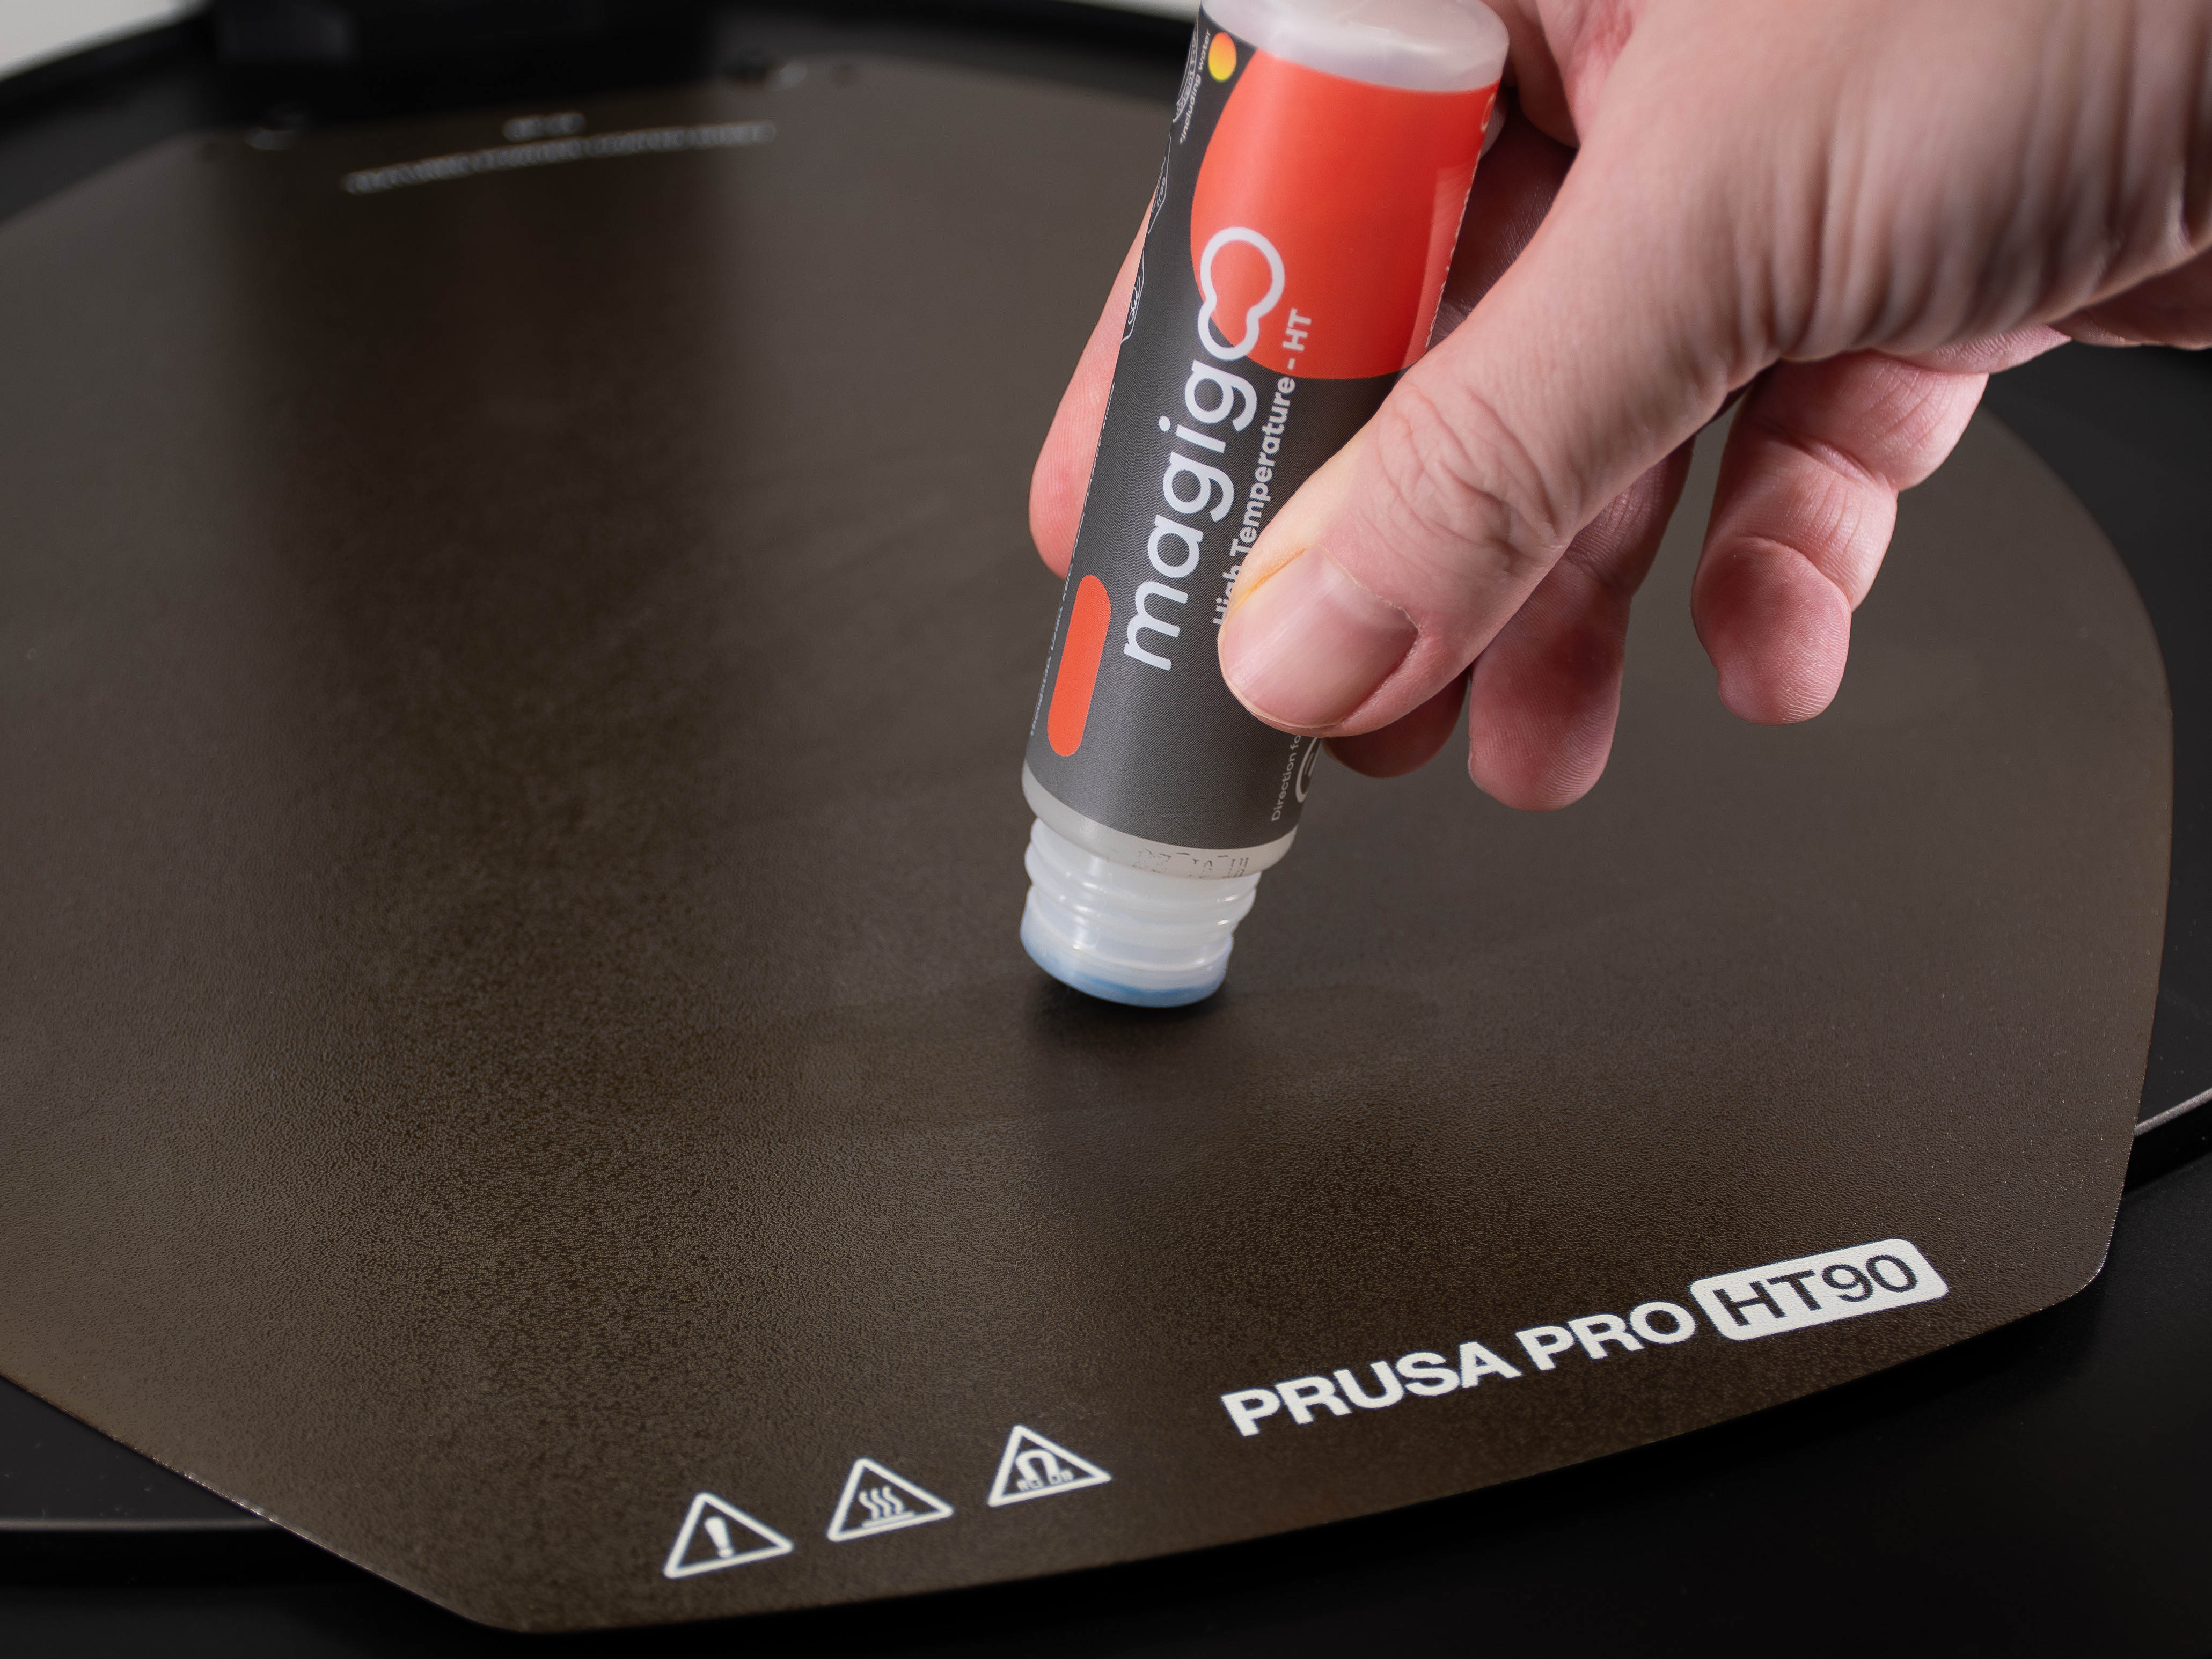
Finally, the print surface adhesion is also very high - here you’ll need a special separation layer like the MagiGoo HT. To ensure good printability we designed and chose the following hardware that should work perfectly but you may use other equipment with similar properties too:
- Prusa Pro HT90 with HT hot end - Printer capable of working at 410 °C for the nozzle, 150 °C for the heatbed, and at least 90 °C for the enclosure
- Memmert UF30 Filament Dryer capable of holding stable temperature 150 °C for 6-8 hours
- Prusa Pro Filament Drybox capable of being connected to the 3D printer while printing
- HT90 Textured Powder-coated Steel Sheet or HT90 PA Nylon Powder-coated Steel Sheet
- MagiGoo HT - specialized high-temperature resistant separation layer applied on the print surface before printing (necessary for textured sheet only)
Step-by-step successful printing process
Now, here’s a process you should do to print with Prusament PEI 1010 successfully:
- Preheat the dryer (oven) to 150 °C and insert PEI 1010 spool. Dry the filament at 150 °C for 6-8 hours.
- Prepare the dry box: the desiccant inside should not be depleted (see the desiccant color). If it’s depleted, either dry it in the oven properly or replace it with fresh desiccant.
- After drying the filament, move it immediately to the dry box. This is crucial, as the PEI may absorb moisture after dozens of minutes!
- Prepare the HT90 printer. The printer should have an HT print head mounted - replace the printhead if the high-flow is mounted. Check the print sheet - PEI 1010 should be printed on the Textured powder-coated print sheet and PA Nylon print sheet only.
- If you print in the Textured powder-coated print sheet, spread a thin even layer of the MagiGoo HT on the print surface. It is not necessary to apply the MagiGoo on the PA Nylon print sheet.
- Preheat the HT90 (Nozzle: 410 °C, Heatbed: 150 °C, Chamber: 90 °C) and load the filament. Note that the filament should remain closed in the dry box. It should only be connected to the printer through the PTFE tube.
- Slice the model with the original PrusaSlicer profile. Other profiles may not work properly.
- Print it!

Only a thin layer of MagiGoo HT is necessary
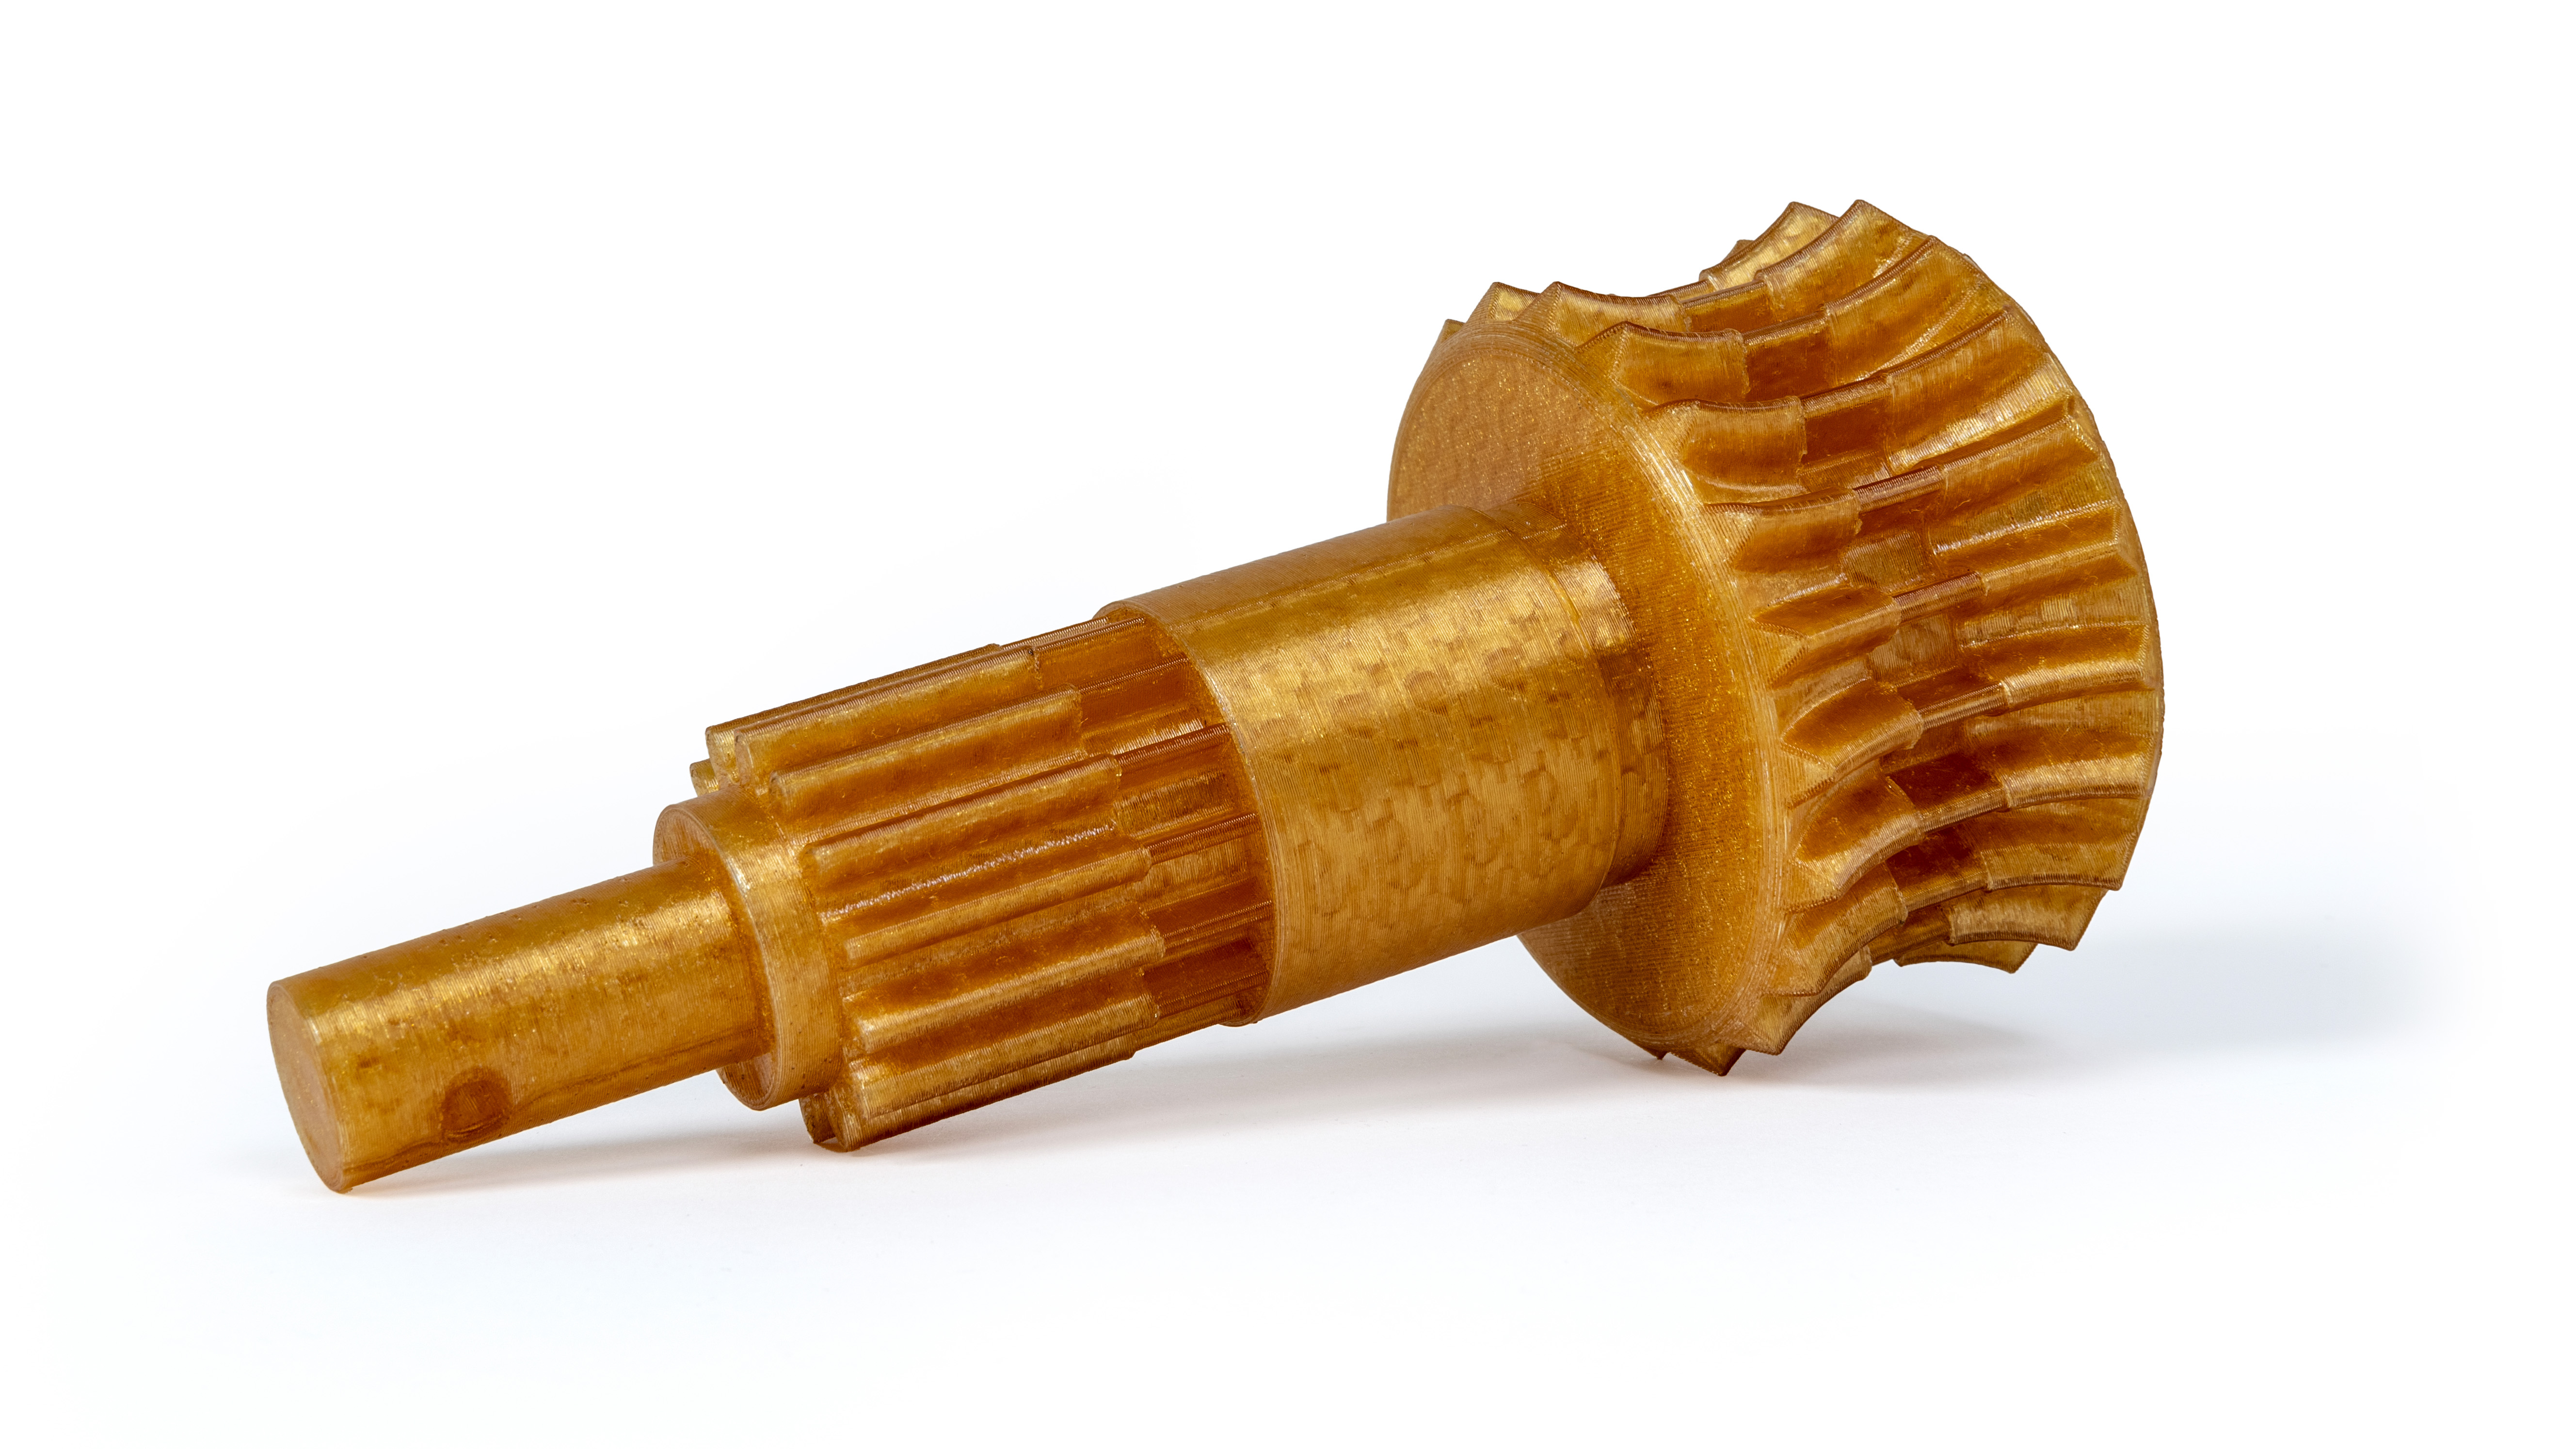
If everything is done correctly, the print should have a nice glossy transparent amber look with no stringing and oozing.

Example of a nice PEI 3D-printed part with no obvious errors.
Choosing the right model
Finally, you should know that the Prusament PEI 1010 tends to warp a lot during printing. This does not mean that you should print only the tiniest parts possible but it’s something you might want to consider when designing and slicing the models. We did our best to make the filament as easy to print as possible but still, working with such filaments requires some experience and knowledge. As for the latter, here are a few tips to make the best of it:
- Consider the printed object size. The warping is most significant in the largest prints. This means that printing an object that has full-bed dimensions may not be the best choice. We recommend printing small to medium-sized parts for the best results.
- Print bases with narrow angles, such as square shapes (or narrower ones) tend to warp much more than round ones. The best model is the one that has a flat circular base placed on the print surface. Don’t forget to consider it when designing and slicing a model.
- No matter the size, we always recommend printing the PEI 1010 with a brim. This significantly reduces the warping issue.
Most common errors
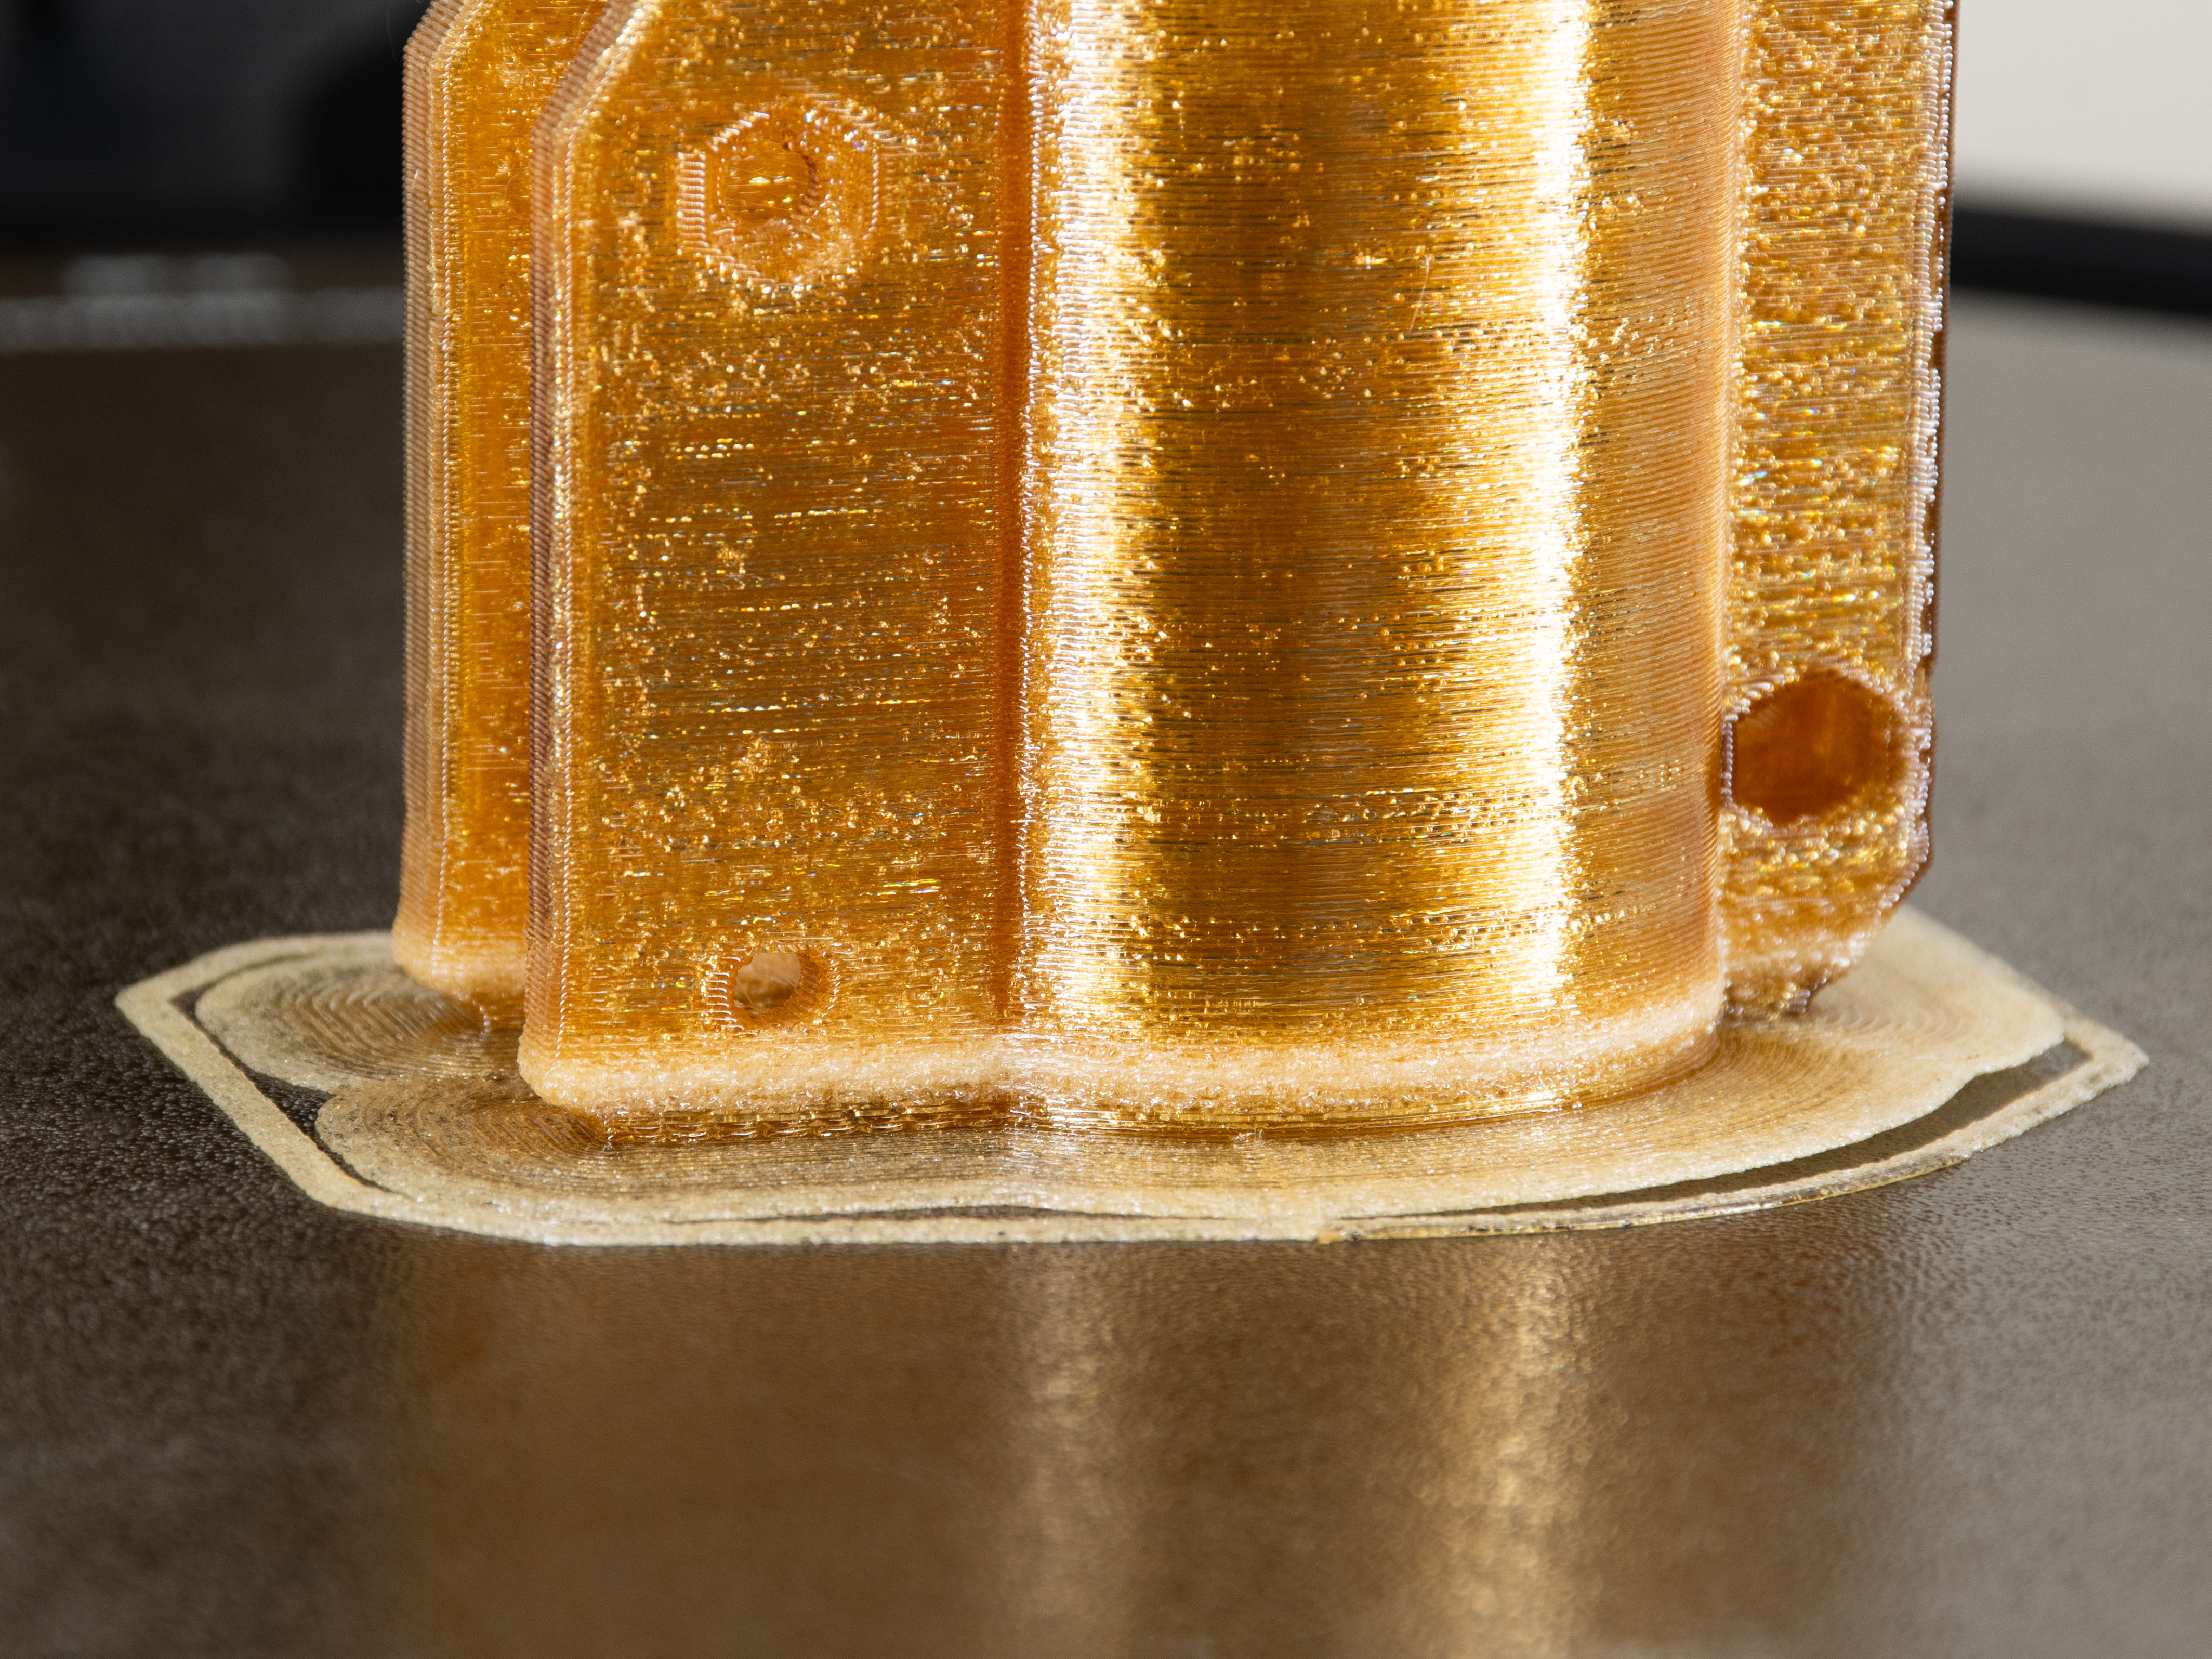
Finally, let's show some of the most common errors visible on the following 3D printed part:

- The filament is not dry - this is mostly noticeable at the bottom part, where the extruded material has a "foamy" structure, the model loses its desired dimensional properties and mechanical resistance too.
- This model was printed with other than the recommended PrusaSlicer profile. This is why the model is full of cavities (bubbles) noticeable in every layer, which significantly affect the model's mechanical properties.
- This model was also full of strings (not visible in the photo above) due to the errors mentioned above.
- Notice the warping: the model peeled off the print sheet even with the brim. This was caused by three reasons. First, the model is not exactly round and compact. The shape is not ideal but a larger brim might help. Second, the wet filament tends to warp more and stick less to the print surface than the dry one. Finally, we applied too much MagiGoo HT on the surface.