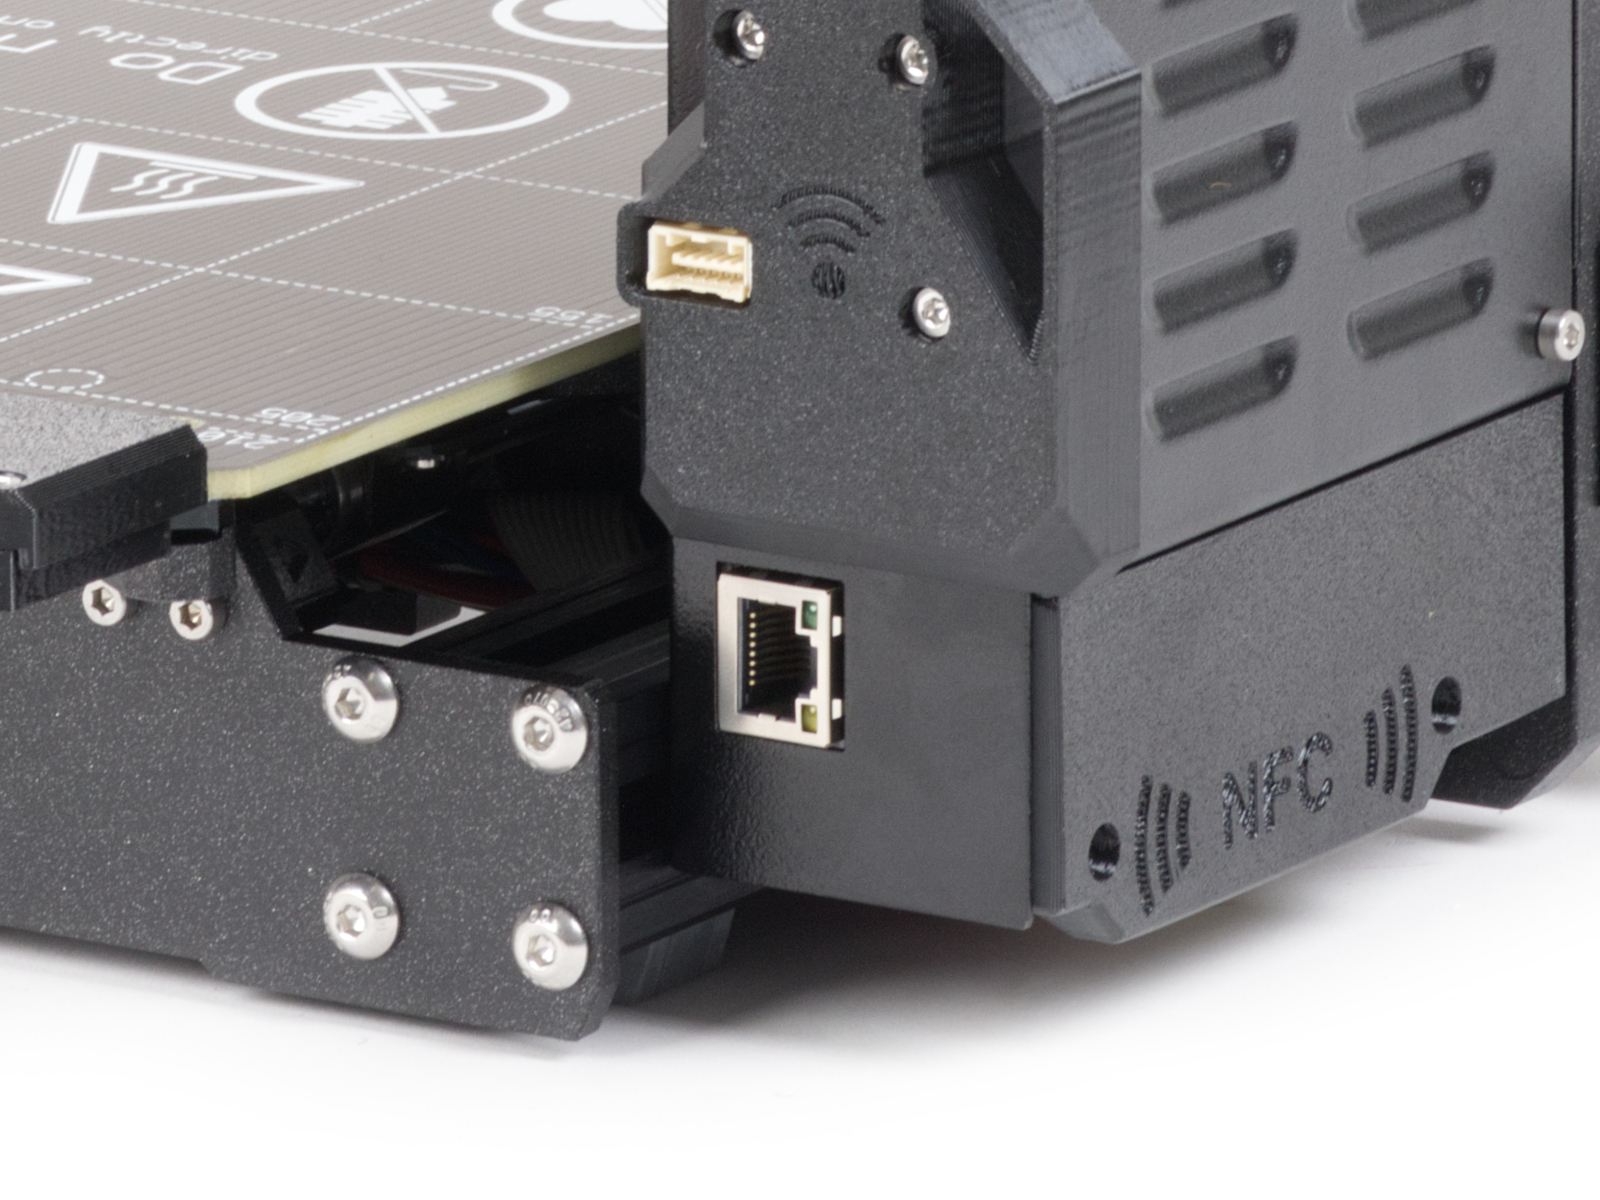
The Prusa CORE One, and the Original Prusa MK4S, MK3.9S include an Ethernet port (RJ45), and a WiFi module.
Connecting to Ethernet
Connect a LAN cable to the Ethernet port. Navigate to LCD Menu -> Settings -> Network, and select ETH as the Active Interface.

Connecting to Wi-Fi
All Wi-Fi connection methods are accessible from LCD Menu -> Settings -> Network -> Wi-Fi -> Wi-Fi Wizard.
Entering credentials via touchscreen
It is possible to enter the WiFi credentials via the printer touchscreen manually. Due to limited space on the screen, the touch keyboard has a layout similar to that of mobile phones with a hardware keyboard.
Network scan
The printer scans the available networks and shows a list of the results. Select the desired network, and the printer prompts you to enter the password using the touchscreen keyboard.
NFC and Prusa App
Use the Prusa app on your mobile device, such as a smartphone or a tablet, that supports NFC writing.
Set the WiFi credentials in the app. Tap on write, then position your device near the printer's NFC antenna.
The printer screen prompts for confirmation. Once confirmed, the WiFi credentials are stored in the printer's memory, and the printer is able to connect to the specified WiFi.
More info on NFC antenna [Traducción en desarrollo]
Setup file with network credentials
Follow the dedicated guide on setting up Wi-Fi with manually entered credentials.
IP address
After setting up a connection, to check if the connection is established with an IP address, navigate to LCD Menu -> Settings -> Network, and see if the IPv4 address is shown.
The IP address is automatically assigned by default (DHCP). Alternatively, a static IP address can be assigned, for this procedure consult the dedicated article on setting up a static IP address.
PrusaLink setup
To start using PrusaLink, we need to obtain the printer’s IP address.
- After the connection is established, navigate to the menu Settings -> Network -> IPv4 Address. Note or write down the shown IP address.
- Open a web browser on your computer.
- Insert the IP address into the address line and open it as a webpage.
The selected IP address is accessible on your local network only and might change over time according to your network setup.
- The PrusaLink webpage appears, requesting a log-in.
- On the printer, navigate to Settings -> Network -> Prusalink to get the username and password.
- Use the shown username and password to log into PrusaLink on your computer.
Prusa Connect setup
Prusa Connect is our cloud service for remote printing available from anywhere.
Follow the dedicated guide to set up your printer with Prusa Connect.