Prusa Connect and PrusaLink are two remote printing solutions developed in-house by Prusa. Its origin is in the management system used in our record-sized print farm located in Prague HQ.
- Prusa Connect is a cloud service, available from anywhere.
- PrusaLink runs locally on your printer and is accessible only within your local network.
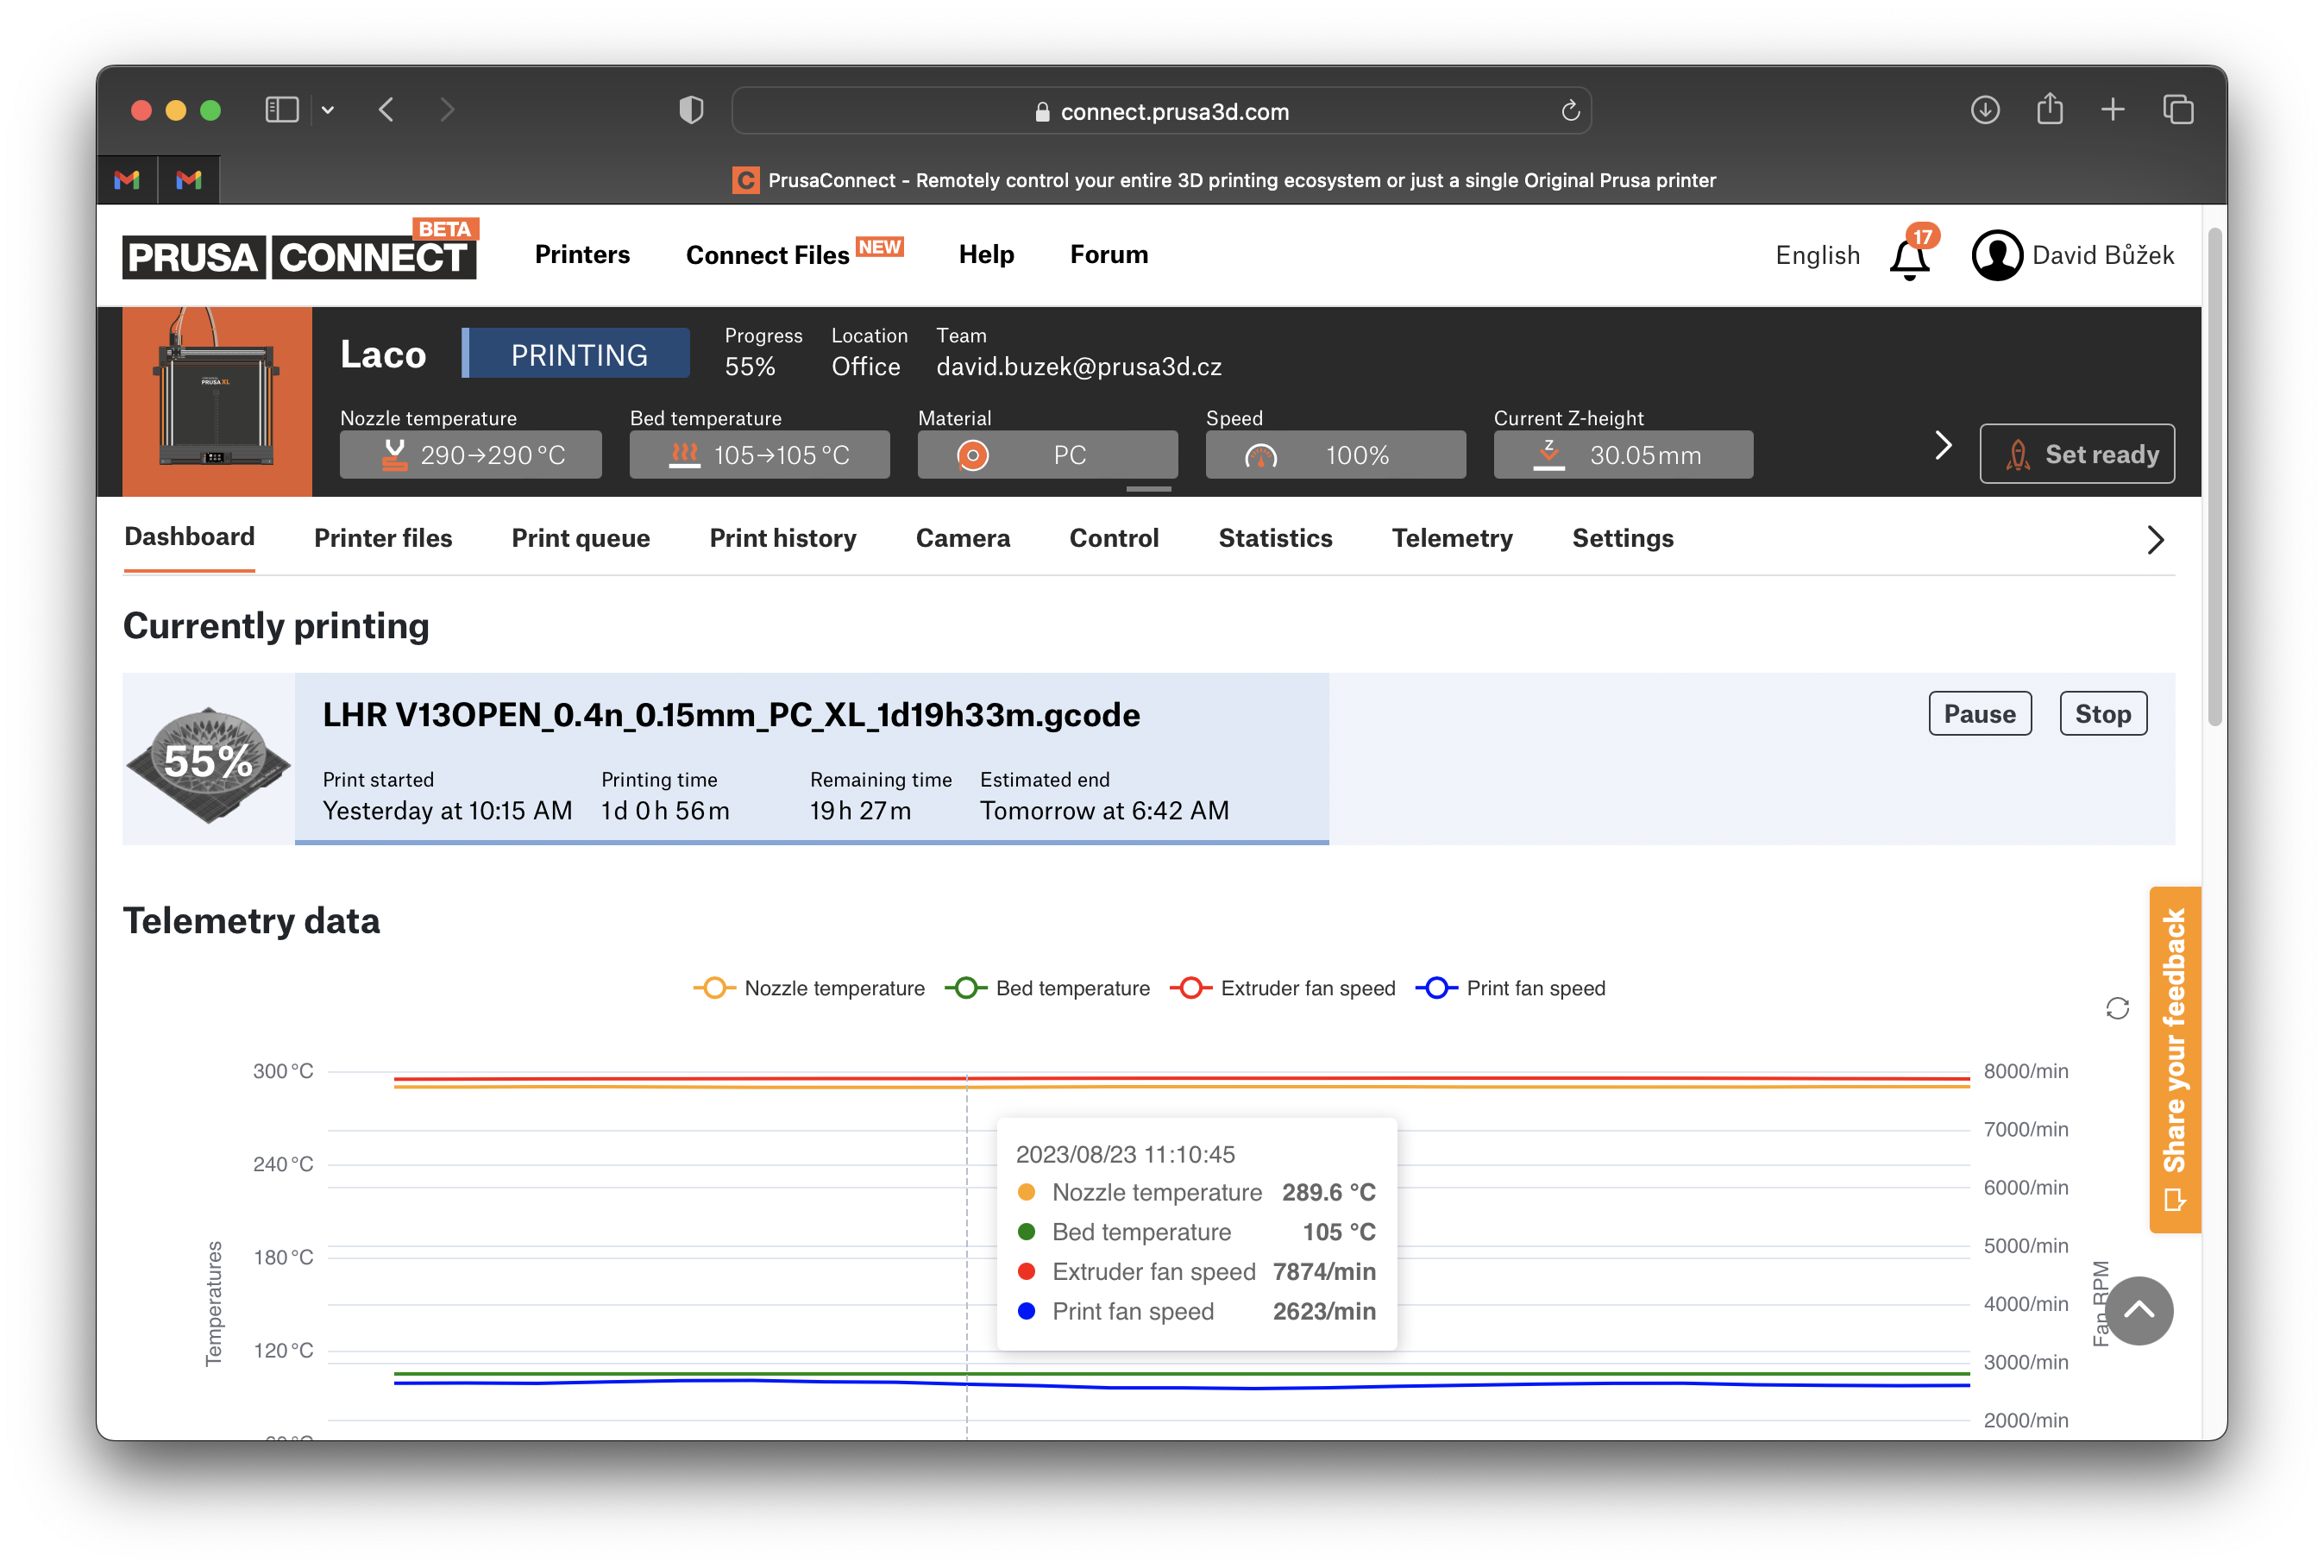
What is Prusa Connect?
Prusa Connect allows control of entire print farms, while tracking each printer separately and providing valuable production statistics.
It's free for Prusa printer owners, including 1 GB cloud storage for G-codes and telemetry. For larger-scale or business inquiries, please contact us.
It is accessible at Connect.Prusa3D.com, in PrusaSlicer, or using the Prusa Mobile app.
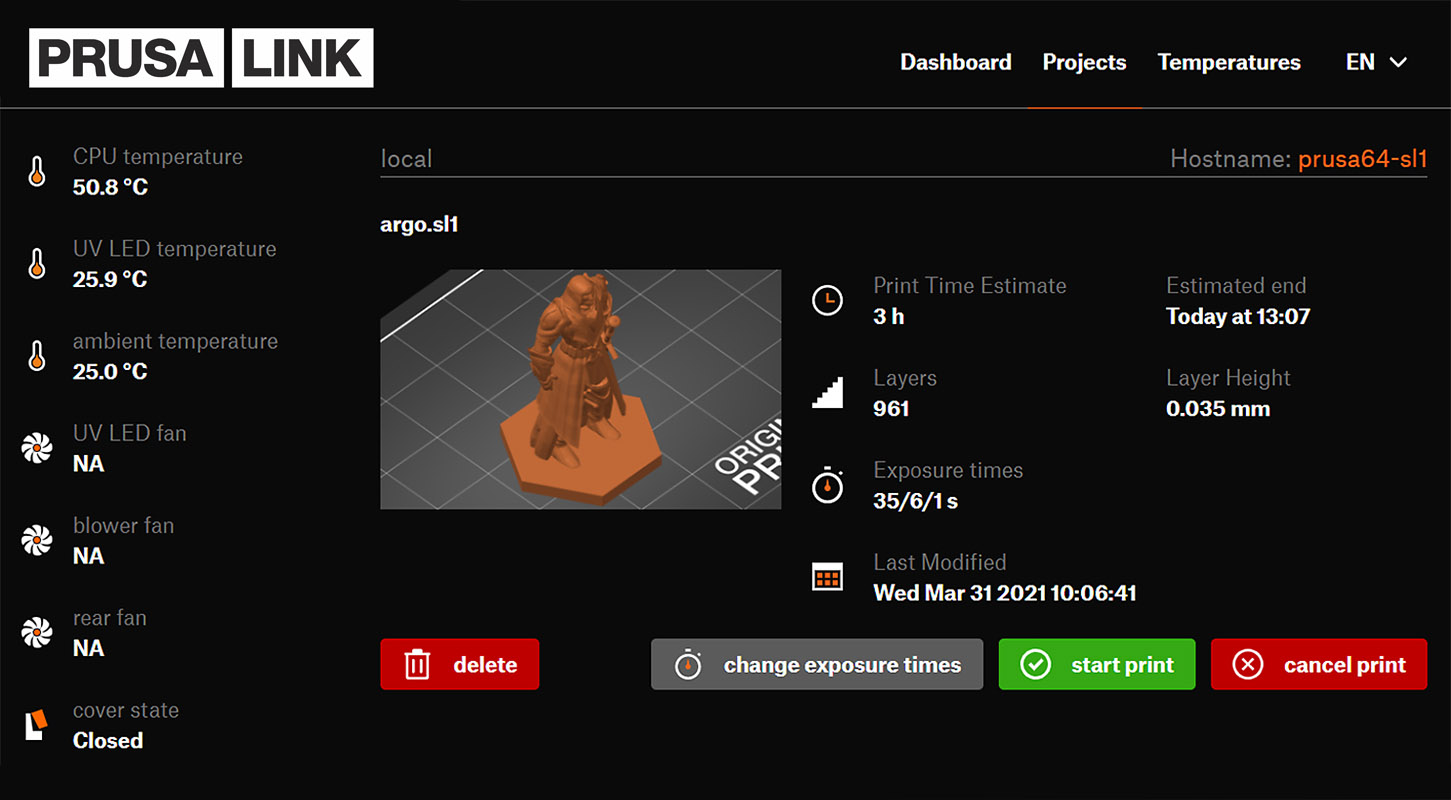
What is PrusaLink?
PrusaLink allows monitoring, file uploads, and print control without internet access.
The PrusaLink web interface is accessible only on your local network. Enter your printer's IP address into your browser to access it.
How to set up PrusaLink and Prusa Connect?
| FDM printers | PrusaLink | Prusa Connect |
| Prusa CORE One, XL, MK4/S, MK3.9/S, MK3.5/S | built-in | Available |
| Prusa Pro HT90 | Available | |
| Original Prusa MINI / + | Wi-Fi Install & PrusaLink | Available |
| Original Prusa i3 MK3/S/+ | via RPi / RPi Zero (GPIO/USB) | Available |
| Original Prusa i3 MK2.5/S | via RPi (USB) | Available |
| SLA printers | PrusaLink | Prusa Connect |
| Original Prusa SL1S SPEED | built-in | Available |
| Original Prusa SL1 | built-in | Available |
New-gen Original Prusa printers
Printers such as the CORE One, MK4/S, SL1S, and others have PrusaLink built-in. You can connect them using Wi-Fi or a wired LAN (Ethernet) network. Note: On the MINI/+, you must first install the Wi-Fi module to enable wireless functionality.
- Adding printer to Prusa Connect (CORE One, MK4, MK3.9, MK3.5, XL, MINI/+)
- Wi-Fi and PrusaLink setup (CORE One, MK4, MK3.9, MK3.5, XL, MINI/+)
- Prusa Connect (HT90)
- Installing Wi-Fi and PrusaLink (MINI/+)
- PrusaLink / Prusa Connect (SL1/S)
Original Prusa i3 MK3/S/+ or MK2.5/S
In this case, the PrusaLink name also refers to the required hardware solution of a Raspberry Pi (RPi). PrusaLink supersedes the discontinued PrusaPrint solution (Octoprint and the RPi Zero W).
To use the Prusa Connect, first set up the PrusaLink on your printer.
On MK3/S/+, attach the RPi Zero using GPIO or use the USB connection.
On MK2.5/S, use the USB connection to the RPi.
As a storage, you need to get a MicroSD card, SDHC standard, Class 10, 8GB or more. Preferably, a name-brand card known to work with RPi. Do backups regularly to prevent data loss.
Supported boards (GPIO): Pi Zero 2 W, Pi Zero W
Supported boards (USB): Pi 3, Pi 3+, Pi 4, Pi 5
Unsupported: Pi Zero, Pi 2 and older.
While powered up, do not: Move the printer's axes by hand. Don't connect or disconnect the RPi. Don't insert or remove the microSD card inside the RPi. Don't touch the RPi board.
Only follow the guidance from the official documentation issued by Prusa Research. Prusa Research is not responsible for any damage done by or caused to third-party hardware.
- PrusaLink and Prusa Connect setup (MK3/S/+)
- PrusaLink/Prusa Connect with RPi 3/4 (MK2.5/S MK3/S/+)
- How to update PrusaLink (MK2.5/S MK3/S/+)
Other guides related to Prusa Connect and PrusaLink:
- Buddy3D Camera
- Buddy3D Camera for CORE One
- Camera setup for PrusaLink / Prusa Connect
- Camera compatibility (RPi + PrusaLink)
- ESP Camera for Prusa Connect
- Prusa Mobile app
- Prusa Connect - Telegram notifications setup
- Prusa Connect - Discord notifications setup
- Prusa Connect - Slack notifications setup
- Sending files from PrusaSlicer to PrusaLink
- Sending files from PrusaSlicer to printer via network (Prusa Connect, PrusaLink, Octoprint)
- How to set a static IP Address
- How to connect to RPi via SSH
- Connecting SL1/S to PrusaSlicer
- Internet Connection (SL1/S)
- Wi-Fi and PrusaLink setup (XL firmware up to 4.7.5)
- Adding the printer to Prusa Connect (XL firmware up to 4.7.5)
- Prusa Connect Local (OBSOLETE, Firmware 4.0.5 - 4.3.4) (MINI/+)