EN
  • Čeština
  • Español
  • Italiano
  • Deutsch
  • Polski
  • Français
Login

Connecting Original Prusa SL1/SL1S to PrusaSlicer

Relevant for:
Last updated 9 days ago
This article is also available in following languages: 
CSPLDEESITFR

Thanks to the advanced operating system available on the Original Prusa SL1/SL1S SPEED printer, the user is able to transfer the sliced .sl1 or .sl1s files directly from the PrusaSlicer. There is no need to copy the sliced file on a USB drive and connect it to the printer.

Your SL1/SL1S SPEED can be connected to the local network using Ethernet or Wi-Fi. To learn more, please visit Internet connection (SL1/SL1S).

Login credentials

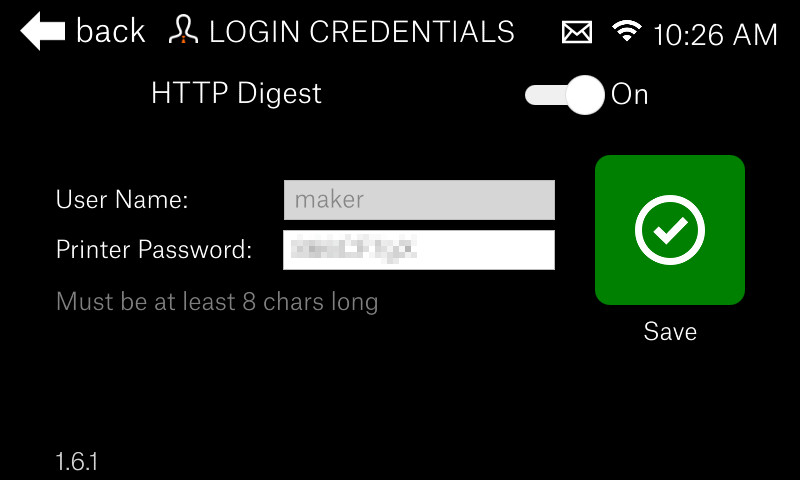
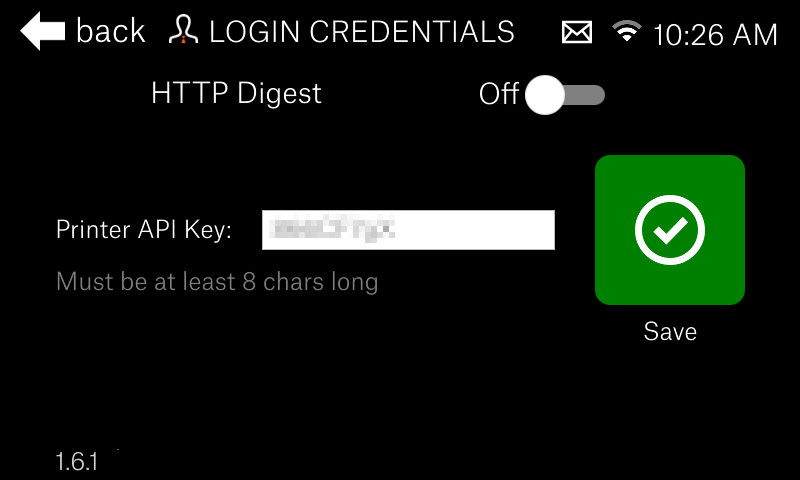
The printer has two methods of security to connect with PrusaSlicer: API key and HTTP digest. They can be found in the printer menu in Main Menu -> Settings -> Network -> Login Credentials. The default of the printer is HTTP digest, which will generate a username and Password. It is also possible to disable the HTTP digest in the printer menu and use the API key, which will generate a single code. You will need either the API key or the User name and Password to connect with PrusaSlicer.

It is recommended to use HTTP digest for the login credentials, as it is more secure than the API key.

HTTP digest

If the HTTP digest option is on you will see a User name and Password which you use to connect to the printer remotely.
API key (less secure)

Turn the HTTP digest off to see the API key which you use to connect to the printer remotely.
IP address or Hostname

In order to identify the printer you are connecting to in PrusaSlicer, it is also necessary to find the IP address or Hostname of your printer.

IP address

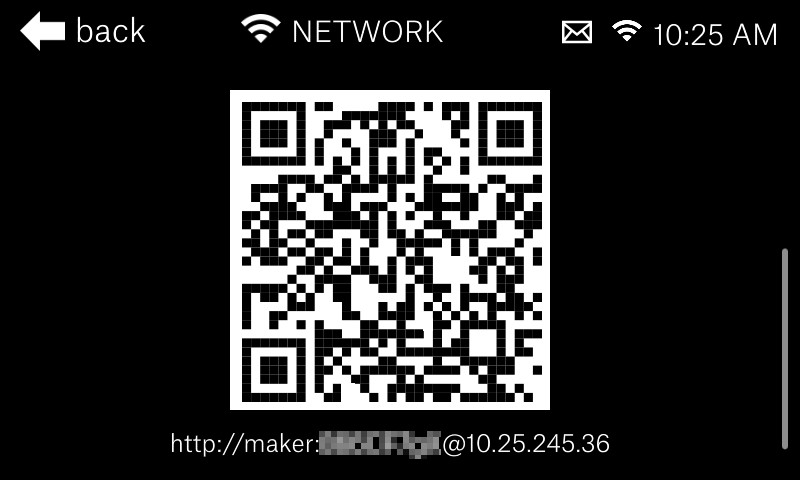
To find the IP address go to Main Menu -> Settings -> Network, and scroll to the bottom of the page. There you will see a QR code and the IP address.
Set hostname

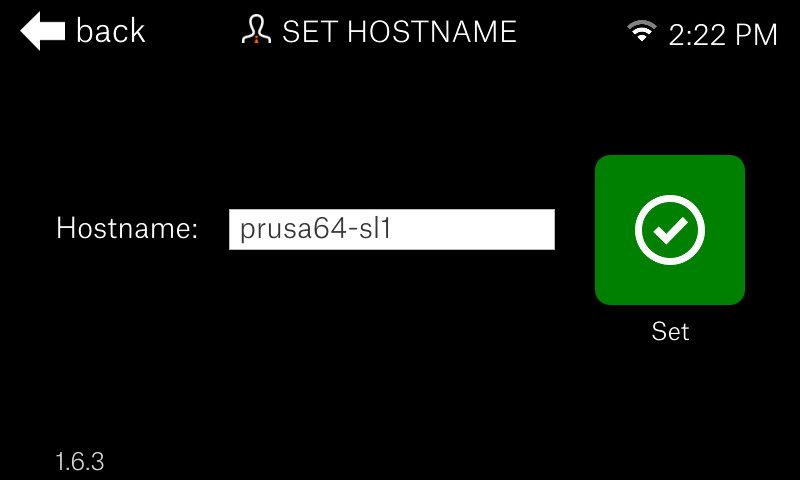
You can find the hostname in Main Menu -> Settings -> Network -> Set hostname. If you wish to change it, click on the name, and confirm it when done.
Connecting to PrusaSlicer (Add physical printer)
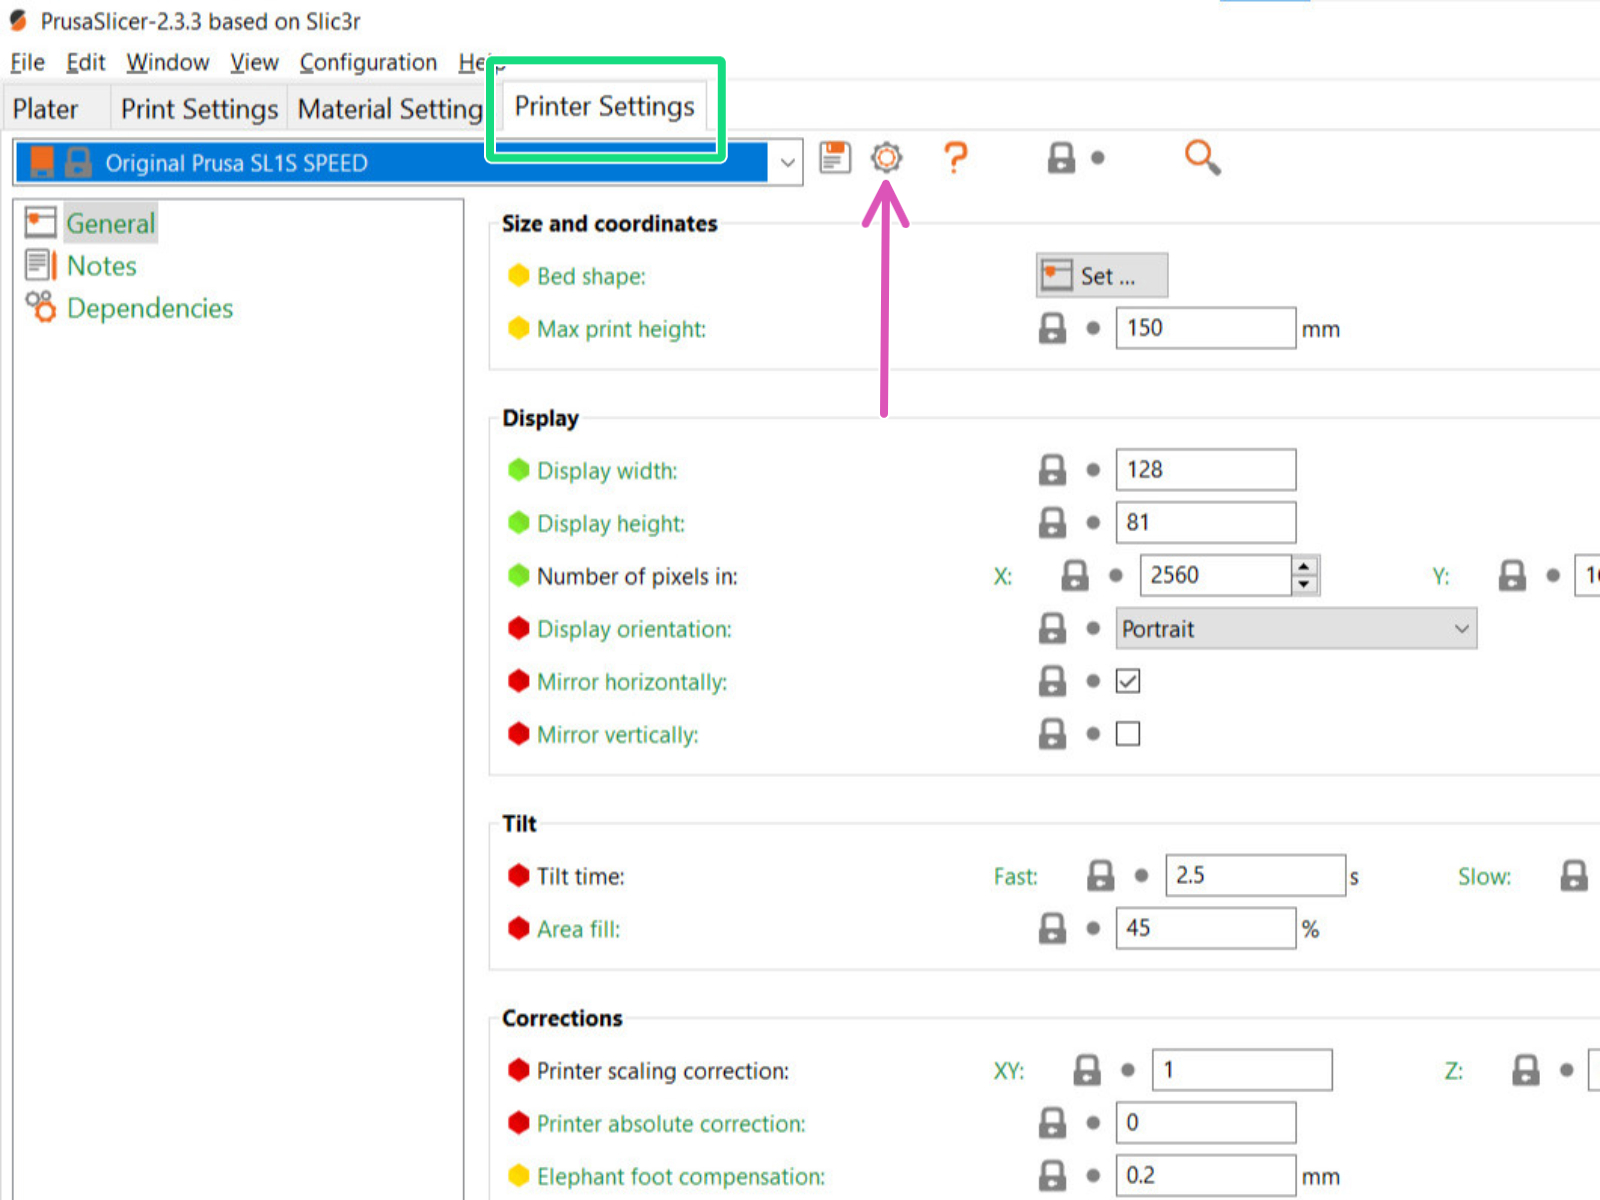
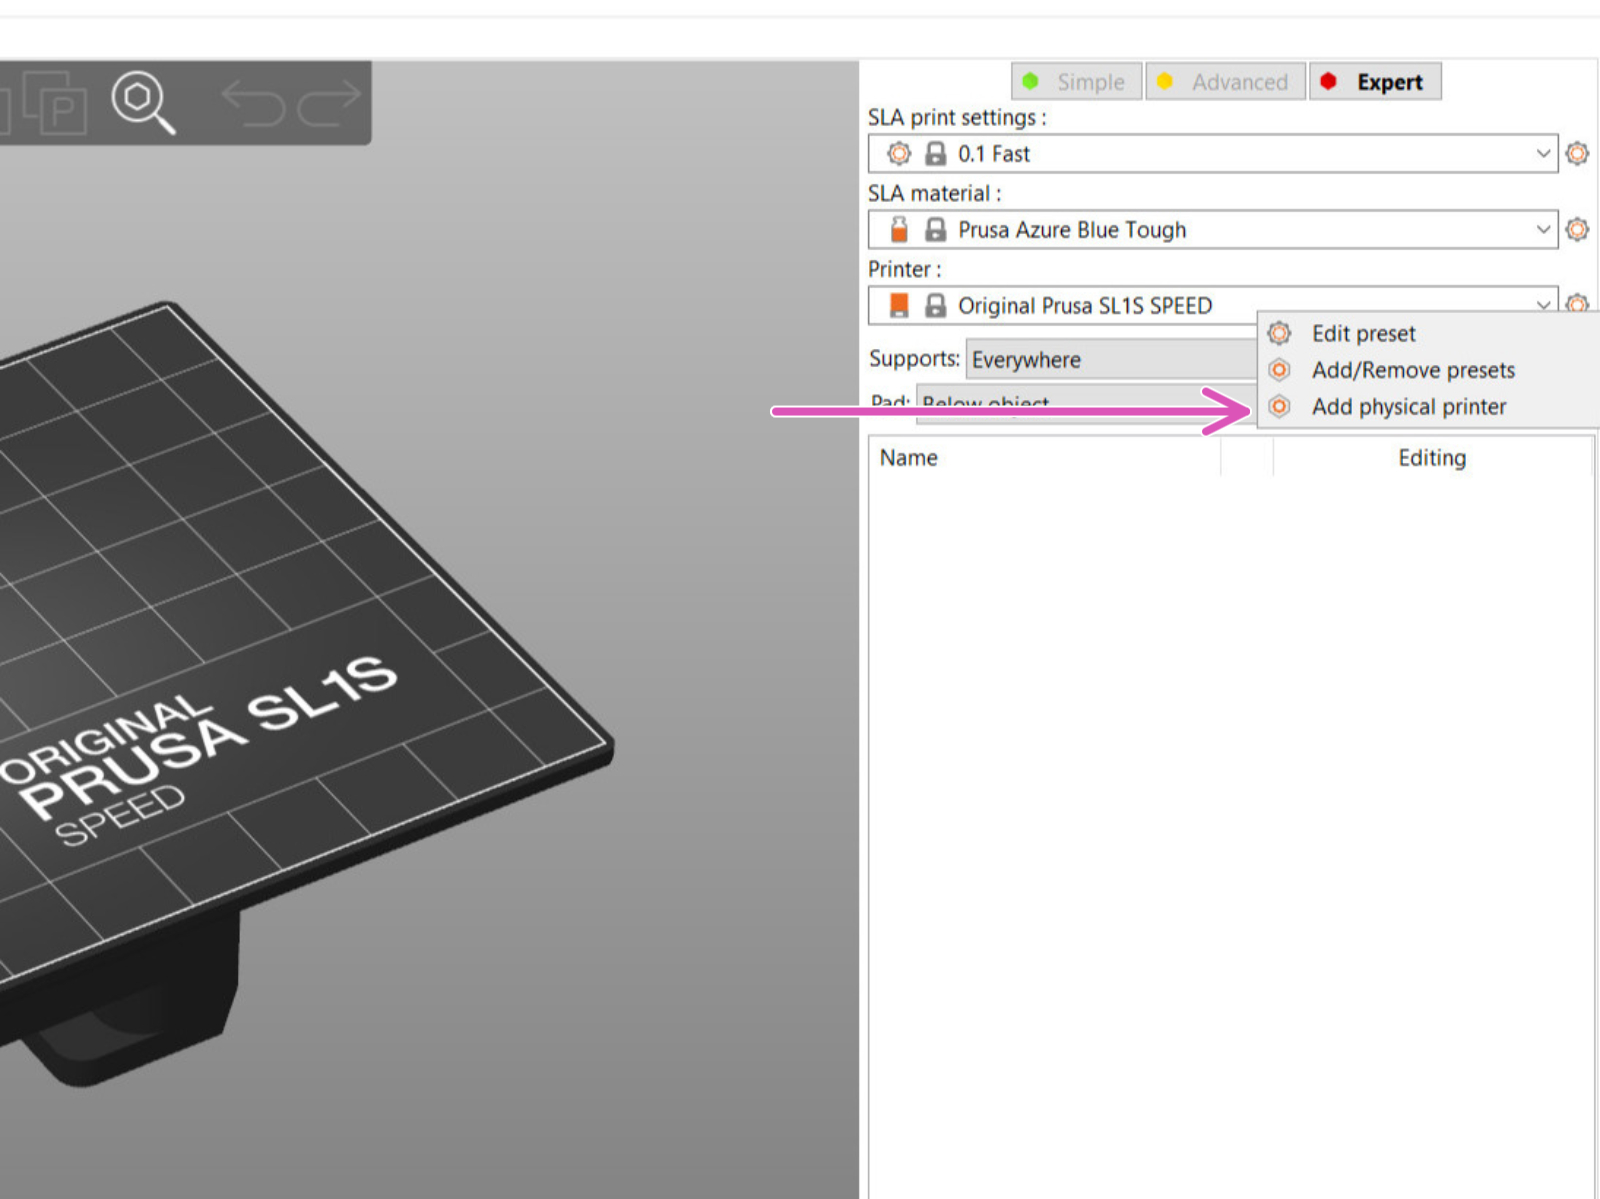
Open PrusaSlicer and make sure the Original Prusa SL1/SL1S SPEED printer is selected as Printer. Then head to the "Printer settings" tab (green square) and click on the gear on the top menu (purple arrow). An alternative is to right-click the gear next to the printer name, in the Plater view.
 

The two ways to 'Add Physical printer'.
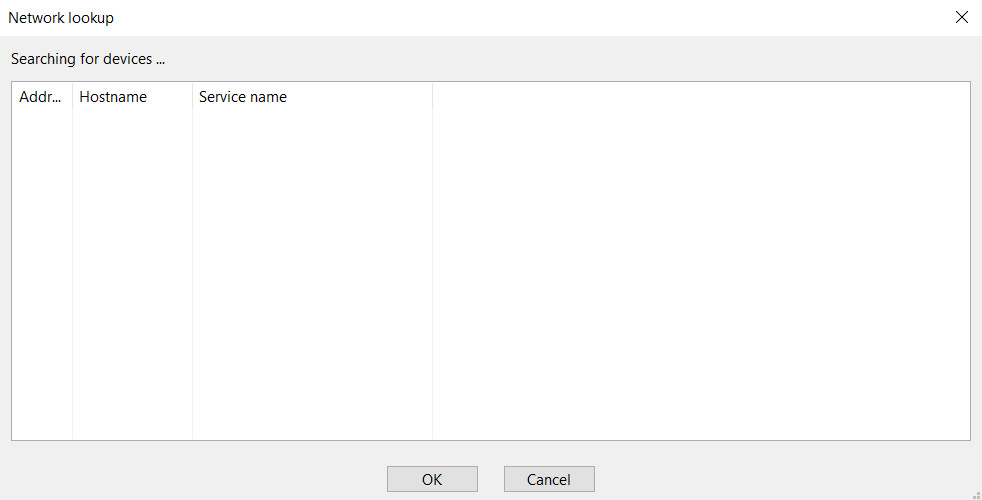
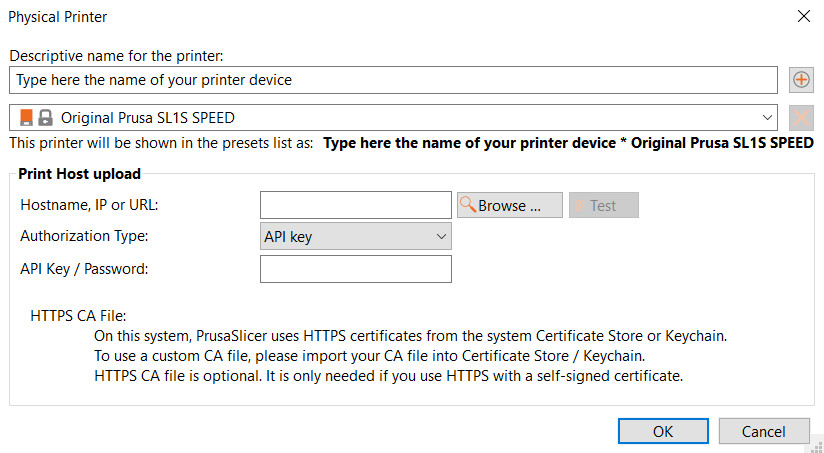
To insert the IP address click on the Browse button to show a list of detected devices on your network. Select your printer and click OK to confirm the selection. You can find your printer by the Hostname and by the serial number. In case the printer is not found, insert the IP address manually.
 
The Login credentials have to be inserted manually at all times. It serves as a verification between the SL1/SL1S SPEED printer and PrusaSlicer, don't share it with anyone. Choose the HTTP digest or API key based on what is on your printer, they must match.
 
The window for adding a physical printer.
 
The last step is to click on the Test button to ensure the connection works properly. PrusaSlicer will notify you with a "Success" message. From now on you will be able to send the files directly via a new button, which will appear in the PrusaSlicer interface.
IMPORTANT: The printer must be turned ON and connected to the same network in order to be recognized.

Uploading a print

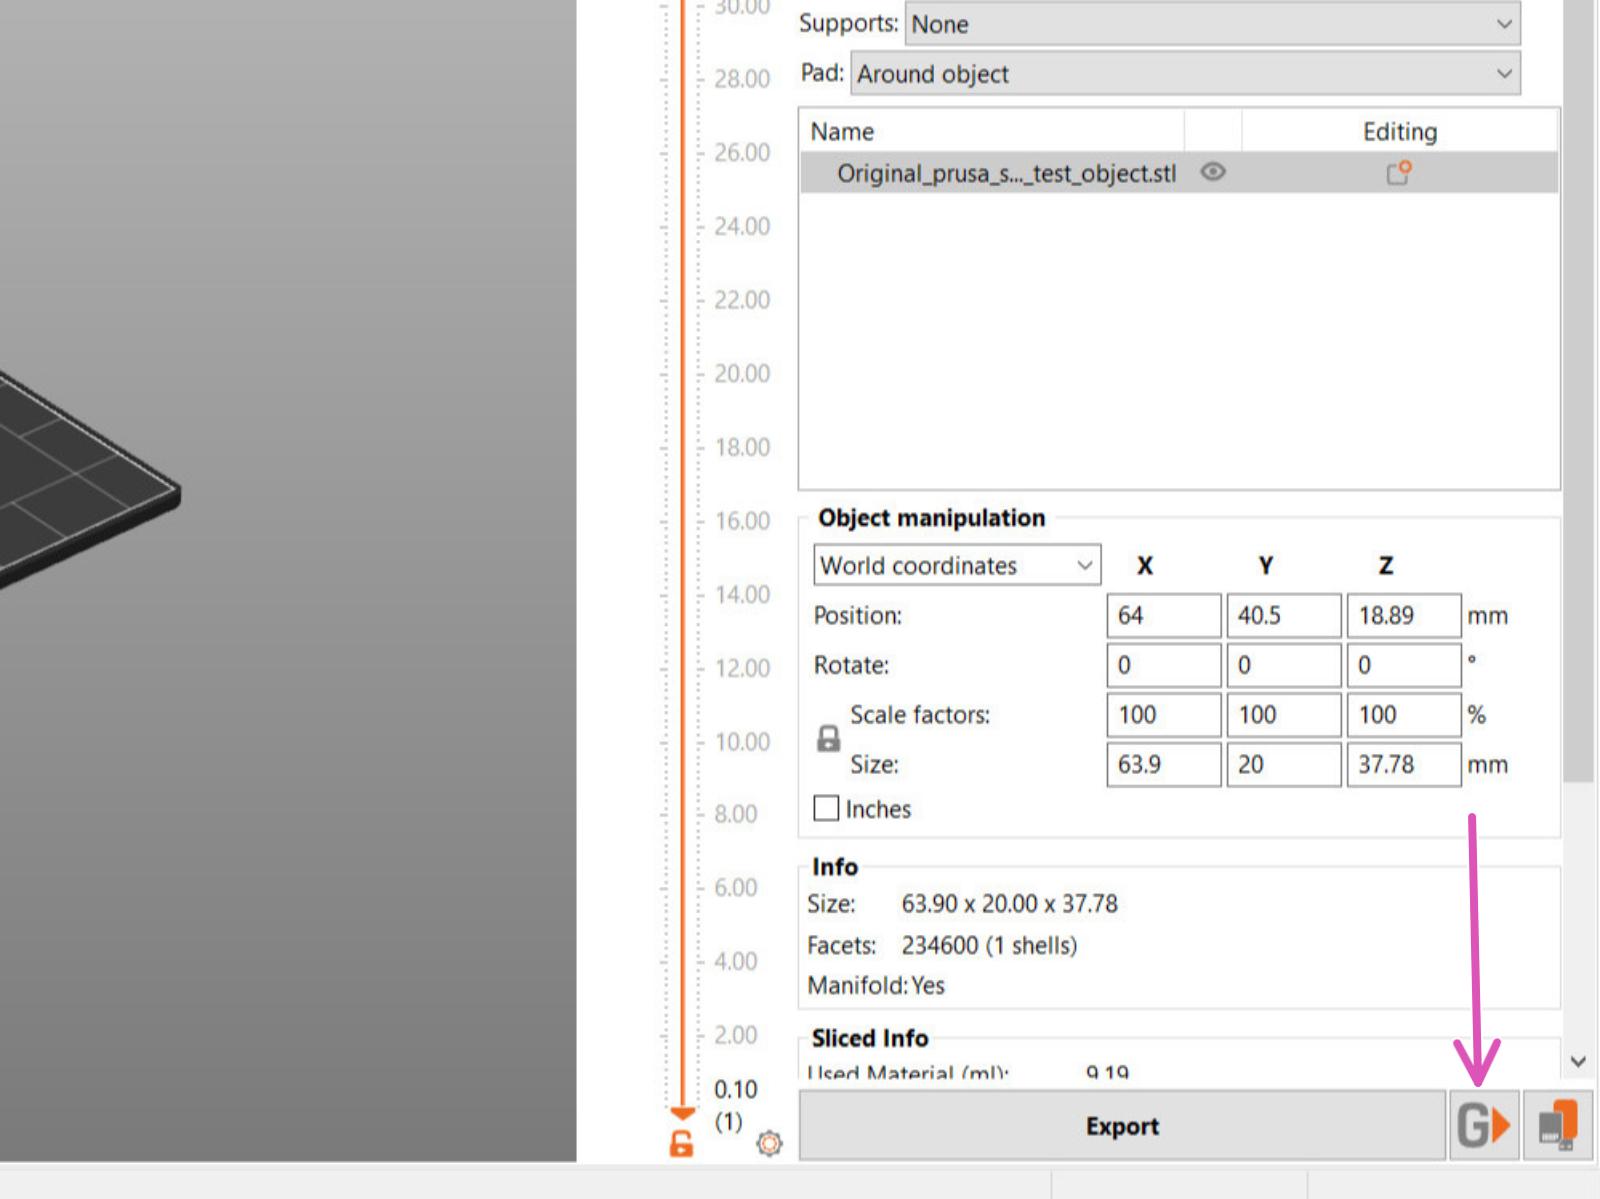
After the model is sliced and you are ready to print, click the G button, located in the bottom-right, next to Export. You will be prompted to give a file name and confirm the upload. Once received, you will be able to start the print from the Print-menu, on your Printer.

Pro tip: Once the file is sliced, use shortcut Ctrl+Shift+G to send the file.
Was this article helpful?

Comments

Still have questions?

Still have questions?

If you have a question about something that isn't covered here, check out our additional resources.
And if that doesn't do the trick, you can send an inquiry to [email protected] or through the button below.

Contact us